How to Make an Underbust Corset Using a Free Pattern & Basic Tools

In this DIY, I’m going to show you how to make an underbust corset with a zipper. Corsets are classic and timeless pieces, so if you’d like to add one to your wardrobe and you’re looking for your next sewing challenge, you’ve come to the right place. Let’s get started!
Tools and materials:
- Pattern
- Paper
- Card
- Pencil
- Cotton outer fabric
- Cotton lining fabric
- Twill fabric (for strength layer)
- Sewing machine
- Scissors
- Zigzag scissors
- Zip ties
- Zipper
- Two-piece eyelets
- Eyelet puncher
- Eyelet tools
- Pins
- Sandpaper
- Needle and thread
- Seam ripper
- Lace
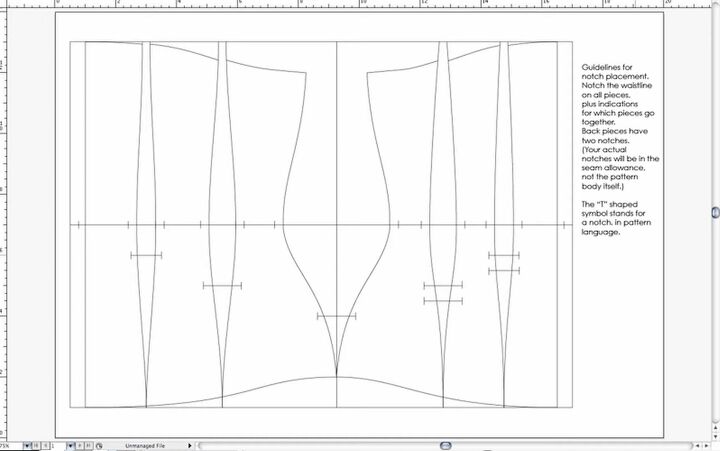
1. Make the pattern
I used a free online pattern.
If you follow every step, you will end up with a corset, like the one I have here, which is a regular corset. Here, I will be shortening that and turning it into an underbust corset pattern. I recommend making a mock-up, so you know that everything fits well.
In terms of the materials for this project, I use zip ties as boning. I find them very comfortable, and I can’t easily get steel or spiral steel boning.
I also used a coat zipper instead of a busk because I can’t find corset busks. I couldn’t find a short enough coat zipper for this corset, so I made the center front longer and left it unboned, which I will fold and tuck in. There’s also another method to shorten the zipper by pulling out the teeth that you can also use.
It’s very important to use two-piece eyelets because one-piece eyelets just won't do the job. They will come out and scratch you, and they just aren’t effective and lasting.
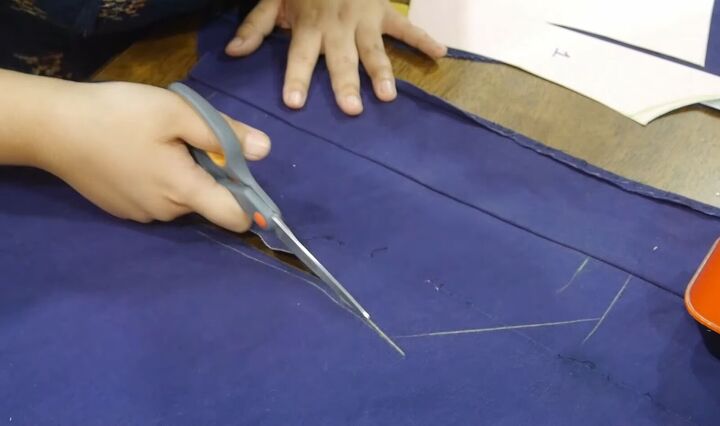
2. Cut the fabric
The pattern I’m using has five pieces, so for each of those pieces, I traced a new piece out of card and shortened it, and made sure that piece 1 is the same height as 2, and 2 matches 3, etc.
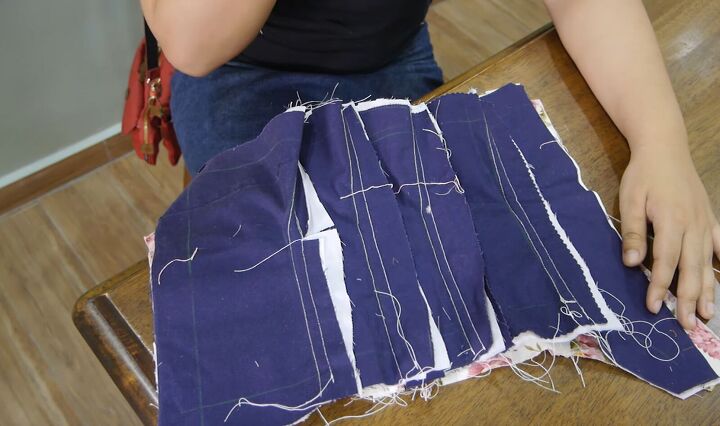
You will need to cut out five pieces for each side (front and back), plus three layers (the lining, strength layer, and outer layer), so in total, you’ll be cutting out 30 pieces.
Each piece will need to have a seam allowance of 1 inch (2.5cm) on all sides, and this is to ensure that you can adjust the pattern if need be. You will also be able to sew boning channels using the excess leftover material after you’ve sewn the seams.

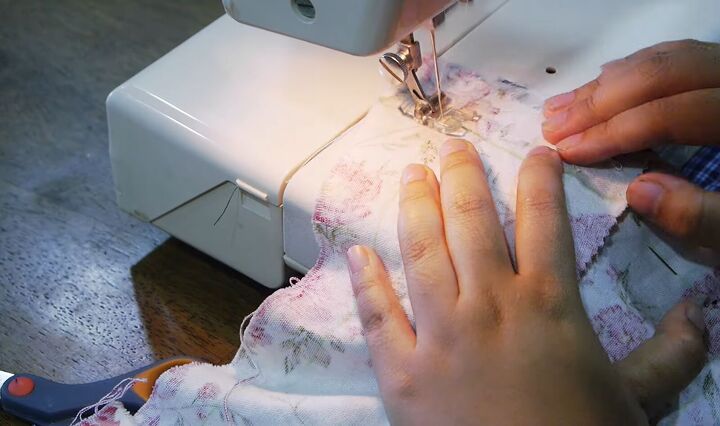
3. Sew the corset
I will be sewing the corset together in four parts, I have the left and right sides, and each of those sides will have two parts - one will be the fashion layer (which for me is floral fabric), and the other is the lining layer together with the strength layer. So I’m sewing pieces 1-5 first of the fashion layer on the right side.
Basically, I just need to pin piece 1 to piece 2 and sew it together, then piece 2 to 3 and sew together, and so forth.

4. Make the boning channels
Here we have the center-front piece (on the right) and the side piece (on the left). I am folding it away from the center front, and I’m going to be sewing my boning channel using the excess fabric. Now you just need to sew that down to make the boning channel.
I found that I was able to squeeze two boning channels from the excess fabric and seam allowance. Make sure that you sew your boning channel to the correct width so that your zip ties (or another boning that you’re using) can slide through.
5. Sew the other side of the corset
Now for the right side of the corset, I have the front and back pieces sewn. They match very well, but it does take a little bit of tweaking to make sure that they match perfectly.
You now need to pin the two layers together with the right sides facing and sew along the bottom and the side where the lacing will be.
Before you sew the two together, trim the excess fabric from the seam allowances to reduce bulk. I find that the easiest way to do that is with a pair of zigzag scissors.
6. Pin and sew
Now pin the front and back layers together, trying to get the seam lines to correspond. After you’ve sewn the bottom of both layers together, trim the excess fabric off before sewing the side.
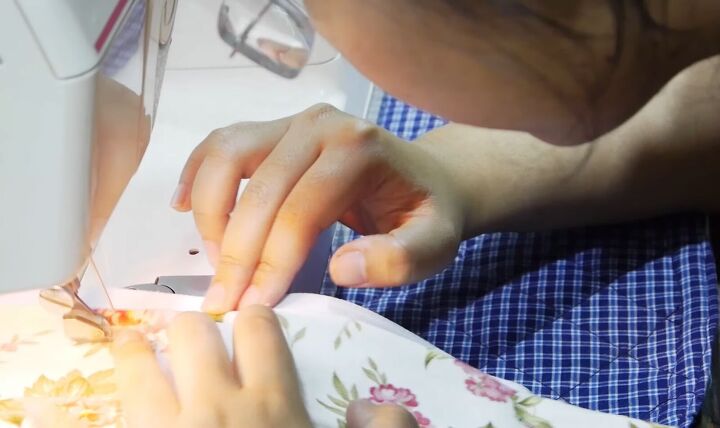
7. Add the zipper
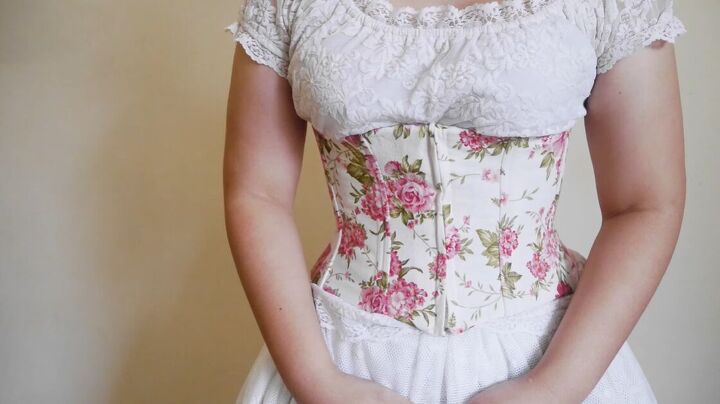
Once the back is sewn, flip this half of the corset inside out. Put the coat zipper in and sew it to the back first and then only to the front layer.
The front layer needs to be very carefully pinned and placed because I do want the fabric to slightly overlap the teeth so that the fabric hides the zipper.
8. Add the boning
To prepare the boning, just take two zip ties per boning channel, cut them to the length that you need, then use sandpaper to smooth out the sharp edges. Then insert them inside the boning channels.
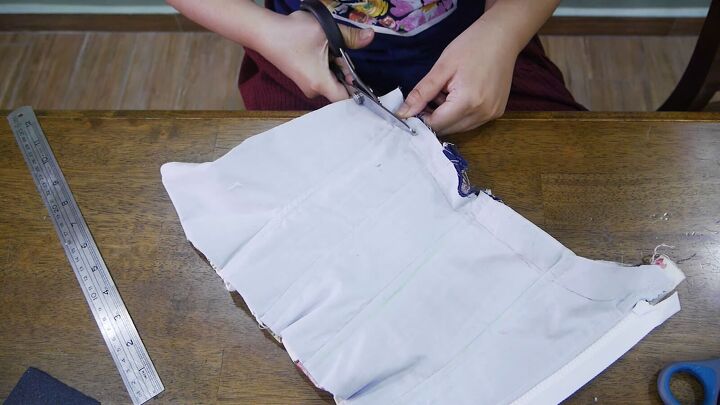
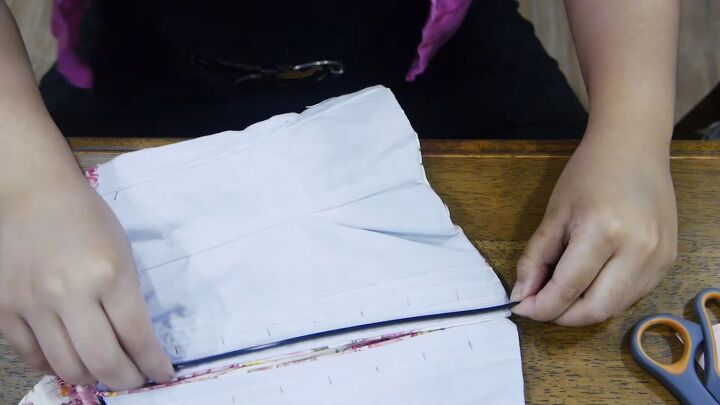
9. Trim the excess fabric
Because I cut an extra inch around each pattern piece, I now have one extra inch on the top that I need to remove, but I’m only cutting it from the inside layer which is the twill fabric and the lining.
I am not cutting one inch off the outer fabric because we will be using that to cover the seam and stitch it down.
10. Make the binding
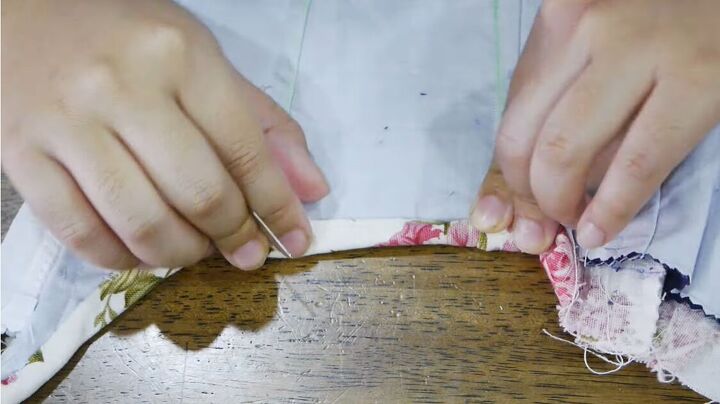
Instead of having separate binding, I tried a half-binding included in the pattern itself. I am carefully folding over the front fashion fabric and whipstitching it down.
It does take some time, but for me, it is very worth it because I only need to sew it once, whereas if I were to cut a bias strip and use that to bind the corset, I would need to sew it down twice.
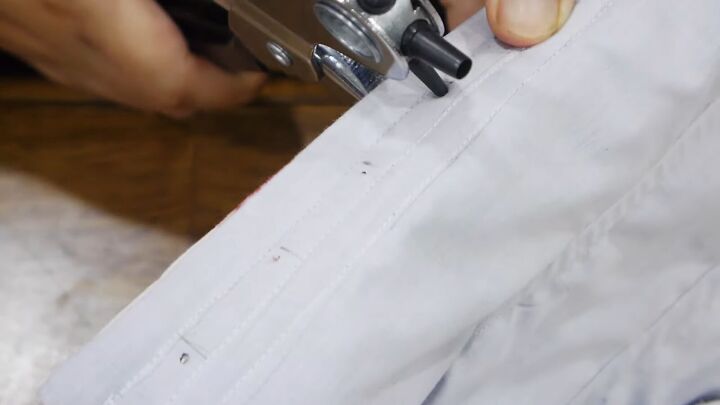
11. Make the eyelet holes
At long last, it is now time to mark and punch the eyelet holes. I made them 1 inch (2.5cm) apart, and I punched them out using the smallest eyelet puncher I could find because I didn’t want to make the holes too big.
Then I gradually extended the holes by poking my seam ripper through them and very carefully screwing one side of a pair of scissors through them.
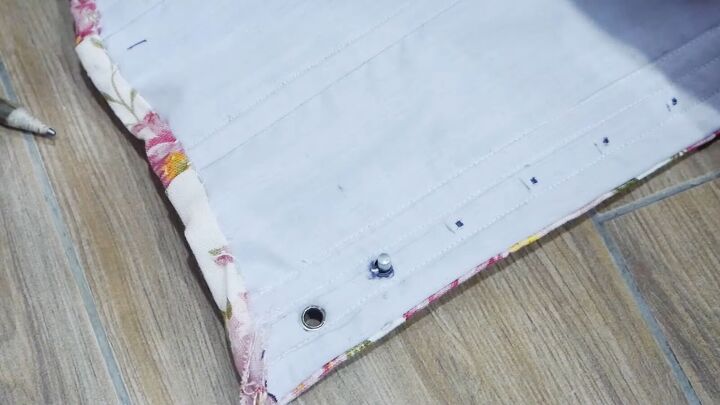
12. Insert the eyelets
Take your two-part eyelets and the eyelet tools. Then it’s all a matter of positioning the pieces in the correct order and hammering it gently into place.
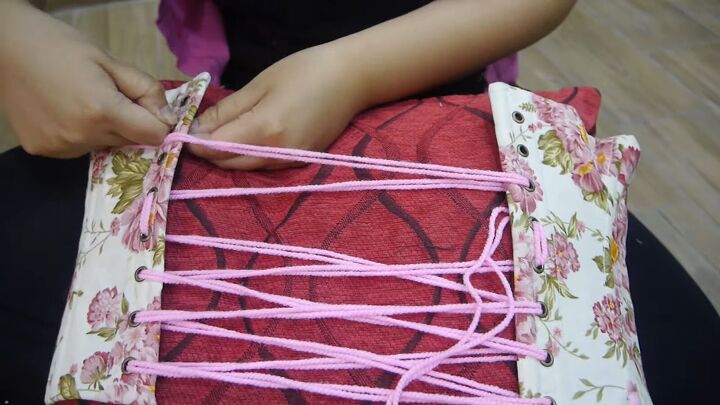
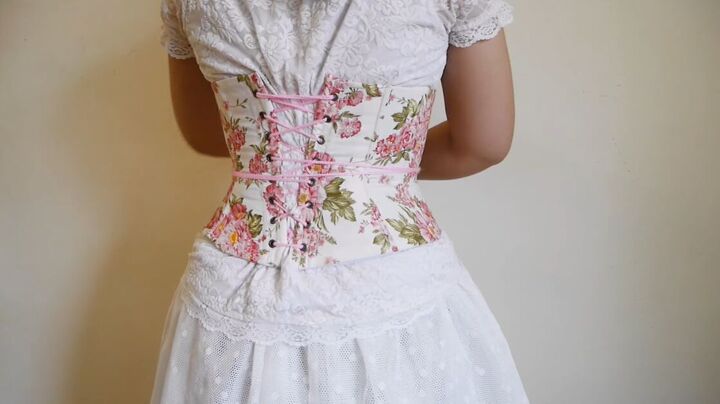
13. Lace the corset
The final step is to lace the corset. Here’s a little tip for you: I always lace my corsets over a pillow. This gives me the perfect lacing gap that I need to put the corset on me.
I am doing a special type of lacing, leaving two loops right in the center where the smallest part of the waist is, and that will help me pull everything nice and tight and cinch the corset perfectly.
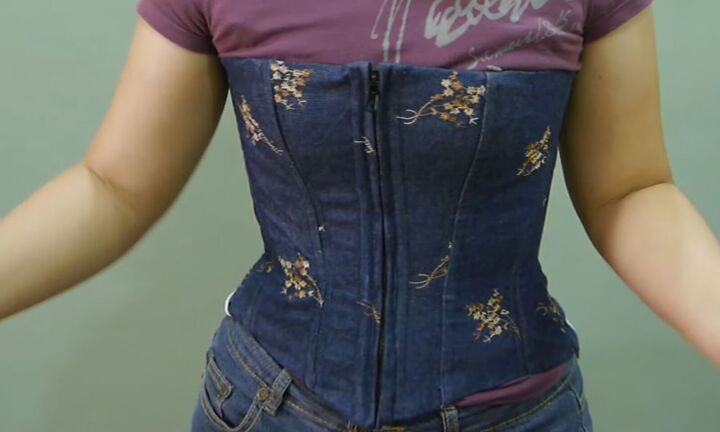
How to make an underbust corset
I am extremely pleased with how this corset looks. I usually wear corsets as undergarments to give support or to give the right silhouette, but this one is pretty enough to wear as an outerwear piece.
The author may collect a small share of sales from the links on this page.


Comments
Join the conversation