Sewing on a Sleeve? This Beginner Tutorial Shows You How, Step By Step

Sewing on a sleeve is one of the more challenging parts of sewing. Like many people, you may wonder how to insert a sleeve in sewing without messing it up! There are a few tricks in learning how to sew a sleeve.
The most important thing is to take your time and be patient as you prep your sleeve for sewing. The fabric you use also makes a difference as some are trickier than others.
Let’s get started on how to sew a sleeve onto a shirt or dress!
Tools and materials:
- Garment
- Sleeve
- Pins
- Sewing machine
- Iron (optional)
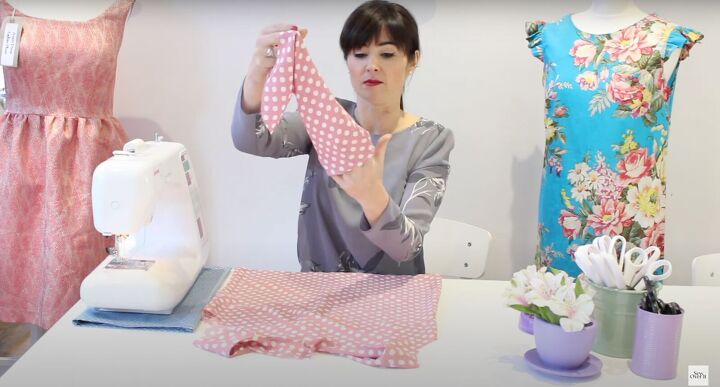
1. Get your sleeve ready
I’m showing you how to insert a sleeve that’s already been sewn.
The sleeve head is almost always bigger than the armhole. You need to have extra room at the top of your shoulder for movement. If you don’t have that, it’s uncomfortable and tight.
The best way to insert a larger sleeve head into the armhole is with an easing stitch. Easing is the way to push more fabric from the sleeve into less fabric of the armhole.
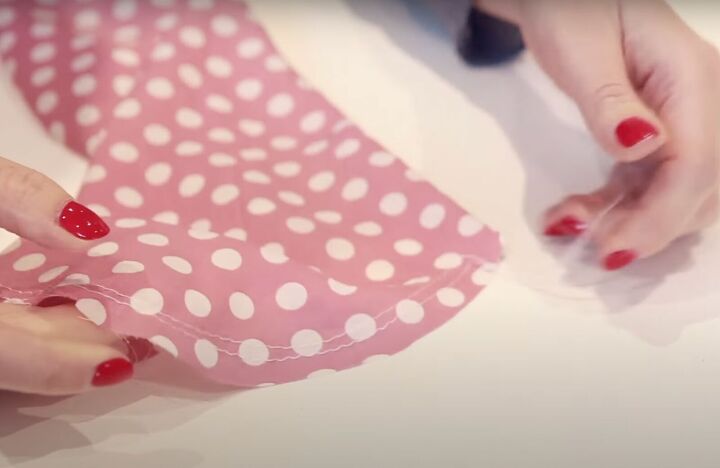
2. Ease stitching
An ease stitch is a long stitch; similar to a straight stitch but longer. You’ll sew across one layer of fabric that doesn’t create a seam or join 2 pieces of fabric together.
Place your machine on the longest stitch. Look for the notches on your sleeve head sides.
You’ll do two rows of ease stitching or a gathering type stitch in between the two notches, following your pattern’s notches.
Sew the ease stitching in the seam allowance. If your sleeve’s seam allowance is 1.5cm or 0.75 inches, sew the first ease stitch at 1.4cm or 0.7 inches and the second one at 1cm or 0.25 inches.
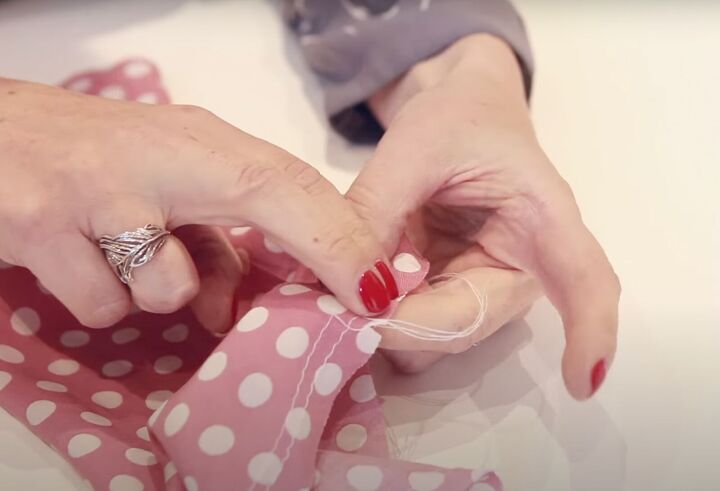
Remember not to backstitch at the beginning or the end.
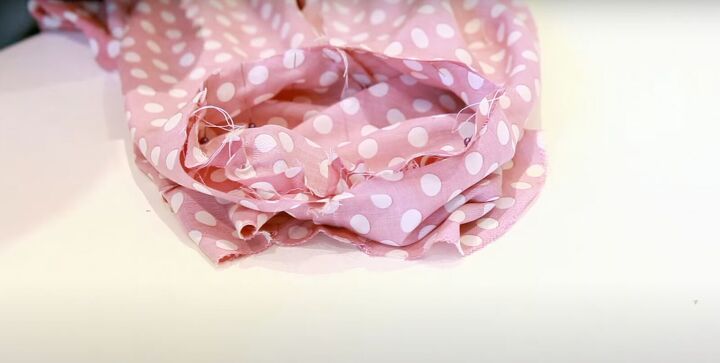
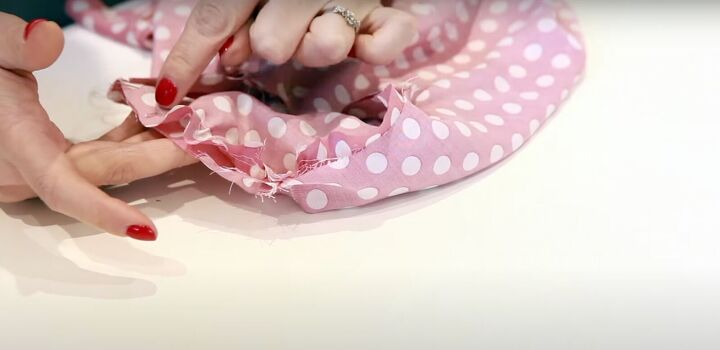
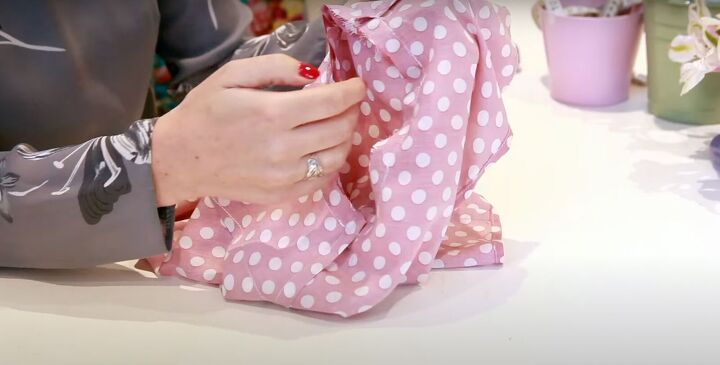
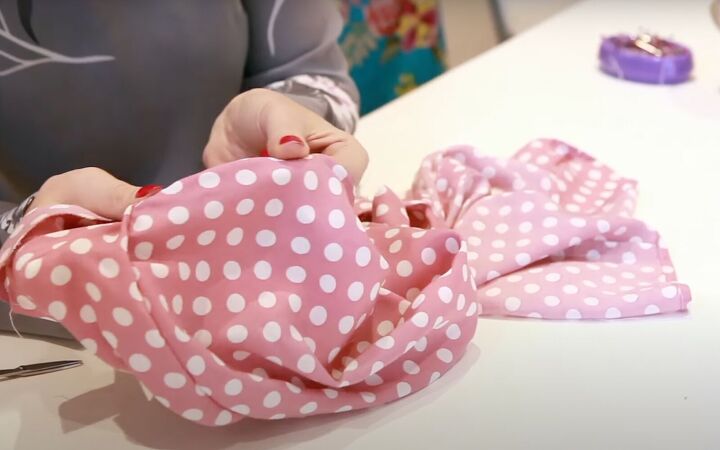
Then pull the thread from the top to gently gather the sleeve.
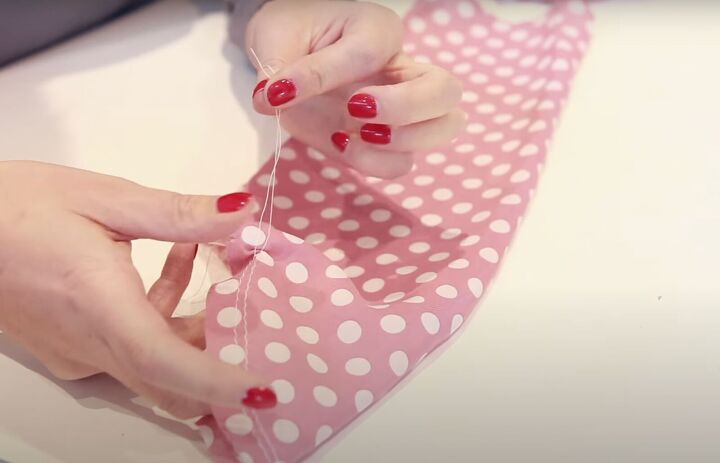
These gathers can be adjusted when pinning so just do a little bit.
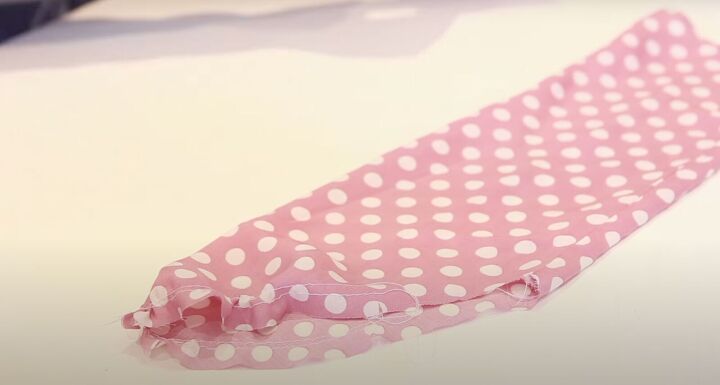
This is what it will look like once the easing stitch is done.
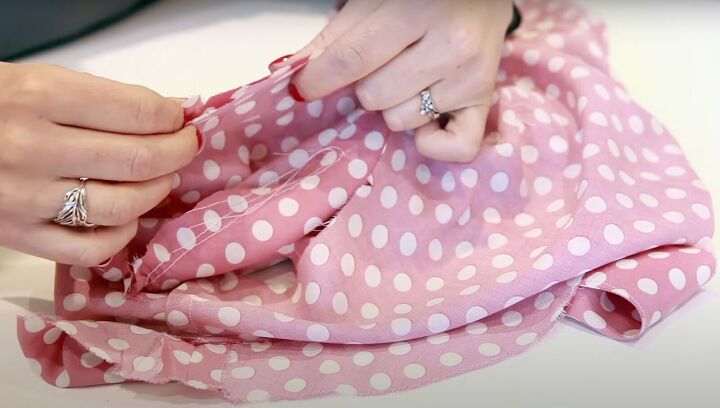
3. Pin the sleeve
Turn your garment inside out, wrong side facing. Keep the sleeve right side facing. Insert the sleeve into the garment.
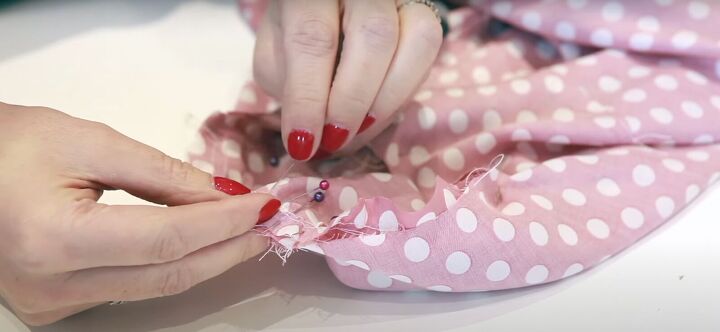
You’ll want to pin from the sleeve side. This prevents you from stitching pleats. As a rule, if you’re sewing anything with gathers or easing, sew from that side face up so you can see what you’re doing!
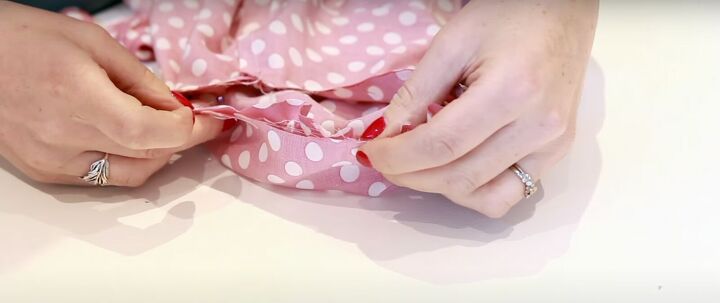
First, align the side seam and the underarm sleeve seam and pin to the armhole.
Then line up the notches that mark the back of the sleeve.
Then mark the top notch.
Once the 4 important points are pinned, fill in the additional pins at the flatter bottom.
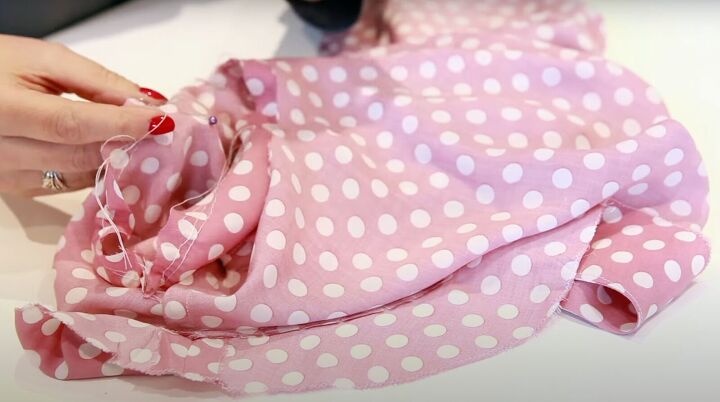
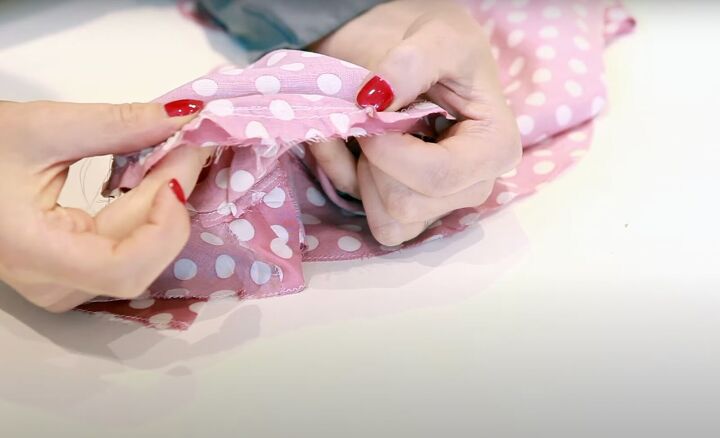
The extra fullness you see in a sleeve is always on the top. Pinning the sleeve head is a bit more challenging and you might want to divide it by working on each side, using the center notch pin at the top as your dividing point.
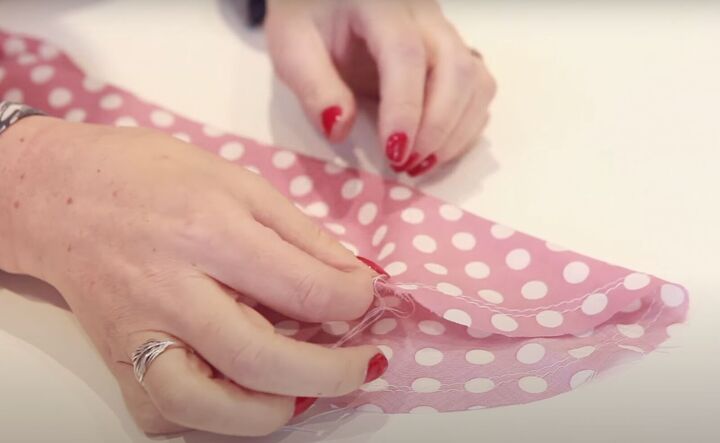
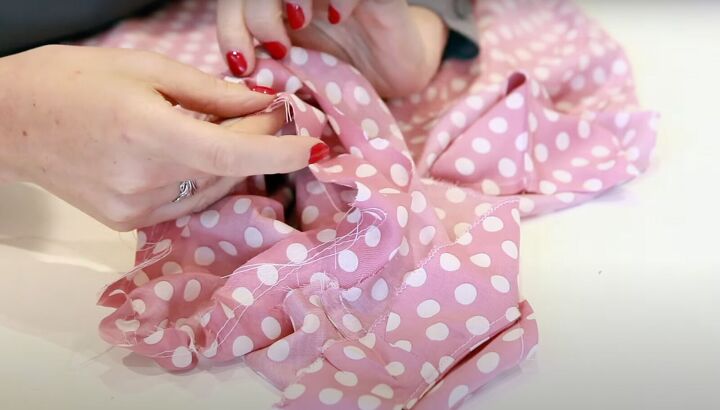
First, check to see if you need to adjust the easing. Lay it down flat and feel across it to see if you need to gather it in more. Distribute the gathers evenly across the top.
You’ll use lots of pins! There’s no pin police so don’t be afraid to use as many as needed to help you move the gathers evenly.
The goal is to push the more generous fabric of the sleeve into the armhole without making a pleat. There is nothing wrong with pinning first and then going back and redoing it for sleeve perfection!
Once you’ve pinned one side, then pin the other side. You may need to adjust the easing stitches by pulling in a bit more gather.

Check from the back to make sure you haven’t pinned the sleeve itself to the armhole!
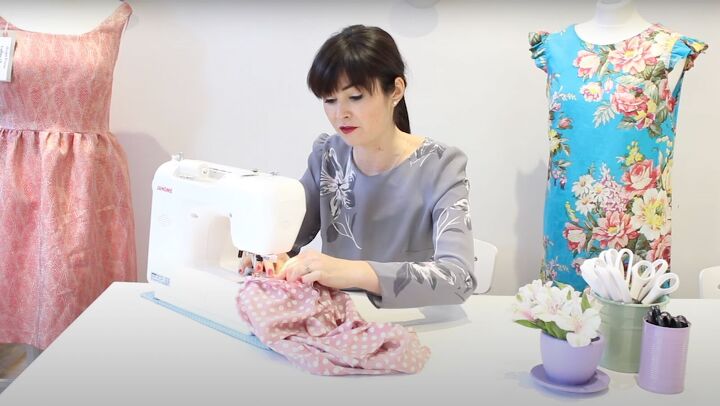
4. Sew the sleeve
If you’re a beginner and you're worried that your shoulder seam is in the wrong position and the sleeve won’t fit properly, do a basting stitch (the very longest stitch) to check.
If you’re confident, go straight to the regular stitch length.
Start from the underarm. Get it under the needle, with a seam allowance of about ½ inch.
Create a flat area in the first little section that you’re going to sew. Take out the pins as you go nice and slow. You’re sewing flat areas plus a curve and gathered fabric, so don’t rush.
Keep the pins in, taking them out at the last minute to make sure there are no pleats and only soft, slight gathers.
5. Final steps
Once you’ve sewn the sleeve in, take out the easing stitches because you don’t need them anymore.
If you want to press the sleeve, remember a good hard press can ruin the top of your sleeve. You can use a sleeve ironing board or pressing arm just under the shoulder and steam it a bit to give a crisper finish.
You could also just press the flat parts of the sleeve, such as the underarm section. If that sounds too scary, you don’t need to press it at all!
Even after 25 years of sewing, I still make mistakes on sleeves!
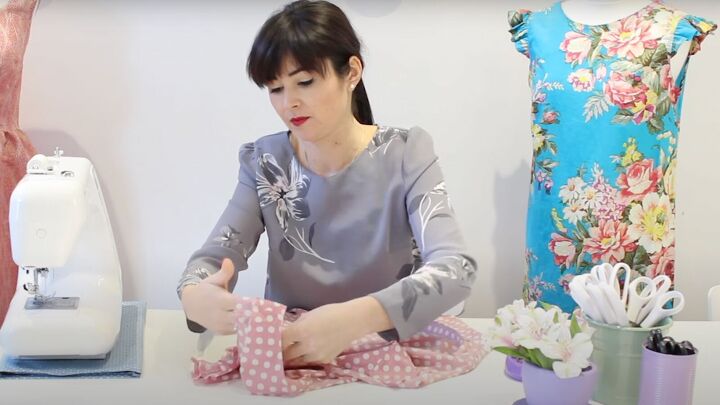
Sewing on a sleeve tutorial
I hope I helped you learn how to insert a sleeve! As always, please let me know if this video helped you do one of sewing’s most challenging projects!
The author may collect a small share of sales from the links on this page.


Comments
Join the conversation