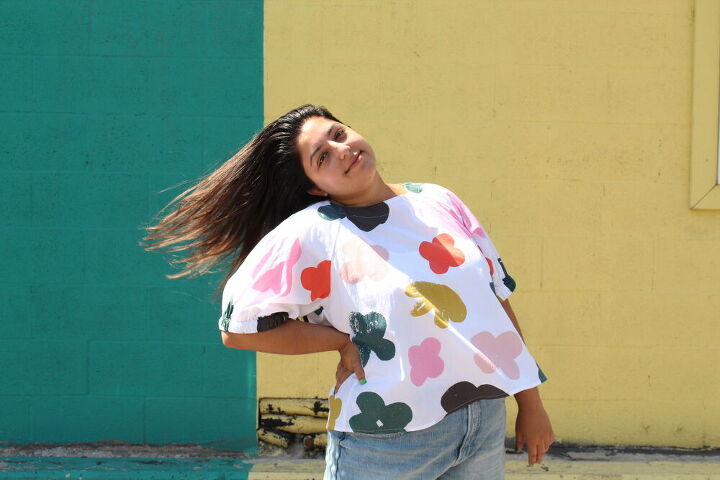
The Paddington Top
Today’s post is technically brought to you by Spoonflower and Peppermint Magazine Patterns, but there’s a little more to the story. When Peppermint Magazine released their newest free pattern in collaboration with French Navy Patterns, I jumped right on that release and quickly downloaded it and sent it off to be printed. What I didn’t count on was hearing from Peppermint Magazine a couple of days later asking if I’d like to make the Paddington top with fabric kindly gifted from Spoonflower. I had to pinch myself, talk about serendipity. Of course, you know I said yes, otherwise this post wouldn’t exist, so that brings me to today!
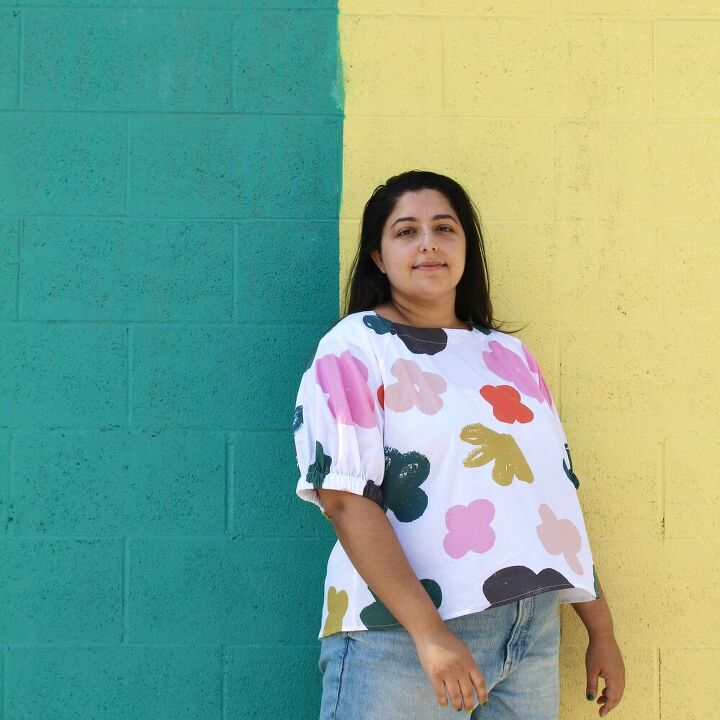
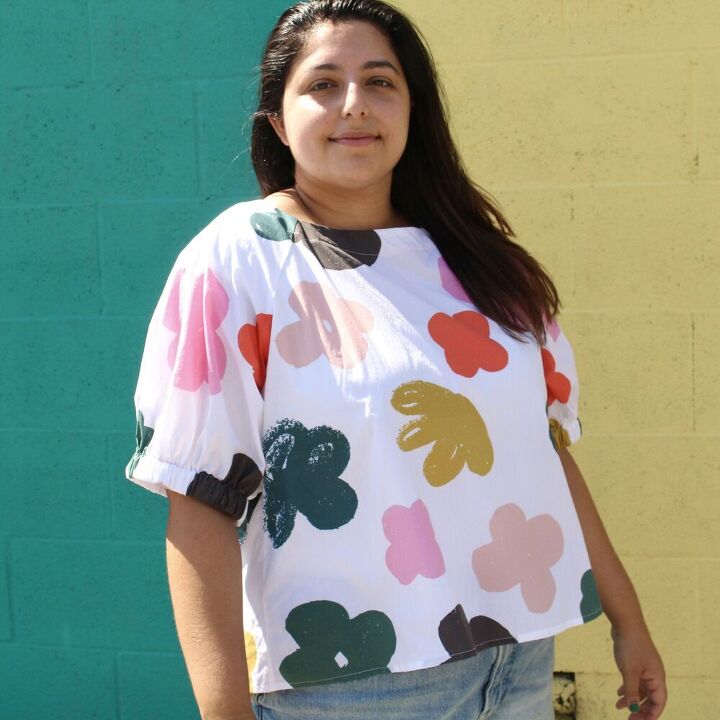
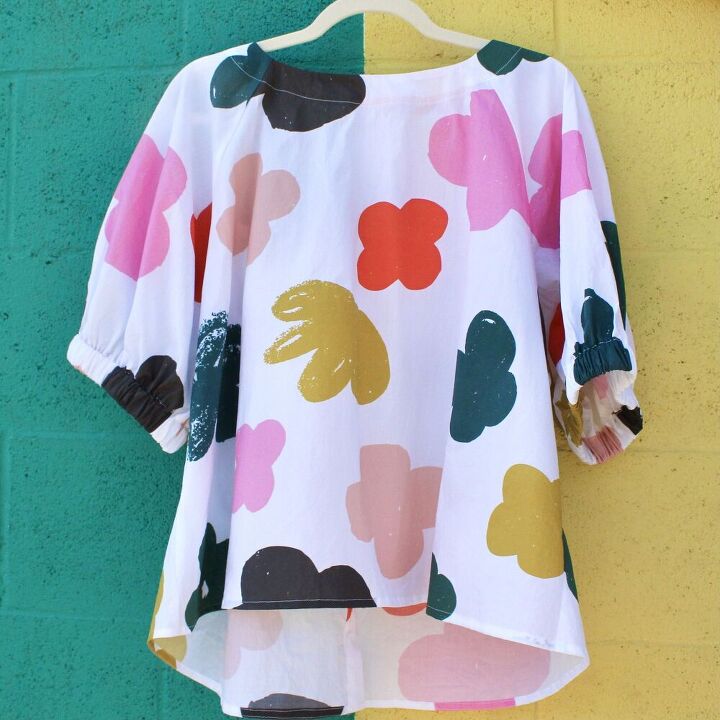
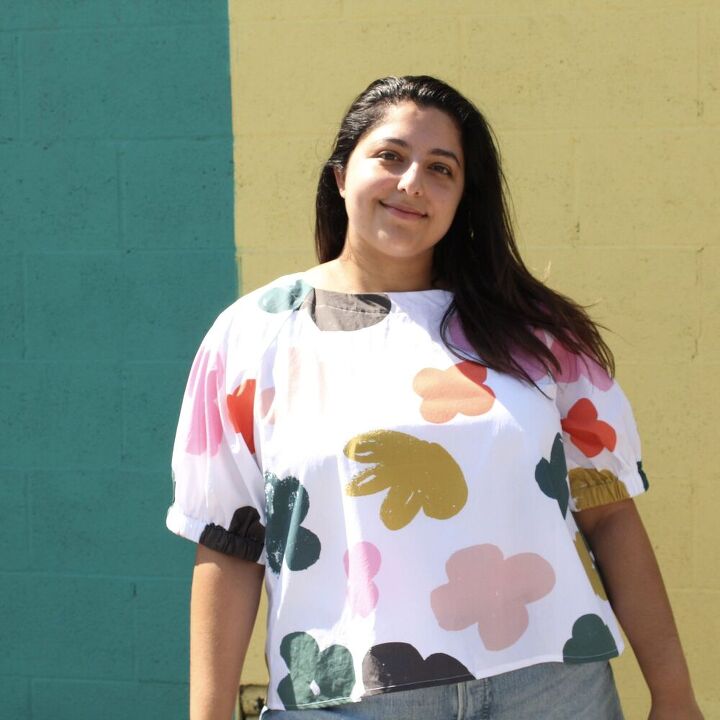
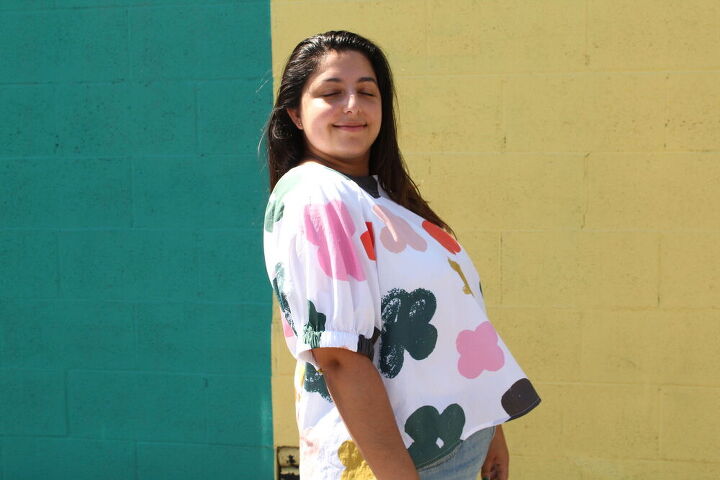
The Paddington top is a large raglan sleeve, looser fitting top with a button down back. The sleeves are finished with elastic and the neckline with a facing. It comes together really easily and has some nice finishes when doing the facing and the button down back. I used a cotton lawn from Spoonflower printed in this cool and cute floral print from Friztin, found here. I instantly felt the Marimekko vibes and knew it had to go together with the Paddington. Although this was a relatively easy sew up, I do have some notes that I thought I’d share. It’s not anything glaring but may help as you sew yours.
Firstly, as I mentioned earlier, I used a cotton lawn from Spoonflower. Usually you’d want to interface your facing and button sections and this pattern does indeed call for you to do so. However, even with the cotton lawn, I found that it was a little too stiff when sewing it up; this can especially be seen when you understitch the facing and it drove my brain insane as it didn’t sit perfectly flat as I would have liked. So I recommend doing a test patch of your fabric with interfacing to see if you are happy with the weight of it. I will most likely not interface those pieces for my next versions.
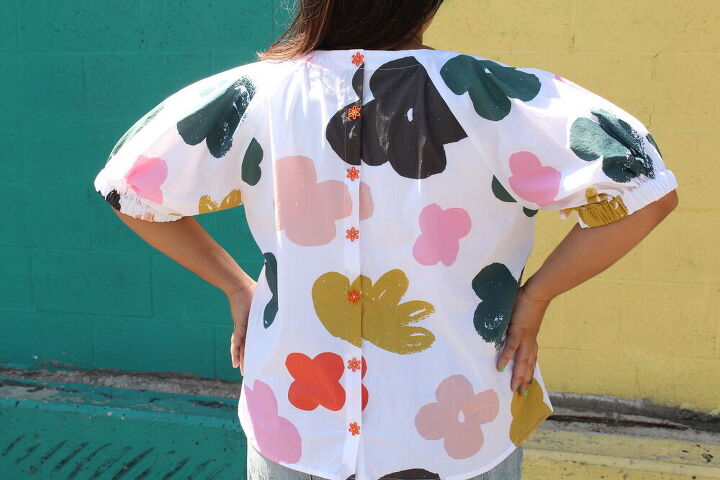
Next up, the button up back. There’s a note in the patterns letting you know that most testers found you could pull the top over your head without undoing the buttons. That’s super great and I found this also applied to mine. Since I have young kids that still hang off me I decided to omit the button holes and just directly sew the buttons on closing up the back permanently. It’s so good to have this option if you’re not comfortable doing buttonholes, or if you have an outdated machine like me and are in desperate need of an upgrade. That being said, this makes this pattern very beginner friendly if you choose not to do buttonholes. And if you don’t want to go through any of that, you could totally cut the back on the fold and likewise to the back facing! Gotta love a pattern with options!
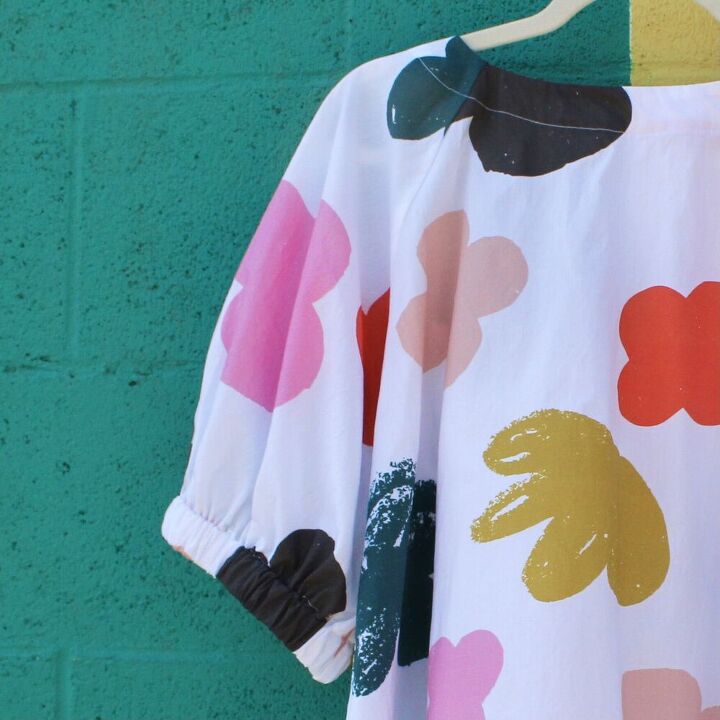
My last note is on the sleeve hem construction. I’ve not done a sleeve with this construction before and found it really interesting. It’s a trust-the-process type of construction. It involves stitching some basting stitches and gathering. When you sew it up before putting in the elastic you can see creases as you go, which again, plays on my mind but once you place in the elastic it’s perfect. So yes, trust the process, but just a word of warning: if you feel like it’s not looking clean and crisp, you’re not alone. I promise it comes out how it should!
That’s all my notes on this good pattern. I’m so happy I got to make this in a print I’ve been eyeing for a while from Spoonflower. I think it was the perfect combination and it’s so comfy and easy to pair with so many things. I’ve been wearing it with my cut off denim shorts and loving it. Be sure to check it out!
The author may collect a small share of sales from the links on this page.


Comments
Join the conversation
Love the cute buttons down the back. Nice!
Sweet-looking. Stiff fabric or not, the top is cute too.