Cute and Easy Transfer Nail Foils Tutorial

In this tutorial, I’ll show you how to use transfer foils for nails.
Foil nail art designs are super beautiful, and doing them gives you an effortless way to get unique nails at home. Let’s get started!
Best UV lamp!
Tools and materials:
- Gel polish
- UV lamp
- Transfer nail foils
- Scissors
- Detail brush
- Top coat
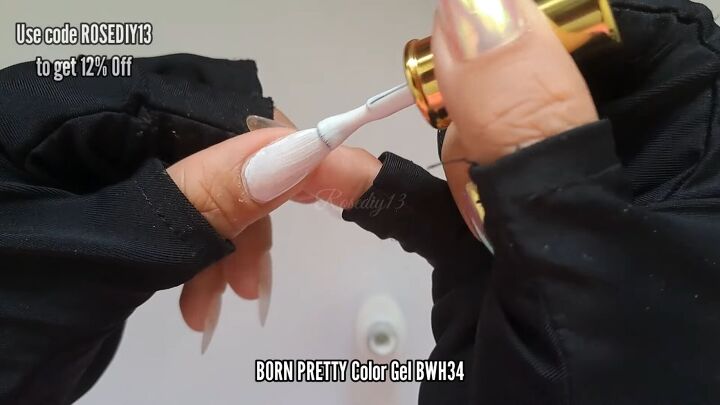
1. Cover the nail in white gel polish
Cover each nail entirely in white gel nail polish. The white should lay on opaque as this will be your base polish.
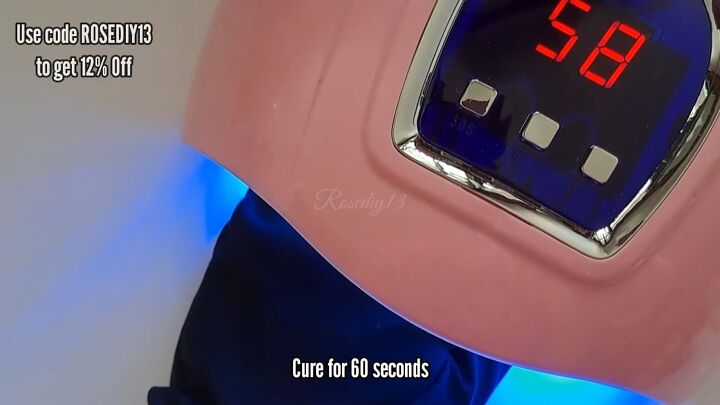
2. Cure for 60 seconds
Cure the white gel polish under a UV lamp for 60 seconds.
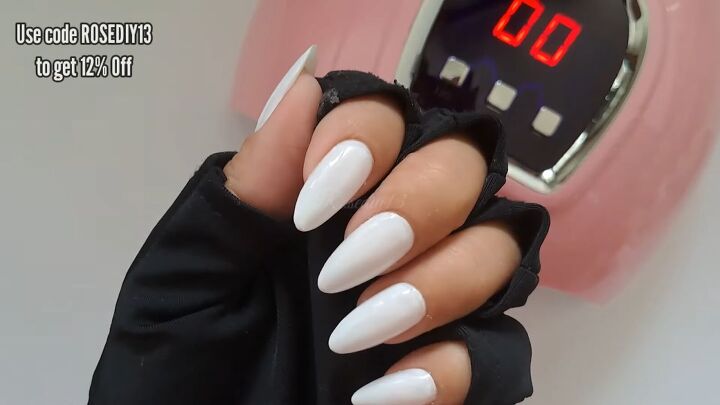
Here’s what my nails look like after they’re cured.
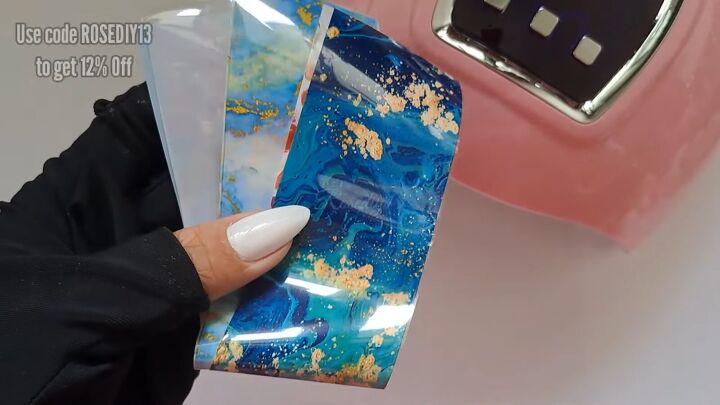
3. Choose your nail foils
Pick out your transfer nail foil. I’m using this beautiful blue and bold design for the foil nail art.
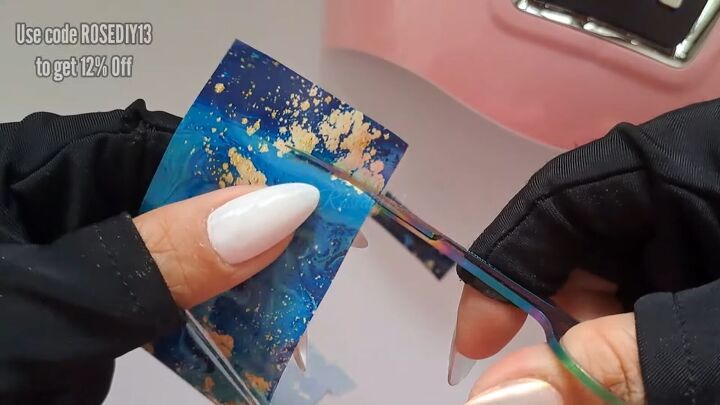
4. Cut the nail foil
Cut your nail foil to the size of each nail. This doesn’t have to be perfectly to-size, but it’s better to be too big than too small.
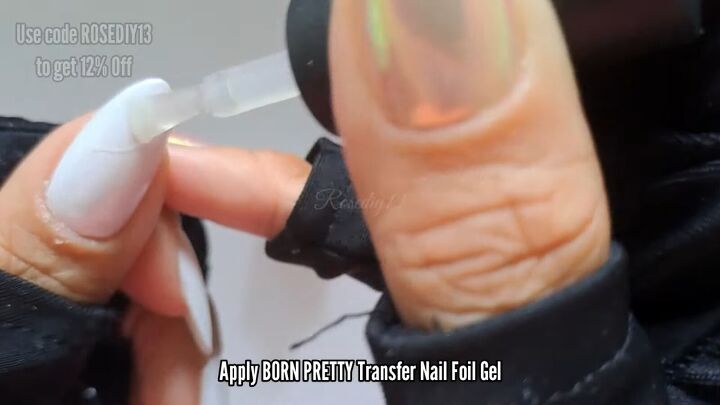
5. Apply the transfer nail foil gel
Apply the transfer nail foil gel to the nail in the shape you want the nail foil itself to sit.
How you apply the gel is going to be how the foil adheres to the nail, so take care to be sure how you want your foil nail designs to look.
I’m mixing it up for each nail, alternating between waves, diagonals, half-nails, and full-nail designs.
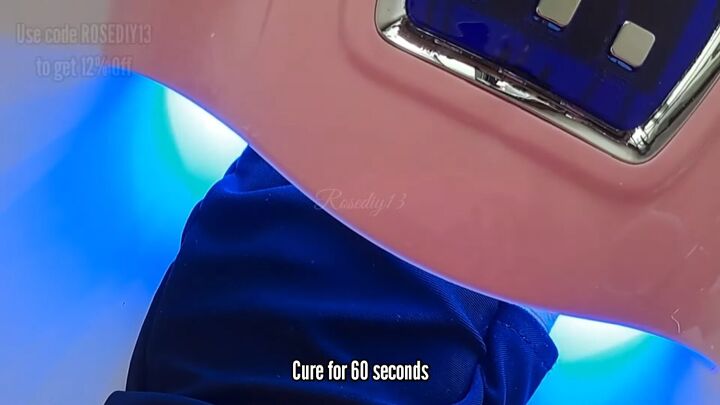
6. Cure for 60 seconds
Cure the transfer nail foil gel for 60 seconds.
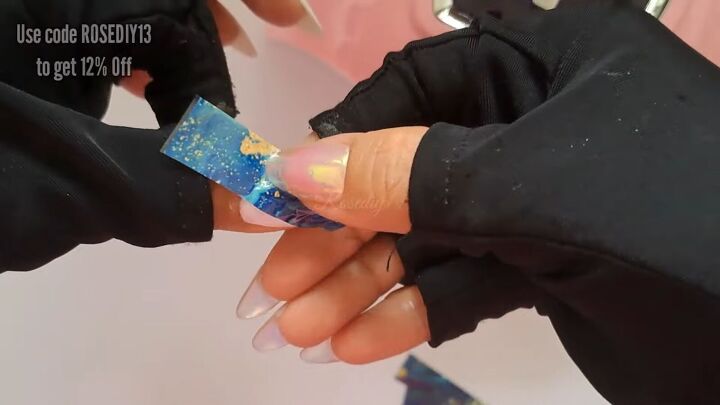
7. Apply the transfer foil
Apply the transfer foil to the nail. Thoroughly press it against the nail where the transfer foil gel was applied.
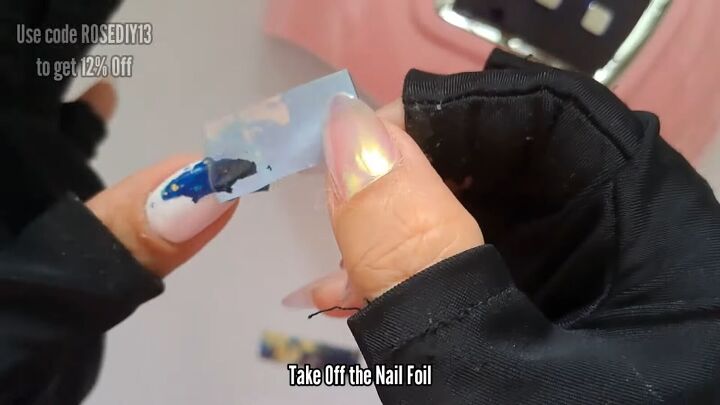
8. Remove the transfer foil
Pull off the transfer foil. The foil should stick to wherever you apply the transfer foil gel.
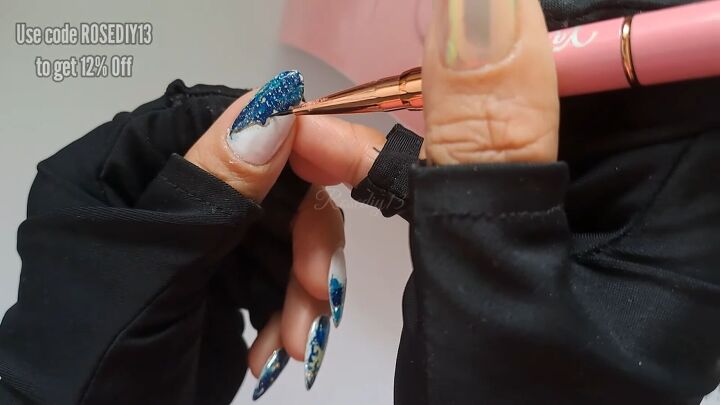
9. Line the foil with black gel polish
This step is optional, but for a more finished look, use a thin detail brush to line the foil with black gel polish.
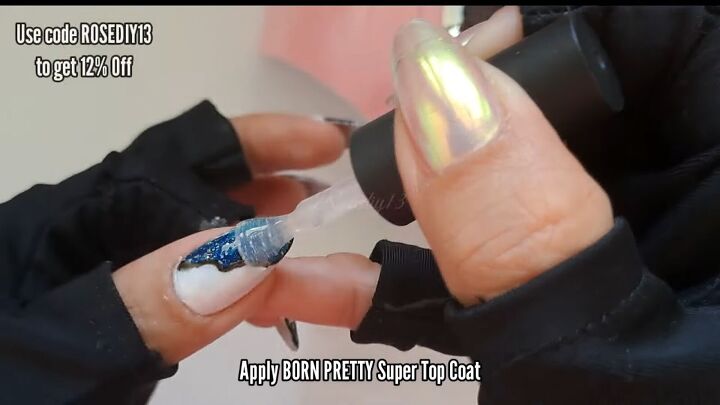
10. Apply a top coat
Apply a glossy top coat to each nail.
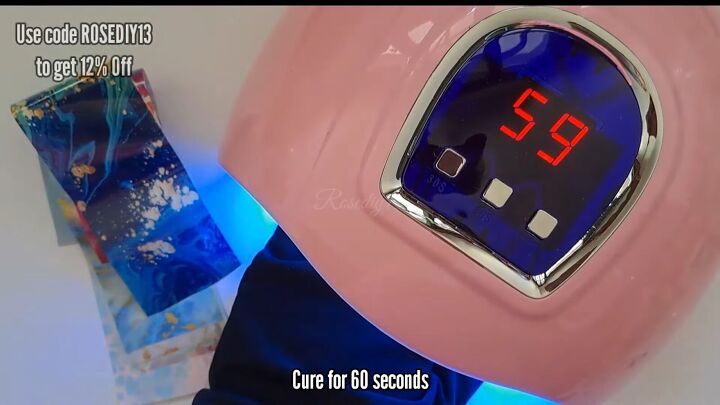
11. Cure for 60 seconds
Cure the top coat for 60 seconds.
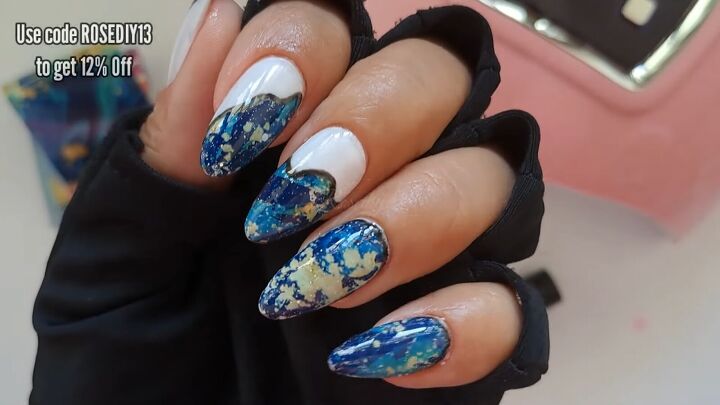
Transfer foils for nails
Here is the finished design! Transfer foils for nails are a great way to get a complicated design on your nails without needing any advanced skills.
Let me know if you’ve ever tried transfer foils in the comments below.
Next, learn How to Make Fake Nails With Tissue Paper in 5 Minutes.
The author may collect a small share of sales from the links on this page.


Comments
Join the conversation
Do you need a special polish for the foils, to transfer? Or could you use clear polish? I've never done them before.