Easy Vintage Twist Hairdo Tutorial

If you're looking for a quick and stylish vintage updo, then look no further!
This vintage hair is the perfect look for any occasion! Just follow along with this step-by-step tutorial.
Tools and materials:
- Curling iron (or your preferred tool)
- Elevated pin curlers
- Hairspray
- Hair smoothing serum
- Teasing brush
- Denman brush
- Bobby pins
- Styling wax
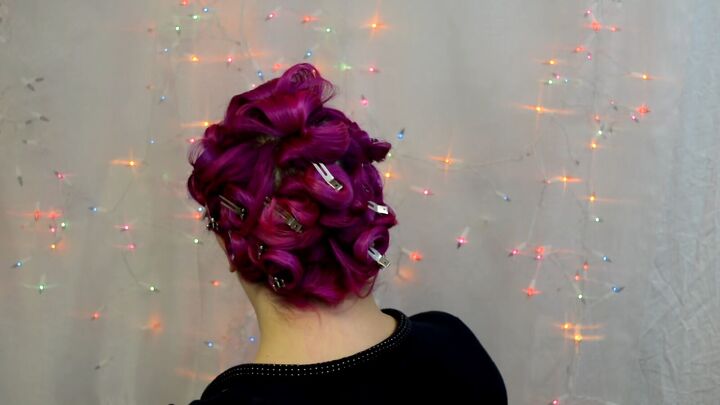
1. Curl your hair
This side swept hairstyle works well with leftover curls, so if you already have them, leave them in. If you don’t, then curl your hair using any method.
I used a curling iron and I rolled everything backward or under. To see how to curl your hair, check out my video on Tips for Long Lasting Curls with a Curling Iron.
Use elevated pin curls for the top to add height. If you set the curls with heat, wait until they are completely cool to open them to prolong the curls.
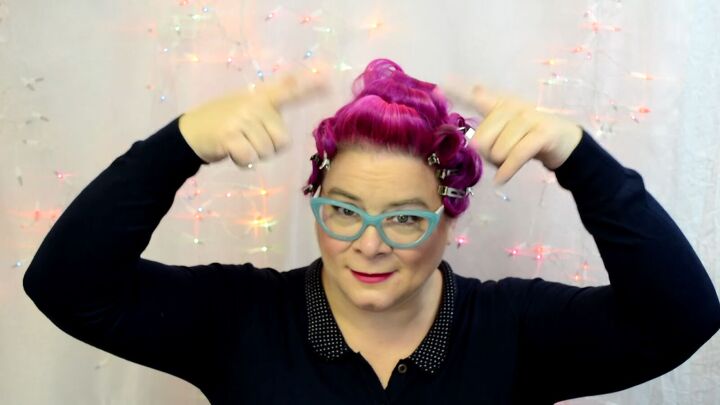
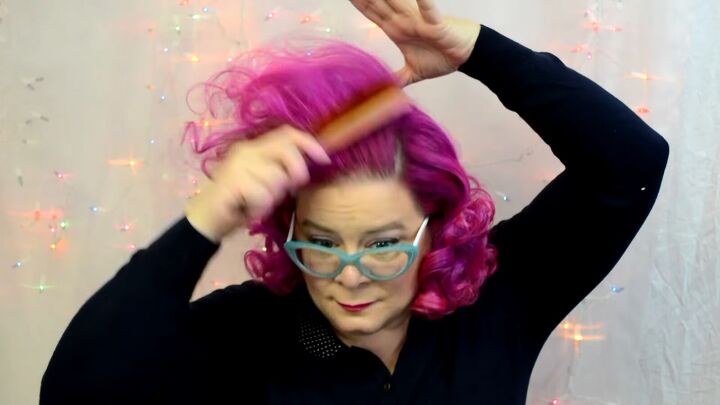
2. Loosen the curls
Undo all the clips, if that’s what you used, and comb through the curls with your fingers to loosen them.
Keep combing to get your hair as poofy as possible!
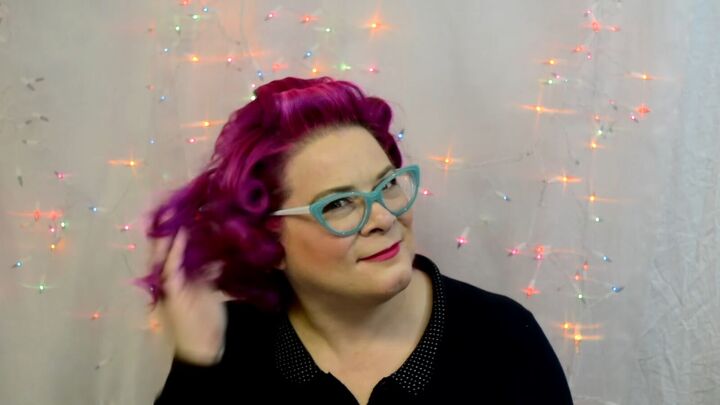
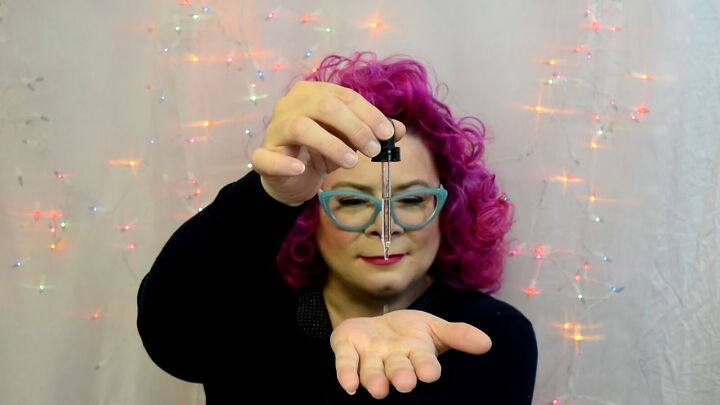
3. Eliminate frizz
Apply hair smoothing serum to your fingers and comb it through your hair to eliminate some of the natural frizz.
This is especially useful if you dye your hair, to add moisture to your locks.
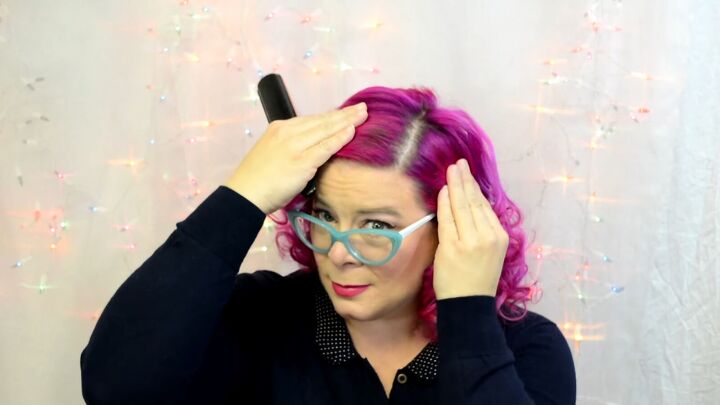
4. Make a side part
Section your hair into a deep side part, at almost the corner of your forehead.
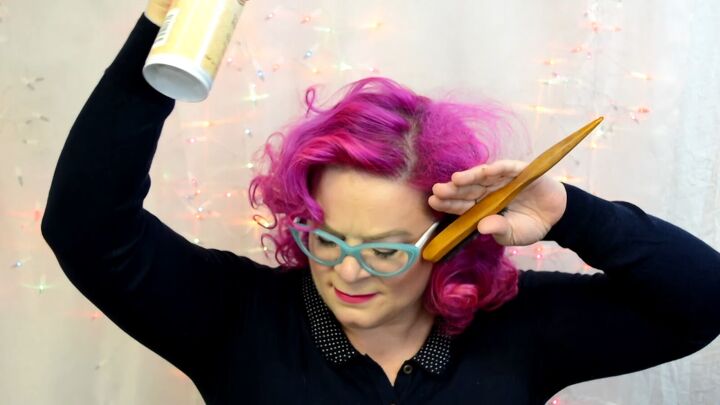
5. Tease your hair
For maximum volume, grab a small section of hair at the part and tease it with a dense, teasing brush.
Start at about halfway down the hair, back comb toward your head. Be sure to go in one direction to avoid breakage.
Next, spread the teased hair out and apply a bit of hairspray to hold the tease together.
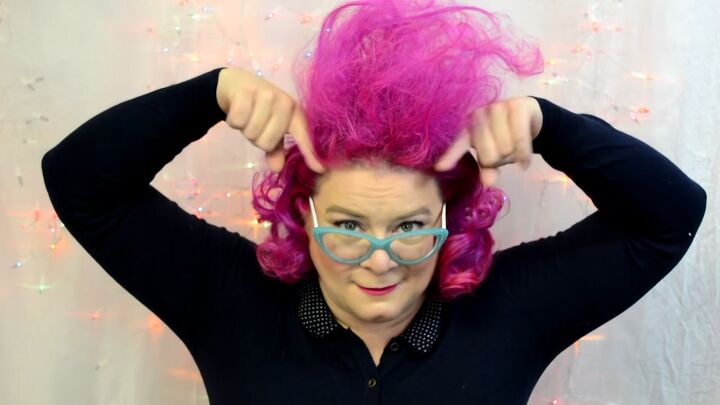
Continue this teasing process all the way to the opposite side of your forehead. When you resemble a Troll doll, you’re done teasing!
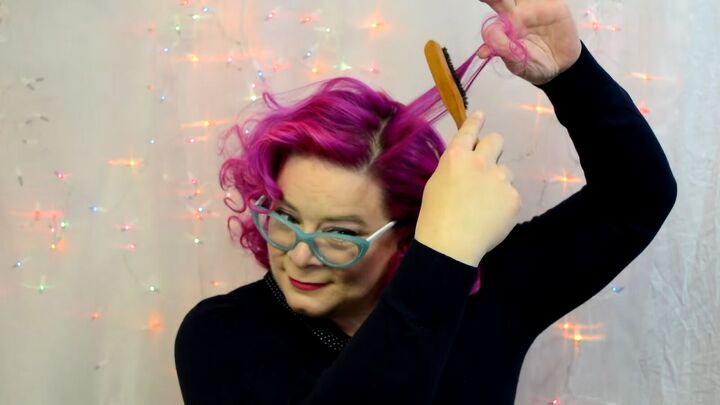
6. Smooth out the top
Using your teasing brush, smooth out that top section of teased hair, brushing in the direction that your side swept updo will fall.
Be sure to brush lightly, only through the top layer, so as not to undo the teased volume.
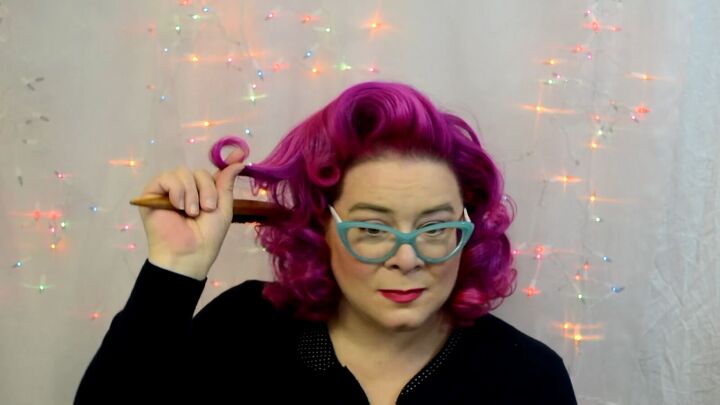
7. Define the curls
Lightly brush the ends of the curls to define them so that the ends look neat.
If needed, wrap the curls around your finger to redefine them. For more curls, feel free to split some of them apart.
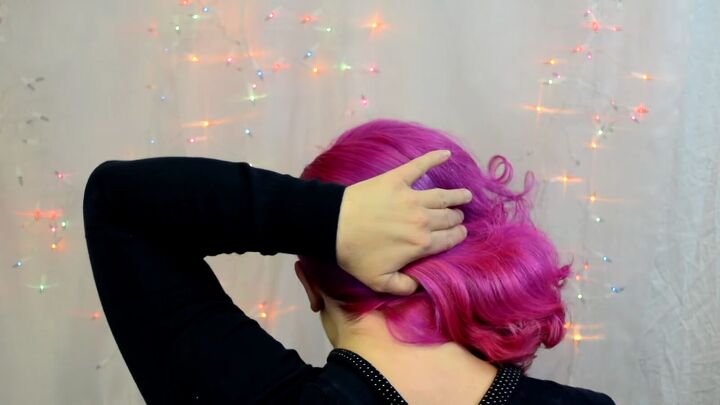
8. Brush the hair to one side
While brushing, go over the hair with your hands to make sure that you don’t have any "bumpies scragglies" in the back!
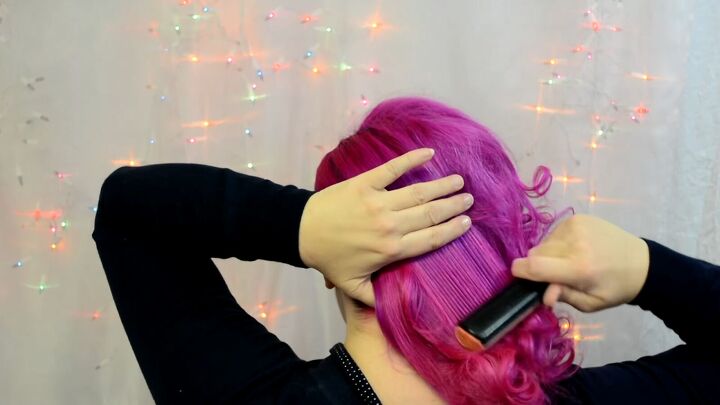
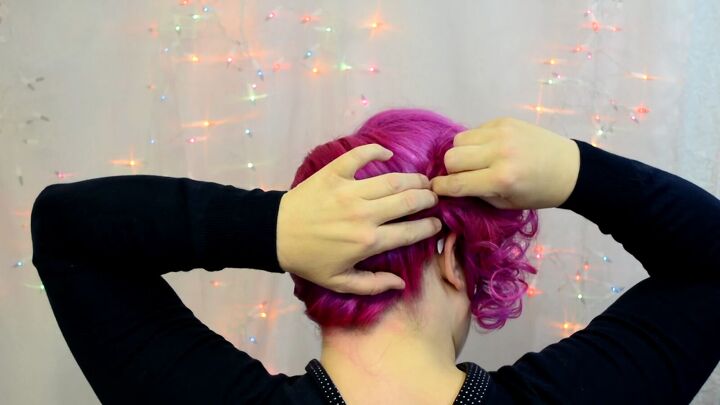
9. Twist and secure
Once everything is to one side, twist the hair at the nape of your neck.
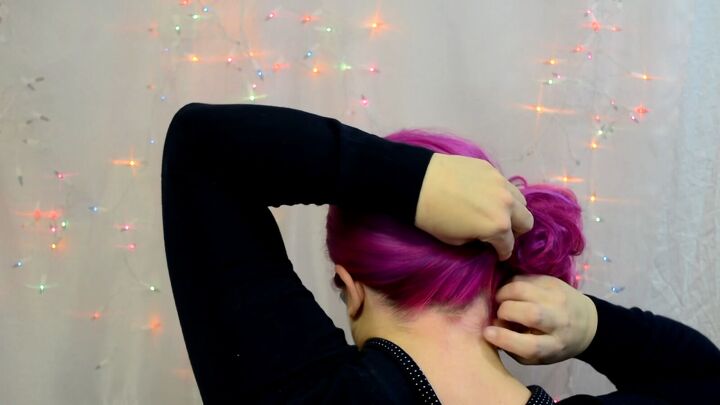
Start by taking small sections of hair and add more as you twist, until you reach the back of your ear.
Then, secure that hair with a bobby pin behind the ear. You might need to cross with another bobby pin if you have dense hair.
If your hair is extremely thick or long hair, consider using straight, hair pins for extra hold.
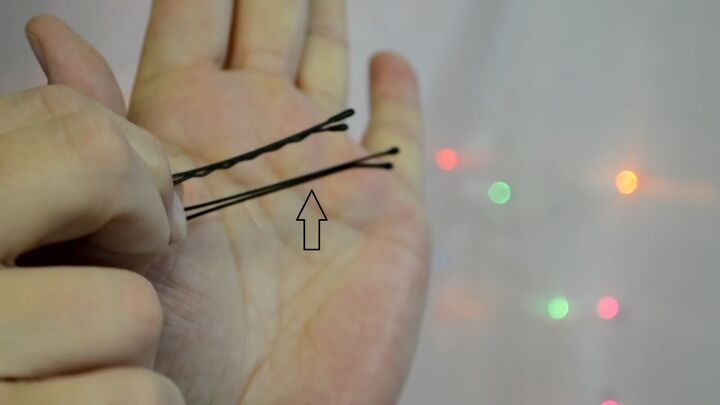
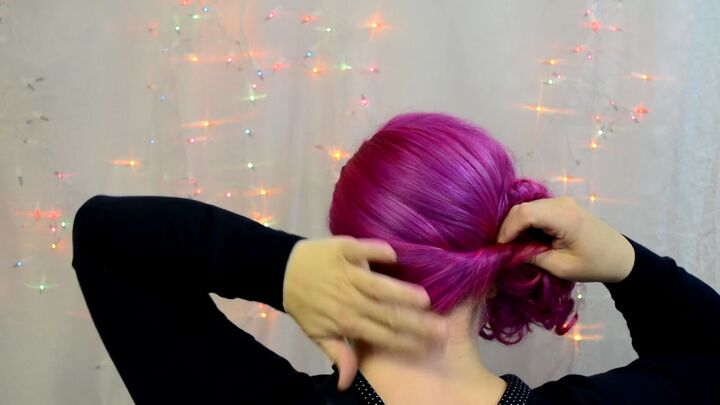
Then, place 1 or 2 more bobby pins into the twist itself to really secure it in place.
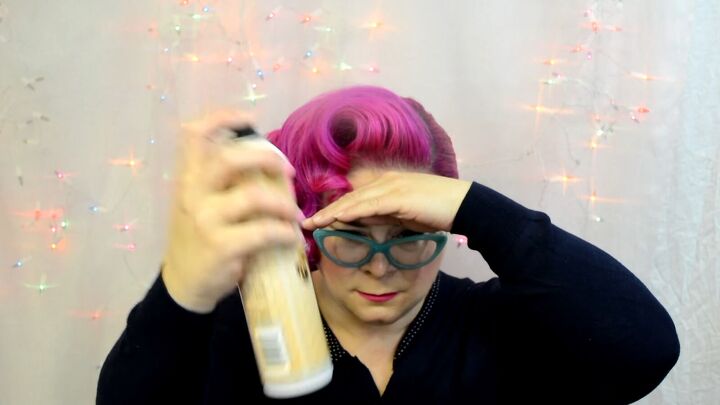
10. Control flyaways
To tame any more flyaway hairs, apply a bit of holding wax to your fingers and run it along the hairline and gently over the side swept updo as well.
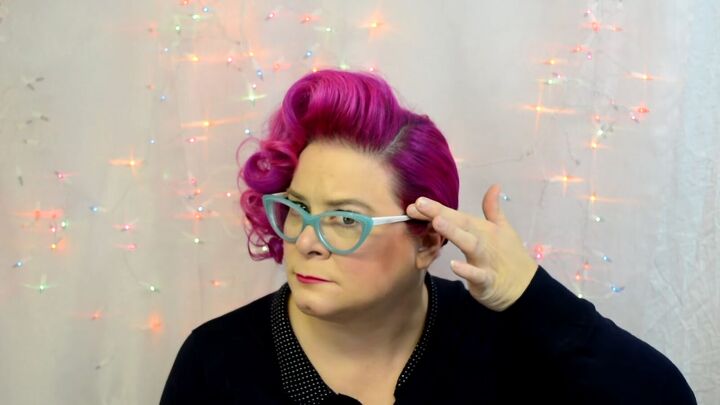
Next, go over the whole vintage hairdo with more hairspray for extra hold.
Spray and run your hands over it while still wet to lock in the hold on those flyaways.
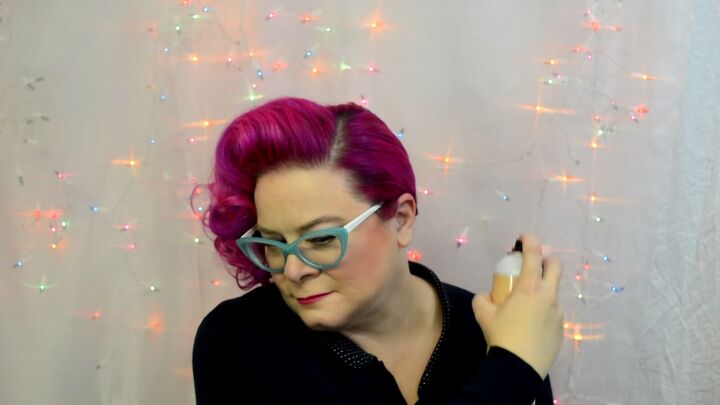
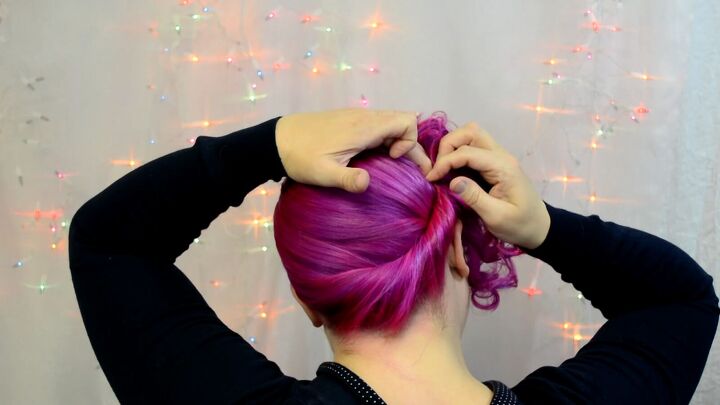
11. Apply wax to the curls
On the other side of your updo, apply wax to your curls, focusing the product on the ends. Use a small amount to avoid weighing down those curls.
You can rolls the curls around your fingers and even separate them more, like we did earlier, to add more volume.
Once you have the shape that you want, apply another layer of hairspray to the curls. Be sure to spray underneath the hair as well.
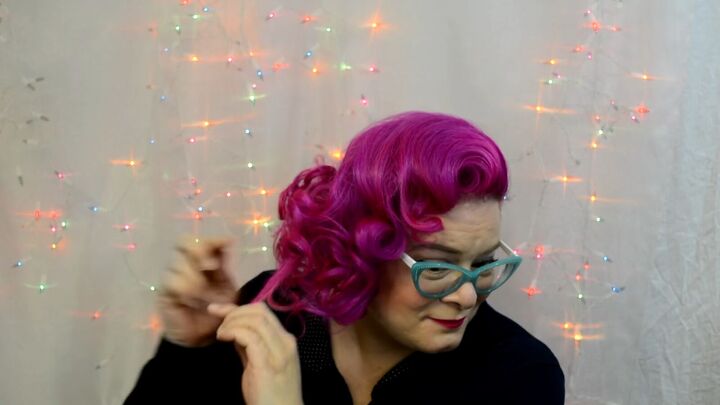
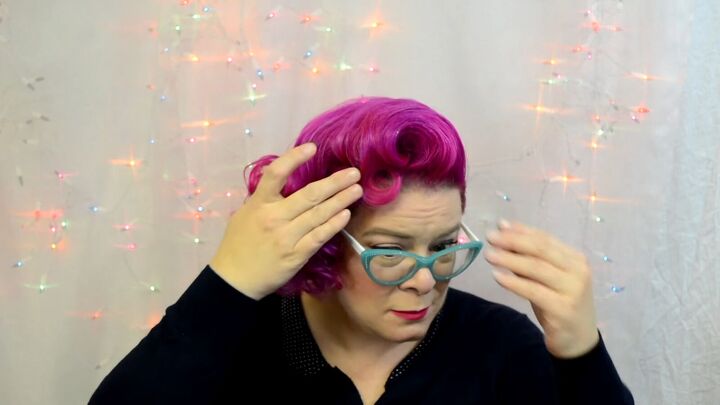
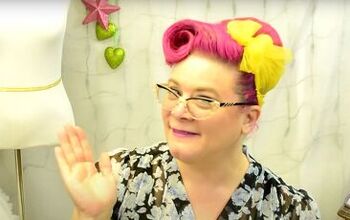
12. Make a few accent curls
I wanted really defined curls in the front, so I played with them a lot until getting them just right.
Pin those accent curls at the ends so that the pins are hidden. Apply more hairspray as needed.
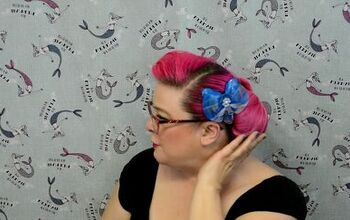
Here’s the final look of this side swept hairdo:

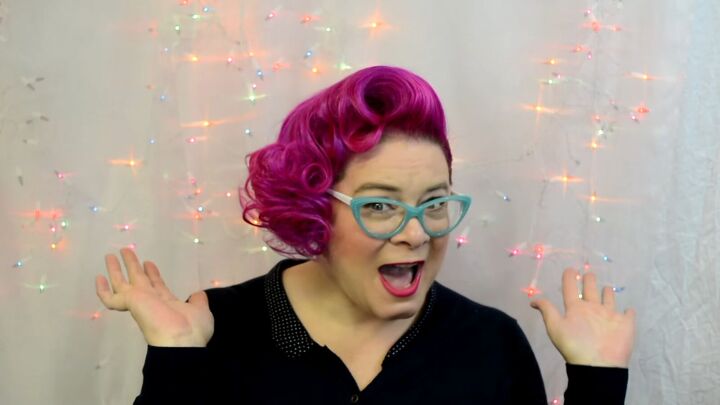
Vintage hair
If you try out this vintage hair, show us your results in the comments below.
Plus, if you’re looking for more vintage hair tutorials, check out my Fun 1930's Hairstyle Tutorial.
The author may collect a small share of sales from the links on this page.


Comments
Join the conversation