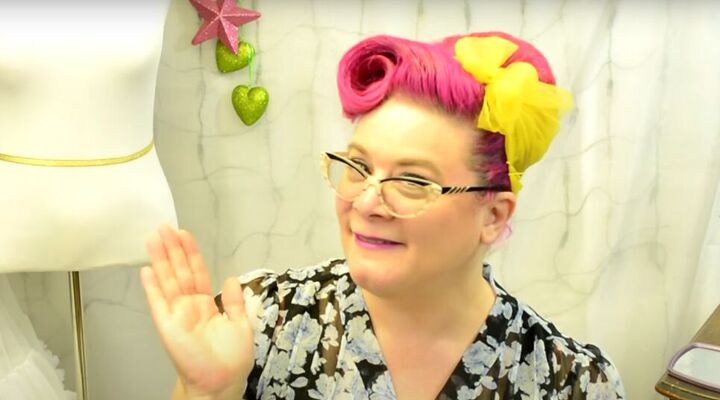
Easy Rolled Vintage Updo Tutorial

In this tutorial, from my vintage wet set hair series, I will show you a fabulous vintage updo hairstyle that will have you looking fabulous and out the door in no time at all!
You’ll be surprised by how quick and easy it is, with no special tools required.
Tools and materials:
- Argan oil
- Dry shampoo
- Teasing brush
- Bobby pins
- Hairspray
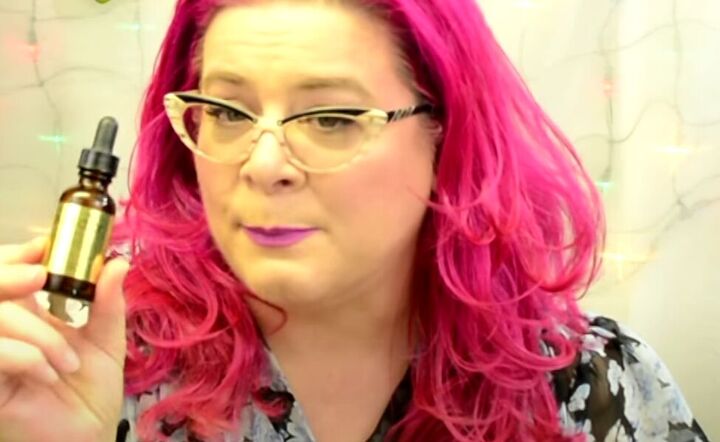
1. Moisturize your hair
As you can see, I do some significant coloring of my hair, and that leaves it quite dry.
If your hair also suffers from dryness, then this is the time to add back some moisture. You especially need to moisturize the ends of your hair, where the natural oils from your scalp can’t reach.
Moroccan argan oil is a good choice for a soothing serum to moisturize the ends of your hair.
Tip: If your hair is starting to get greasy, use a dry shampoo, concentrated at the base of your hair (the roots).
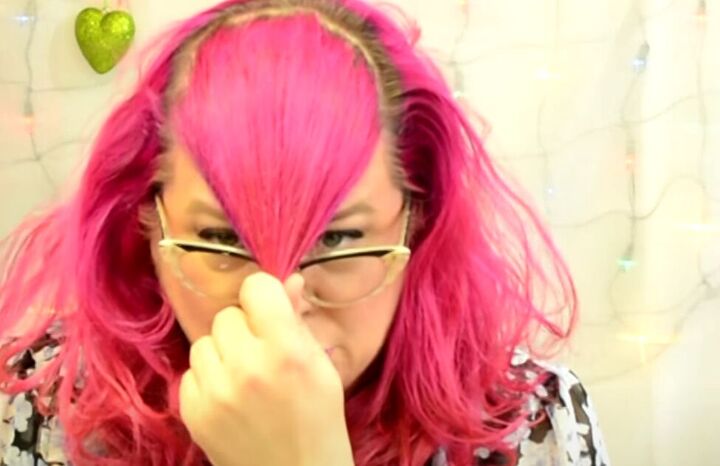
2. Section the front of your hair
Use a teasing brush to section off the front of your hair, from one corner of your forehead to another, working back in a U-shape.
Clip that section of hair out of the way.
3. Make a ponytail
Gather the rest of your hair into a high ponytail at the back of your head.
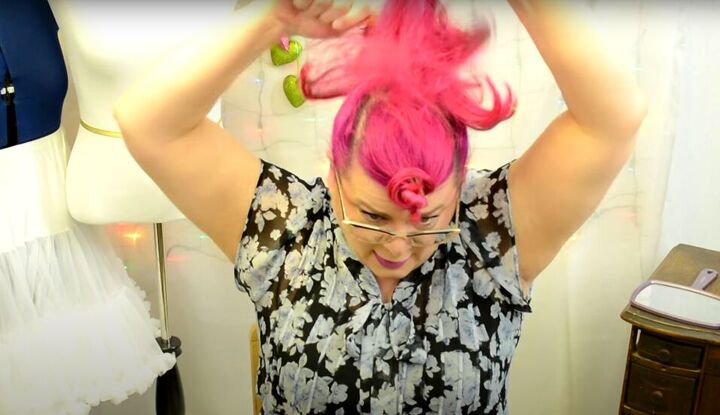
4. Backcomb your hair
Use a teasing brush to backcomb your entire ponytail.
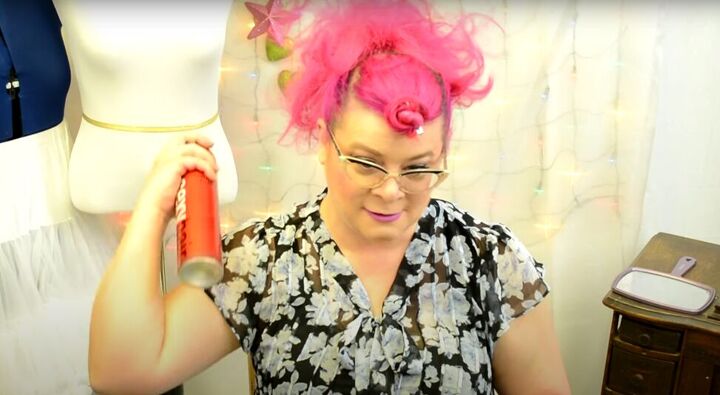
Spritz hairspray over your backcombing and give it a moment to dry.
5. Smooth your hair
Lightly brush the outsides of your backcombed ponytail so it looks nice and smooth and the crazy backcombing is hidden underneath.
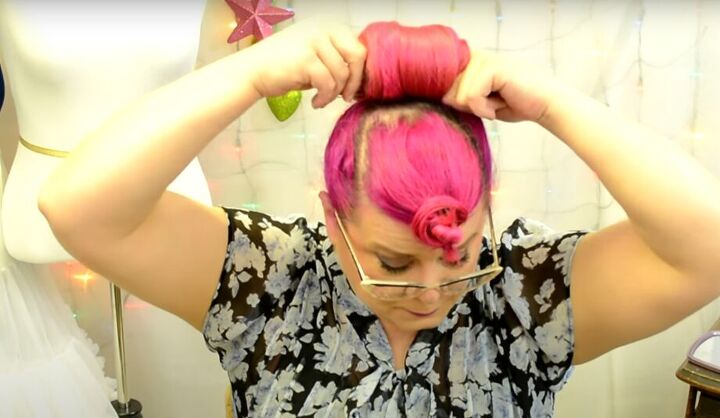
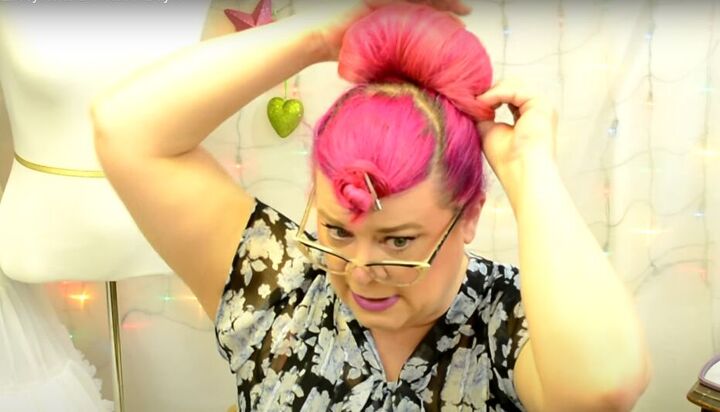
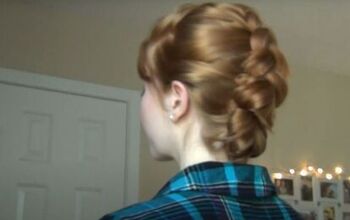
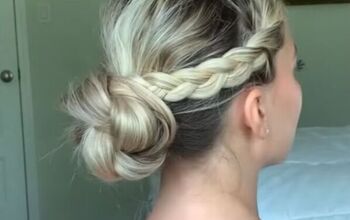
6. Roll your ponytail
Gather your ponytail into a single large roll, tucking in the ends to the inside of the roll, and pin the roll in place on both sides.
Tip: If you can cross your bobby pins over each other, that will really help hold them in place.
Use your fingers to pull the roll out a bit on both sides, a bit like a Slinky. That gives you some nice volume and poof.
You can add some bobby pins to the back of the roll as well, to help it stay put.
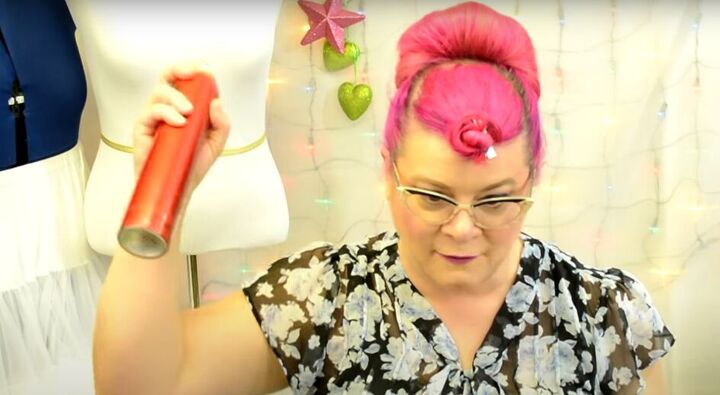
Apply hairspray to your roll.
Run your hands over the roll while it’s still wet from the hairspray to smooth away any flyaway hair.
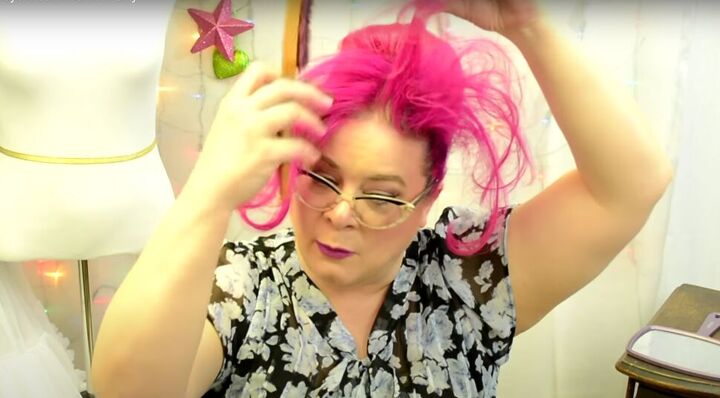
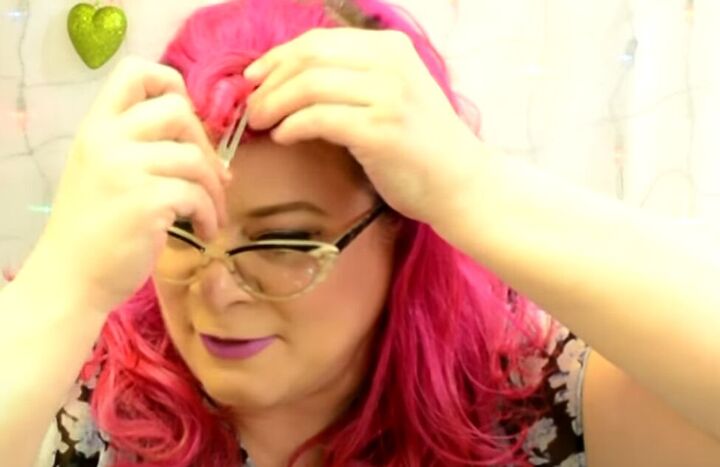
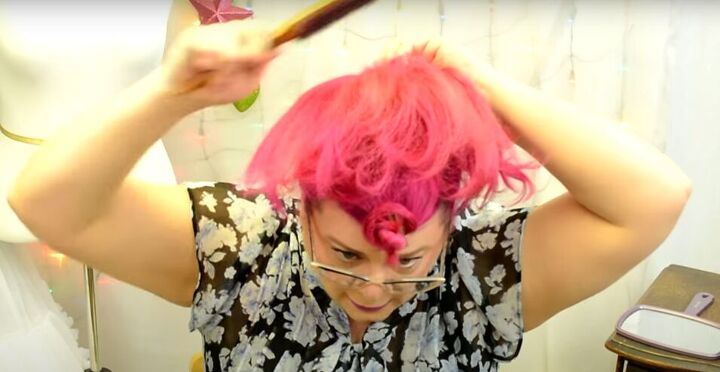
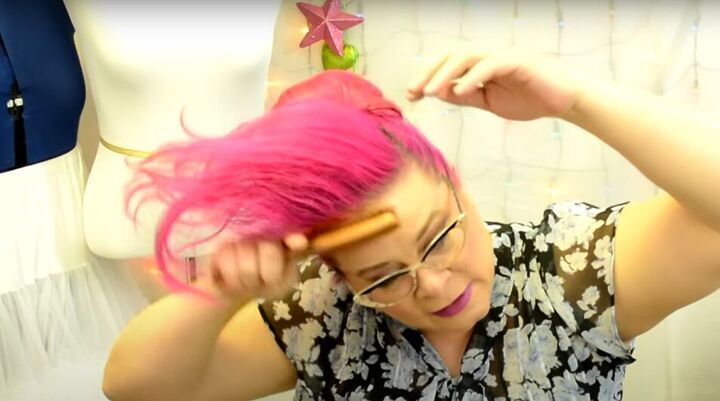
7. Finish the front of your hair
Take small sections from the front of your hair, and backcomb each section.
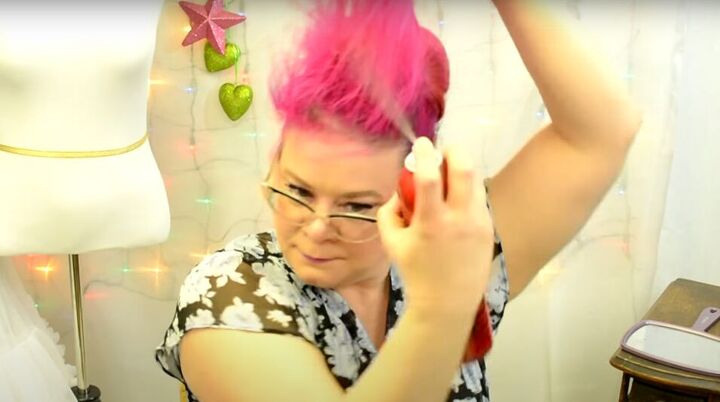
Once all of the front is backcombed, spritz it with hairspray and wait for it to dry.
Smooth out the front of your hair as you did with your ponytail. Brush in the direction that you want your front roll to go.
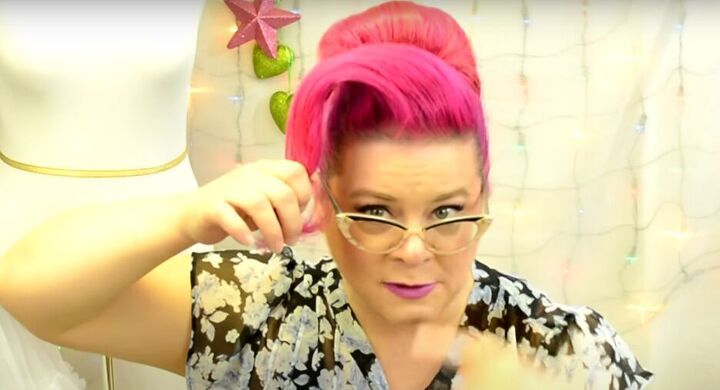
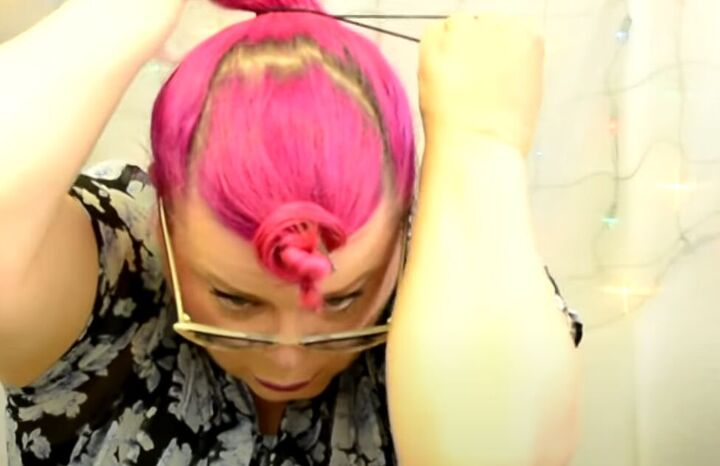
8. Finish the front roll
Start your front roll by simply pushing it up to the swoop you want.
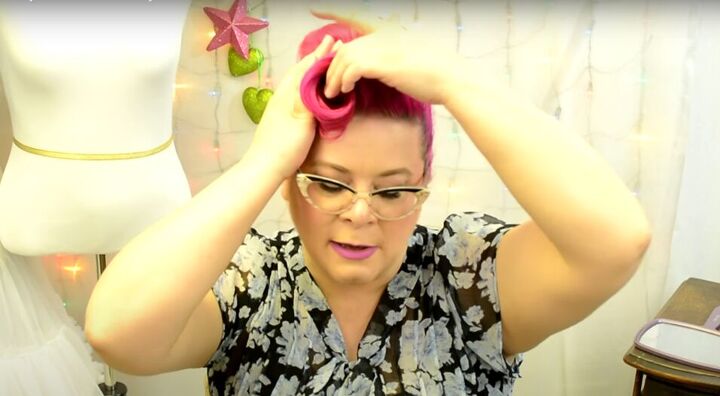
Use your fingers to curl the ends into a roll and manipulate it into the shape you want.
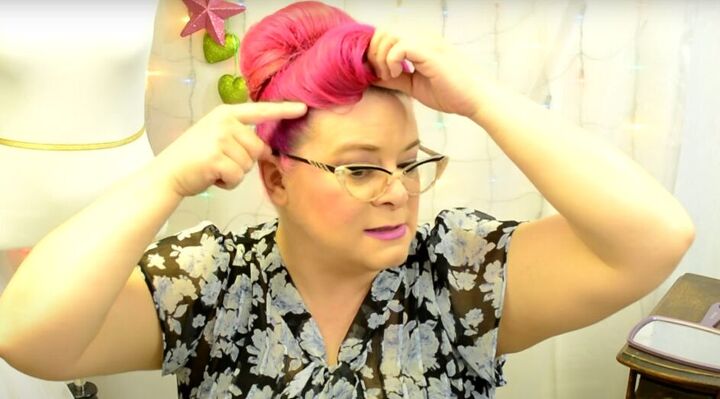
Make sure the back end of the roll is laying flat against your head with no gap.
Pin the roll to your head right in the center of the roll, and finish it off with some more hairspray.
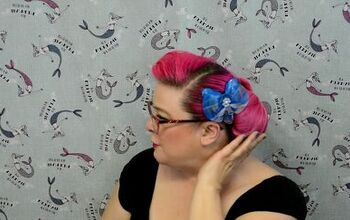
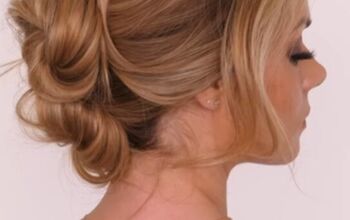
Vintage updo
My favorite way to style with vintage updo is by wrapping it with a simple bright hair scarf, tied in a bow around the back roll. Just tuck in the ends of the roll to keep it neat.
Give this vintage updo hairstyle a try, and then leave a comment to let me know how you liked it!
The author may collect a small share of sales from the links on this page.


Comments
Join the conversation
I have thin hair, will this work? Plus what is the Roller you used. You never mentioned that????
Interesting. Would be better with un-highlighted hair.