An Apron Tutorial
The observant among you may have noticed from my photography that my house is a bit of a tip. I’m not really one for the housework and there are six messy people living in my house. However, being neither a student nor a slob, I don’t especially want to live in a messy house. So the answer for me has been to load my kindle with books telling me what to do! I have recently read Scrumptious Treats for Vintage Housekeepers followed by The Art of Housekeeping and I’ve discovered that there is a blog as well, brocantehome.net!
The general idea in both the books is that the manky jobs need doing but we can make them less objectionable by our attitude, by breaking them up with jobs the author describes as “puttery” which make our homes nicer but are not boring or manksome, and by taking care of ourselves just as we would if we were athletes or prize racehorses.
An example might go like this. Before cleaning up wee stains off the floor, put on a pretty apron. Clean up the wee and give the loo a once over with some cleaning djollop (yes that is how you spell djollop) you made yourself that smells lovely, then pick some flowers from the garden and put them in the bathroom, then have a cup of tea in a pretty China cup. I almost want to clean up wee just thinking about the putteryness that goes with it!
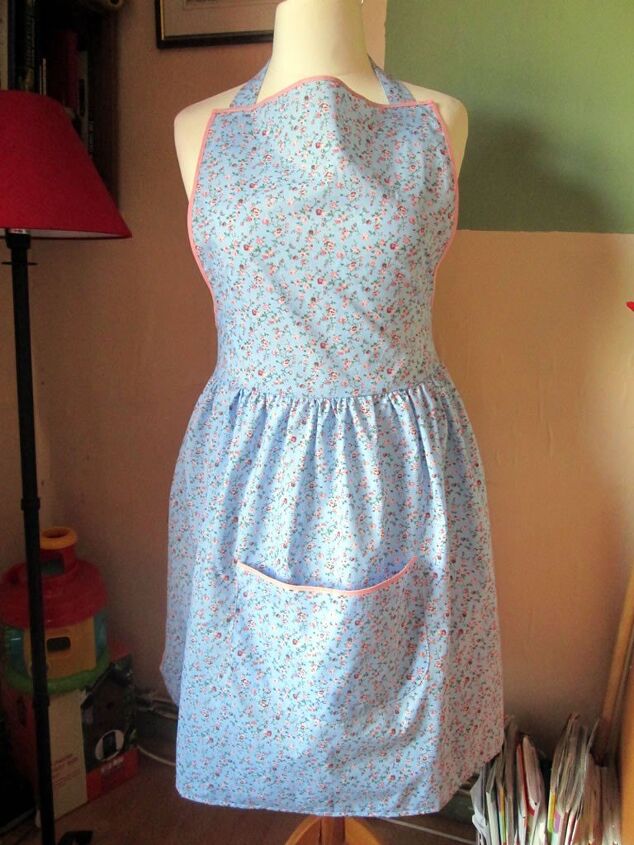
So I needed an apron. I have a bright pink one that says yummy mummy. I don’t think so. I now also have a pretty blue one that I actually like.
Here’s a little apron tutorial to show you how I made mine. I am a chunky size 14 and 4 kids and a fondness for cake has left me with no waist. You might need to adjust the dimensions a little bit.
1. Cut 2 rectangles, one 56cm x 39cm and one 110cm x 64cm. If your dimensions are different, you need the skirt piece to be twice as wide as the top part. Cut three more rectangles 14cm x 55cm. These will become the ties and the loop that goes around your neck.
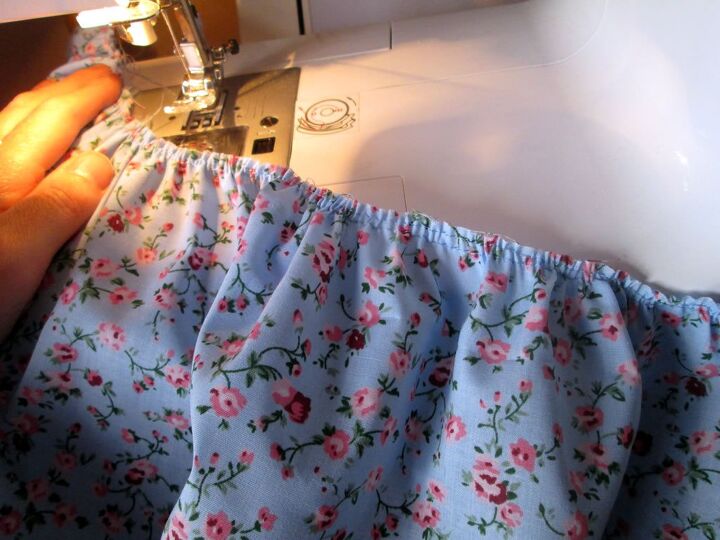
2. Take the larger rectangle and sew 2 rows of long stitches along one of the longer edges. Pull the threads to gather it until it is the same width as the top piece.
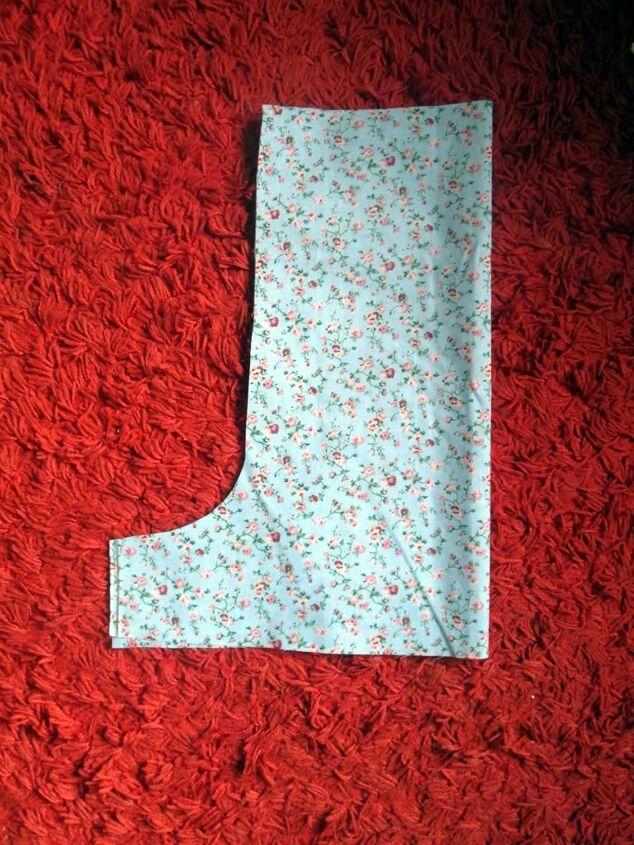
3. Fold the top piece in half width ways. With a piece of chalk draw a j shape on the open side. This will give some shape to the top of your apron. Cut out.
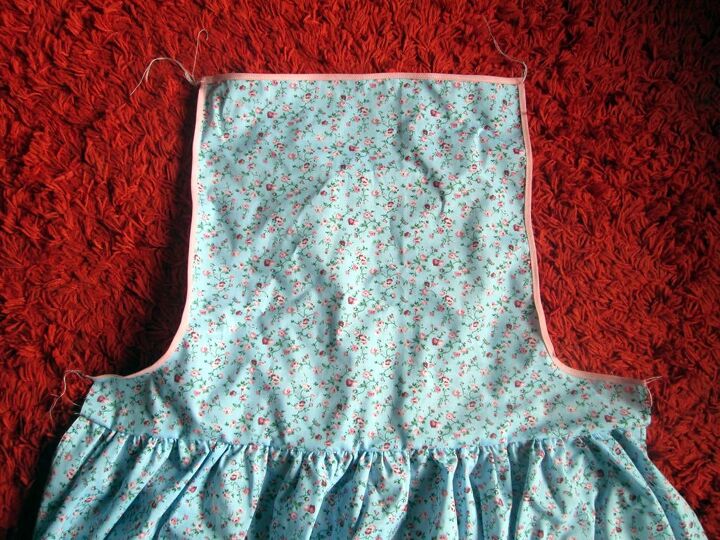
4. Sew the skirt piece to the wide edge top piece, underneath the j.
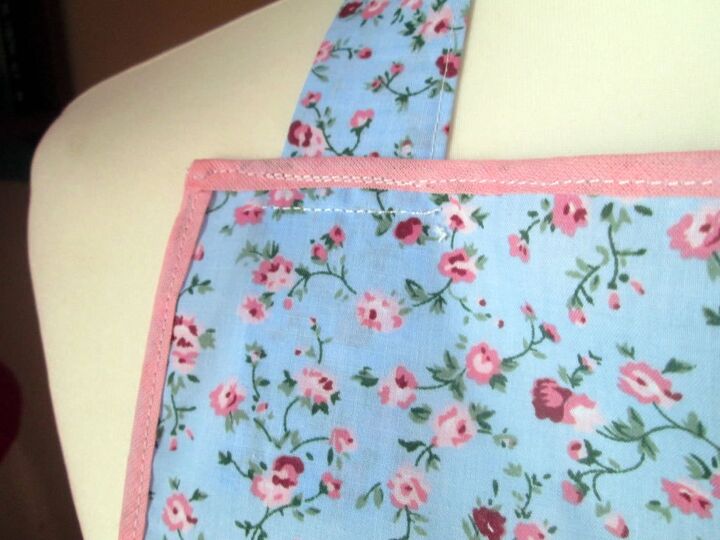
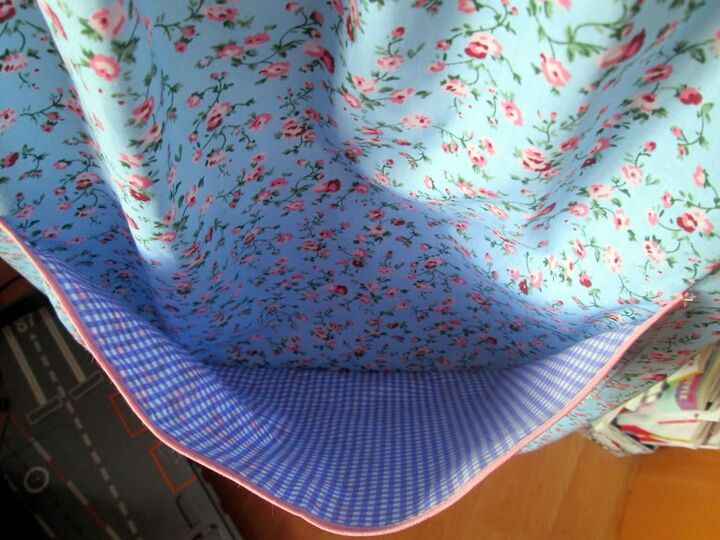
5. Using bias tape, bind the raw edges at the top and the sides of your apron. You might wish to bind the bottom as well. I did not because I didn’t have enough tape, so I hemmed the bottom instead.
6. To make the ties and the neck loopy thing, fold one of the strips in half lengthways. Press, then open out. Fold the raw edges into the middle and press.
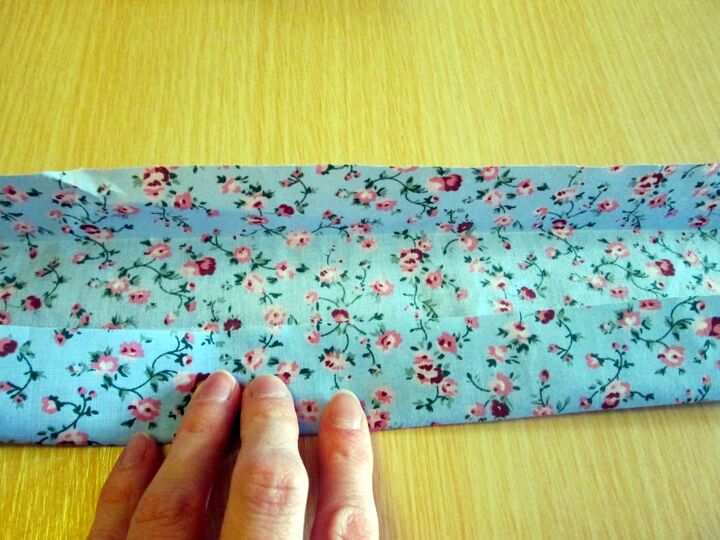
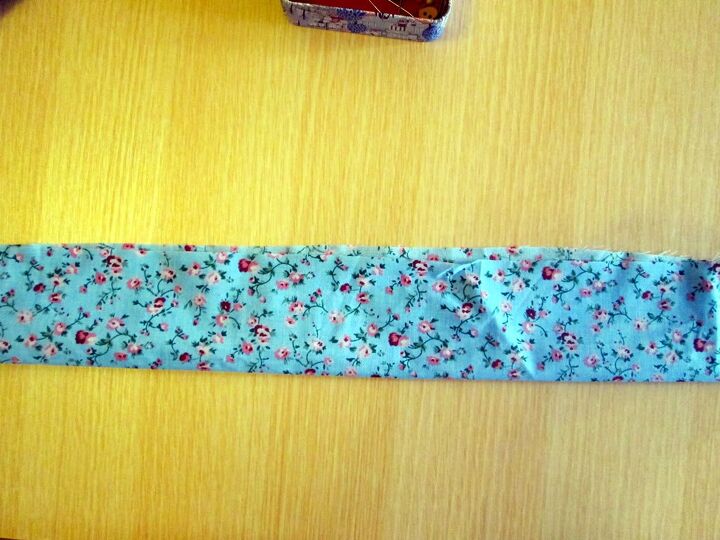
Fold the strip in half so that the raw edges are enclosed inside. Press again and sew.
I folded one end of the tie into a point. If you don’t want to do that, just tuck the raw edge inside.
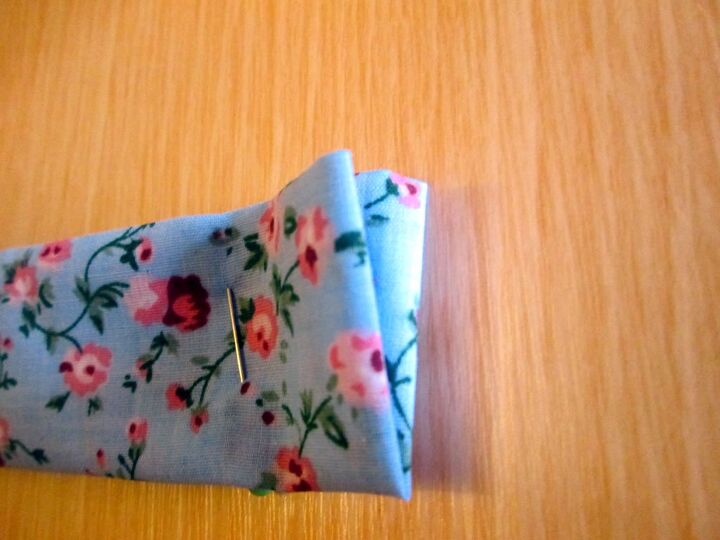
Sew. Repeat for the other ties.
7. Attach the ties to the top part of the apron, just above where you joined the skirt, at the bottom of the j.
8. Pin the ends of the neck loopy thing to the top of the apron. Try it on and adjust the neck loopy thing until it is the right length and in the right place on the top part of the apron.
9. If you want to make a pocket, cut a rectangles your main fabric and another the same size from the fabric you want to use to line it. Put both rectangles together and fold in half. Round off the bottom corners.
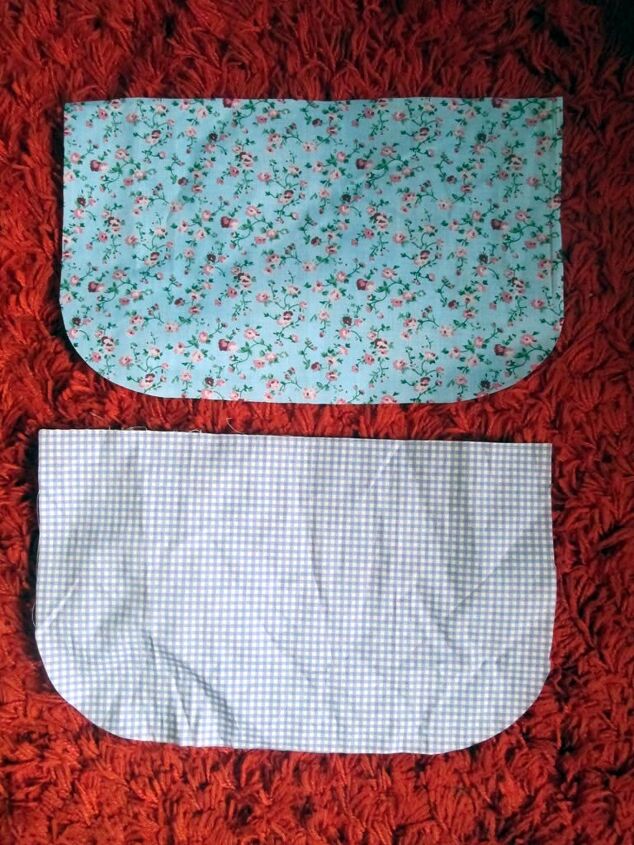
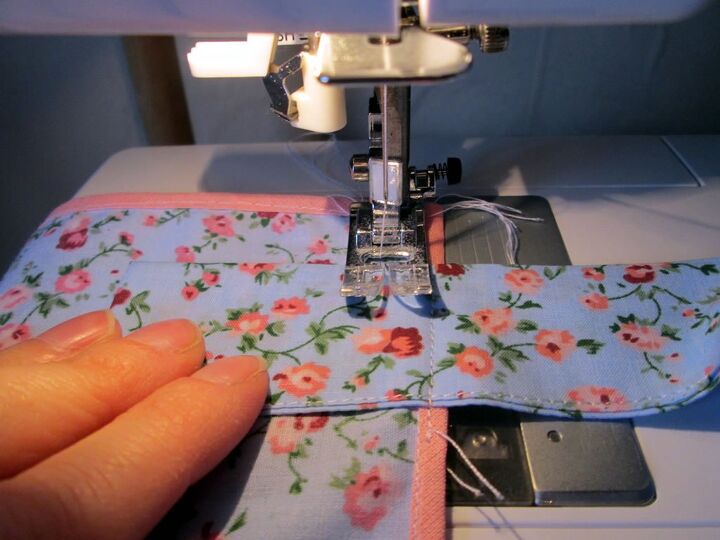
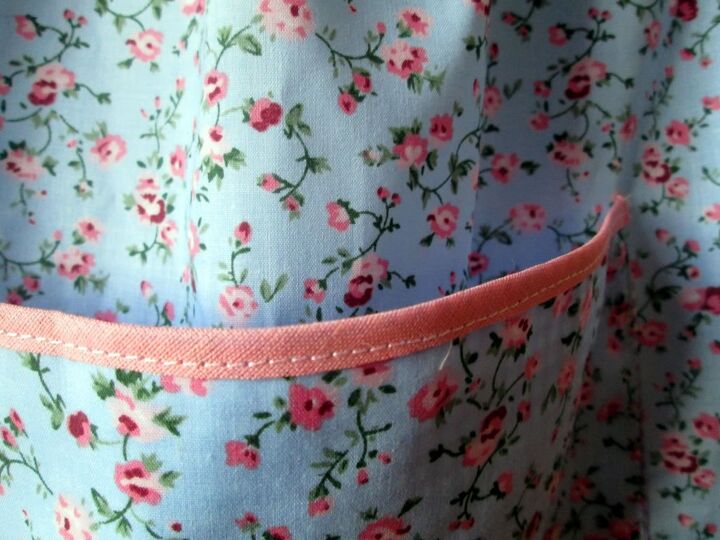
10. With the right sides together, sew along the sides and the bottom. Trim the seams and turn out. Use a piece of bias binding to finish the top edge.
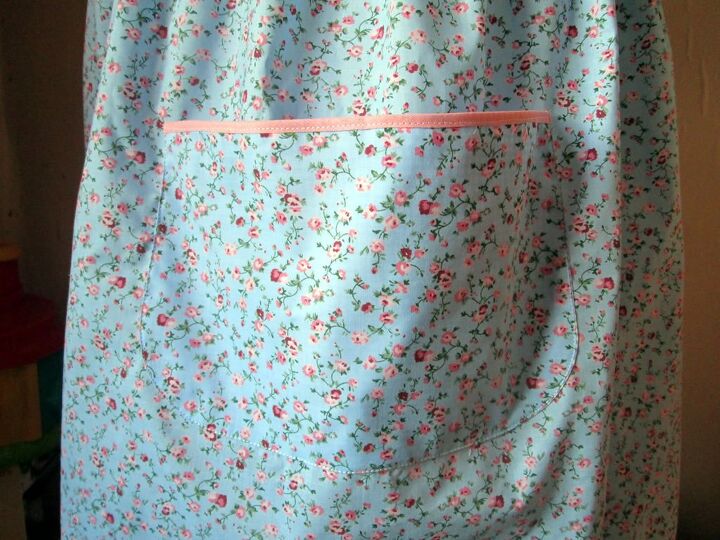
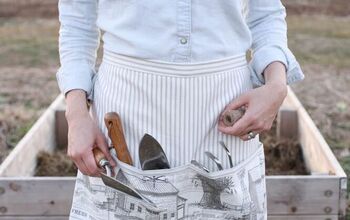
11. Position the pocket on the skirt of the apron. Top stitch around the sides and the bottom.
Your apron is finished! Happy housework everybody!
The author may collect a small share of sales from the links on this page.


Comments
Join the conversation
I love it! Very pretty! Thanks for sharing