Make Yourself a No Fog Mask

Anyone who wears glasses knows that mask-wearing is no easy feat! In this tutorial, I am sharing how to make a no fog mask so that you can keep yourself and those around you safe with the luxury of seeing clearly while you do so.
Tools and materials:
- Fabric
- Elastic
- Pins
- Marker
- Measuring tape
- Scissors
- Sewing machine
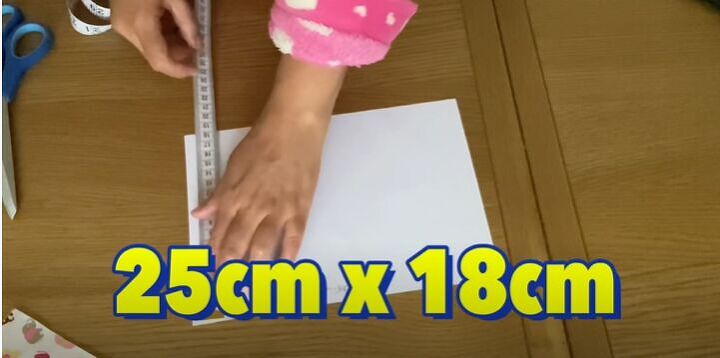
Make a pattern
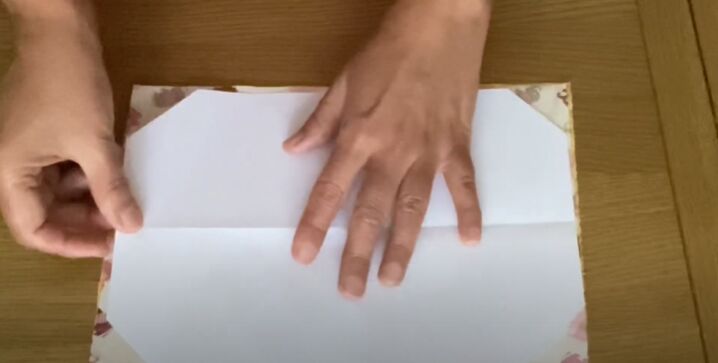
To start off, I used my measuring tape and measured 25 cm (10 inches) by 18 cm (7 inches) on an A4 piece of paper.
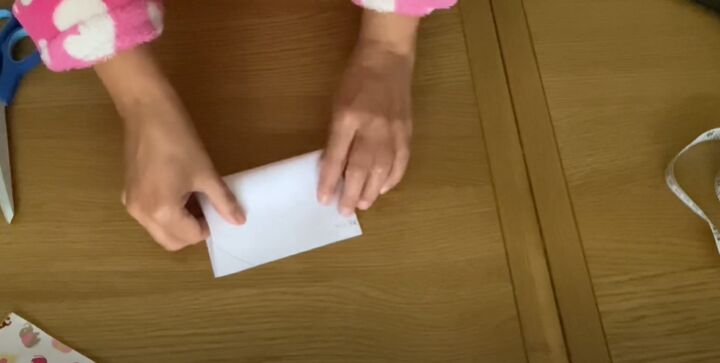
I then folded the piece of paper over twice.
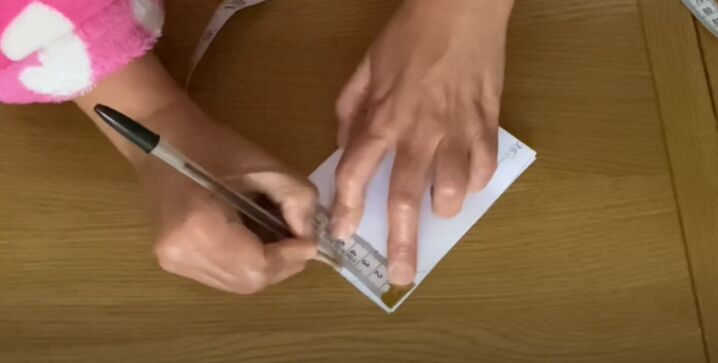
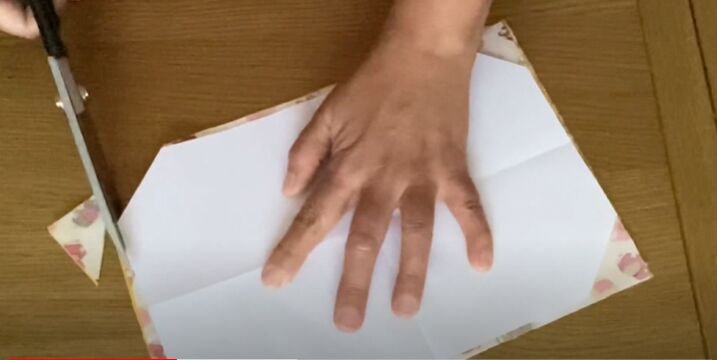
Next, I added new markings to the paper. I marked 3.5 cm (1.4 inches) from one corner diagonally and 3.5 cm from the corner down on each side.
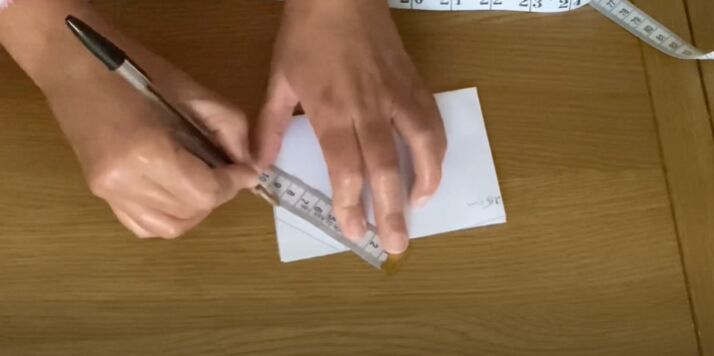
I connected these markings with a straight line and used scissors to cut across.
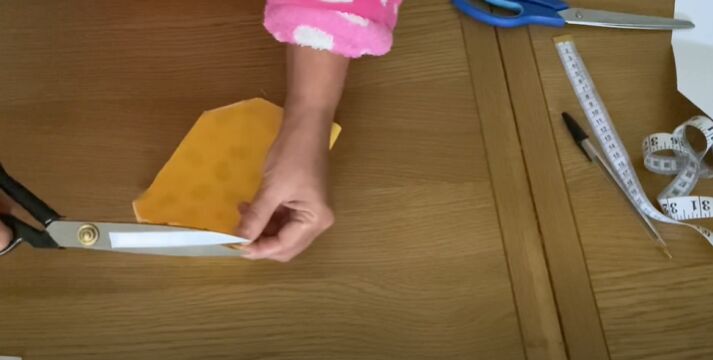
I took two pieces of fabric and placed them right sides together and then placed my pattern over the fabric. I chose to use two different fabrics but you can use two of the same pieces if you prefer.
I grabbed my scissors and cut out the fabric.
Mark the fabric
Before I could continue making the facemask, I folded the fabric pieces in half and marked the center.
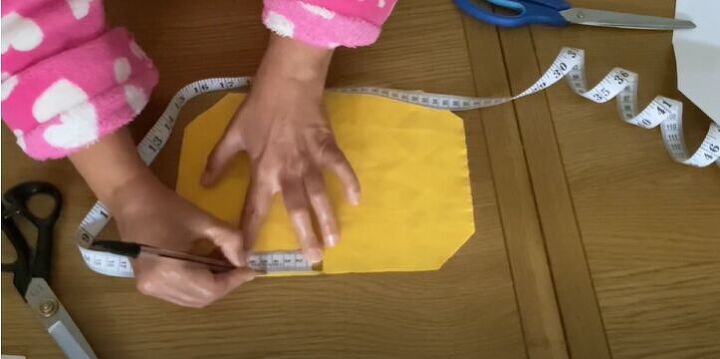
I then marked the middle point from the center of the mask. From that point, I marked 1 cm (0.4 inches) down. I repeated this on the other side of the center point.
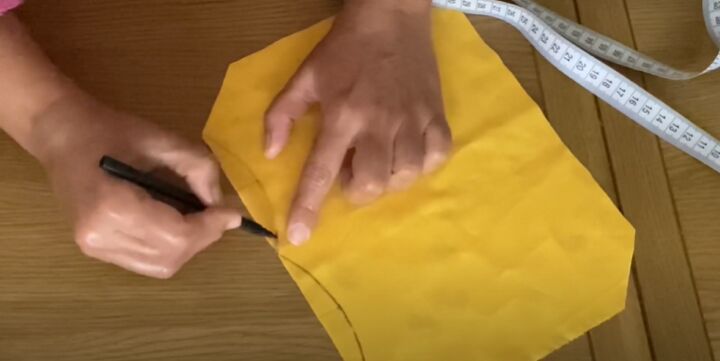
I drew two curves following the markings.
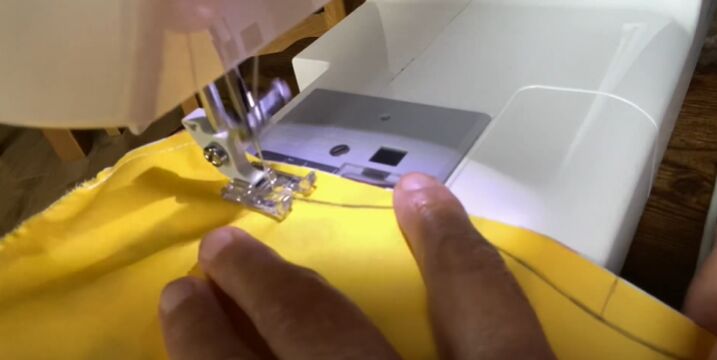
Sew around the facemask
Next, I sewed around the mask and along the curves. I made sure to leave one side open so that I could turn the mark right side out.
Make incisions
I trimmed the curves a little using a pair of scissors and then made small snips along the edges of the fabric.
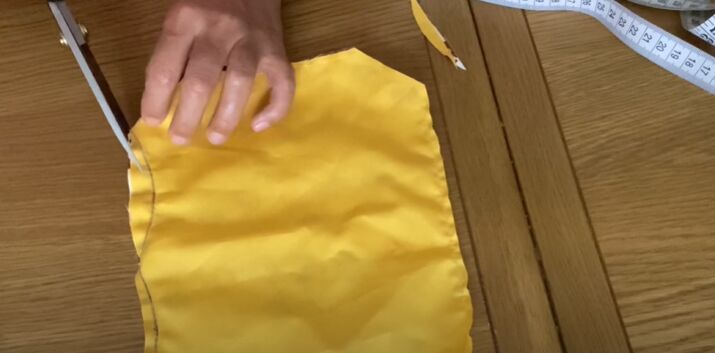
Turn and press
I turned the fabric right side out and pushed out all the corners of the facemask.
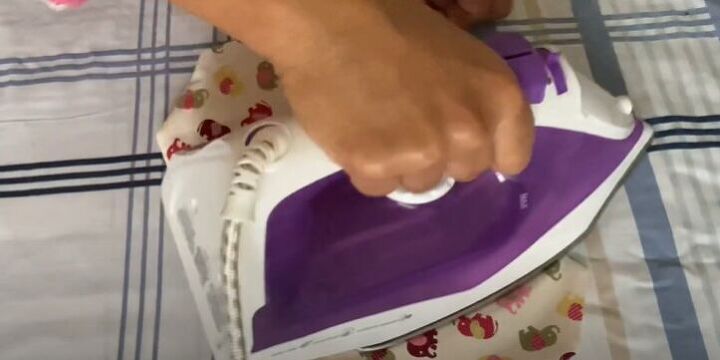
Next, I gave the facemask a good press so that it would sit nice and flat.

Sew closed the opening
After pressing, I closed the open side of the mask. I folded each layer inward by 1 cm (0.4 inches) and then sewed the facemask closed.
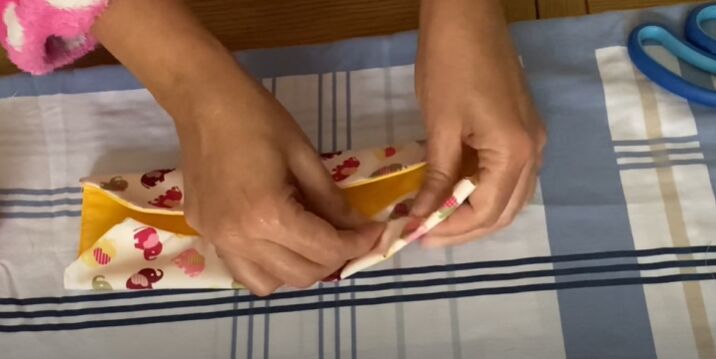
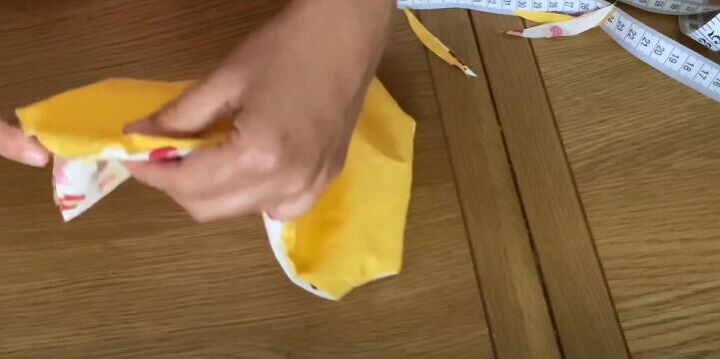
Fold the facemask
Then, I folded each side of the fabric equally and pinned the folds down. I sewed along the folds on each side.
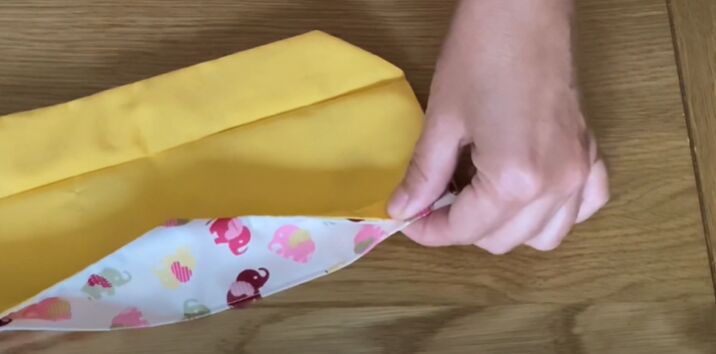
Next, I folded the edges of the fabric outward and pinned the edges in place. I did the same on the other side of the facemask.
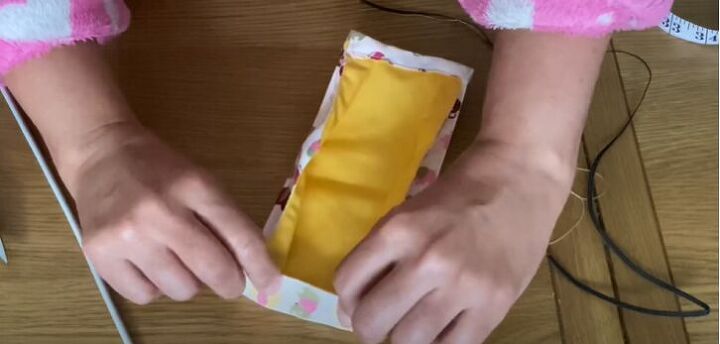
Add elastic
I then folded over and sewed 1 cm (0.4 inches) on each side of the facemask to create a space for the elastic.
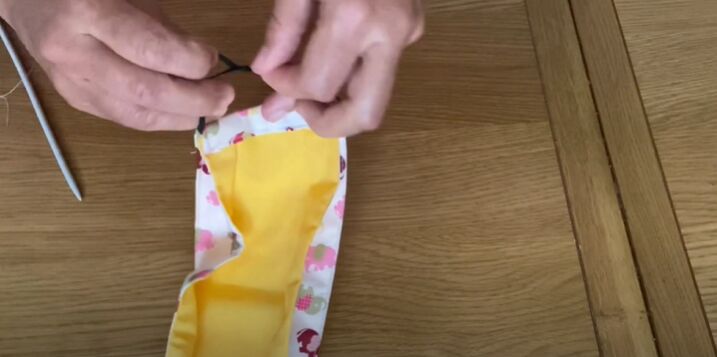
For the elastic, I cut two, 23 cm (9 inches) pieces and slid them through the small channels on each side of the facemask. I then tied each end of the elastic together to make a loop. I pulled so that the knot is inside the fabric channel so that the mask would have maximum comfort for my ears.
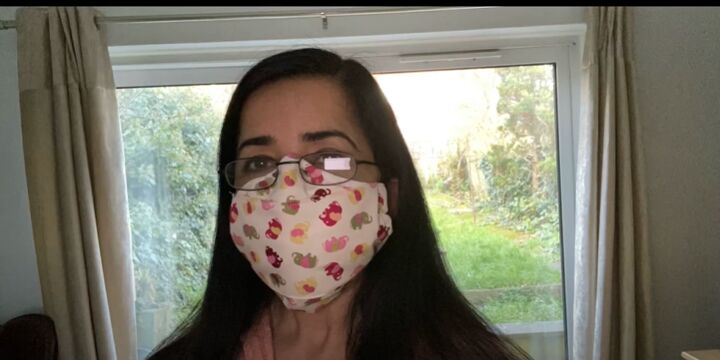
I love that my glasses don’t fog up anymore when I wear a mask! What did you think about this no fog mask DIY? Share your thoughts in the comments!
The author may collect a small share of sales from the links on this page.


Comments
Join the conversation
Great for anyone who wears glasses!