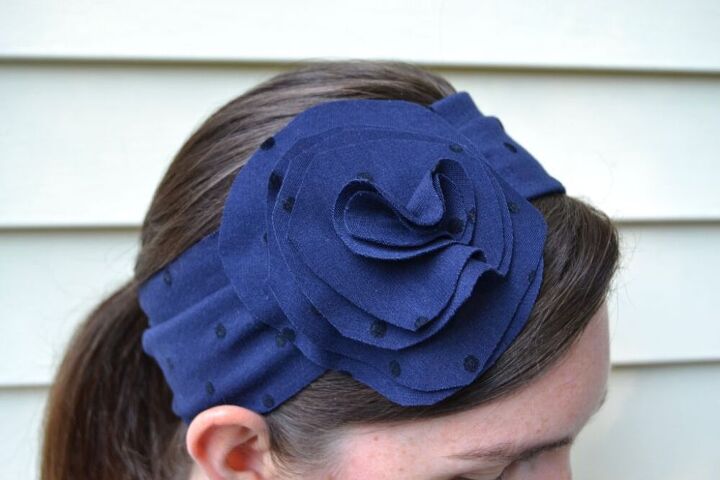
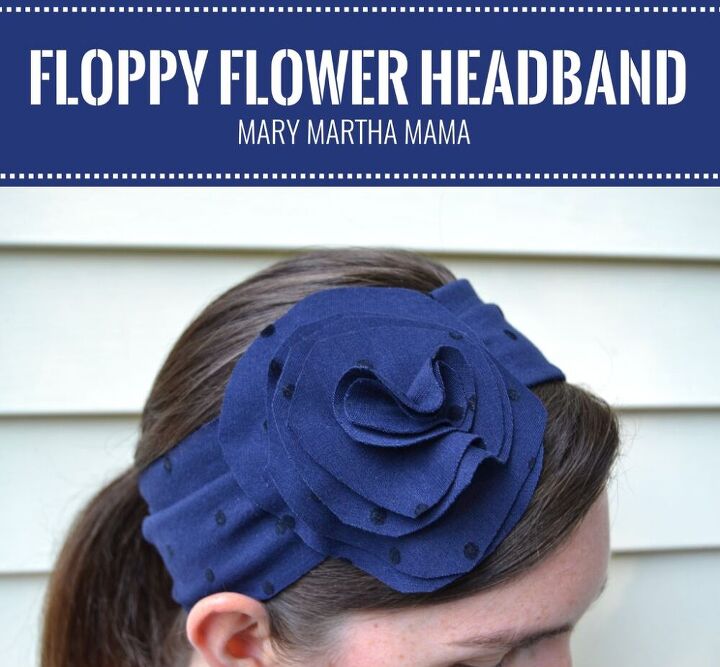
Floppy Flower Headband
Say that ten times fast. This morning I’m sharing yet another headband. Yes, I know to some of you I’m becoming the cat lady of headbands but I have no plans to stop. I’ve got lots of hair and headbands help me keep it all under control, especially when working out or chasing my kids.
Today’s headband has a big old floppy flower on it. Hence the name. I used knit fabric so it has some stretch to it and it’s super comfortable.
Here’s what you need to make your own:
- one piece of knit fabric measuring 4 in X 21 in (you may want to adjust length based on your head size, as my head is a little on the large side)
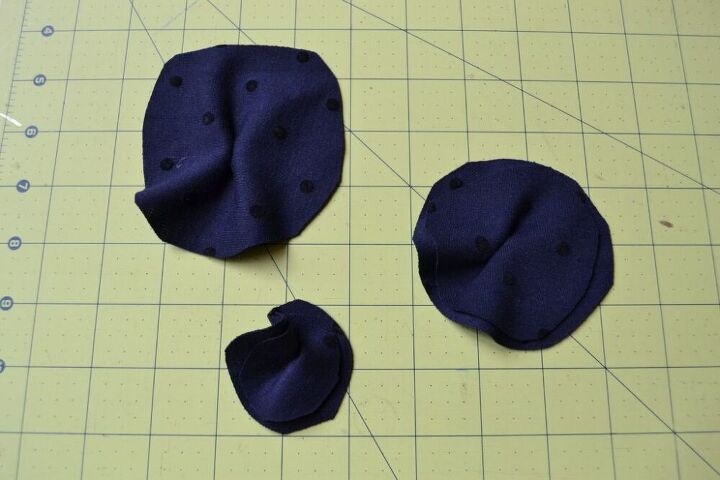
- imperfect circles of the same fabric measuring approximately 4.5 inches in diameter and smaller (I used 6, but make it how you like it!)
- ballpoint needle to sew with knit fabrics

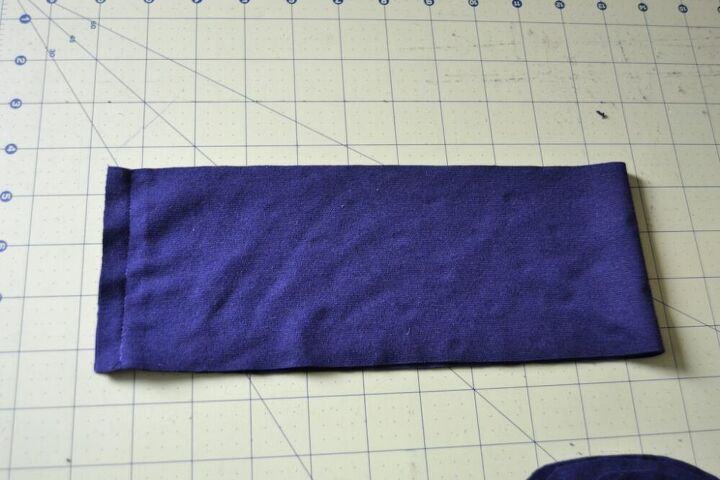
Step 1: Fold the rectangular piece of fabric in half width-wise, with the right sides facing. Pin and sew along the open edge, about 1/2 inch from edge.
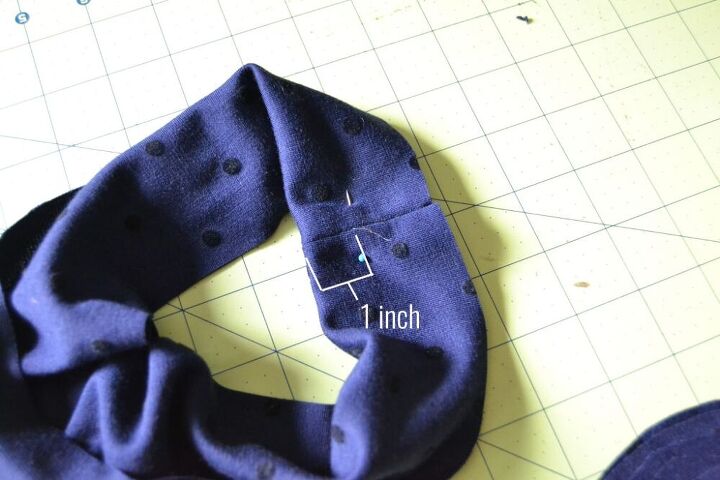
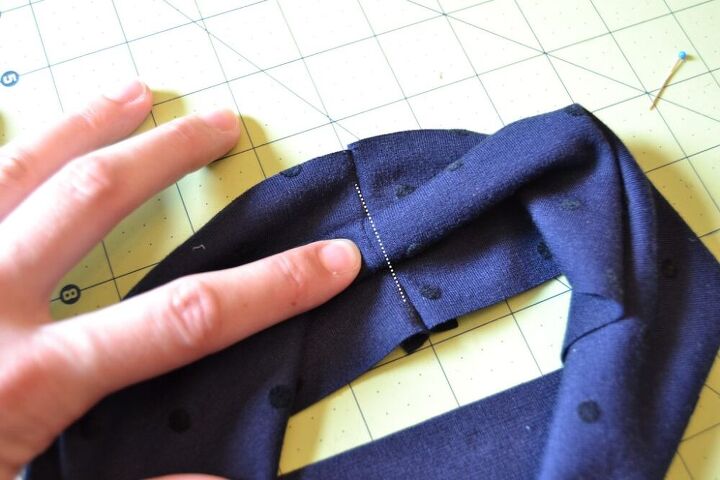
Step 2: Turn the headband right side out. Now you can skip to step 4 if you want a totally flat headband but I wanted it to pinch in and gather a little in the middle so I did the next few steps to make it happen. At the seam that you just made fold the fabric in half length-wise, with the wrong sides facing. At about 1 inch down from the fold sew a line of about 2-3 inches running parallel to the fold.
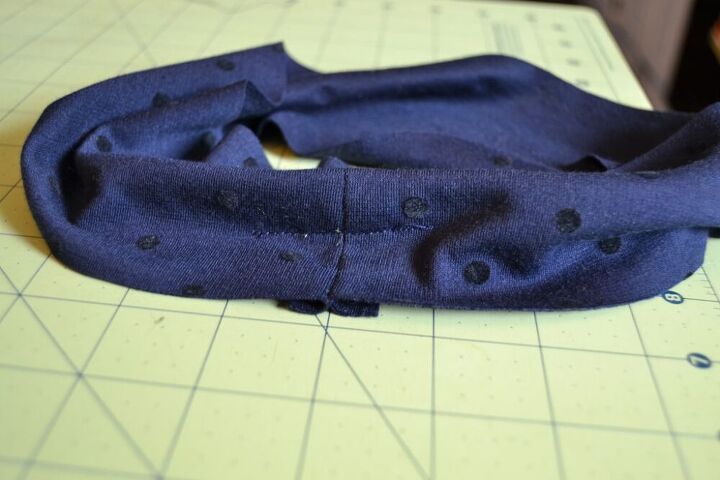
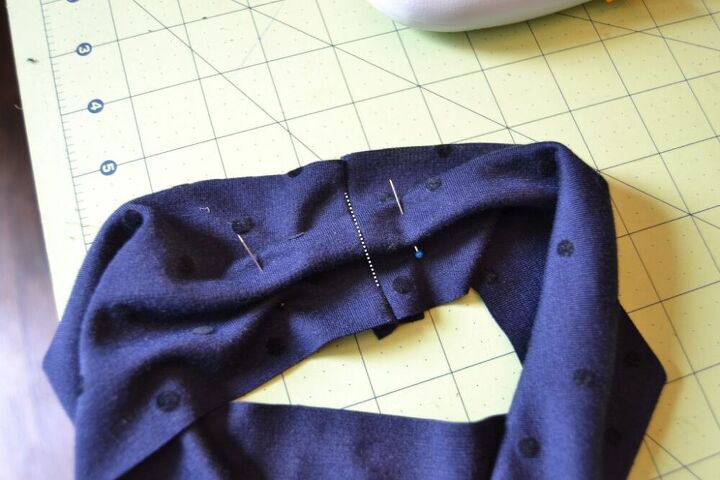
Step 3: Lay the headband down flat with the right side up. Push the little bump in the middle with your fingers and make it flat. Pin and sew a few inches across the bump in order to get it to lay flat. Sew where you see the white dotted line in the picture below.

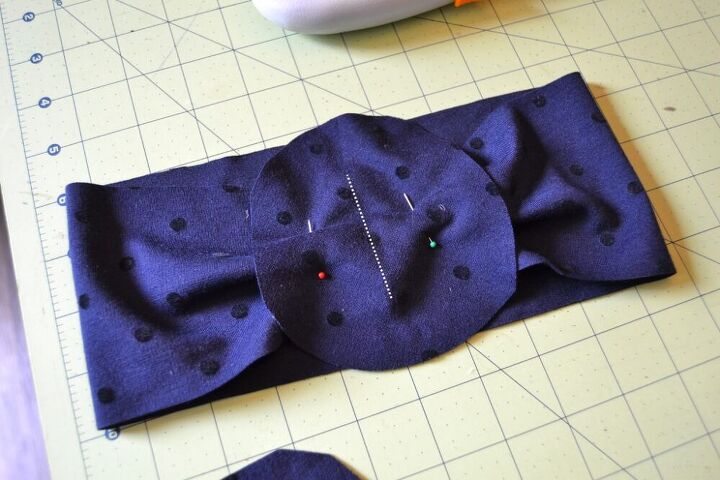
Step 4: Place your biggest circle right on top of the area that you just sewed. Pin and sew a line running across to help keep it flat and attached. Do not sew all the way across the circle, just the area that will be covered by the other circles that will go on top.
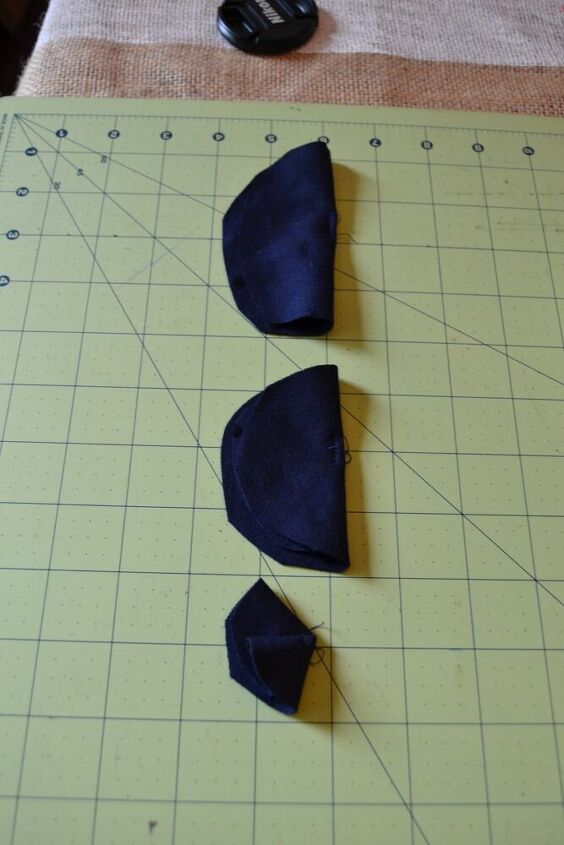
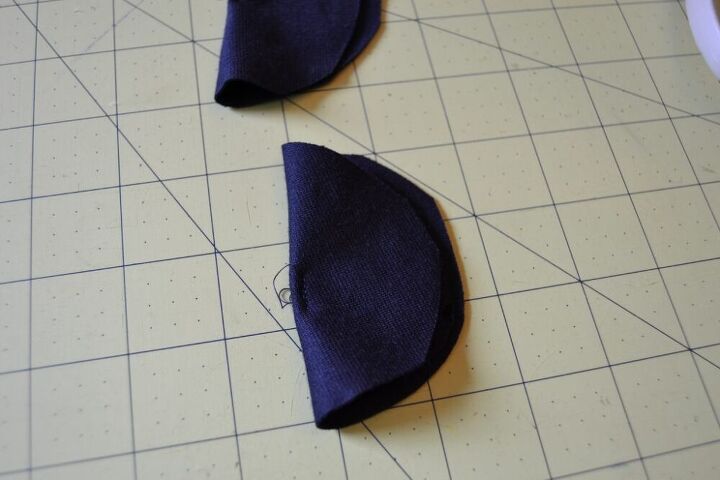
Step 5: To give the flower a little dimension and make the circles a little less flat fold them in half and stitch about an inch across the center of the side of the fold. For some of the circles I doubled up and did two circles together, and for the top one I folded it into a quarter, not half. There’s not really a science to this you can do what you think looks good. Once you put in your stitches unfold the circles.
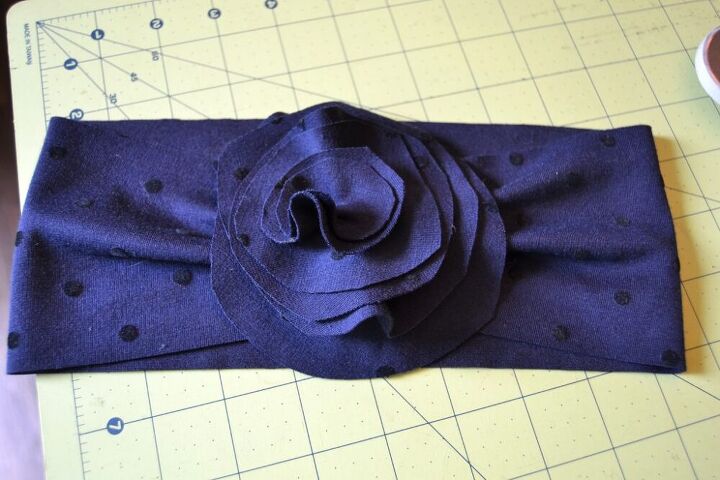
Step 6: Stack the circles on top of the big circle that you already attached to the headband. Sew across each circle layer like you did the first one, going most of the way across but only sewing where it will be covered by the next layer. When you get to the top layer just run a few stitches back and forth in the very center so that it’s not too noticeable.
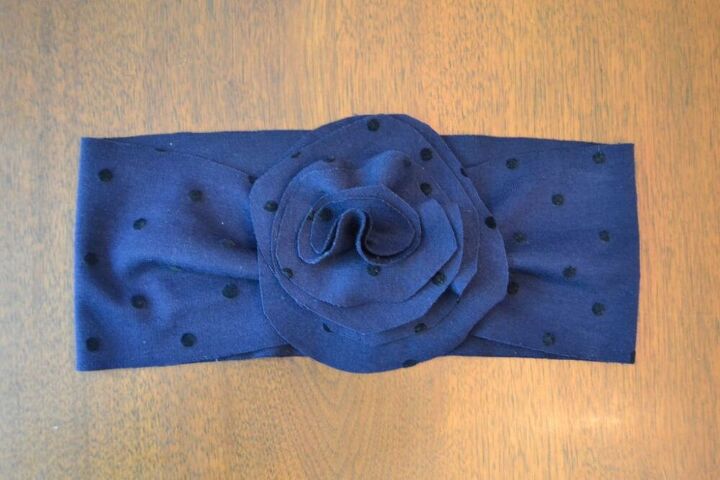

And that’s all she wrote! Let me know if you make one and tell me how it goes!
Linking up for Show-off Saturday with SewCanShe.
The author may collect a small share of sales from the links on this page.

Want more details about this and other fashion and style ideas? Check out more here!

![DIY Flower Headband [Sew & No-Sew Options]](https://cdn-fastly.upstyledaily.com/media/2020/11/20/6335649/diy-flower-headband-sew-no-sew-options.jpg?size=350x220)


Comments
Join the conversation
Sending this to my daughter, like me she has lots of hair. I think she will make fru fru ones for herself & her daughter. Thank you for sharing!