Create a Bantu Knot Out Hairstyle With This Simple Tutorial

In this tutorial, I’m going to show you how to achieve a Bantu knot-out hairstyle. A twist out with Bantu knots is one of my favorite looks, and I’m excited to show you how you can get this gorgeous hairstyle in just a few, easy steps. I’m starting with freshly washed hair that I’ve sectioned before washing. I also applied a leave-in conditioner while in the shower, so go ahead and prep your hair and let’s get started!
Tools and materials:
- Hair oil
- Denman or paddle brush
- Hairdryer
- Hair butter
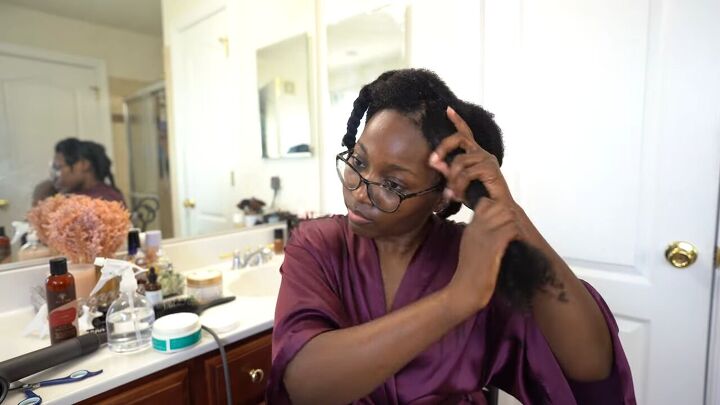
1. Apply moisturizing products after showering
I apply hair oil onto my scalp and then, after that, I apply hair butter throughout each section of my hair. If you feel like a section is too thick, you can split it into two and then apply the product. You can also apply a heat protectant after the hair butter, but since I’m using the lowest setting, I decided not to.
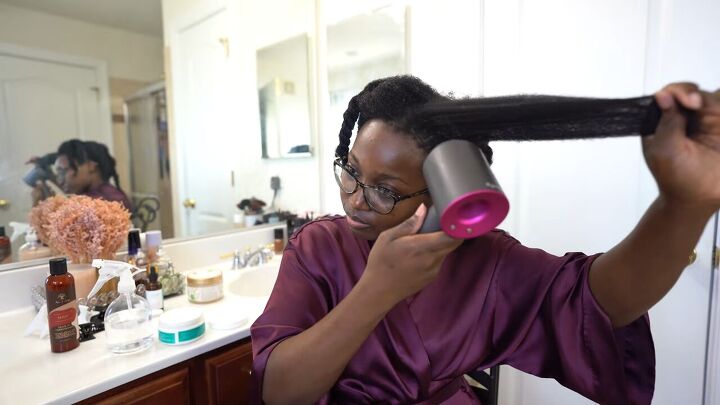
2. Blow-dry or stretch your hair
When it comes to doing Bantu knots out on natural hair, I love doing it on stretched hair. In my opinion, it looks better that way, and there are various methods you can use to stretch your hair. The three most common are blow-drying, braiding your hair in sections, and African threading. In this method, though, I’m only going to be using the blow-dry method. I’m not typically an advocate for using excessive heat on your hair, but I’m going to be using it on the lowest heat setting with the highest velocity of hair. This helps dry my hair very quickly, so I don’t have to use heat on it for a long time. I’m not necessarily going for a super straight look as I still like some texture in my hair so we’re just stretching, not straightening.
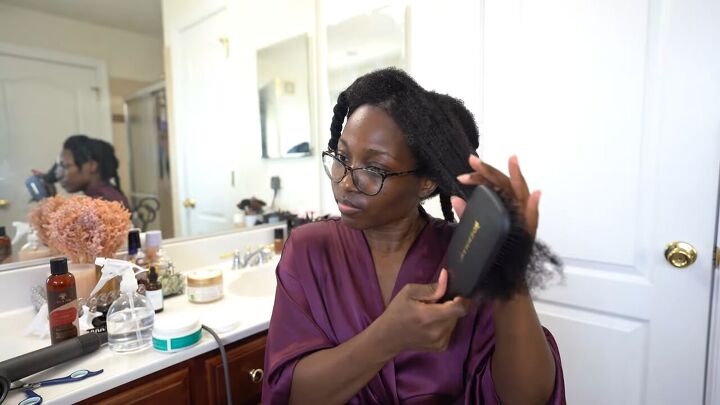
3. Detangle
Next, use a Denman or paddle brush to brush the section. To do this, I start at the end and then work my way up. For this style to look really nice, it’s best if your hair is properly detangled. I actually start my detangling process before I even put shampoo in my hair, so it’s really a journey.
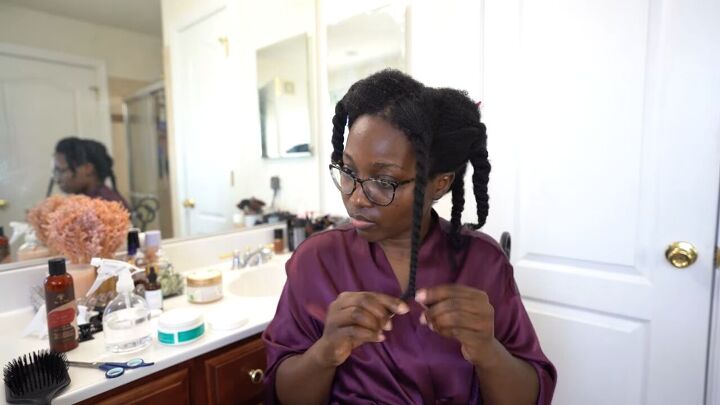
Twist your hair back up after each section to keep it stretched. At this point, you can choose to add a hair mousse. It’ll give you some hold, but since I’m not planning on keeping this style for long, I’m not going to.
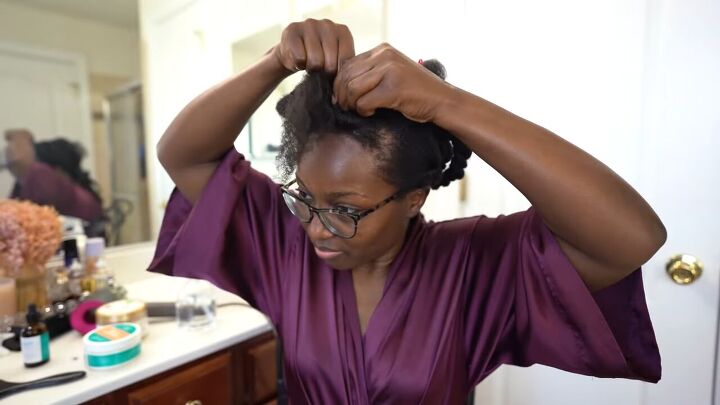
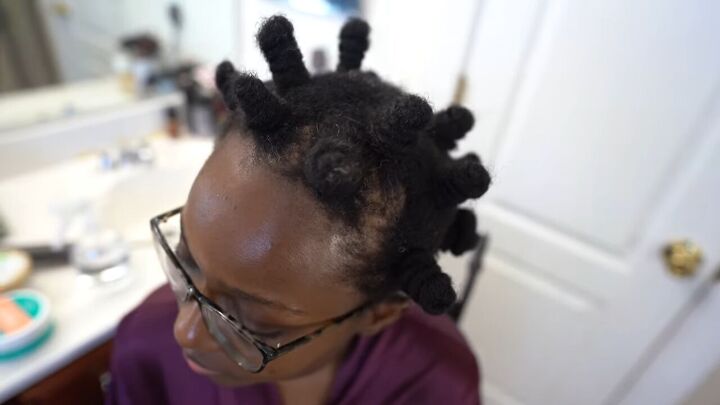
4. Twist your hair to create Bantu knots
After all of your sections are stretched, it’s time to create the Bantu knots. To do this, twist your hair and wrap it around itself at the same time. Make sure you’re wrapping around the base of the knot, not on top. Do that until it’s secure.
You can use elastic bands to hold it in place, but I find them a nightmare to take out and they can lead to breakage. If I twist well enough, they stay pretty secure.
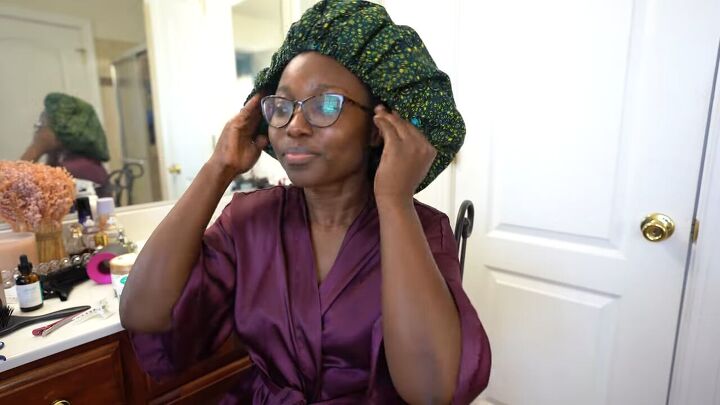
5. Let it sit overnight
Cover with a bonnet and go to sleep! Let it sit overnight.
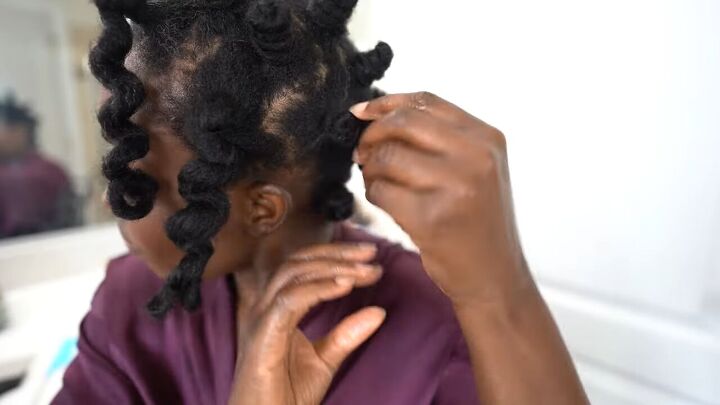
6. Take them out
Once it’s the next day, it’s time to take your Bantu knots out. Before you do, oil your fingertips with hair and scalp oil to help prevent frizz. Taking them down is super easy. Just find where the ends are tucked and pull gently to unravel them.

Once you’re done, start separating. The reason you should separate the knots is that it gives a fuller look. I like my hair sort of big, but you can separate it to your desired fullness.
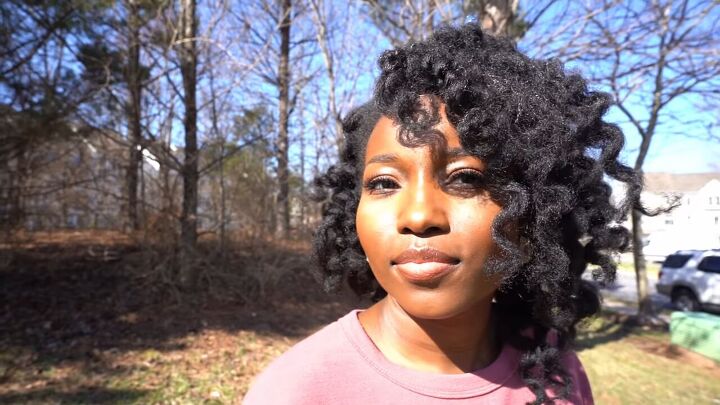
How to Do a Bantu Knot Out Hairstyle | Tutorial
That’s it! Here’s the finished look. I hope you learned a thing or two about how to do a Bantu knot twist out. Let me know in the comments below if you try it out and how it worked out for you!
The author may collect a small share of sales from the links on this page.


Comments
Join the conversation