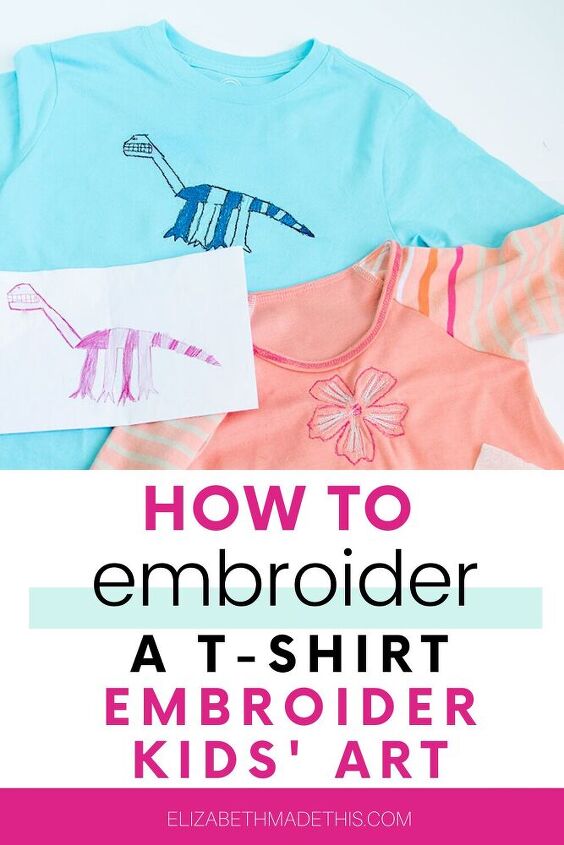
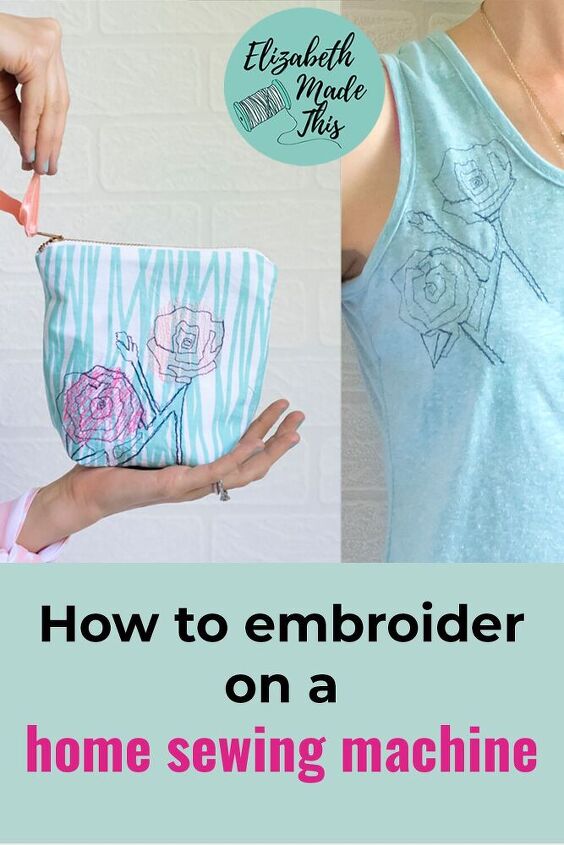
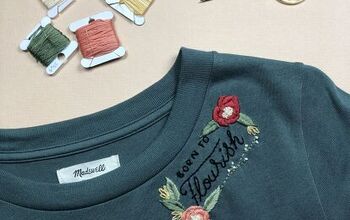
How to Embroider a T-shirt: Embroider Your Kids’ Art
Today is all about how to embroider a t-shirt. This is one of those projects you can do whenever you want to add something to a plain t-shirt.
You don’t need a fancy embroidery machine to do this, and you don’t need to be a great artist.
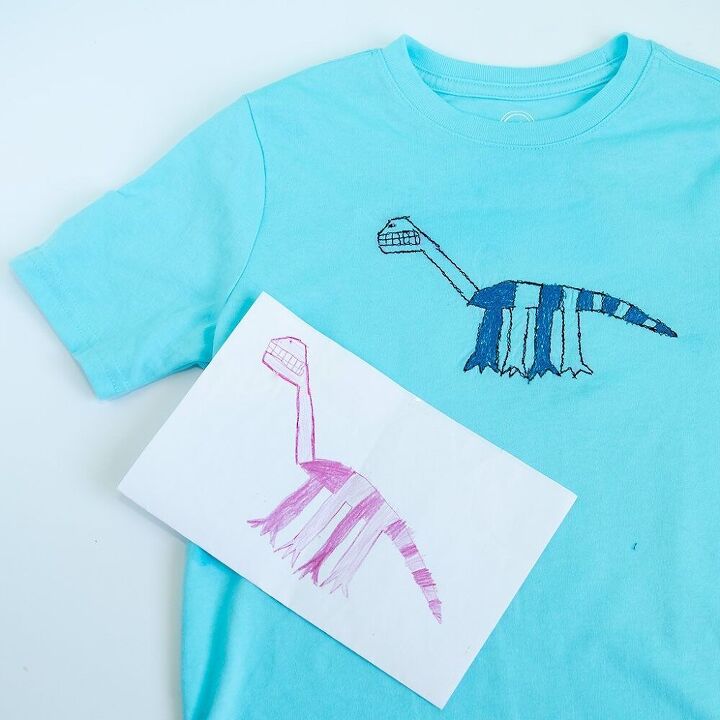
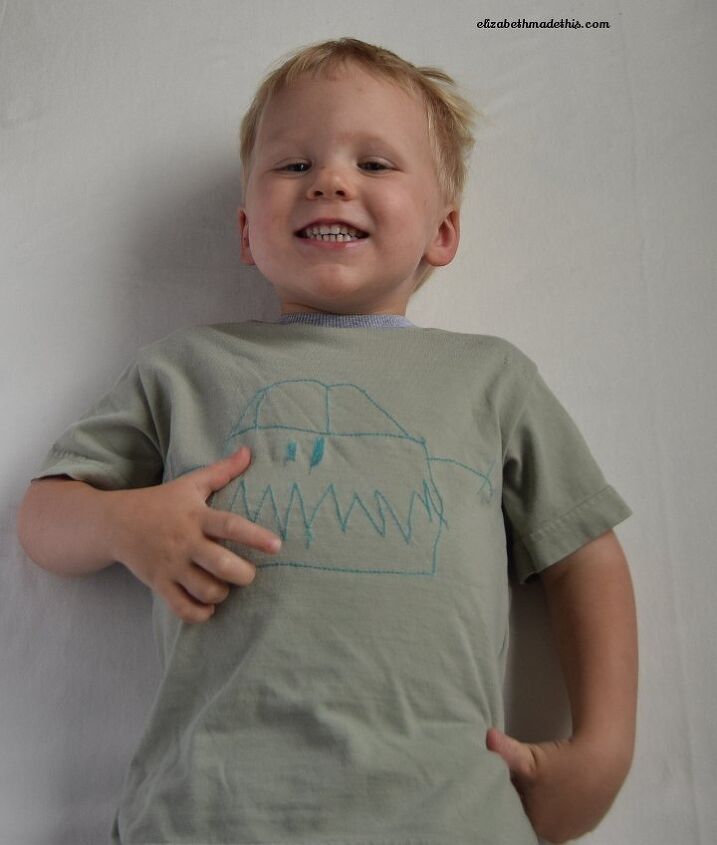
In fact, this is my #1 favorite way to preserve my kids’ art. Let’s face it, kids’ art is awesome. Bob Ross’ happy little trees had nothing on the silly people, wacky scenes, and candy colored skies that your kids create. But if you’re like me, those enthusiastically crayoned pieces of joy get lost in a basket somewhere under a bed, never to be seen or displayed.
Today’s goal: taking a simple drawing and showing you how to embroider a t-shirt with your simple design. At the end, you’ll have something unique and it’s a fun basic intro to machine embroidery.
This page contains affiliate links. As an Amazon affiliate, I earn on qualifying purchases. If you purchase a product through one of them, I will receive a commission (at no additional cost to you). I only ever promote products that I use and love and I think you will love too. Thanks for supporting this blog!
Table of Contents
- fine marker
- water soluble stabilizer such as Solvy or soil separator cloth or tissue paper
- T-shirt
- painter’s tape
- contrast thread
- ballpoint or stretch needle
- knit interfacing
For the t-shirt, you can use a store bought t-shirt, or you can make your own. It’s a little easier to embroider on a DIY t-shirt because you’ll only have one layer of fabric.
Check out raglan tee patterns for everyone if you’re looking for a t-shirt pattern to try.
Either options works here too.
I’m recommending water soluble stabilizer for this project. Solvy is the brand I use. It’s nice because when you’re done stitching, you simply soak the design and the extra dissolves. It beats the heck out of picking out little bits of stabilizer with your nails.
If you don’t have any water soluble stabilizer on hand, you can use a couple other options.
Soil separator cloth is a sheer non woven fabric used for landscaping. Find it at many home improvement stores inexpensively and it comes in super wide 36″ rolls at least 150′ long.
If you’re looking for something to trace patterns, it’s a good choice since you can see through it. Extra: you can sew through it too. It will stabilize the fabric as you sew, but can be torn away easily after sewing, making it great for embroidery applications. Tissue paper can also be used for this project. Just know if you go with either of these options, it’ll take a little more time when you finish stitching to get out the bits of extra stabilizer.
Now that we’ve got supply details sorted, here’s how to embroider a t-shirt.
First, find a piece of art you want to trace. I promised that this doesn’t have to be a deep dive into fine art here.
Easy ideas for designs for your t-shirt embroidery:
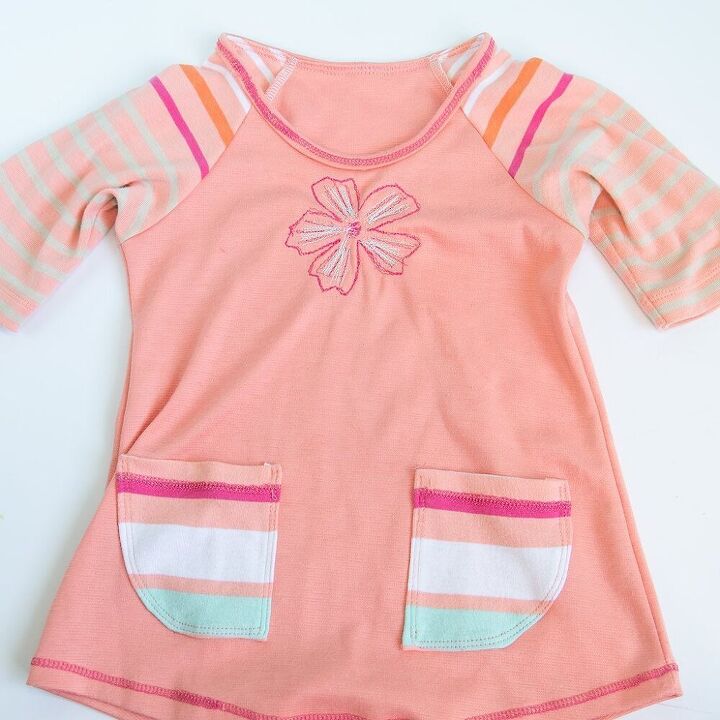
- Trace a photograph of a flower or other motif
- Find a piece of your child’s art
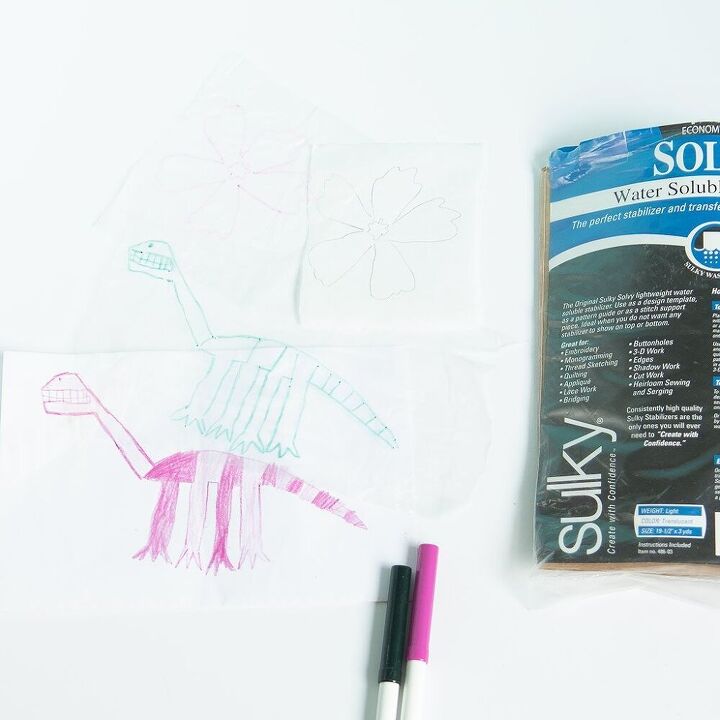
Next, take a piece of the water soluble stabilizer and place it over your design. Trace over the design with a marker. A kid’s fine tipped marker is a good choice, but a fine-line Sharpie also works.
If you’re using a different stabilizer and can’t see the design through it, hold it up to a window. The window will act like a light box, and you can trace from there.
After this, cut a piece of interfacing a little bit bigger than your traced design.
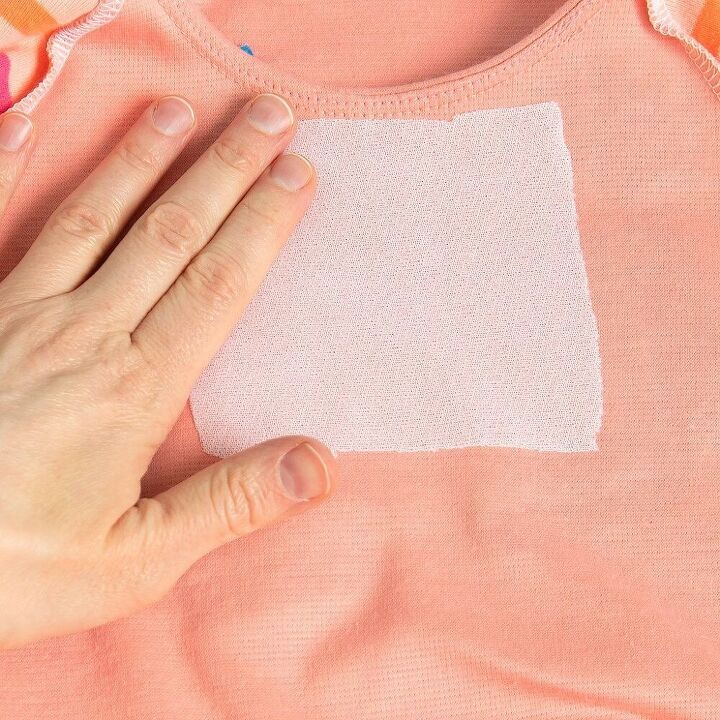
Turn the t-shirt to the wrong side. Fuse the interfacing in the area where you want to place the design.
Turn the t-shirt back to the right side.
We’re almost ready to start stitching! To finish up the prep work, center the traced stabilizer where you’d like the design to sit.
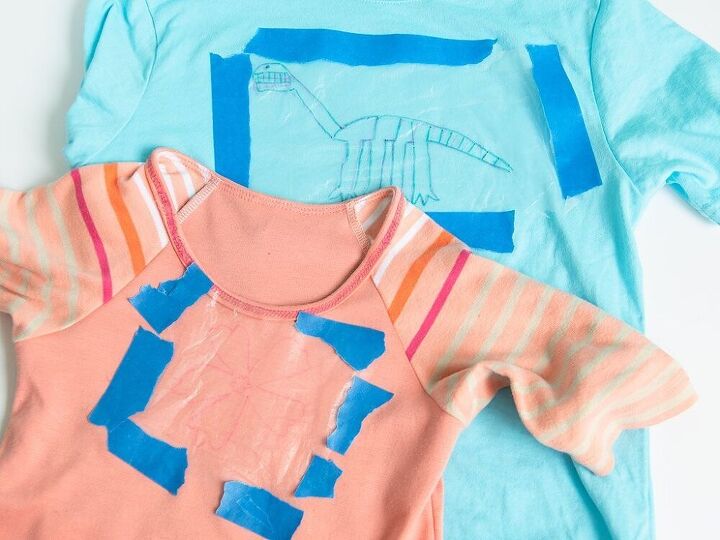
Next, tack down the stabilizer with a couple strips of painter’s tape. Now we can start stitching.
Now the fun part! If you can, take off the free arm of your sewing machine.
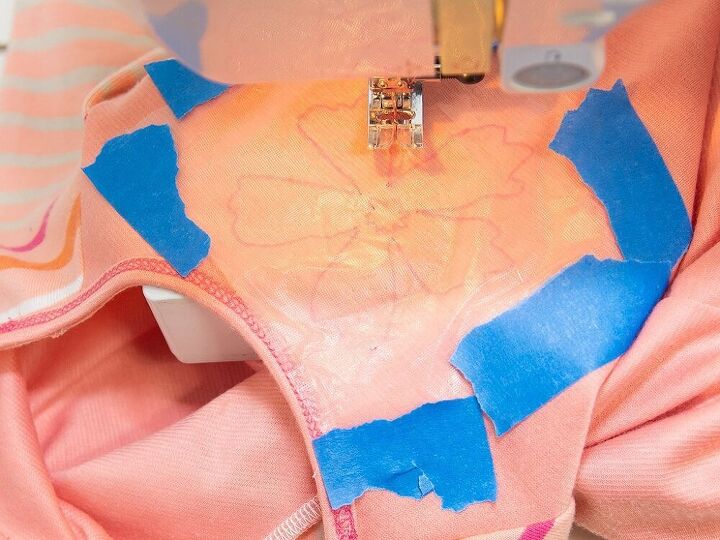
Slip the t-shirt around the end so you just have one layer of fabric on the bed of your machine.
Using contrasting thread, stitch around the areas of your design with a narrow zigzag (0.5mm width, 2.0 length).
Stitch along the traced lines. When you get to the end of a line, stop stitching, lift the presser foot, then turn the fabric so that you can stitch next to the same line. Go over straight lines a 2-4 times so that the stitches stand out.
To fill in solid areas like circles, first outline the area, then stitch as you want on the interior of the design.
You can stitch back and forth, or in patterns like rectangles, triangles, spirals etc. If you keep your thumb close to the reverse button, you can stitch forward and backwards without stopping stitching, allowing you to fill in areas quickly.


Don’t be precious here! It’s okay to not color 100% inside the lines. Sometimes just adding a little bit of texture with another color is just as effective.
As much as you can, try and keep stitching in one continuous line. This will make for less thread-clipping later.
Make sure to overlap your stitches by a few stitches on shapes. This will keep the design looking good and strong during the wearing process.
After you’ve overlapped stitches on a shape, lift the presser foot and move the tee so that the needle is centered over the next line to be stitched. Lower the presser foot and continue stitching.
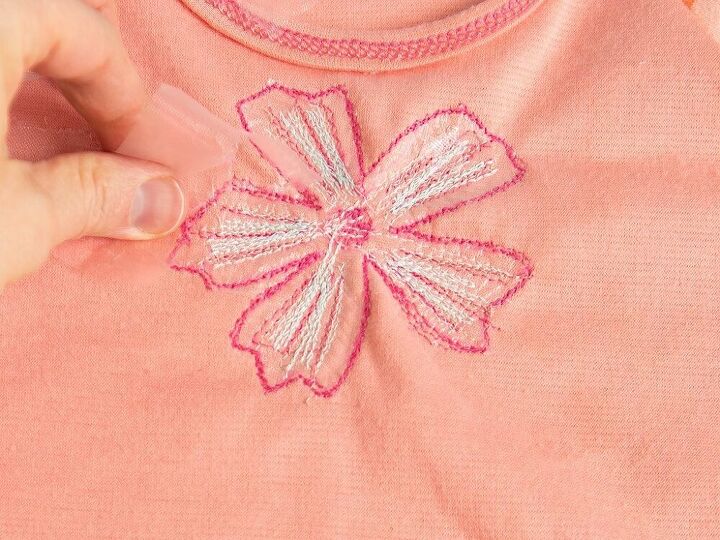
When you finish stitching the design, tear away the extra stabilizer from the stitching. Run the design under water and gently rub it to remove the rest of the stabilizer. Let the design dry, and you’re good to go!
If you’re using something besides water soluble stabilizer, here’s what to do:
First tear away the extra stabilizer. If it’s being stubborn, gently slide a pair of embroidery scissors between the t-shirt and the fabric. Use the scissor tips to tease out the stabilizer.
Remove stray bits of remaining stabilizer with a lint roller.
Whatever stabilizer you’re using, finish everything off by cutting any loose threads on the front and the back.
So that’s the super easy way to create a custom t-shirt embroidery design with your regular sewing machine. It’s a great way to add something extra to a t-shirt you might have on hand! Here’s some more about embroidering on a regular sewing machine.
No fancy machines, just you, a design and thread!

Elizabeth Farr is the writer behind the Elizabeth Made This blog where she shares helpful sewing tips, step by step sewing tutorials and videos to help you explore your creativity through sewing. She has written sewing Eguides and patterns, been a featured teacher at Rebecca Page’s Sewing Summit and Jennifer Maker’s Holiday Maker Fest and her work has appeared in Seamwork and Altered Couture magazines. She also created a line of refashioned garments for SEWN Denver. When her sewing machine isn’t humming, she’s playing and teaching violin, and hanging around a good strategic board game with her husband and 4 kids.
The author may collect a small share of sales from the links on this page.


Comments
Join the conversation
nice , the possibilities are endless, anniversaries, births etc. very creative and I bet the kids love to wear their own artwork