Learn to DIY and Amazing Alexander Wang T-Shirt

I absolutely adore fashion upcycles! They are so much fun and leave me with some absolutely gorgeous new pieces! I was on a search for my next fashion transformation when I found just what I was looking for! I decided to take an oversized T-shirt and totally refashion it into a super trendy, Alexander Wang T-shirt. I am so excited about how my T-shirt turned out! This DIY was so much fun and was easy to do as well. My new T-shirt is just gorgeous and can be styled in so many different ways. Follow my tutorial below and get started on this awesome T-shirt upcycle!
Tools and materials:
- Oversized T-shirt
- Scissors
- Pins
- Seam ripper
- Sewing machine/needle and thread
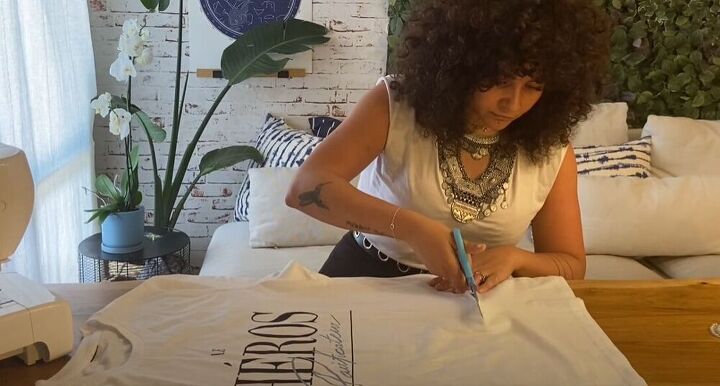
To get started on this fabulous upcycle, you are going to need an oversized T-shirt. Start by cropping 15 cm (6 inches) from the bottom of the tee.
Next, cut the hem off of the bottom of the T-shirt that you just cut. Trim around the edges to give the piece a more pointed edge. Then pin the raw edges inwards, keeping the triangular shape of the fabric while also neatening it up. Make sure to repeat this on the back piece from the bottom as well.
Hop on over to your sewing machine and sew along your pinned lines.
Next, cut the neckline of the T-shirt. Cut from the shoulder until 3 cm (1.2 inches) after the center of the neckline and then stop.
Then take a pin and mark on the front of the tee where you want to stop cutting the line in the middle.
Take scissors and cut from the neckline to your pinned marking. Turn the T-shirt over and pin it at the same place that you marked in the front. Once your pin is in, cut it at the back just like you did on the front.
On the side where you cut the neckline go ahead and seam rip the shoulder seam. Open up the seam until there is only 2 cm (0.8 inches) left.
Turn your T-shirt inside out and let’s get moving! To make things a little clearer and easier, I added a small drawing on the side to help. First, make the shape by the stomach a little rounder. You will need to use your scissors to do this. Fold the fabric to get the right shape and pin the fabric in place.
Everyplace on the drawing where I put a red line, you will need to finish the edges of the tee to get a professional look. Fold the fabric inwards and pin. Don’t forget to do this on the back of the T-shirt as well. When you fold the fabric by the open shoulder, try to make the line as straight as possible.
Finally, it’s time to attach the fabric scarves to the T-shirt. Pin the scarf at its straight edge to the area on the tee that you left unpinned. In the picture, the sides we are pinning together are marked in blue.
Then go ahead and start sewing everything together. You can follow your pinned lines to make sure you get the perfect finish for this amazing refashioned T-shirt.
With the T-shirt sewed, you should try it on. Check if you would like to crop it a little more. It is likely that the neckline will be too big now that the shoulder seam is no longer holding it. Pinch the extra fabric of the neckline and cut it.
Then using your sewing machine, sew the neckline so that it will fit you properly.
As a little bonus, I decided to show you what to do if you don’t have a sewing machine. On all the red lines that I marked in my drawing, you will need to fold the fabric over twice and then pin the folds in place.
Then you simply need to take a needle and thread and hand sew the folds down.
This DIY Alexander Wang T-shirt is absolutely amazing! How would you style this gorgeous tee? Let me know in the comments below!
Enjoyed the project?
Suggested materials:
- Oversized T-shirt
- Scissors
- Pins
- Seam ripper
- Seam ripper
- Sewing machine
- Sewing machine
The author may collect a small share of sales from the links on this page.


Comments
Join the conversation
Very fun presentation!! Thank you for a lovely job explaining the directions- I will look very forward to making one of these!!
LOVE the way you styled this! I am obsessed with your hair and your "create" tat! Thanx for sharing!