How to Easily Make a DIY Off-the-Shoulder Top

Today I’ll be showing you a simple way to make a DIY off-the-shoulder top. Now that it's summer, I’m full of motivation to make something beachy, summery, and fun!
Let’s get started!
Tools and materials:
- Longline sleeveless top with lining
- Elastic band
- Pins
- Scissors
- Sewing machine
- Serger
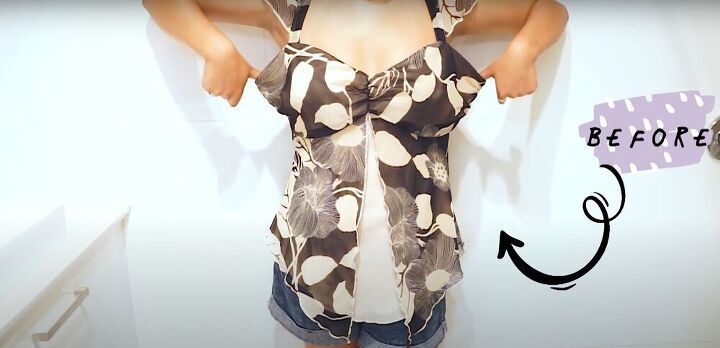
This was how the original, oversized thrifted top looked before I decided to turn it into a cute off-the-shoulder top with a tied front.

1. Pin the top to fit your body
The top was quite large on me, so the first thing I did was fold in the excess fabric while I was wearing the top, and mark where it needed to be taken in with pins.
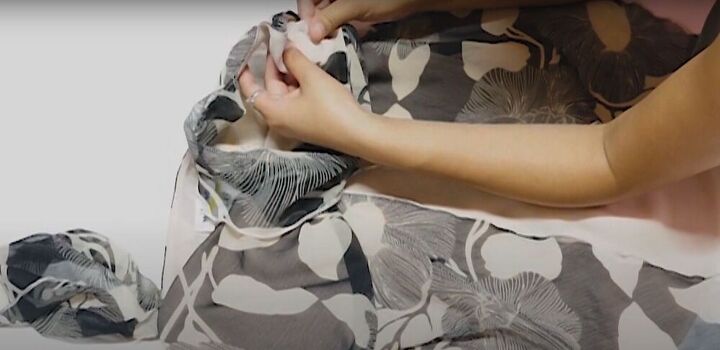
Once I took the top off, I moved the pins to the inside of the top, so I’d know where to sew.
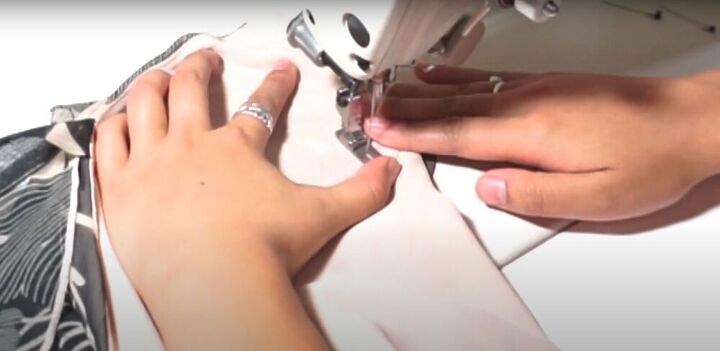
2. Sew the sides
I sewed down the excess fabric on both sides of the top.
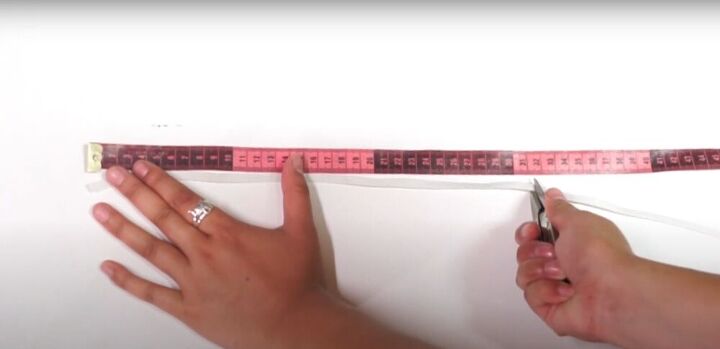
3. Measure and cut
I wanted to add elastic along the shoulder straps, so I measured and cut two thin elastic bands 35 centimeters (13.78 inches) in length. This is slightly shorter than the original length of the shoulder straps.
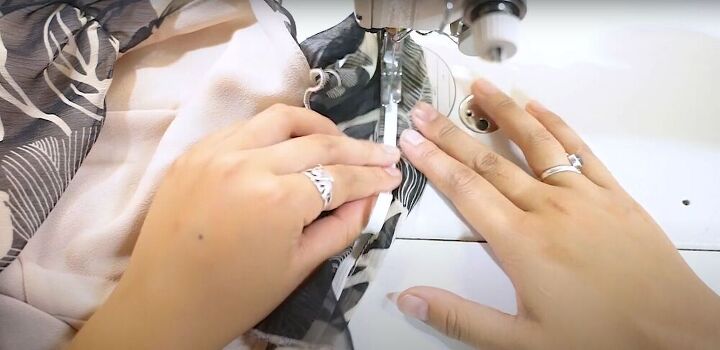
4. Sew on the elastics
I sewed the elastics onto the inside of each shoulder strap, stretching the elastic as I sewed.
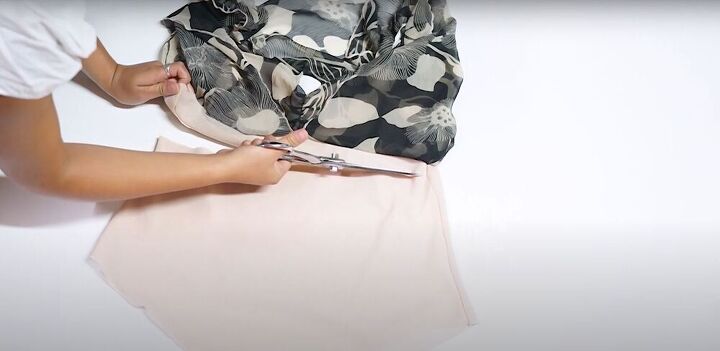
5. Cut the lining
Next, I cut the lining of the top to the desired length.
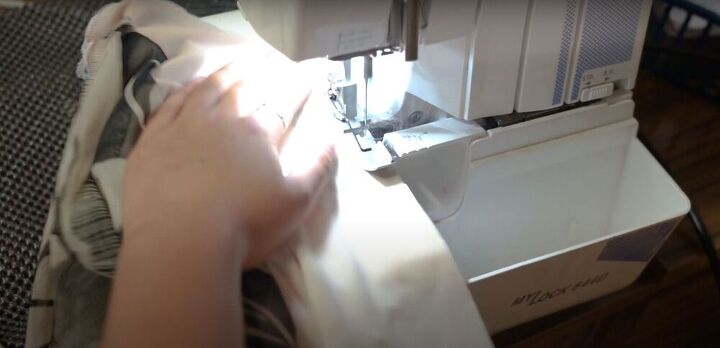
6. Finish the edges
For the final step, I ran the bottom edge of the lining through the serger. This makes the hem look clean and prevents it from fraying.

Here’s the final result!
I hope you enjoyed this thrift flip transformation. I know I enjoyed creating this adorable DIY off-the-shoulder top. If you use my tutorial to make an off-the-shoulder top, I would love to see your results!
The author may collect a small share of sales from the links on this page.


Comments
Join the conversation
that is really pretty. i like it