Dress in Style With This DIY Wrap Shirt

I am a firm believer that if you get up and get dressed in style every day you will start your day on the right note. This wrap shirt is the perfect way to put that into practice. This year, most of us find ourselves at home more than ever, but that shouldn’t affect the way we dress. Make this stylish wrap shirt to keep you feeling and looking good no matter where you are!
Tools and materials:
- Pattern
- Marker
- Scissors
- Ruler
- Fabric
- Interfacing
- Pins
- Sewing machine
- Elastic
- Safety pin
Make the pattern
The first step to this DIY is getting the perfect pattern. I am making a scaled-down version of the pattern for this tutorial because it is easier to see. I started by tracing the bodice pieces. Rather than trace it on the fold, I decided to trace both halves so that I could create a wrap top.
I then freehanded the neckline. If you are using a woven fabric, leave the dart in place to get the best possible fit. I also made sure I would have a facing for the neckline.
I then traced the back bodice, making sure it lined up with the front piece. I also created a facing that would line up with the front as well.
Next, I created my wrap tie long enough so that they could fit around my waist.
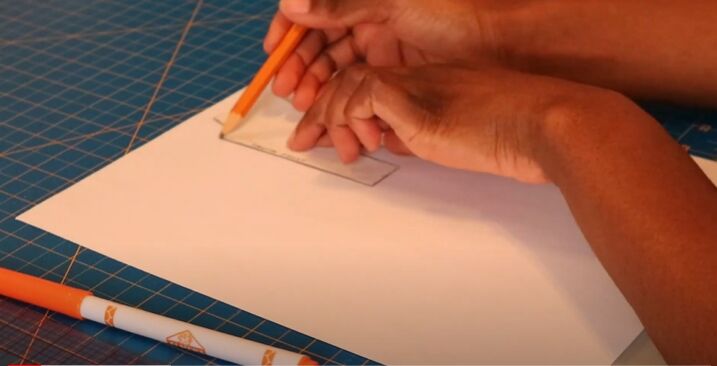
I then also drew a pattern for the collar. I drew a small rectangle, 4 by 16.5 inches.
The next step is tracing my sleeve pattern.
I wanted to create a bishop sleeve so I decided to use the slash and spread method. To see how I created this sleeve go to 2:04 in the video.
Sew darts
I used my pattern pieces to cut out all the fabric I would need for the wrap top. I started by sewing the darts onto my bodice pieces. If you are using a knit fabric you don’t need to worry about sewing darts.
Sew the shoulder and side seams
Next, I sewed the shoulder and side seams of the bodice together with a ½ inch seam allowance.
I left an opening on one of the side seams so that I could push the tie through to tie around my waist.
Sew the facing
While I was close to the sewing machine, I sewed the facing pieces together.
Attach the collar
In the next step, I ironed the interfacing onto my collar.
Once I was back at my machine, I sewed the collar together, except for one of the long sides, with a ¼ inch seam allowance. I trimmed the corners to remove any bulk.
I then pinned the open side of the collar to the shirt.
I sandwiched the collar in between the top and the facing and sewed. I then went back and under-stitched the facing.
Sew the sleeves
Next, I started working on the sleeves. I sewed them together using a half-inch seam allowance. Then I hemmed the sleeves so that I would be able to create a casing and add an elastic.
Once I had the casing with a small gap in it, I measured a piece of elastic around my wrist and cut it to size. I then used a safety pin to help me thread the elastic through the casings. I made sure to sew the gap closed once the elastic was in place.
Sew the tie
In this next step, I sewed the tie in half, right sides facing together.
I left one end of the tie open and attached that end to the front of the shirt.
This shirt is gorgeous and so easy to sew! I would love to hear your styling tips for this shirt! What would you pair it with? Let me know in the comments!
How to fold a dress shirt
Enjoyed the project?
Suggested materials:
- Pattern
- Marker
- Scissors
- Ruler
- Fabric
- Interfacing
- Pins
- Sewing machine
- Elastic
- Safety pin
The author may collect a small share of sales from the links on this page.


![A DIY Denim Wrap Shirt Tutorial [Sew What? Series]](https://cdn-fastly.upstyledaily.com/media/2020/10/27/6319523/a-diy-denim-wrap-shirt-tutorial-sew-what-series.jpg?size=350x220)


Comments
Join the conversation
So very cute! I really like this! Nice Job! Truth be told, I used to wear stuff like this in the late 70's early 80's when I would go out dancing!
Totally dated myself..lol.
Lol thank you! I just love how fashion repeats itself and I’m sure you looked great ☺️