How to Sew a T-shirt & Decorate It With Text Design Ideas

Today, I’m attempting to sew a t-shirt. That’s right - I’ve never sewn a t-shirt before but I really want to try. Not only will we be sewing a t-shirt, but we’ll also be printing text on it!
Stick around to find out what I printed on my shirt. If you’re looking for some cool t-shirt text design ideas, let’s get started!
Tools and materials:
- Fabric
- T-shirt
- Scissors
- Fabric marker
- Pins
- Sewing machine
- Needle and thread
- Iron-on transfer paper
- Parchment paper
- Iron
1. Fold
Start by folding your fabric in half.
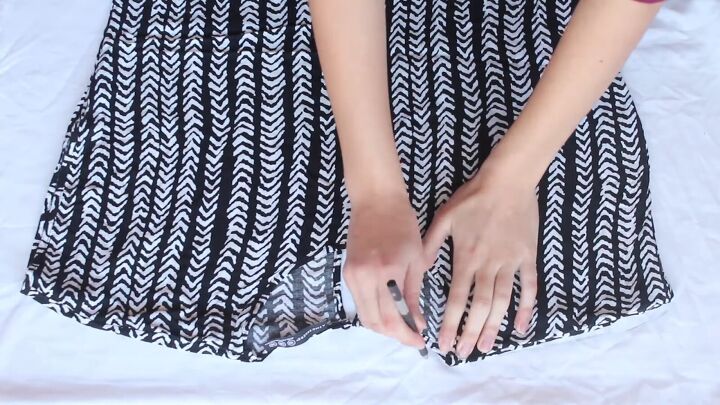
2. Trace your t-shirt
Use one of your favorite t-shirts as a template to mark out the general shape and fit of your shirt on the folded piece of fabric.
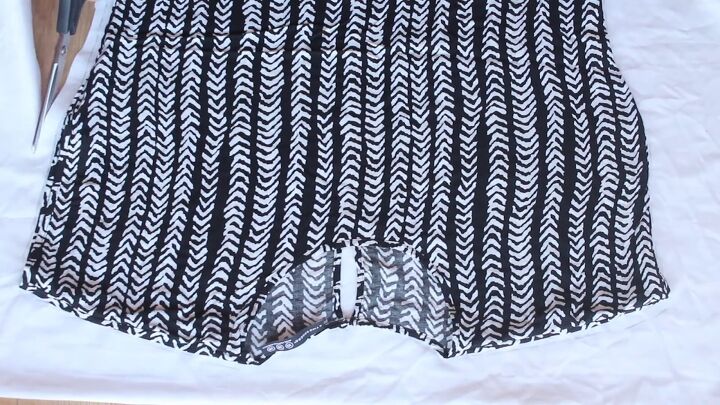
3. Cut
Cut out the shape of your shirt, leaving space for a seam allowance. You should also cut the neckline for both the front and the back. Depending on how you want your shirt to look, you might do this separately.
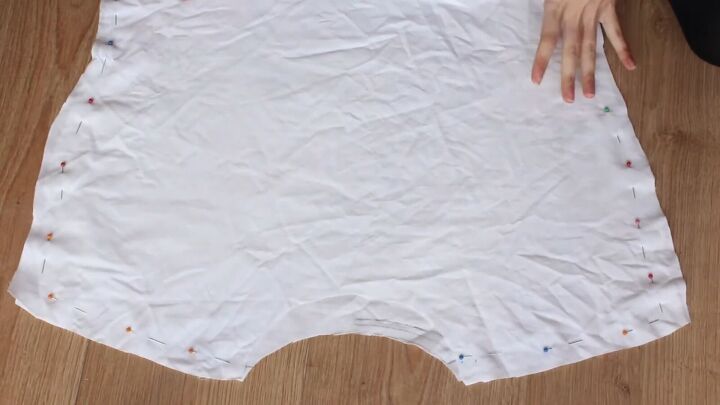
4. Pin and sew
Pin the top and bottom panels together.
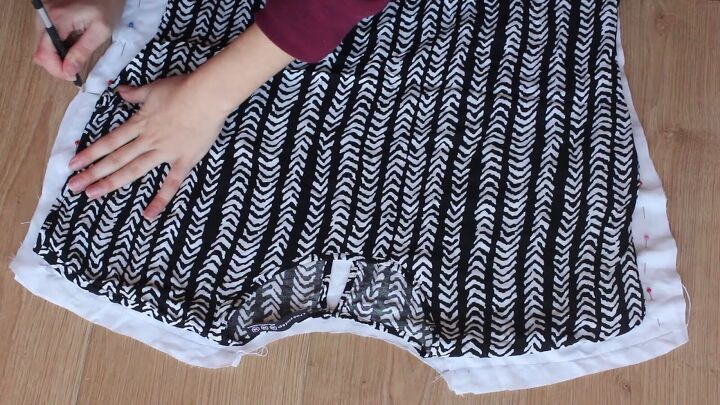
Don’t forget to mark where you want the armholes to be as you won’t want to sew that space together.
Sew.
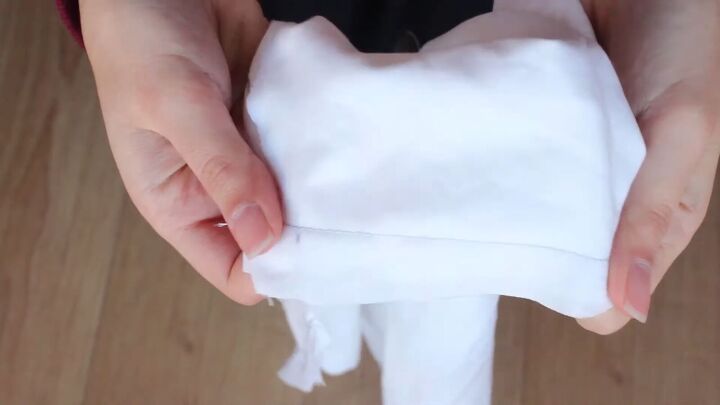
5. Temporarily stitch the sleeves
Just to make sure you don’t mess up when you sew on the machine, do a basting stitch on the sleeves first.
6. Try on
Try on the top to see if it’s how you want it or if you need any adjustments. Go ahead and make them if you do, otherwise, let’s move on!
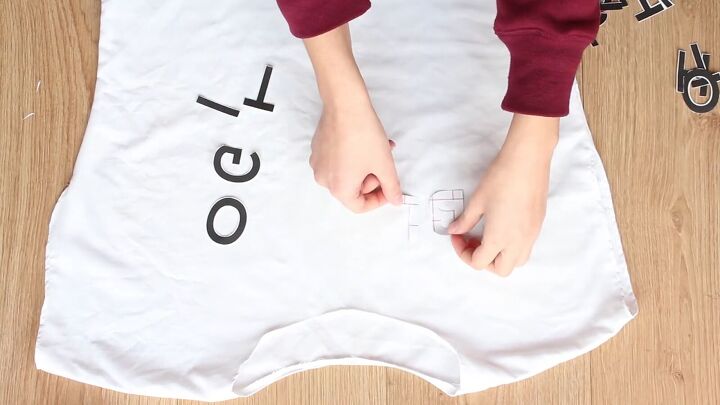
7. Place your letters
For this top, I decided to try out DIY t-shirt text. Custom text t-shirts are always going to be in, and they’re super customizable. I printed "Blog It Like It’s Hot" onto iron-on transfer paper.
To apply the text, just cut the letters one by one close to the edge and then place them where you want on the t-shirt.
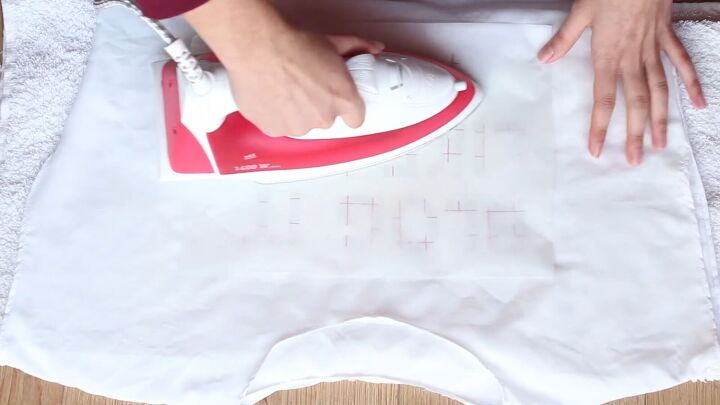
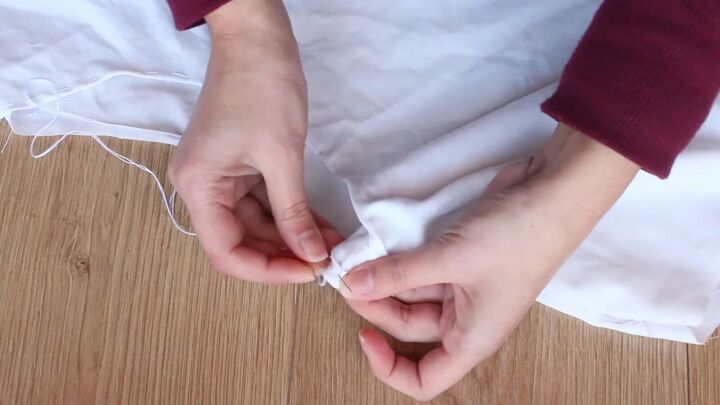
8. Cover and Iron
Cover the text with parchment paper and then iron it on the t-shirt.
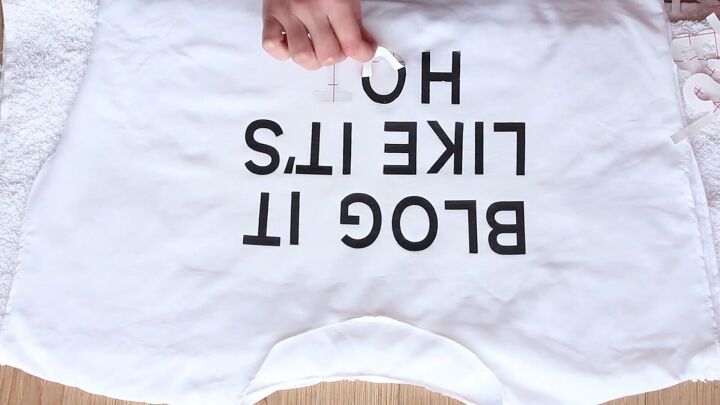
9. Remove
Remove the parchment paper and the letter backing, and you’re done!

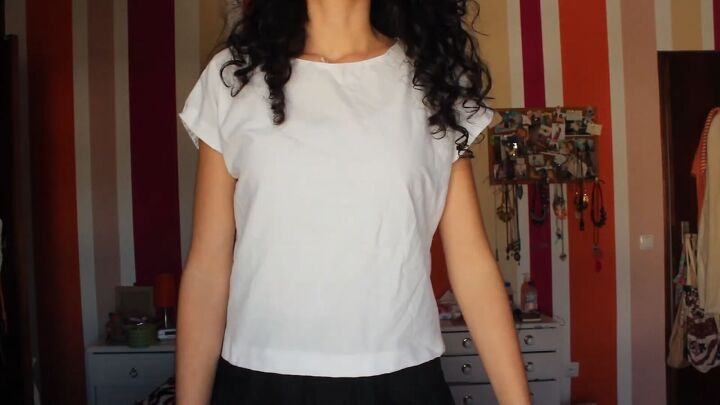
DIY t-shirt with a text design tutorial
Here’s the finished top! It turned out so much better than I expected and has a few flaws, but it’s totally wearable.
Let me know if you guys enjoyed this tutorial on how to print text on t-shirts, and if you’ll be trying it out yourself.
The author may collect a small share of sales from the links on this page.


Comments
Join the conversation