How to Lace Up a Corset (For Beginners)
Have you ever looked at a beautiful corset and wondered, "How on earth would I lace that up on myself?" This article and video are for you! I will be teaching you both how to lace up the corset itself (this only has to be done once) and how to lace yourself up into the corset each time you put it on.
Have you ever felt intimidated by lacing up a corset? No need - I'm here to help!
These instructions will help you if you have either purchased a corset, or made your own. This "bunny ears" lacing method is best suited to beginners, because it creates a corset that is easy to get on and off, and easy to tighten and loosen on your own.
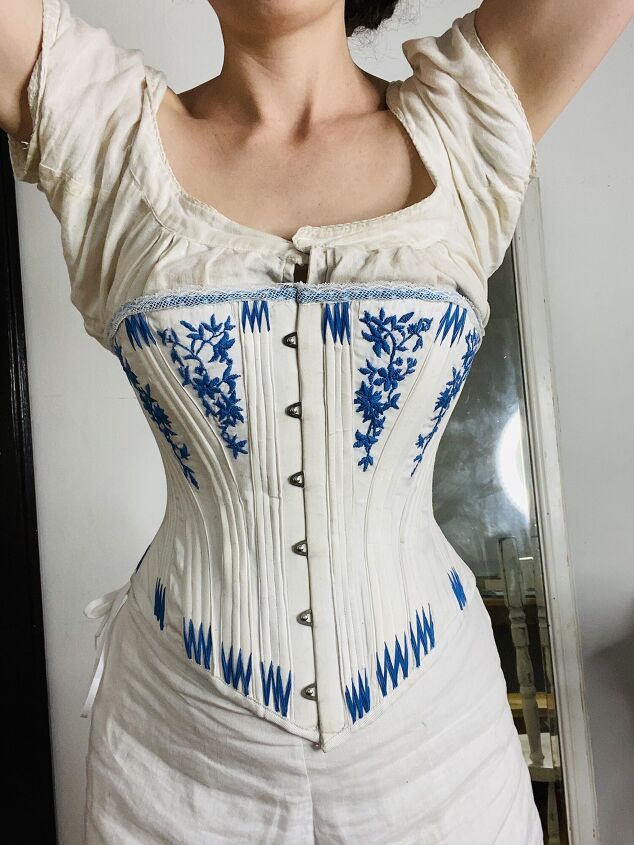
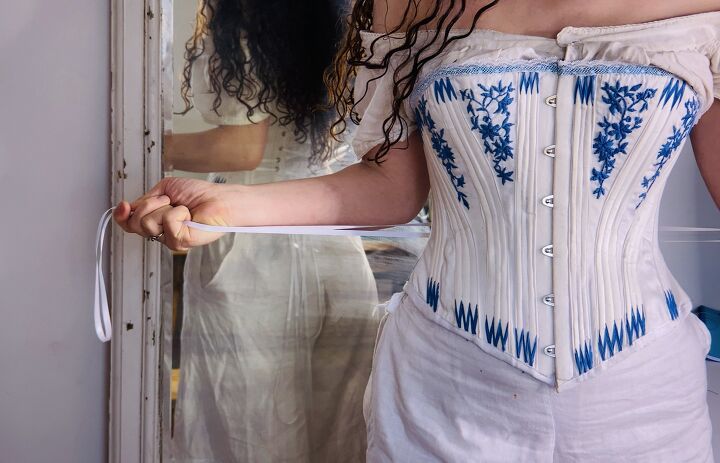
I will be showing you how to lace a corset with a split busk opening at the front. Split busk openings at the front of corsets are lovely, because they allow the wearer to easily put on their own corset, and take it off, in not a lot of time. If your corset has a closed front, just keep in mind you will have to use probably double the amount of lacing, so that the corset is loose enough to slip on and off over your head.
My online course has everything you need to learn corset-making, as a beginner
If you would like to learn more about corset making from start to finish, check out my online corset-making course, "Victorian Custom Corset-Making"! With four hours of instructional video, 11 000 words, and one year of included instructor support, it is everything a beginner needs to make their own beautiful corset.
Materials
To lace up a corset, you will need:
- A corset that fits you, preferably with a split busk opening at the front
- 8-10 metres of a slippery, strong lacing. I recommend polyester satin
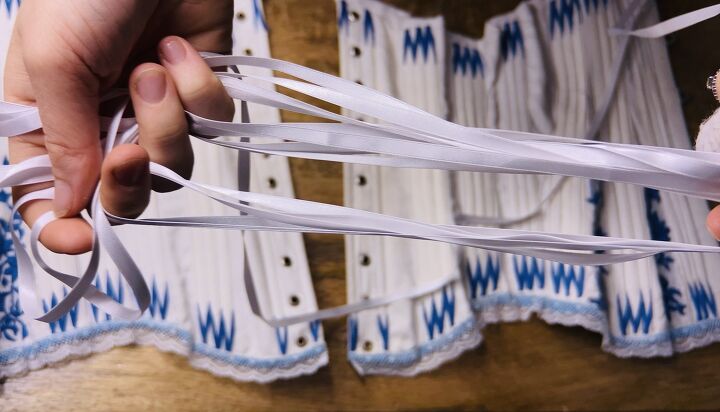
I recommend using a lacing material that is strong and slippery, like this polyester satin ribbon
ribbon or nylon braided lacing. I find all of my lacing from Farthingales Corset-Making Supply. Note: for an underbust corset, you won't need this much lacing. If your corset has a closed front, you will need about double this amount.
- Sharp scissors
- Yourself - dressed in either a chemise, shift, or natural fibre tank top (ie. cotton). Corsets should always be worn over an under-layer, not against bare skin!
- Optional: a method to seal the ends of your lacing. This is only necessary for types of lacing that fray. I like to use heat-shrink tubing for this, also available from Farthingale's. For ribbon, a simple diagonal snip will work fine.
Beginning - "Double X" Method

I like to call this lacing method the "double x" method
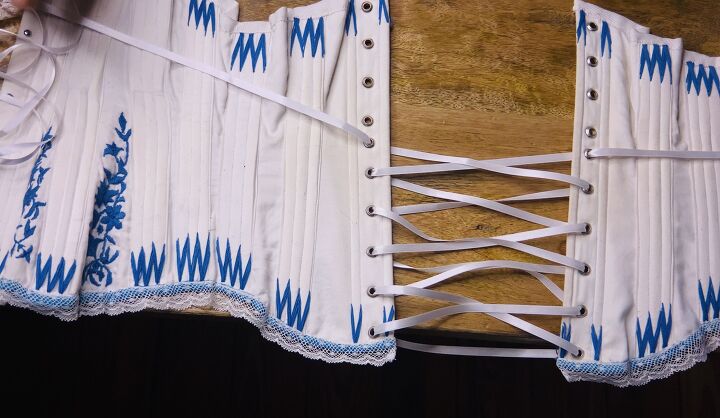
I like to call the following method of lacing the "double x" method - because it will create a repetitive pattern of 2 sets of "x" shaped lacing down the corset. The first "x" will be on the outside of the corset, the second "x" on the underside.
To start, find the centre point of your lacing. Do this by holding the two ends lined up in one hand, while sliding along the length of the two halves of lacing with the other hand, until you find the centre point.
Your first "X" of lacing will be on the outside of the corset
Then, insert one tip of lacing through one of the top eyelets, from the inside to the outside. Repeat with the other end, and then pull both ends evenly until the centre of the lacing is pulled in to the centre of the corset, between both halves of the corset. You want to leave a gap of 4-5 inches between the halves of the corset.
Now it is time to make the first "x". Take one of the ends, and bring it down diagonally to the opposite side of the corset, and bring it through the next eyelet down, from the outside to the inside. Repeat with the other end, and pull both ends evenly until you have a neat "x" of lacing between the two halves. That is our first "x", and it is on the outside of the corset. Now to create the next "X", this time on the inside!
Start with one end, bring it diagonally across the corset again, and pull it through the next eyelet down, this time from the inside to the outside. Repeat with the other end, and pull until you have another next "X", this time on the inside of the corset.
Repeat these "X's" until you get to the waist area
You are going to repeat this until you come to the waist area. Again - alternating between one "X" of lacing on the outside of the corset, and the next "X" on the underside. This is such a helpful method of lacing, especially for a beginner, because when you are lacing yourself into the corset and tightening, you will only need to pull on the exterior "X's", not the interior ones. This will be easy to feel even without seeing.
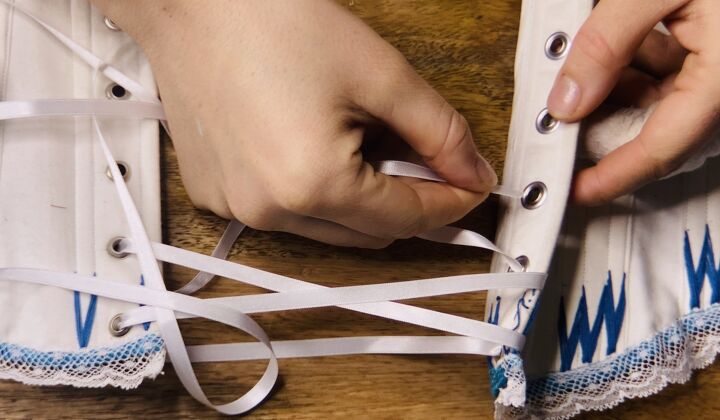
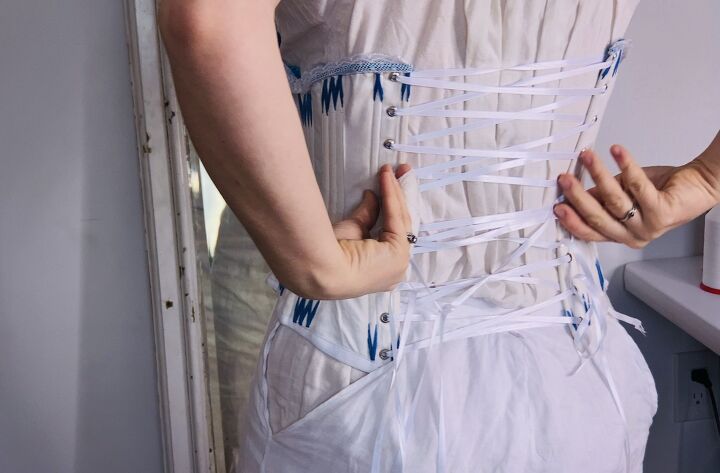
Creating "Bunny Ears"
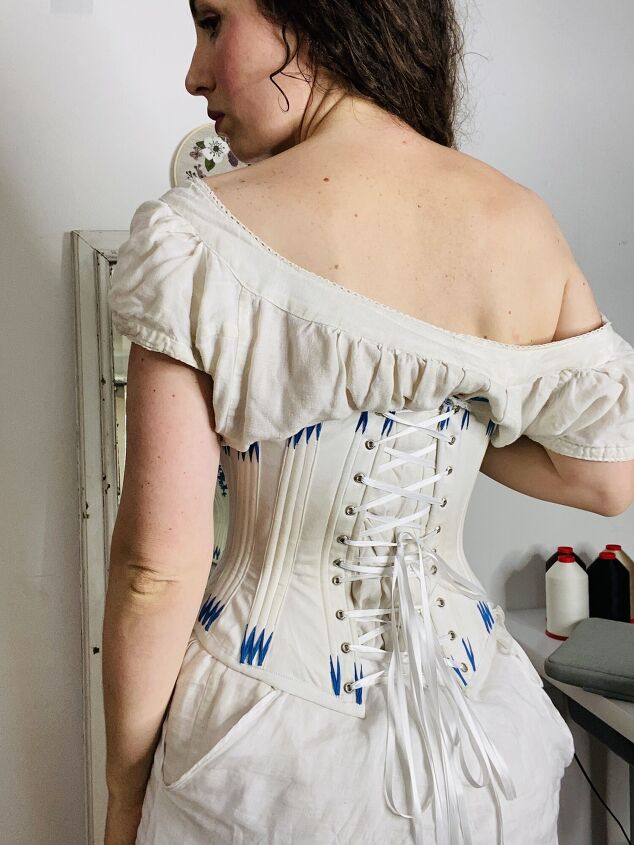
The secret to easy corset lacing is what we call "bunny ears" seen in this photo!
What are "bunny ears"? They are loops of lacing that come out from the waist of the corset, and are essentially the handles that one pulls to tighten the laces when putting on a corset. Once the corset is tight enough, we will tie a bow with the bunny ears. But how do we determine where the waist area is?
Here are a few different options: if your corset has a waist tape, then this is easy. You will begin your bunny ears at the top of the waist tape. In the case of my corset in this video, there is not waist tape, but there are two eyelets at the waist area set very close together. Failing both of these, just look at the corset itself - where are the panels the narrowest? Follow that line with your eye horizontally across until you get to the eyelets. That is where your bunny ears should be placed.
Locate the waist level on your corset. This is where we will begin the bunny ears.
To begin the bunny ears, you will need the lacing coming out, from the inside to the outside. Even if this wasn't in line with your previous pattern, you need to just have the laces coming out that way as you come to the top of the waist area.
Voila! Bunny ears complete.
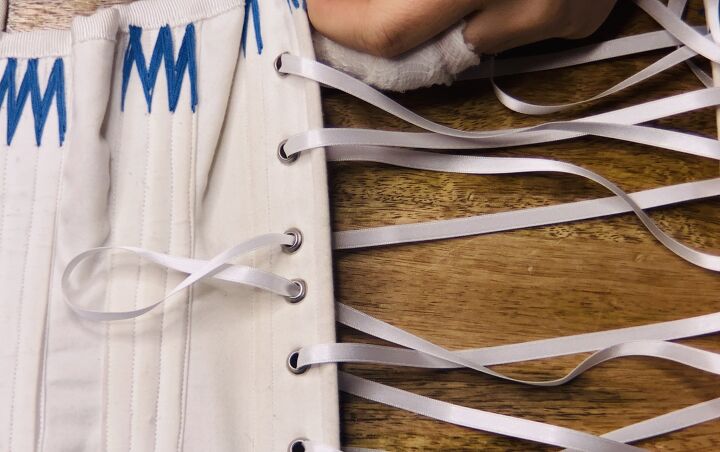
Then, work with one lace end at a time, and bring it straight down on the same side of the corset that it came out of, and bring it in to the next eyelet down, from the outside to the inside. Pull it in until you have a loop a few inches long. This seems short, but as you tighten the corset, it will lengthen. Repeat on the other side. Voila! We have bunny ears!
Finishing Off

We will finish off with more of our "double x" lacing, until we get to the bottom.
It is time to finish off! We will be returning to our "double x" lacing method, until we get to the final eyelets of the corset. Once we have laced through those, we are ready to tie off the laces. Before you do this, make sure your corset has been laced loosely enough. The gap should be at least 4-5 inches wide, if not more. If it is too tight, you can wiggle the two halves of the corset around to loosen up the laces. Take care that your bunny ears stay as long as they were previously, though. Then, you can tie off the bottom laces in a bow or a knot, and if you are confident that your corset is loose enough, you can trim off any extra lacing tails at the very bottom.
How to Lace Yourself Up in a Corset
Lacing yourself into a corset doesn't have to be an ordeal!
It's time to lace ourselves up in the corset! As mentioned earlier, make sure you are wearing either a chemise, shift, or natural fibre (ie. cotton) undershirt of some kind. We don't want the corset against bare skin!
You can see how loose your corset should be in the beginning!
Making sure our laces are nice and wide at the back, we can carefully bring the open corset around our body and begin fastening the busk. Don't worry if this takes a lot of time - it takes practice to get used to it, and on every new corset you may need to relearn the process. Once the busk loops are fastened on each one, we are ready to start lacing. If your corset is closed front, you will need to wiggle and shimmy the corset on over your head. Obviously, this requires the back laces to be very loose!
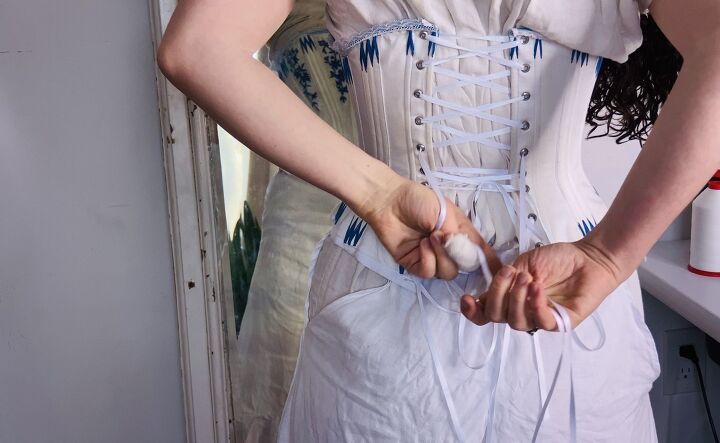
Before we begin tightening, make sure the corset is sitting in the right position vertically on your body - is the waist of the corset at your waist level? If so, begin pulling straight out on the bunny ears. This will tighten up all of the "x's" of lacing, though at this point some may tighten more readily than others. You can experiment with pulling the bunny ears either upward or downwards as well, to tighten up the top and bottom respectively.
Time to pull on the bunny ears! The most fun part.
At this point, it is time to start tightening up the "x's" individually. The very top and very bottom may need the most attention, since they are farthest from the bunny ears. I only pull on the exterior "x's", and the interior ones will tighten on their own accord. Pull the excess down or up into the bunny ears, making them become longer and longer. You may need to re loosen some of the x's as well, because sometimes when we get the waist as tight as we desire, the bust and hips become too tight.
Then it is time to tighten the individual "X's" of the corset.
However - keep in mind that for your first time wearing any corset, you will be lacing in loosely! For instance, if your corset was designed to have a 2-inch lacing gap, for the first few times wearing it leave a 3-4 inch gap! This is for your body as well as for the corset. You both need time to adjust.
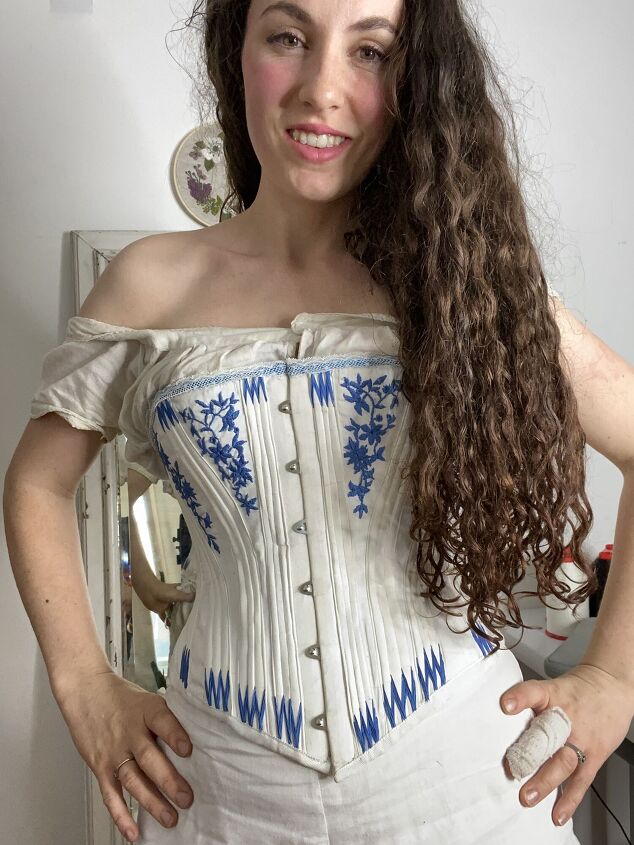
When everything is as tight as it needs to be, you can go ahead and tie a bow with the bunny ears. This can be tricky, but just do your best. You will get more adept with time.
Feeling inspired to try corset lacing?
Has this article inspired you to try corsetry, or to try lacing yourself up? Let me know in the comments section!
The author may collect a small share of sales from the links on this page.


Comments
Join the conversation