Quick and Easy Chrome Mirror Nails Tutorial

In this tutorial, I'll guide you through the process of achieving stunning chrome mirror nails.
It's a trendy and eye-catching nail art technique that's surprisingly easy to recreate at home.
With a few simple supplies and a bit of patience, you'll have nails that shine like mirrors in no time.
Tools and materials:
- Base coat
- Chrome mirror top coat
- UV lamp
- Mirror powder
- Eyeshadow applicator
- Top coat
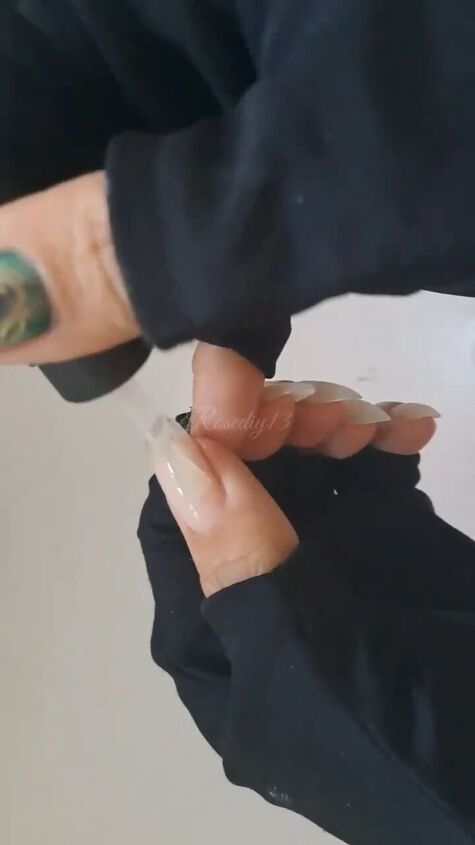
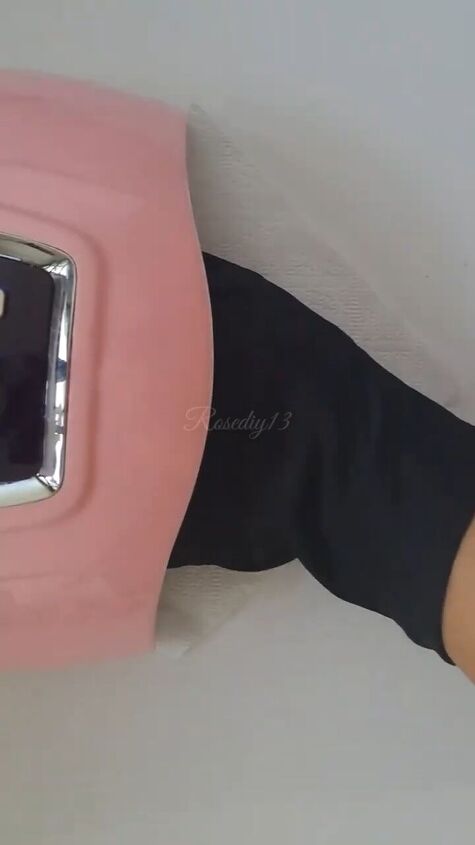
1. Apply chrome mirror top coat
Apply a thin, even layer of the chrome mirror top coat to each nail.
Ensure complete coverage, but be careful not to apply it too thickly.
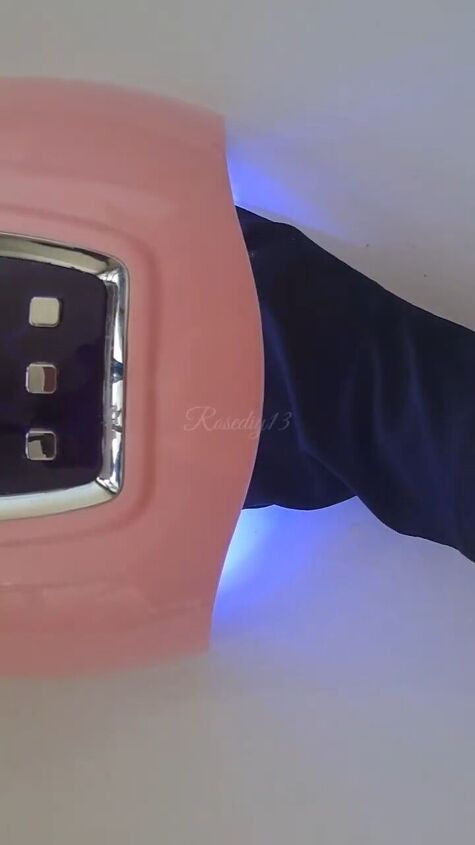
2. Cure
Place your nails under a UV lamp to cure the chrome mirror top coat.
Follow the recommended curing time on the product's instructions.
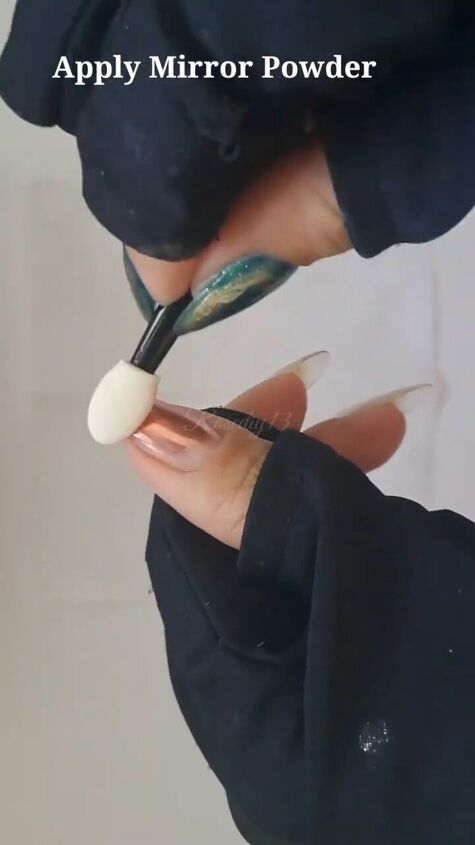
3. Apply mirror powder
Dip the eyeshadow applicator into the mirror powder.
Gently tap off any excess powder.
Using the applicator, carefully apply the mirror powder to your nails.
Buff it in using gentle, circular motions until you achieve the desired mirror effect.
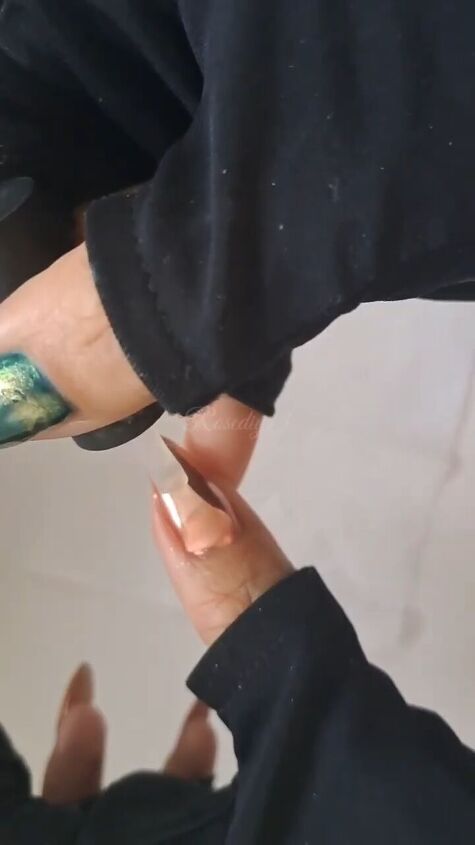
4. Apply top coat
Once you're satisfied with the mirror effect, apply a clear top coat to seal in the powder. This will protect the mirror finish and add shine.
5. Cure
Place your nails back under the UV lamp to cure the top coat. Follow the recommended curing time, ensuring that the top coat is fully set.
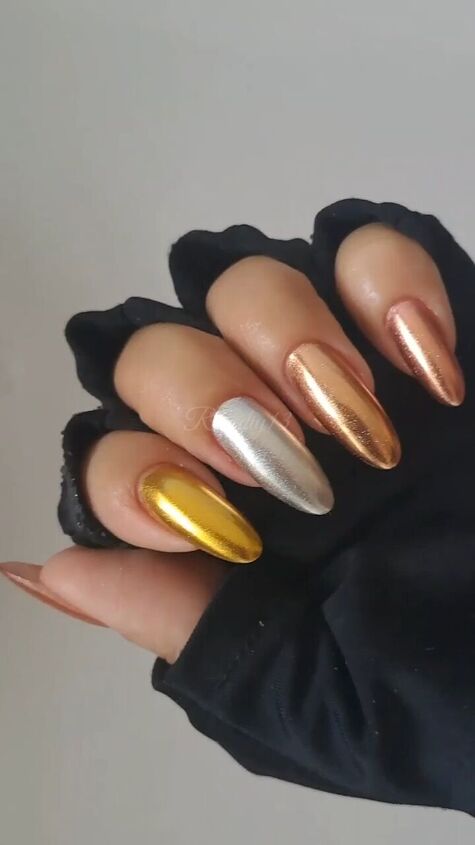
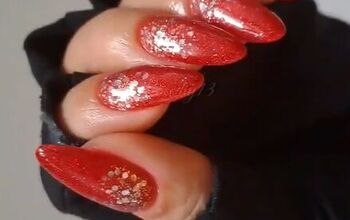
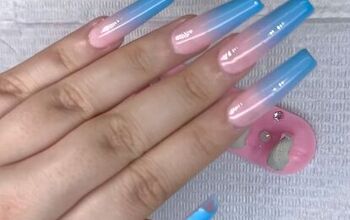
DIY chrome mirror nails
This DIY nail art project is a fun and fantastic way to express your creativity.
Experiment with different chrome powder colors to customize your look.
Try it at home and leave me a comment to let me know how it comes out.
Next, learn How to Make Fake Nails With Toilet Paper & Baby Powder.
The author may collect a small share of sales from the links on this page.


Comments
Join the conversation