DIY Pattern Grading: How to Make a Pattern Bigger or Smaller

With so many patterns being downloadable now, pattern grading is a skill that every sewing enthusiast should have. It gives you the ability to make sewing patterns bigger or smaller, so you get just the right size for you.
Follow this tutorial and you’ll understand the principles of pattern grading and learn how to adjust the size of downloaded patterns for your own use.
Tools and materials:
- Downloaded pattern
- Printer
- Ruler and measuring tape
- Pencil
- Scissors
- Tape
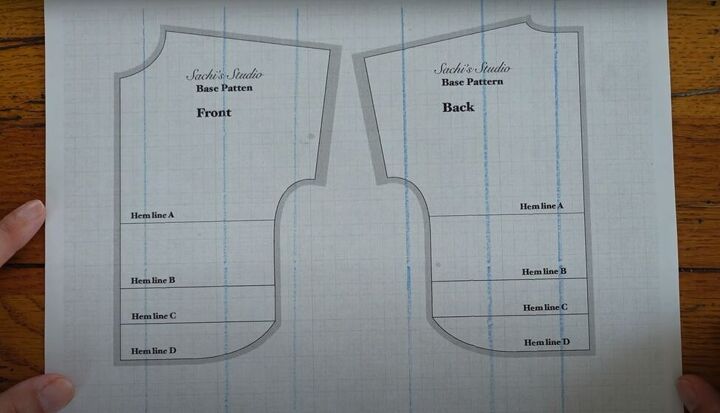
1. Understand the principles of pattern grading
The basic principle of pattern grading involves making a grid on your pattern from which you can adjust the size as you cut.
Simply increasing or decreasing the size of the pattern image on your computer doesn't necessarily change the size of your pattern, as elements such as the waist and neckline will move. Everybody is unique, and your pattern can be just as unique.
The positioning of the lines you draw on your pattern will be determined by where you want to add more or less room.
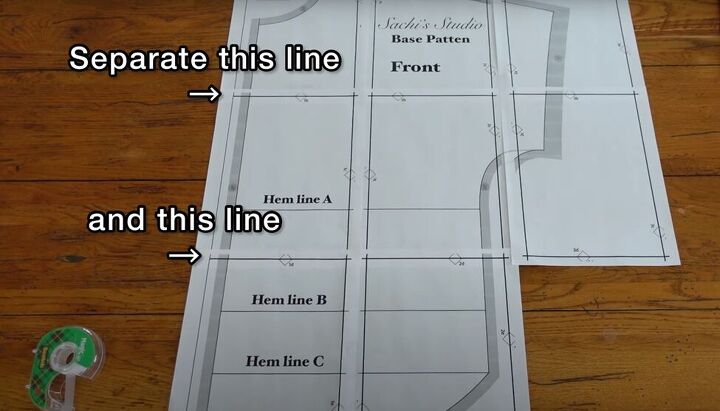
2. Know how many and where to make the lines
Typically, you will have more horizontal lines than vertical lines. By measuring your own body, and the pattern, determine how many inches in total you want to add to the width and length of your pattern to get to your correct size.
Then, divide the width measurement you are adding equally between your vertical lines, and the length measurement you are adding between your horizontal lines.
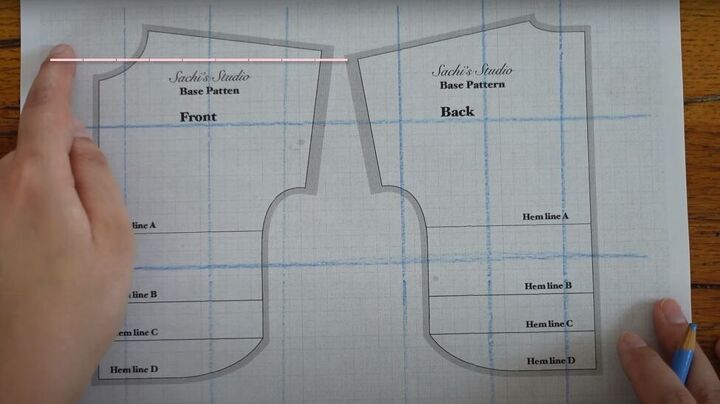
The neckline, shoulder line, sleeve, and waist are good places to draw your lines.
If you need more vertical length around the neck and shoulder, then add a line at the position of the pink line in the image above.
Make sure you draw symmetrical lines on the front and back pieces of your pattern.
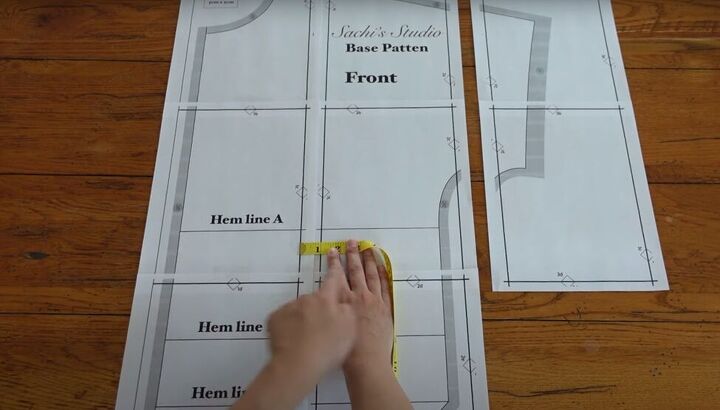
3. How to make your pattern larger
Here’s an example of how to calculate the position of your lines:
If your pattern is made for a 36-inch bust, but you want to make a 40-inch bust, then you need to add 4 inches altogether.
If you have two vertical lines on your pattern front, then when you cut, you will add 1 inch to each of those lines. That’s only 2 inches, I know. But remember that the pattern piece is only half of the front, and you will cut your fabric on the fold to get the whole front. That’s how you’ll get from 2 inches to 4 inches.
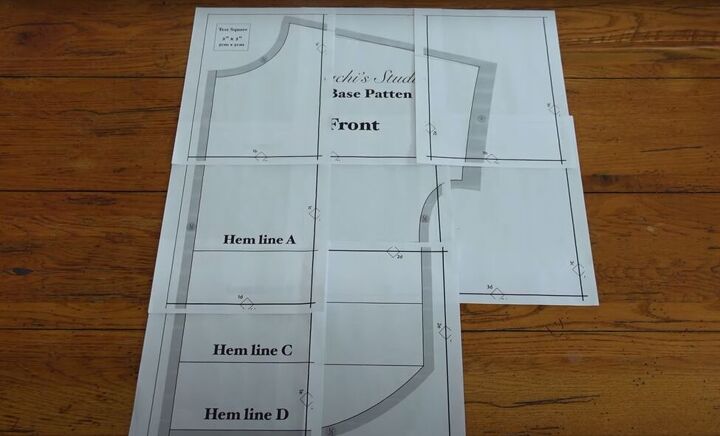
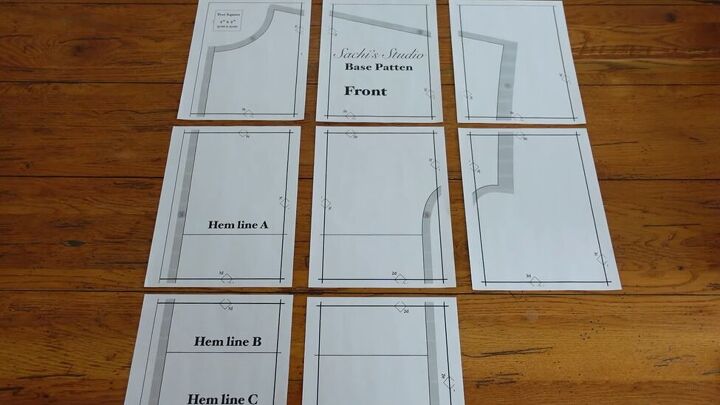
Cut the pattern front along the two vertical lines. Now lay the front pattern pieces out, aligning the horizontal lines, but separating each pair of vertical lines by one inch. Tape all the pattern pieces together.
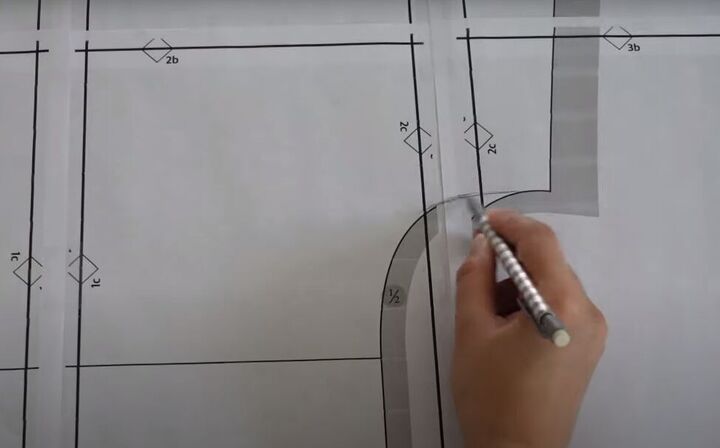
Now redraw the pattern lines as needed to make the pattern continuous again.
If you also want to add length to your pattern, do it after you have adjusted the width. That way you will keep everything straight. Add length by separating the horizontal lines shown in the image above.
4. How to make your pattern smaller
Apply the same principle, but overlap the lines, rather than separate them, if you are trying to make the pattern smaller.
Pattern grading tutorial
Now that you understand the principles of pattern grading and know how to make sewing patterns bigger and smaller, you’ll be able to use online patterns far more efficiently!
I hope this expands your skills and opens more opportunities for you to use downloadable patterns. Please leave me a comment to let me know if this pattern grading tutorial was helpful.
The author may collect a small share of sales from the links on this page.


Comments
Join the conversation