Fun Crochet Hair Scrunchie Tutorial

Scrunchies are back! They’re a fun flash from the 80s/90s and less harsh on hair than normal elastics. These wavy ruffle crochet scrunchies are so easy for beginner DIYers for their first project. Let’s get started.
Tools and materials:
- Elastic hairband
- Yarn
- Hook size USG6/4 mm
- Elastic
- Scissors
- Yarn needle
Tip: Some yarns will be difficult to crochet, so I recommend making a sample before starting on a crochet scrunchie.
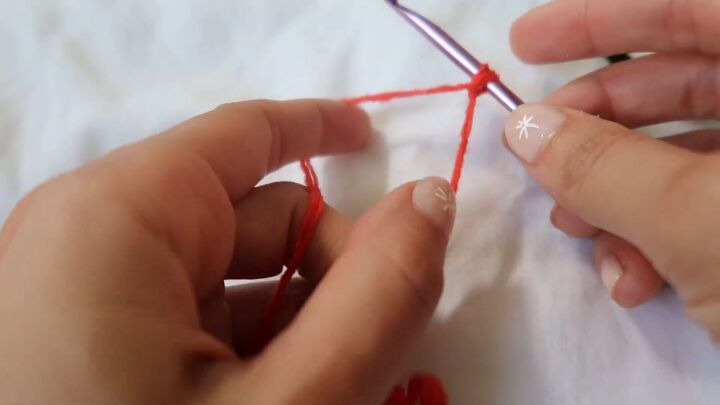
1. Prepare your hook
Take the tail of the yarn ball and create a loop, but do not pull it like a knot. Insert the hook into the loop and pull the yarn to start stitching.
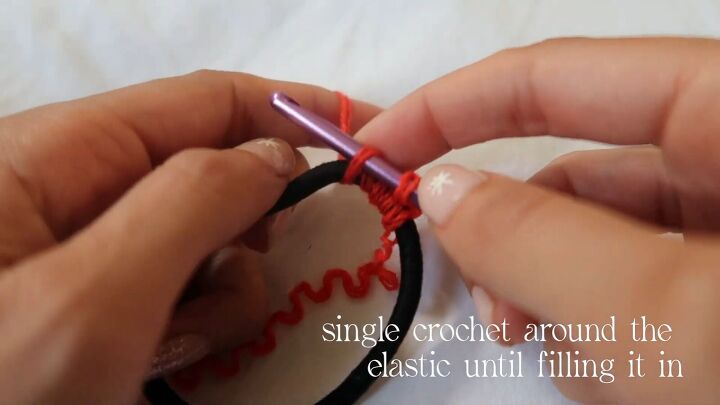
2. Crochet a single stitch around the elastic
(See video 1:40 -2:50)
Add in the elastic hair tie and continue with a simple chain stitch all around the elastic.
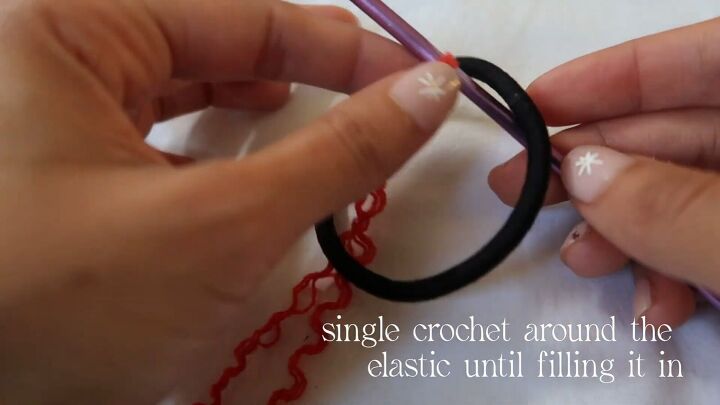
To do this, take your hook and go over the elastic, then pull the yarn in.
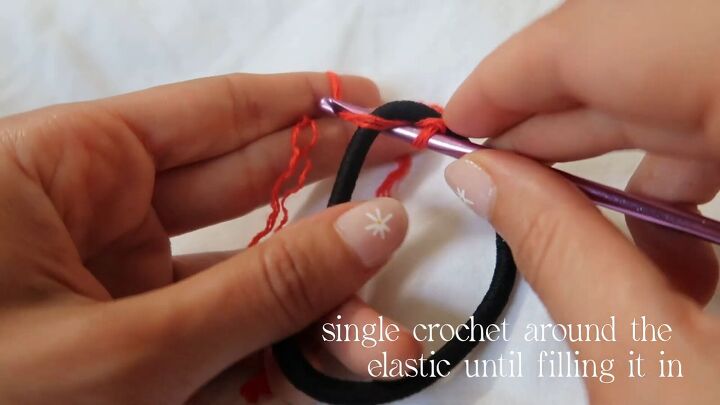
You should have two stitches now, so take the yarn to them and bring it over.
You should be moving the hook tip off the crochet hook and twist it down to create these stitches.
The more consistent you are with your tension, the better the shape of your stitches will look.
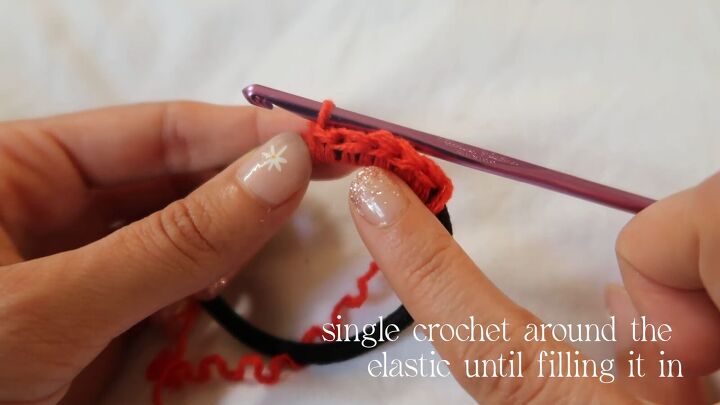
Continue crocheting until you have even coverage of the elastic hair tie.
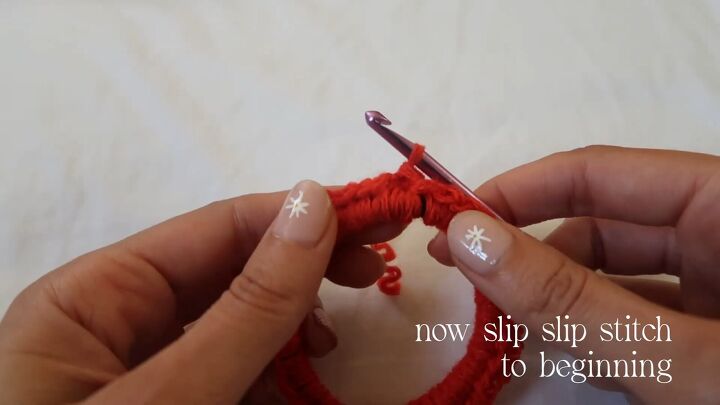
3. Slip stitch to beginning
Find your first stitch and insert the needle. Take the yarn and pull it over the hook so that you have two stitches there.
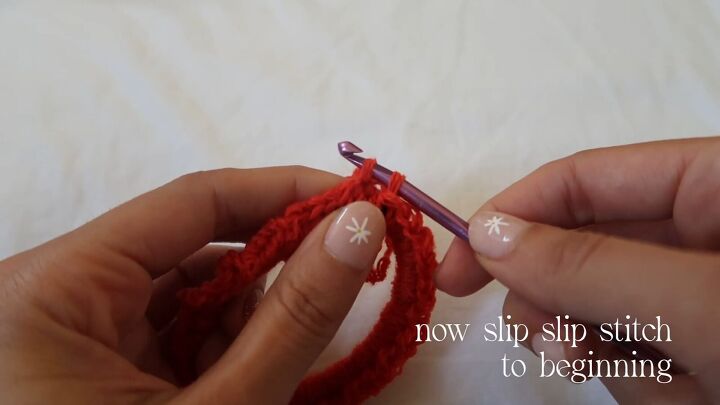
Then take the stitch on the top and put it inside the second stitch.
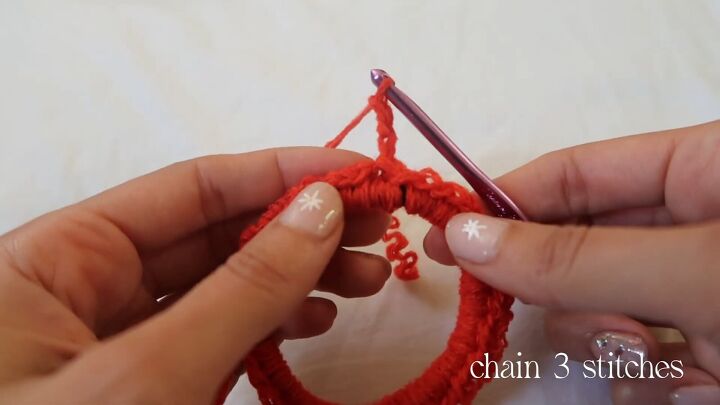
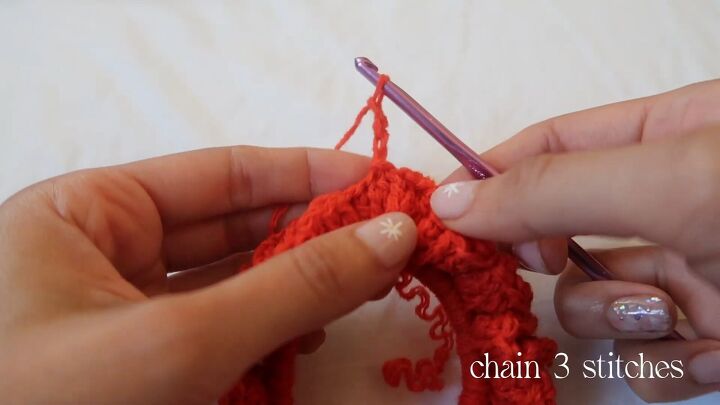
4. Chain 3 stitches
(See video 3:13 -3:20)
Create a chain stitch, moving upward, creating 3 stitches.
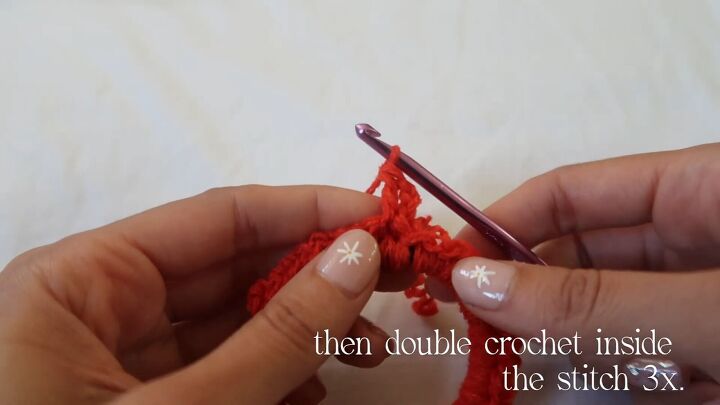
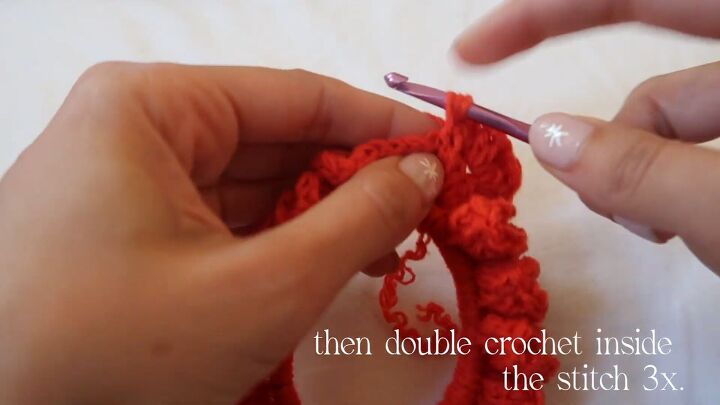
5. Double crochet inside the stitch
Now create a double stitch, 3 times inside the stitch next to it.
Then continue this process with the 3 double crochets on the adjacent stitch, continuing all around.
For a better look at the double crochet stitch, see the video 3:20 - 4:05 and slow it down as much as you need.
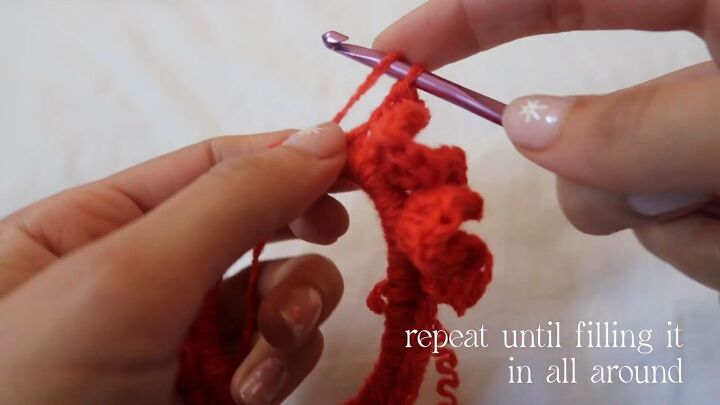
Repeat until filling it in all around.
6. Slip stitch, 2nd round of double crochet 3x all around
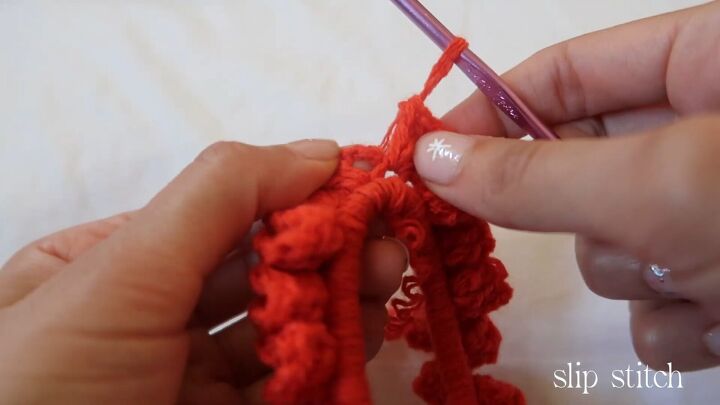
Once you’ve reached the part where you began, go inside the first stitch with the hook and create a slip stitch.
Now start again, doing a second layer of the double crochet. Like before, begin with the 3 stitches.
Then double crochet 3 times inside that stitch.
Repeat the double crochet all around to return to the initial part where we started.
The fact that we are repeating the same stitch in two layers makes this project great for beginners.
As you can see, the crochet scrunchie is starting to take shape.
Consistency in your stitching is key in order to get an even result. Make sure you are doing the correct number of stitches each time, while keeping your tension consistent.
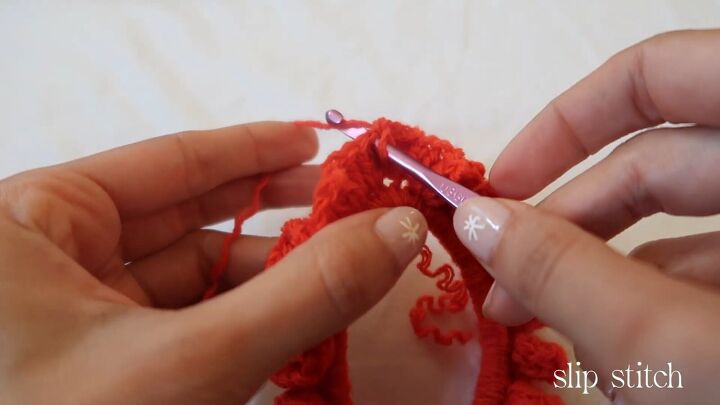
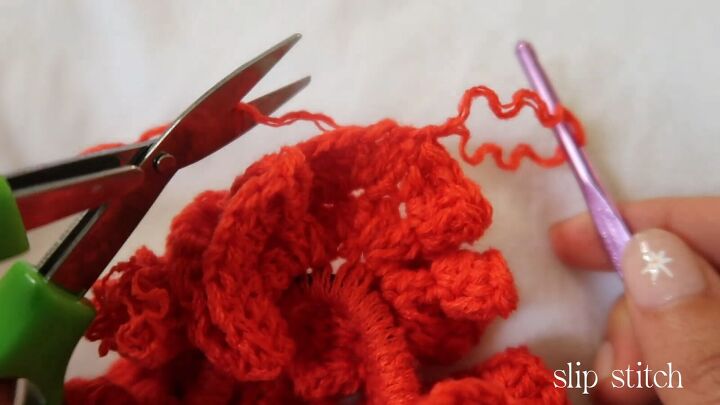
7. Slip stitch, cut the yarn tail and pull
(See video 8:05 - 8:23)
Once you’ve gone all the way around the second round, the last thing to do is a slip stitch.
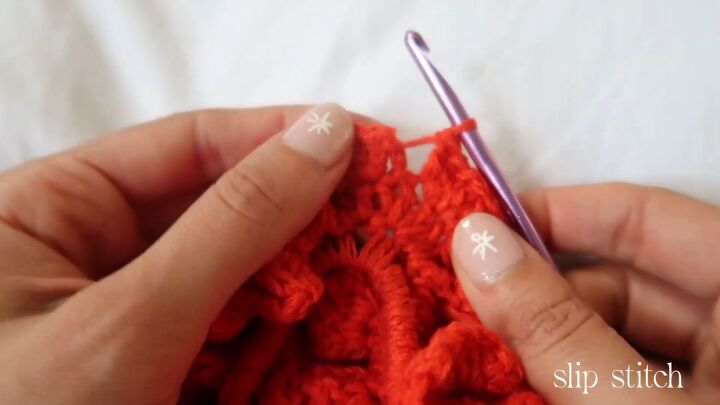
After the slip stitch, cut the tail of the crochet yarn, and you are nearly done!
8. Sew in the yarn
With the help of a crochet needle, hide the tail of the yarn.
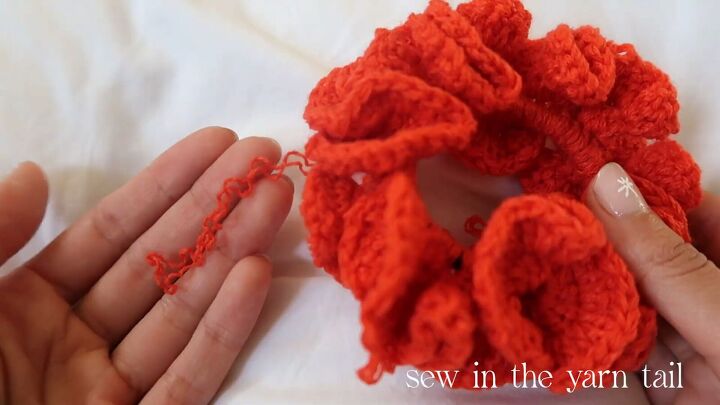
To do this, slip the yarn tail through the large eye of the crochet needle.
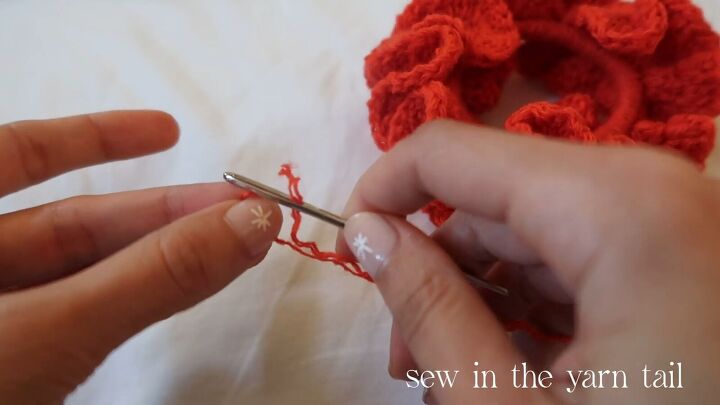
There isn’t a specific technique, you don’t even need to tie a knot, just take the needle and sew it in between the previous stitches so it’s not seen.
Continue sewing as far as you can along the perimeter of the scrunchie.
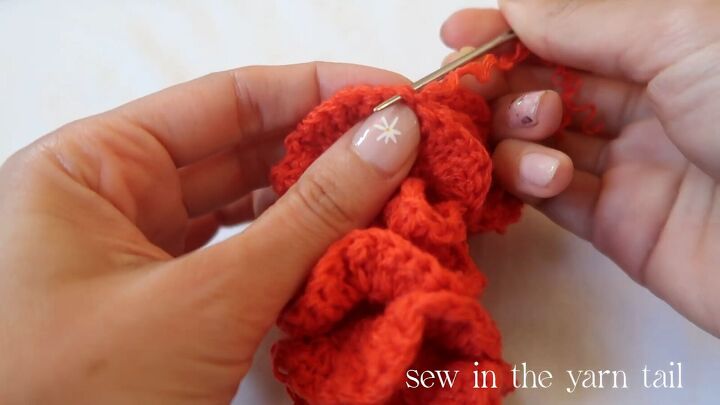
Once the end of the yarn disappears, you’re done!
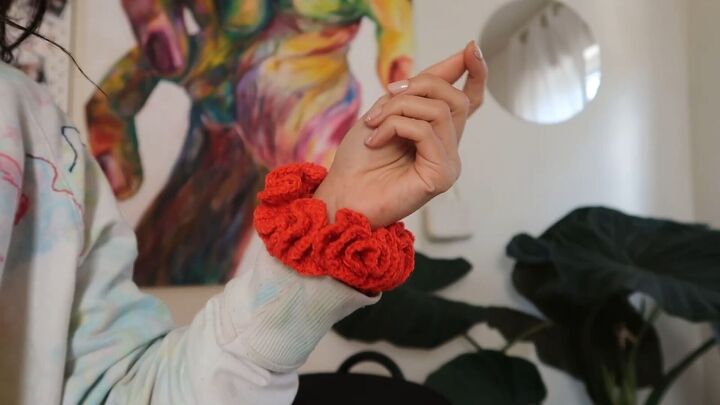
Completed crochet scrunchie
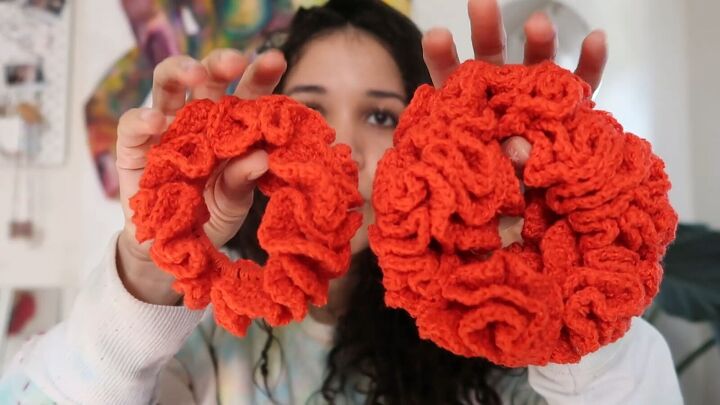
If you continue to add more layers, you’ll get a coral-like scrunchie. Here you can see the difference:
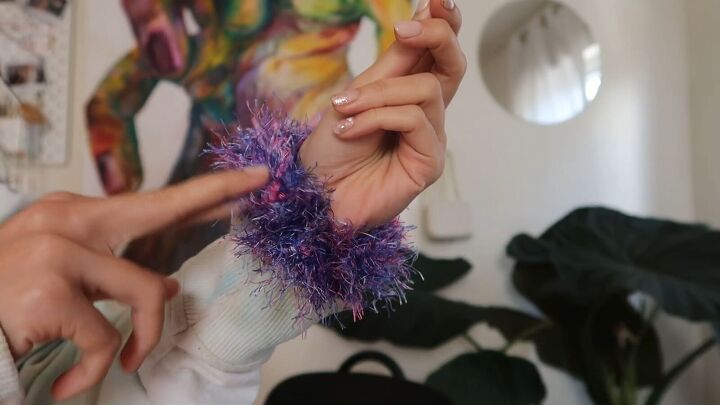
Some yarns will be easier to crochet than others. Yarn with a crazy texture, like in the image below, will be more challenging because it will be hard to see the stitches.
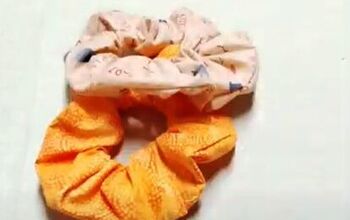
You can even repurpose an old piece for the yarn, like I did.
I hope this tutorial has inspired you to make your own, sustainable crochet scrunchie! Show your final result in the comments below.
The author may collect a small share of sales from the links on this page.


Comments
Join the conversation