Have a Dress You're Not Wearing? Try Altering It!

I'm sure we all have a wardrobe item that we love, but just don't wear. We can't quite figure out why it's not getting worn though. Maybe it's the color, maybe the fit is slightly off or maybe it's a dress and should actully be a shirt. Whatever reason you have, altering it just might be the answer. Keep reading to see how I took this dress I loved, but never wore and turned it into a shirt I wear ALL the time.
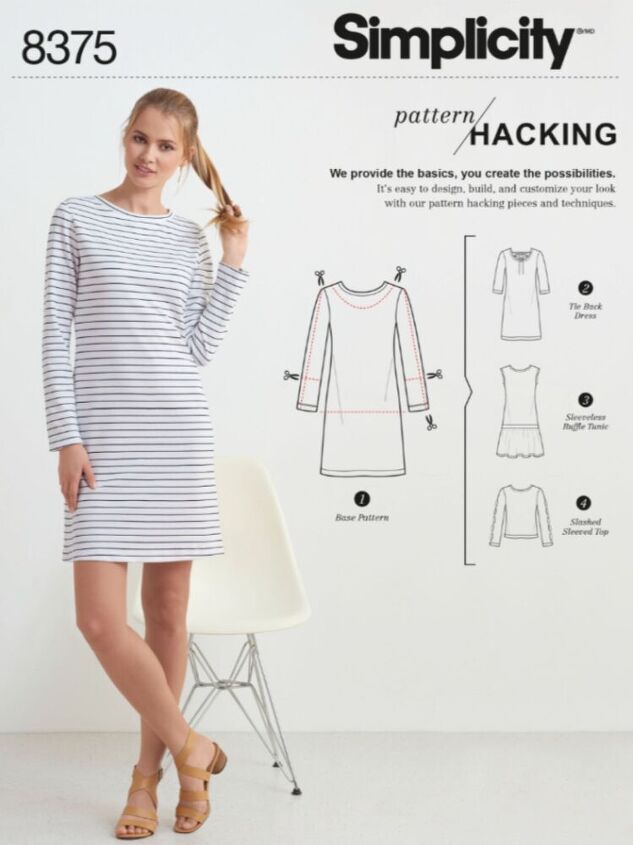
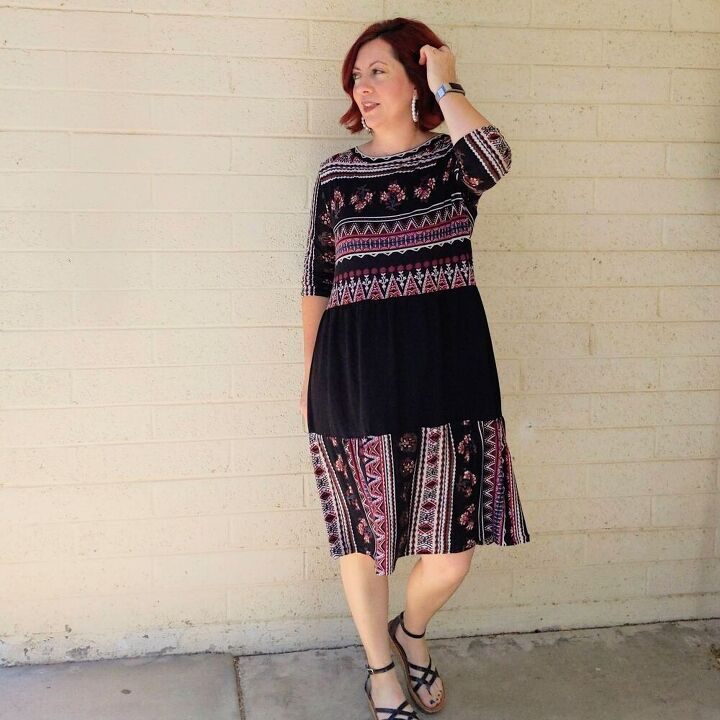
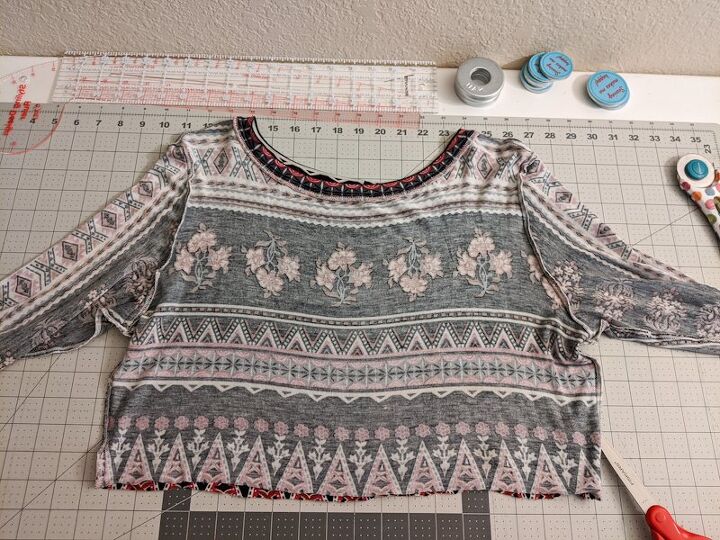
Let me just say that I loved this dress. It was was a July 2019 @sewyourview challenge of the Simplicity pattern. It was a pretty basic t-shirt dress pattern that came with different ideas on how you could “hack” it. Super fun ideas for those that like to get a little creative with their makes.
I actually loved the way my dress turned out. It was comfortable, I loved the fabric and it was easy to wear. For some reason I wasn’t wearing it…….. Like at all. So I put it on and wore it around. I came to the conclusion that I didn’t like the elastic I used to gather the tiers. It made it not flow how I wanted it too. I also didn’t like the fabric I used for the black tier. It was a cotton blend and it attracted so much dog hair it was alarming. I also like wearing separates during the week more than I like wearing actual dresses.
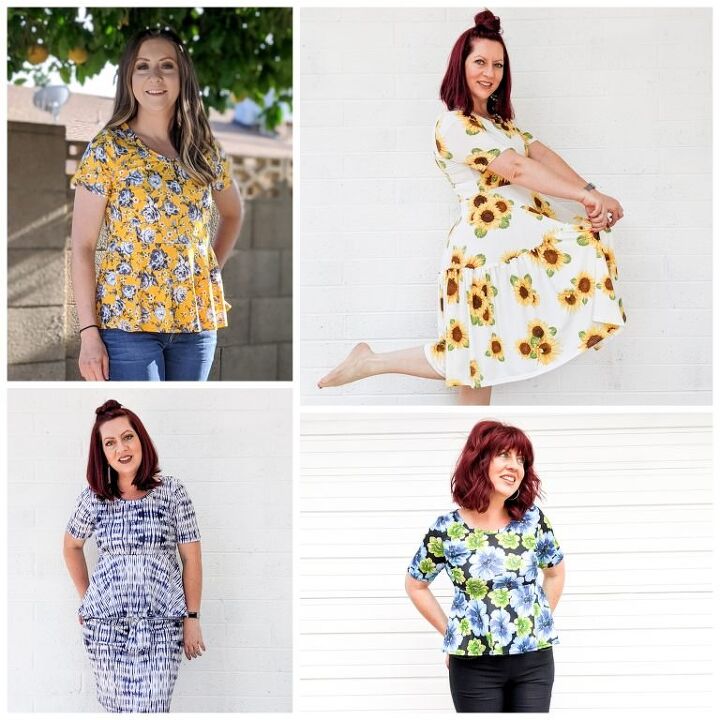
I made the decision to alter it into a peplum shirt using a pattern by @blankslate pattern The Verbena. I made a sunflower dress and two peplum tops that I love and wear all the time. My sister loved them so much that I made her a top as well and she wears it constantly.
I knew the alteration would be easy, I just had to check all the pieces and make sure they would fit. I turned the dress inside out and roughly measured the pattern pieces against the dress.

When I was satisfied it would work I began the process of taking my dress apart. Luckily I had enough room that I didn’t need to pick out any seams. Thank goodness! I could just cut the fabric on the seam lines. First I needed to remove the skirt from the bodice.
Then I cut the side of the bodice at the seams and around the armholes to separate the front from the back. I didn’t want to redo the neckband so I just left it on and measured everything with it in place.
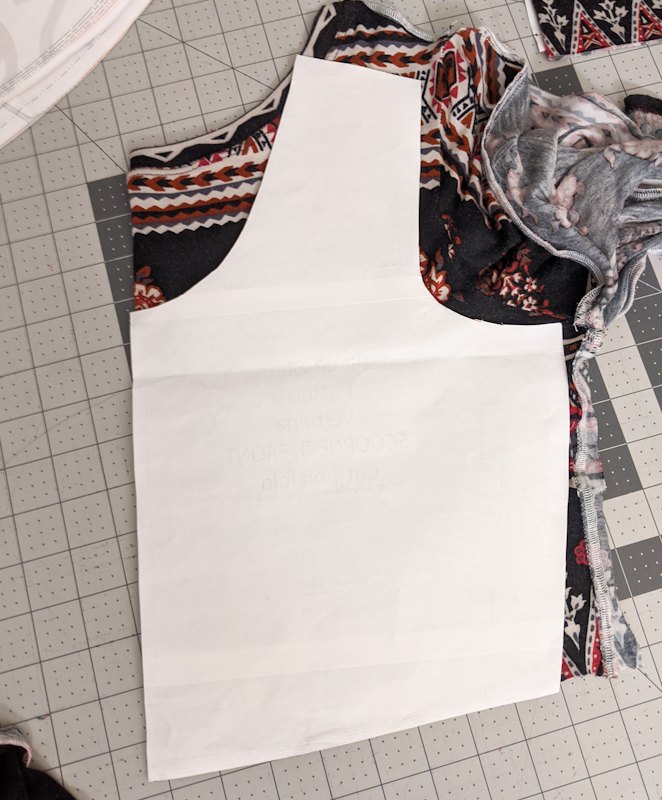
It meant that the front and back necklines were basically the same but I was fine with that. Not having to redo the neckline saved me some time too. I also had enough room to pretty much match the fabric designs on the front and back like I did with the dress.

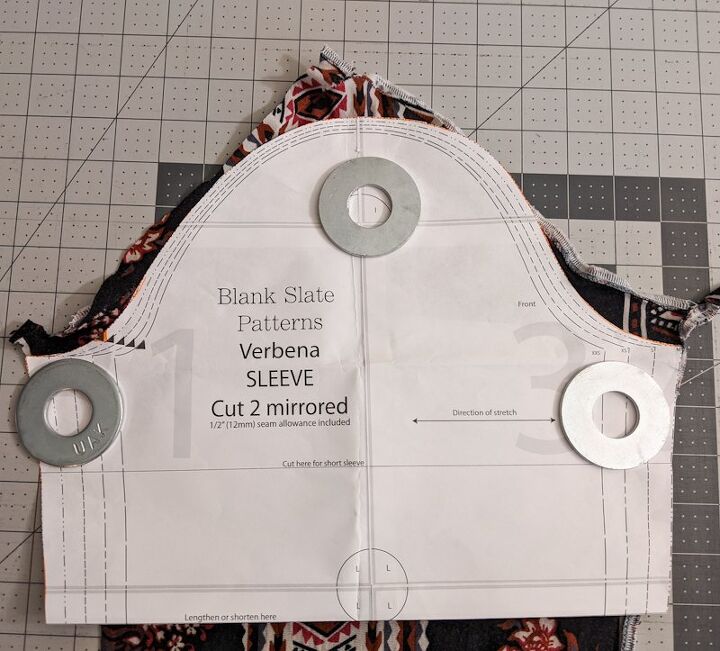
Once I had the front and back bodice pieces cut out I needed to do the sleeves. The top of the sleeve was the right size but the sleeve got considerably skinnier than the pattern piece after the armpit area. This fabric I’m using was extremely stretchy though so I knew it would be fine. I just wanted to make sure to match the design on the bodice with the sleeve. I kind of winged this part. I cut each sleeve separately making sure to do mirror images because I didn’t have extra fabric if I messed it up. Then I laid them on top of each other (mirror image wise) to make sure they were the same size.
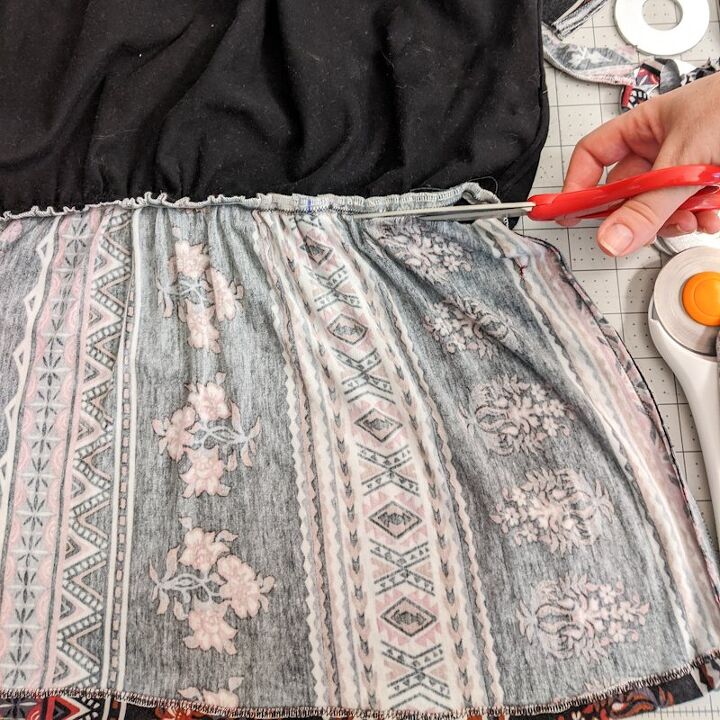
For the peplum ruffle I didn’t have enough fabric to cut a circle ruffle so I just cut the bottom tier off the dress to make a gathered ruffle. Before I gathered the ruffle tho, I made quarter markings on the bodice and the ruffle piece so I would know where to attach the pieces. Then I did two rows of basting stitches to gather the ruffle. I didn't have to hem it because the bottom tier was already hemmed.
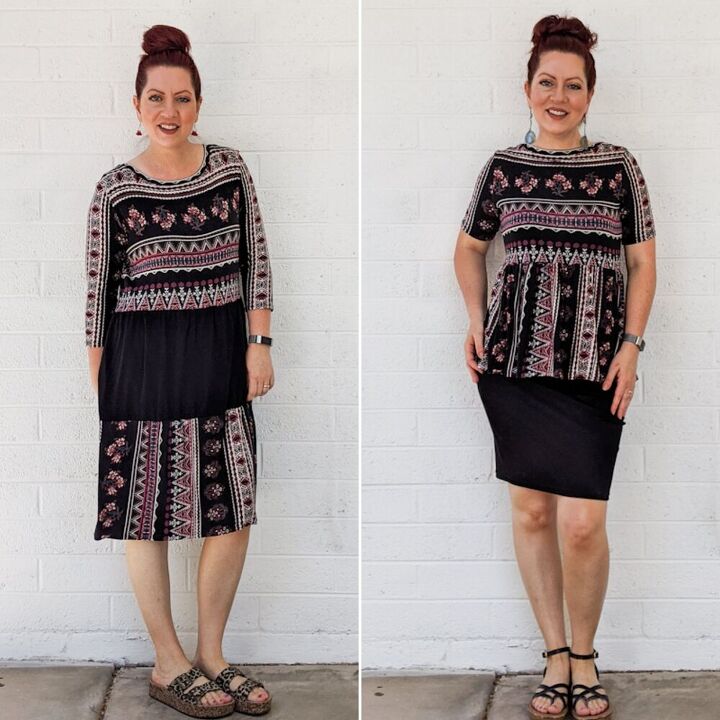
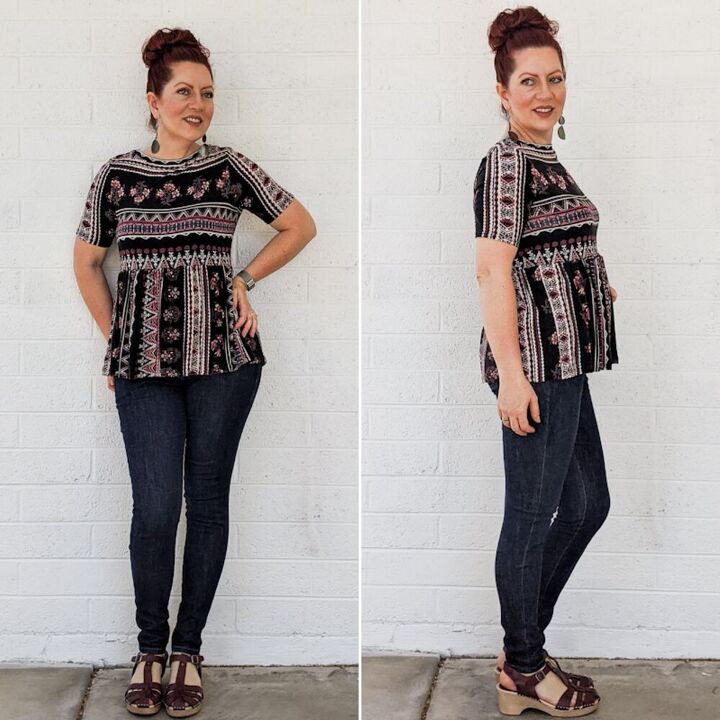
I sewed it all together and had this cute top that I could wear with a lot of different bottoms year round. You can see how I was able to match the sleeves to the front design. I was pretty excited about that.
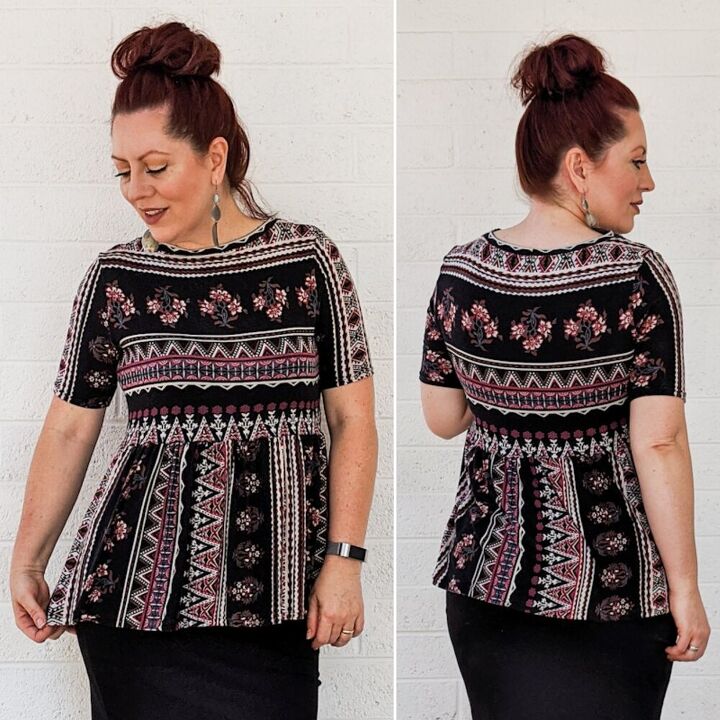
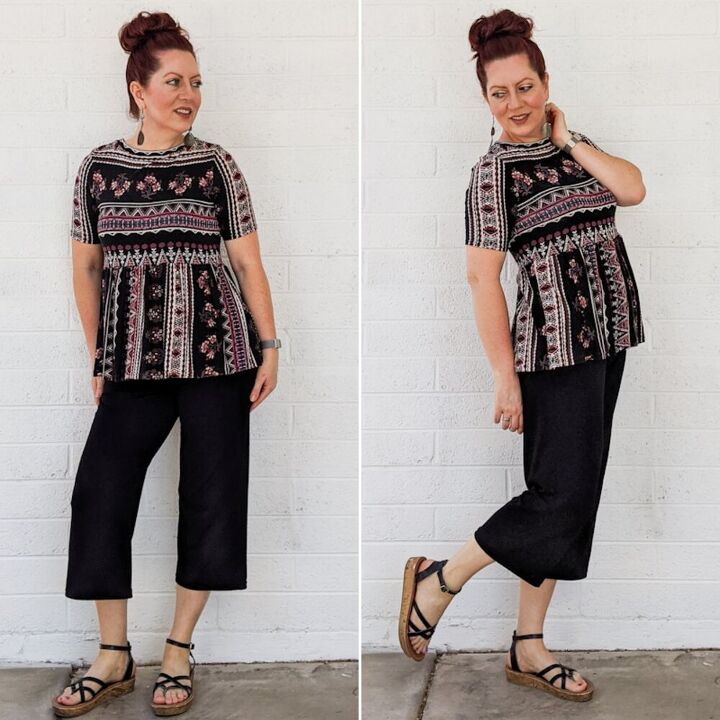
I Love it so much more than the original! Now I have a cute new top that I can pair with all sorts of bottoms. Here’s a few different ways I can wear it. I love it with cropped pants!
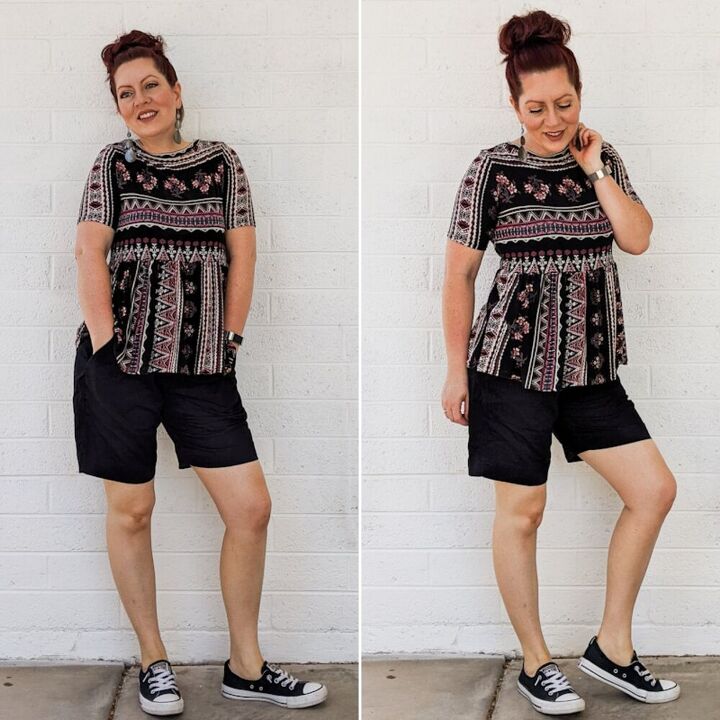
I think this casual short and converse look is my favorite. Super comfy and so ME!
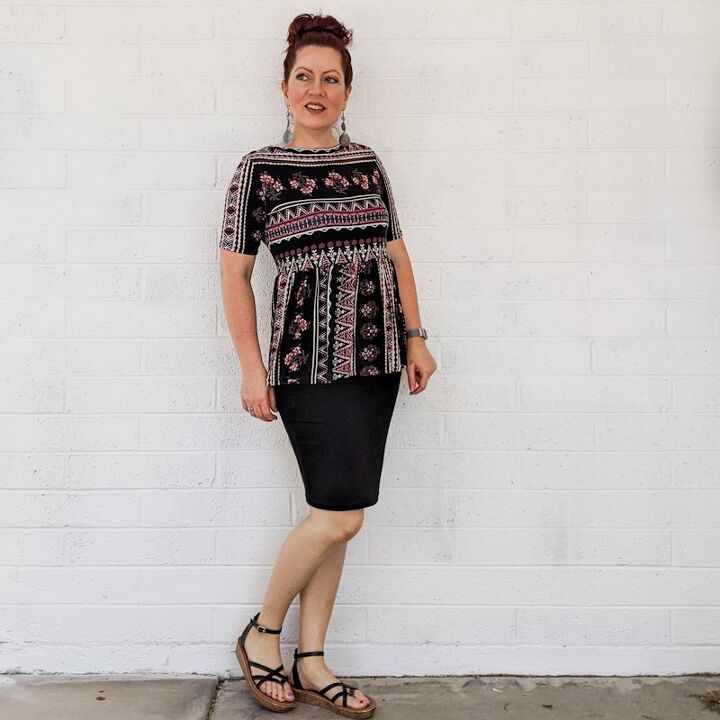
I like that I can dress it up with a cute pencil skirt or…..
…...throw on a pair of skinnies or leggings when it gets a bit chilly. This top is definitely getting worn more that it did as a dress.
Doing this really got me thinking about what else I could alter to help me get the most out of my wardrobe. Hopefully this helps others think of different ways they can alter things in their wardrobe too.
Happy Sewing and Altering!
Koe
I am an affilaiate for Blank Slate Patterns. I recieve a small comission when my links are used to purchase patterns. It doesn't cost extra to use my affiliate links.
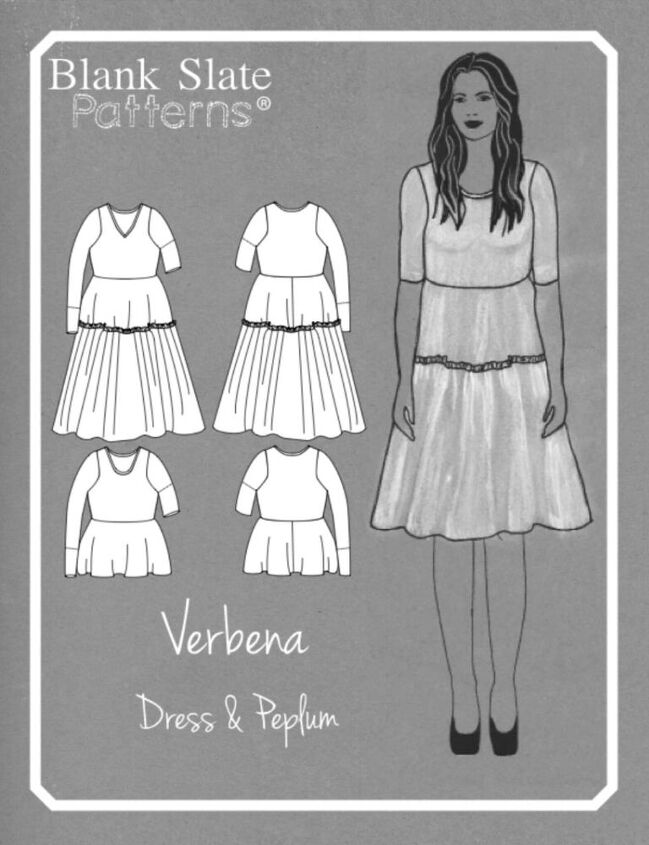
The Verbena is a modern tiered dress pattern for stretch knits, and it will have everyone asking where you bought it. A circle tier creates great drape with minimal bulk at the waist. Wear Verbena at this length as a peplum, or add the gathered lower tier with an exposed ruffle for a twirl-worthy dress.
Verbena features:
- Scoop or V neckline
- Snug fit through shoulders, bust, waist, and sleeves
- Peplum top or knee-length tiered dress
- Invisible elastic reinforcement at the slightly above-waist seam
- Short, elbow, 3/4, and long set-in sleeve options
- For light- to medium-weight knit fabrics with four-way stretch only (DBP or cotton/spandex recommended)
Sizes:
Women's XXS-3X (bust 30-53")
The author may collect a small share of sales from the links on this page.


Comments
Join the conversation
Wow, that looks fabulous on you, you and your creation are beautiful!
I so like the separates better. Thanks for showing us how to do it. Blessings!