Classy Cardigan Dress Sewing Tutorial

In this tutorial, I will be showing you how to make the Sierra duster cardigan. This cardigan is so versatile. It can be worn open as a duster, or closed as a dress. It can be styled with jeans and sneakers for a casual look, or paired with heels to dress it up. Enjoy the process of creating this beautiful piece!
Tools and materials:
- Sewing pattern
- 2¼ yards of stable knit fabric
- 2 yards of 1-inch wide interfacing
- Scissors
- Measuring tape
- Pins
- Matching thread
- Stay tape
- Sewing machine
- Four-thread serger
- Iron
- Long stick
- Seam ripper
Optional:
- Buttons
- Buckle
- Buttonhole foot
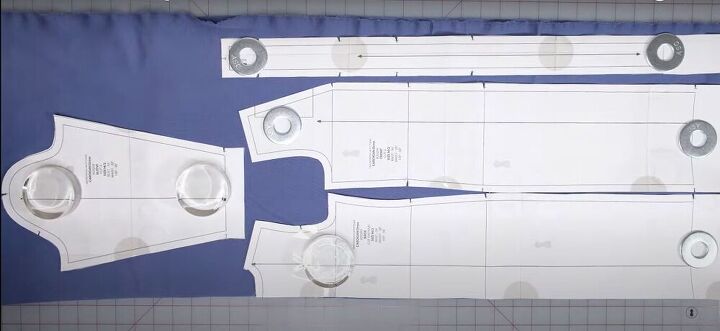
Lay out pattern pieces
Once you’ve determined your size and the preferred lengths for your sleeves and cardigan based on the pattern booklet, cut out your pattern pieces. Fold the fabric in half, and lay out the pattern pieces.
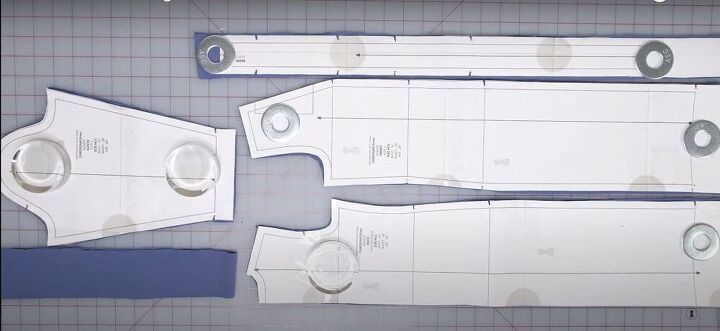
Cut
Cut out all the pattern pieces.
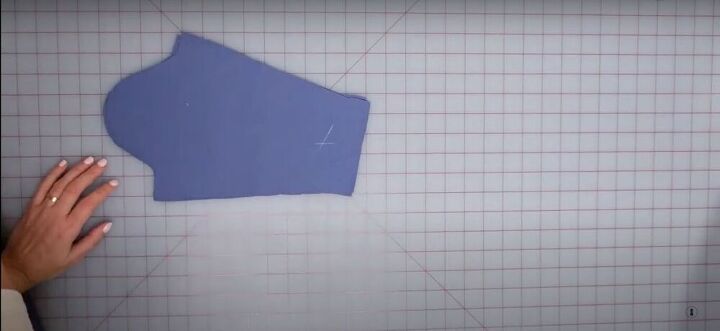
Mark
Mark the wrong side of the fabric on all your pattern pieces to avoid confusion.
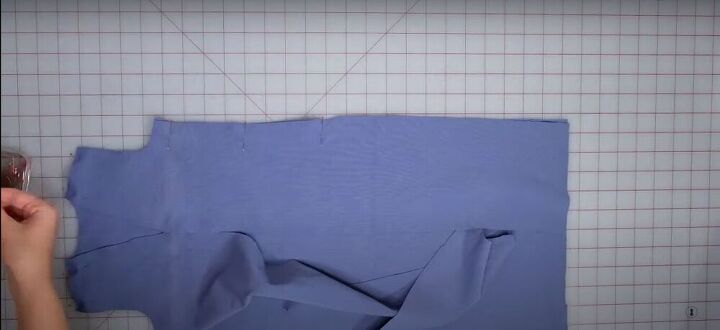
Pin
Pin the shoulder seams and side seams of the bodice.
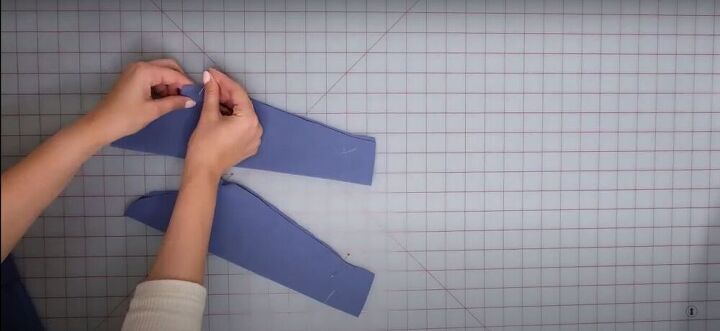
Pin the side seams of the sleeves.
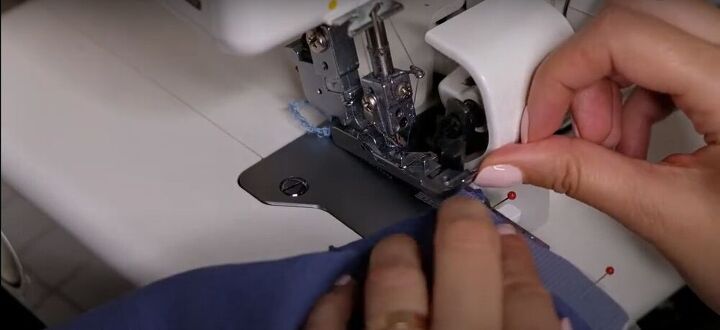
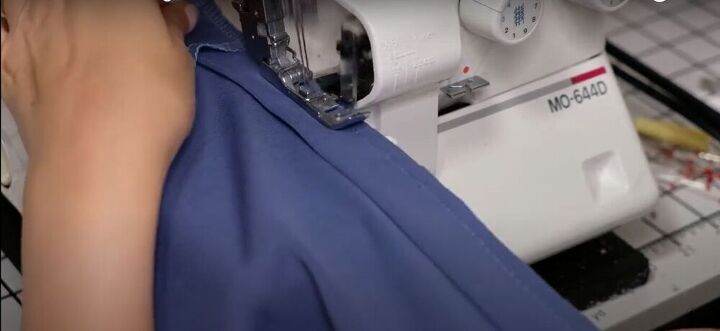
Serge
Apply stay tape to the shoulder seams and serge with a four-thread serger.
Serge the side seams of the cardigan and the sleeves.
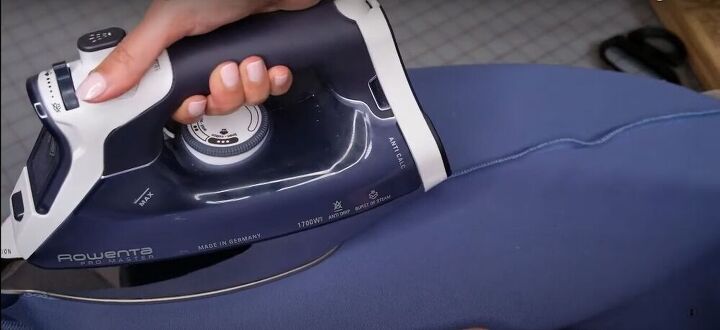
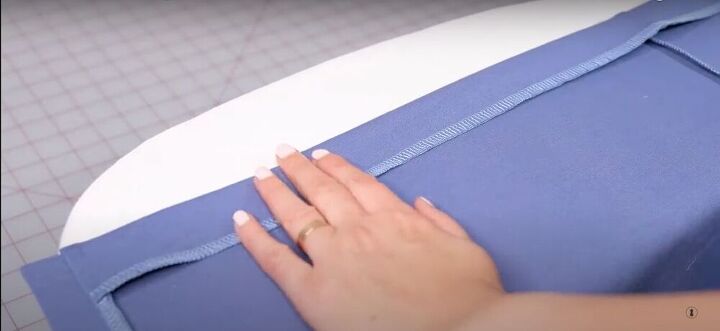
Press
Press the shoulder seams and side seams, with the seam allowances facing the back of the cardigan.
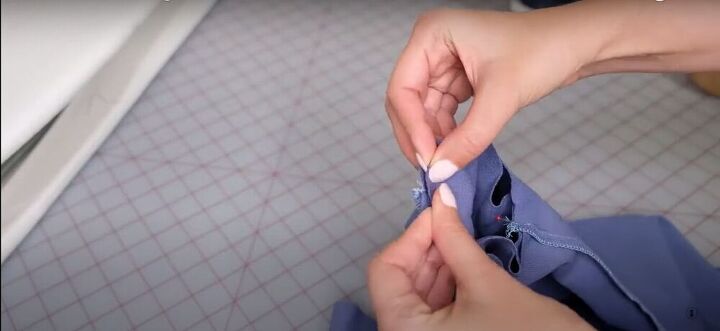
Pin the sleeves
Insert the sleeves into the armholes, right sides facing. Match up and pin each of the following points: The side seams of the sleeve and cardigan, the center notch on the sleeve and the shoulder seam, and the back notches on the sleeve and the cardigan. Then, evenly distribute the fabric between the notches, and pin it in place.
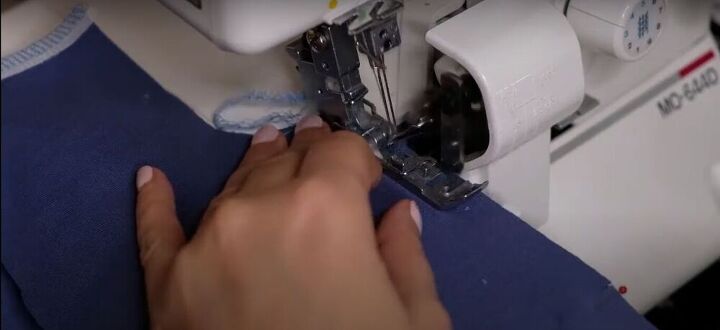
Sew
Sew the sleeves in place. Then, press the seam allowances facing the sleeve.
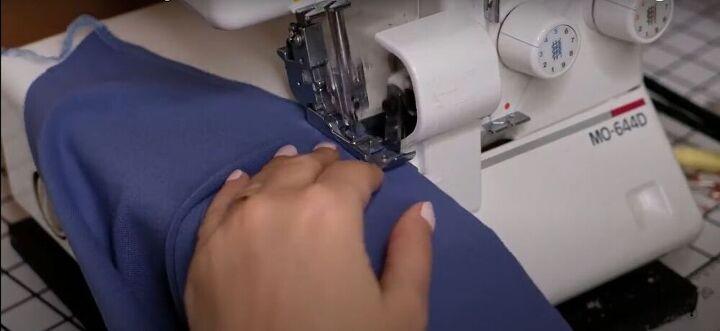
Serge the hems of the sleeves, and the hem of the cardigan itself.
Sew and press
Sew the two pieces of the neckline band together at the ends with the notches. Then press the seam allowances apart.
Iron on the interfacing
If you are planning on making a cardigan without buttons, you can skip this step. If you are adding buttons, you will need to stabilize half of the neckband. To do so, iron a piece of interfacing onto either end of the band.
Sew and press
Fold your band in half, right sides together, and sew down the ends. Then turn it out, fold it in half, and press.
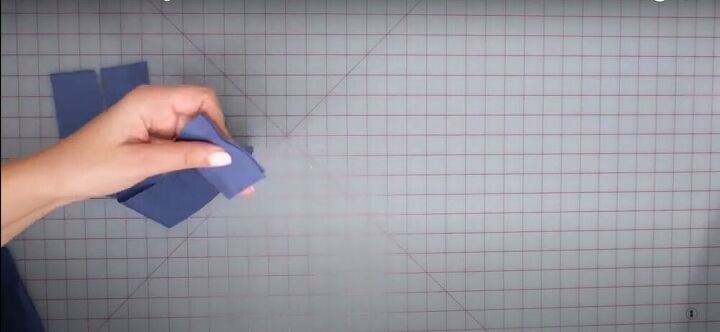
Cut
Cut the corners of the seam allowance diagonally to minimize bulk.

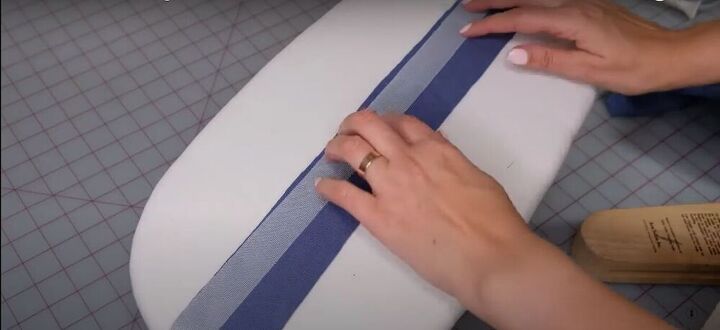
Pin the neckband to the cardigan
Without stretching your fabric, pin the band to the dress starting at the center-back, matching the notches at the shoulder seam.
At the bottom, cover the band with the hem of the cardigan, and pin.
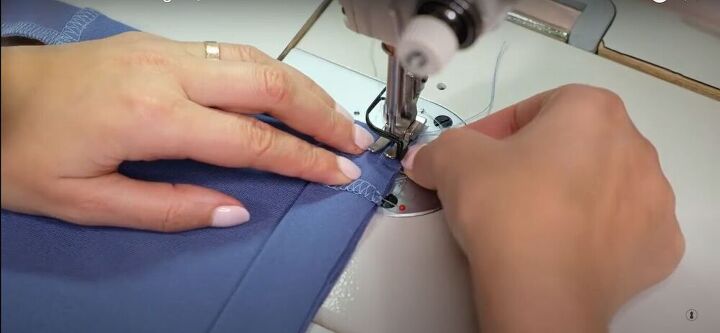
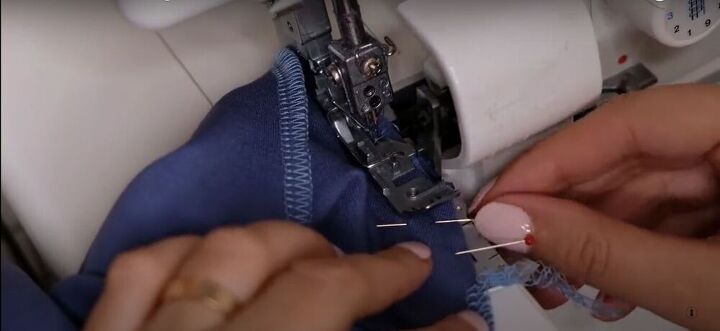
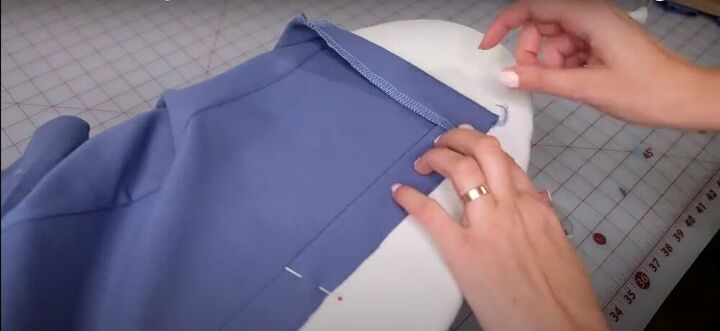
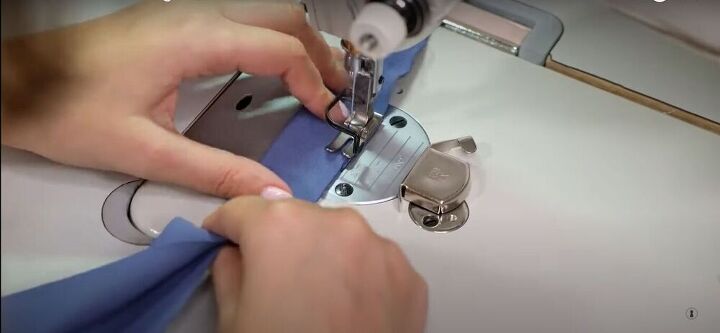
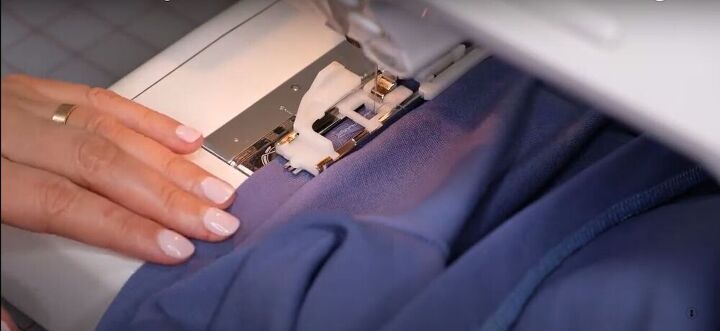
Sew
Sew the band to the dress, band side up, being very careful not to stretch your fabric. If your fabric is not cooperating, you can easily do a quick baste stitch beforehand.
Serge and press
Serge the edge of the band, and then press it flat.
Fold and press
Fold the hems of the cardigan and the sleeves in one inch, and press them flat.
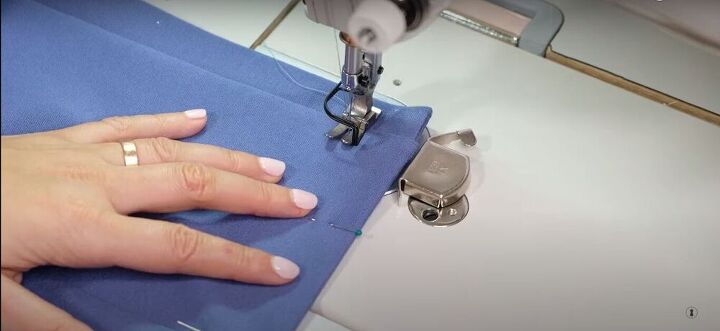
Sew
Top-stitch the hem.
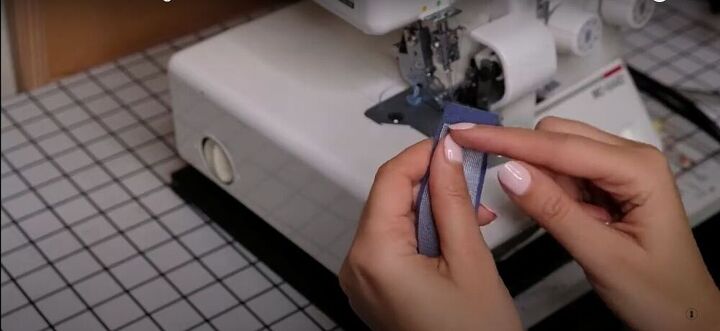
Sew the belt
Fold your belt in half, right sides together, and sew, leaving one end open.
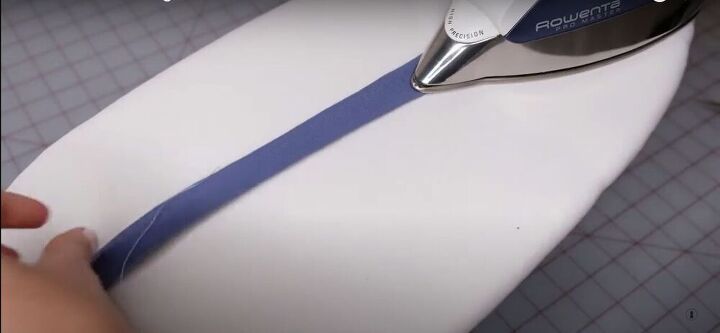
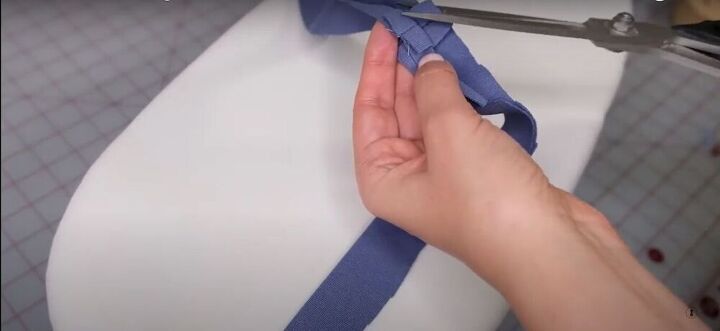
Turn the belt right side out and press
Using a long stick, turn the belt right side out. Then press the belt flat. Hand-stitch the opening at the end of the belt closed.
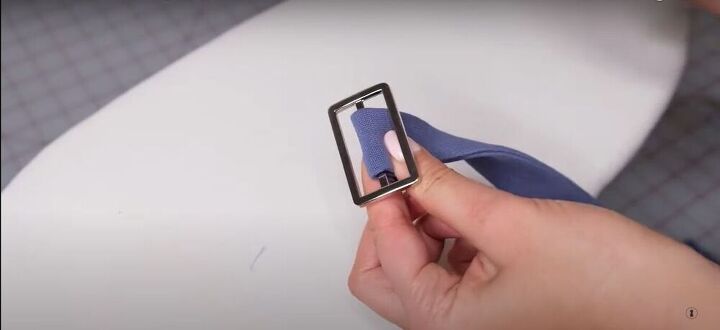
Attach the buckle
To add a buckle, hand-stitch the buckle onto one end of the belt.
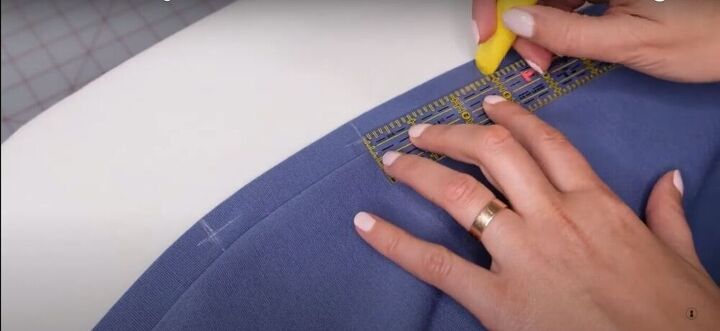
Add buttonholes and buttons
To add buttons, mark the first buttonhole on the curve of the neckline on the right side of the fabric. Then, mark the next buttonholes three to four inches apart.
Choose the appropriate settings on your machine, and sew the buttonholes. Cut the center with a seam ripper.

Fold the neckband evenly, and place a pin in the center of each buttonhole. Open the fold, and the pins will remain in place, marking where to sew the buttons.
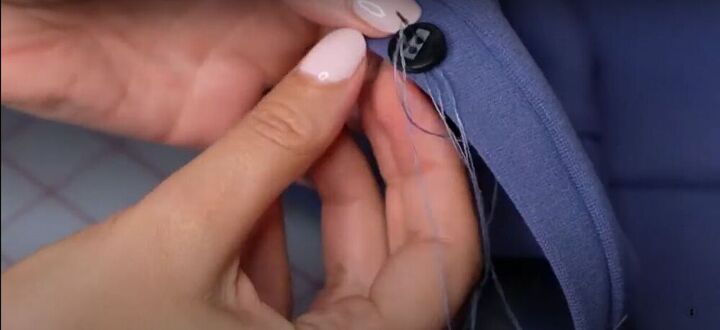
Sew on the buttons.


Let me know if you found this tutorial helpful!
The author may collect a small share of sales from the links on this page.


Comments
Join the conversation
Beyond my skill level….well done👏