How to Sew a DIY Open-back Strappy Dress For Summer

In this tutorial, I will show you how to make a beautiful open-back, strappy dress that you will be able to wear everywhere, from vacation to special events. You can download the pattern for this flowy, backless maxi dress, and then you’ll be ready to start.
Tools and materials:
- Dress pattern
- 3 to 3½ yards of non-stretchy, woven fabric
- Thread
- 12mm bias tape marker
- Glass head pins
- Safety pin
- Scissors
- Sewing machine and serger
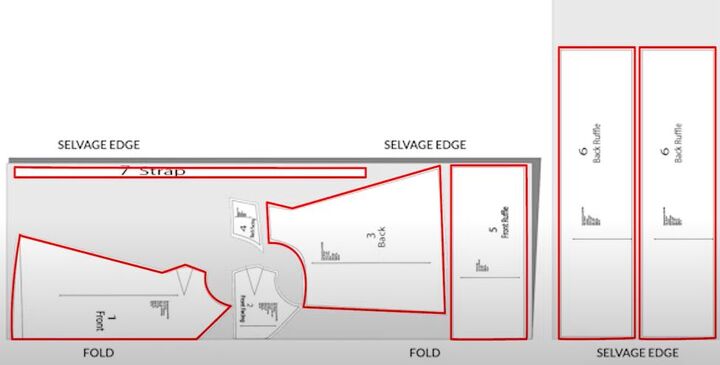
1. Cut the pattern pieces
Cut the pattern pieces outlined in red in the above image from your fabric as indicated. Cut out two sets of the front and back, because you will use the second set as your lining.
2. Sew the dress back
With right sides together, pin two back pieces together, and sew the center back seam. Repeat with the other two back pieces, for your lining. Press the seam to one side without opening it.
3. Sew front darts
Pin and sew the front darts as marked on the pattern. Sew the darts on the lining pieces as well. Then press the darts to give them the right shape.
4. Stabilize the neckline
Stay-stitch the front top edge of the front lining to stabilize the edge and the shape of the armhole and neckline. Be careful to ensure that the point of the V-neckline is positioned exactly at the center-front.
Fold the front lining at the neckline V and pin the corners to keep both sides in place and equal.
Check the armholes to ensure they are also symmetrical.
5. Stay-stitch the back lining
Stay-stitch the top edge of the back lining.
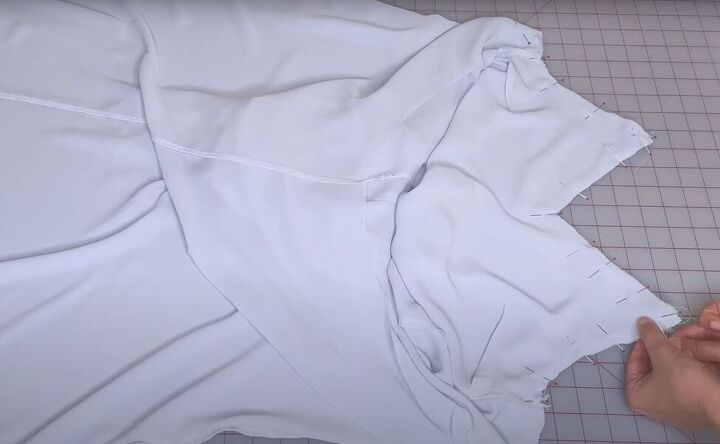
6. Sew the dress
With right sides together, pin the front and back of the dress at the side seams, and sew the side seams.
Do the same for the lining.
Press the side seams to the back of the dress.
7. Attach the lining to the dress
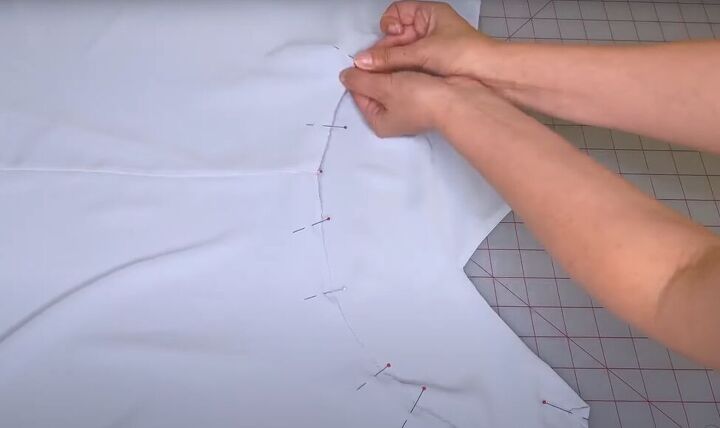
With right sides together, pin the lining to the dress around the top edge of the back, the armhole, and the neckline.
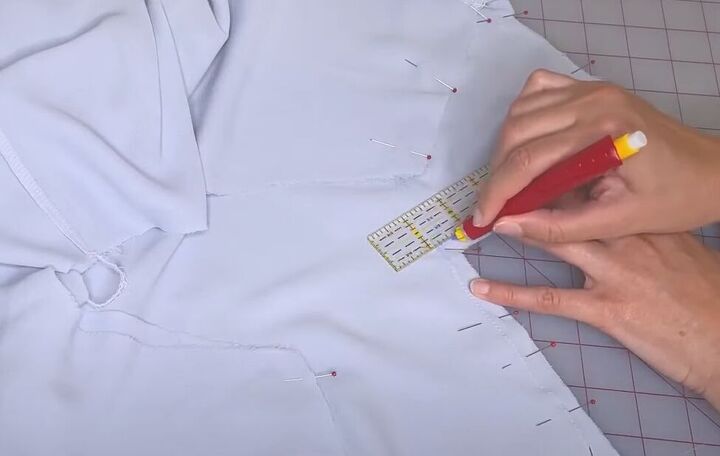
Mark the center of the V-neckline so it will be clear where the stitch line should go.
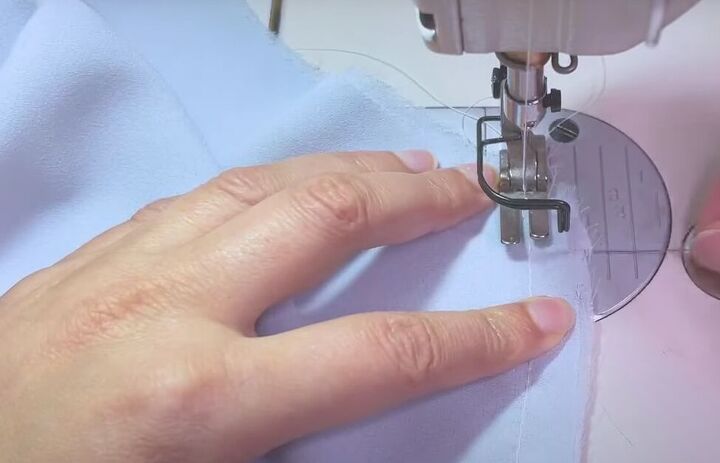
Sew the lining to the dress, sewing on the lining side and using your stay-stitch seam as your guide.
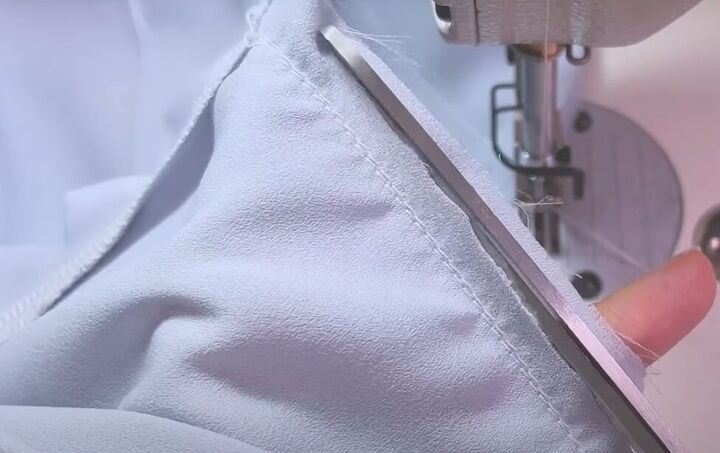
Trim the seam allowances of the back and the armhole to ⅛-inch.
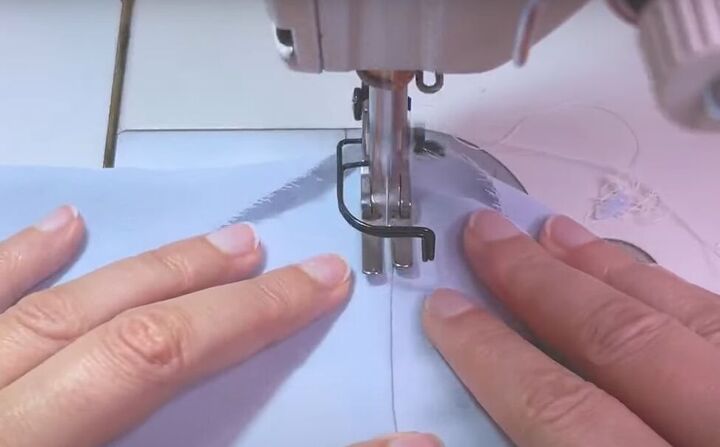
Turn the seam allowances towards the lining and under-stitch the back and the armhole, stopping 1-2 inches before the front points.
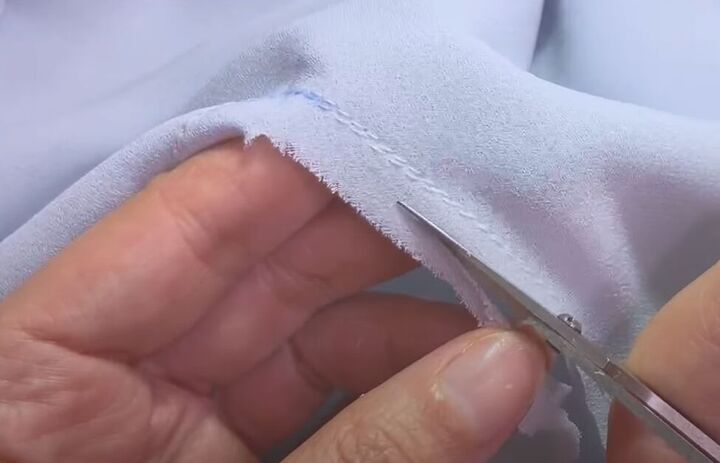
Trim the seam allowance of the neckline to ⅛-inch.
Clip the corner of the neckline, stopping just before the seam. Be careful not to cut through the seam.
Turn the seam allowances towards the lining and under stitch the lining to keep it from rolling towards the outside. Also, under stitch the neckline.
Press the edge of the armhole and the neckline.

8. Make the strap casing
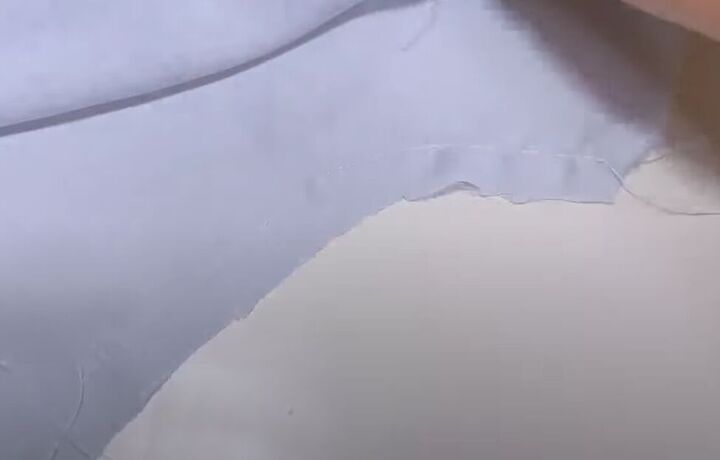
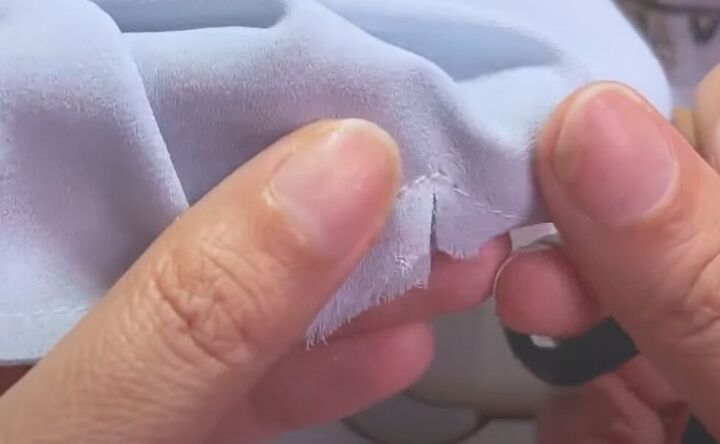
Fold the corners of the front piece down towards the wrong side ⅝-inch and pin.
At the back, pin together the open edge of the lining and the main fabric, matching the side seams. Make sure to turn them in opposite directions so it won’t get bulky.
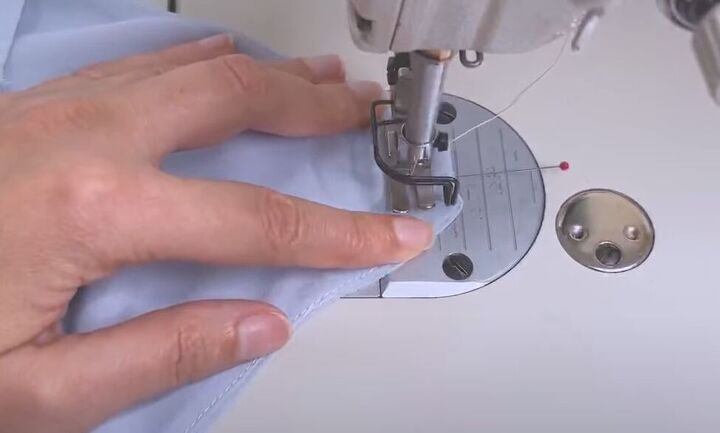
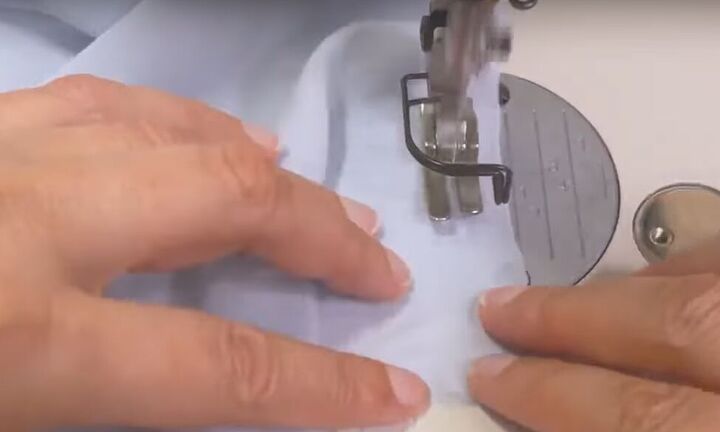
Sew the corners of the front to make the casing.

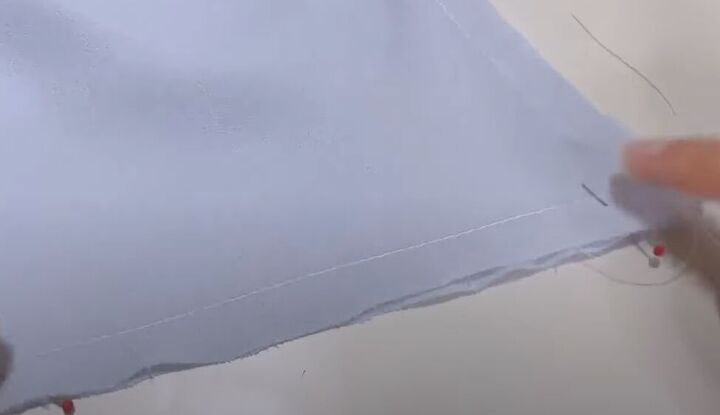
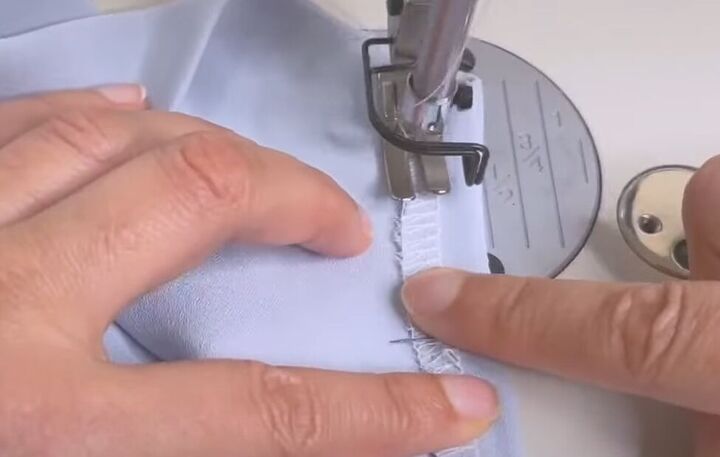
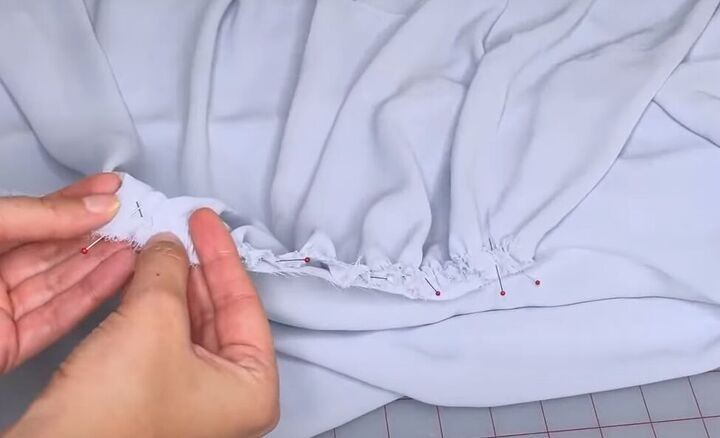
Staystitch ⅝ of an inch from the edge of the back opening and serge.

Pull the excess thread through the stitches to hide it.
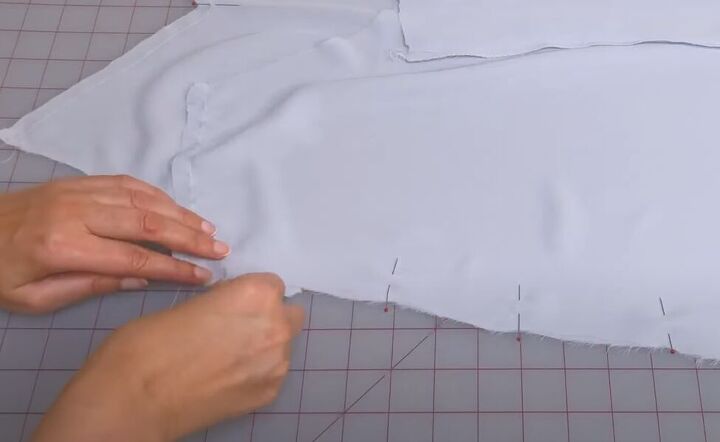
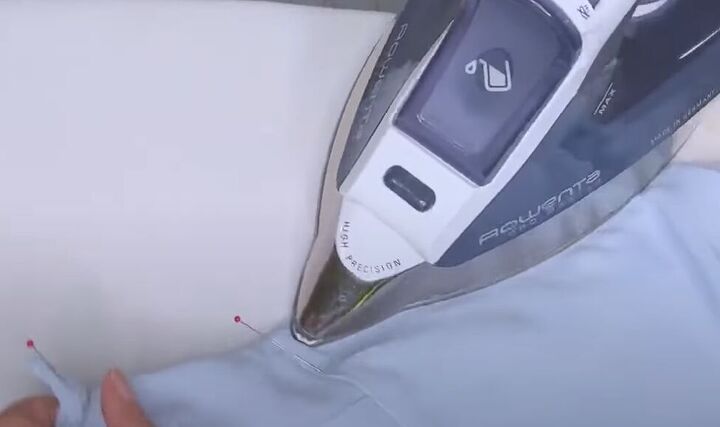
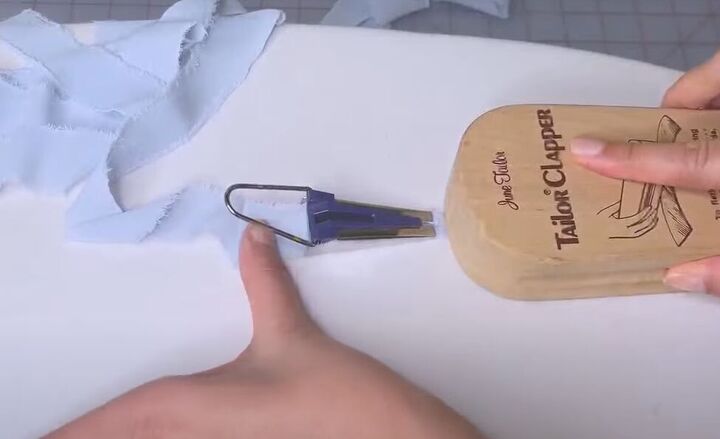
At the back, fold the serged edge ⅝ of an inch to the wrong side.
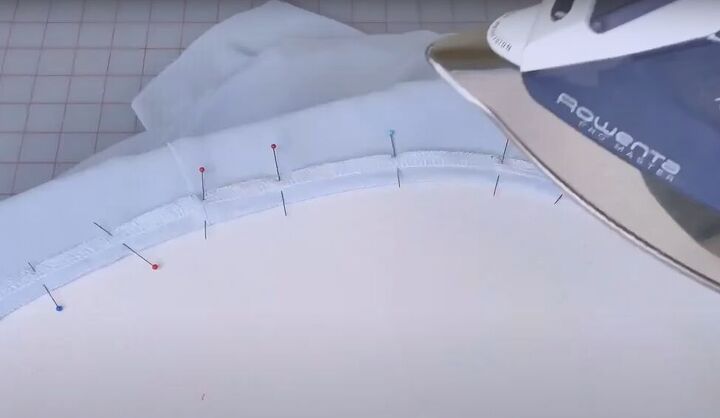
Pin and press.
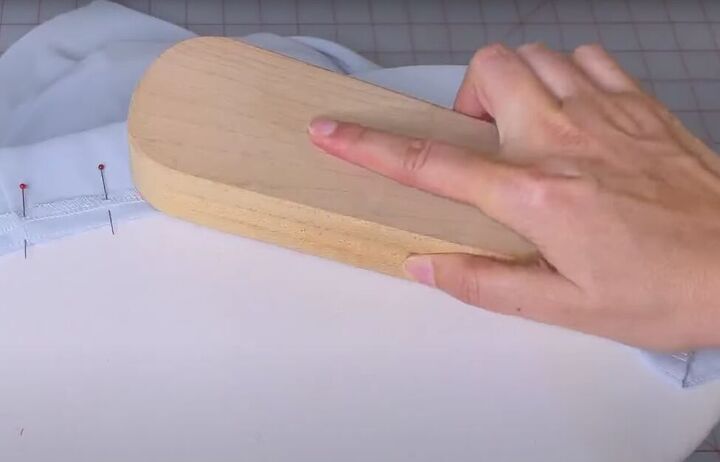
Cool it down to set it in place without twisting the fabric.
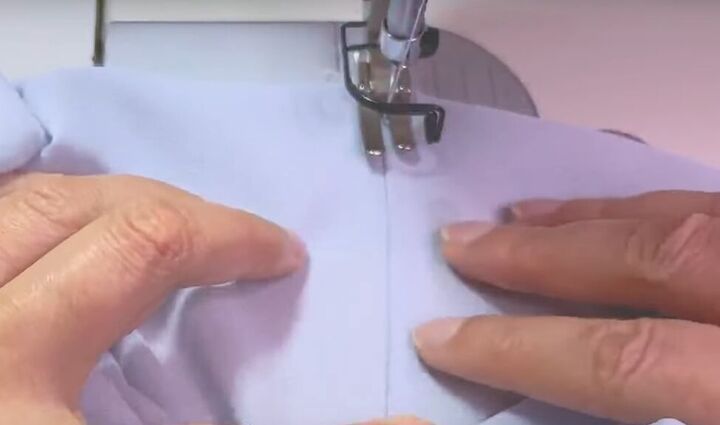
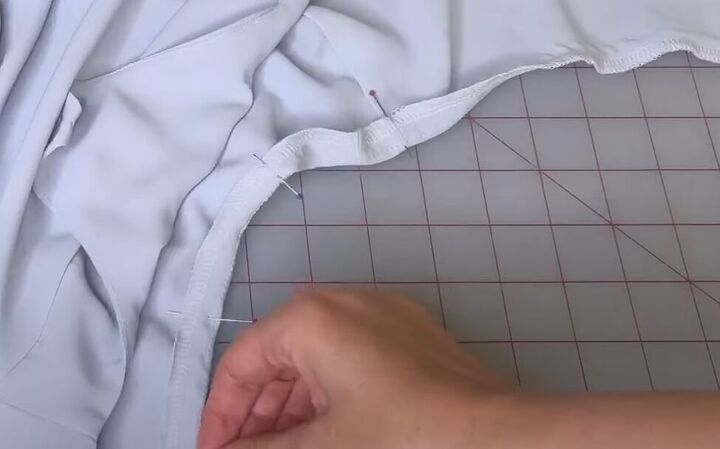
Make a stitch in the middle of the serge seam, ½-inch from the edge, forming a casing. Press and cool the casing.
9. Make the strap
You can use a ready-made cord for a strap or make your own. If you choose a ready-made cord, select one that is ¼-inch wide.
To make your own strap, sew the cut-out pattern strap pieces into one long piece. Then use a 12-millimeter (0.47-inch) bias-making tool to prepare the strap for sewing.
Press and cool the strap as you go.
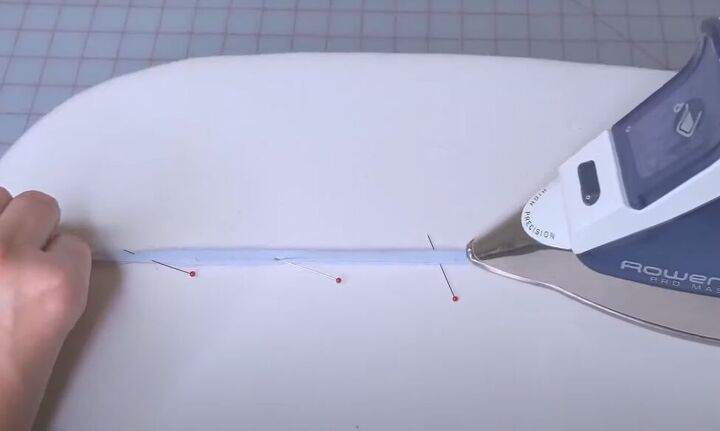
Fold the strap in half, pin, press and cool.
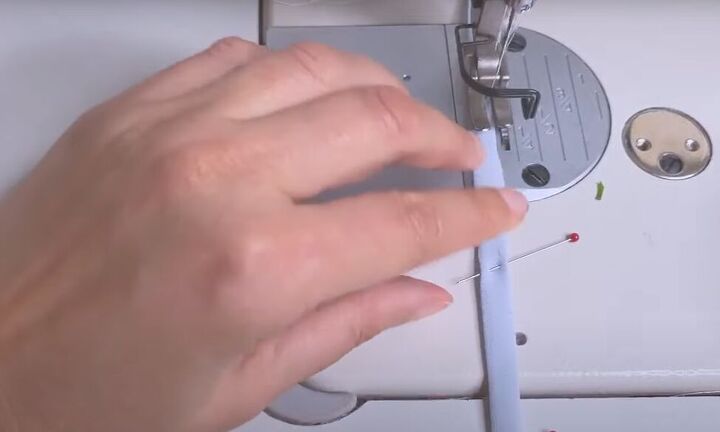
Sew the strap ½-millimeter from the edge and press. Your strap should be about 3 millimeters (0.12 inches) narrower than your casing.
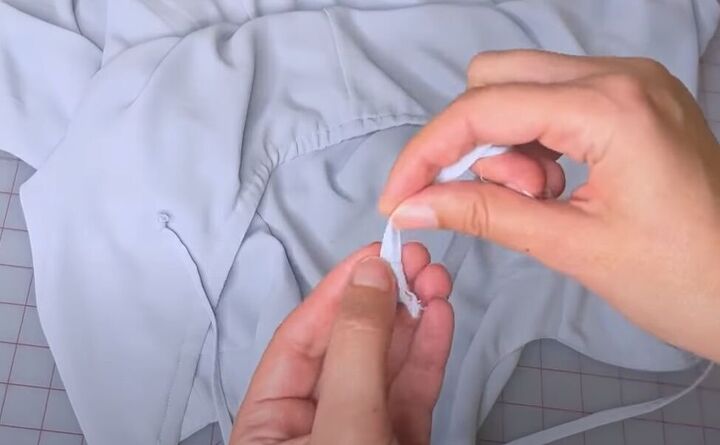
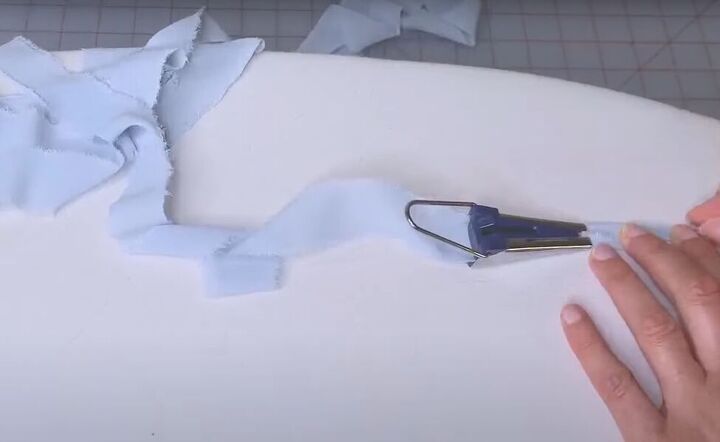
Insert the strap into the back of your dress first, distributing the fabric evenly, then through the front casing. Tie off both ends of the strap with knots.
10. Add a ruffle and hem (9:20 – 10:30)
Follow the video from 9:20 to 10:30 to make and attach the hem ruffle.
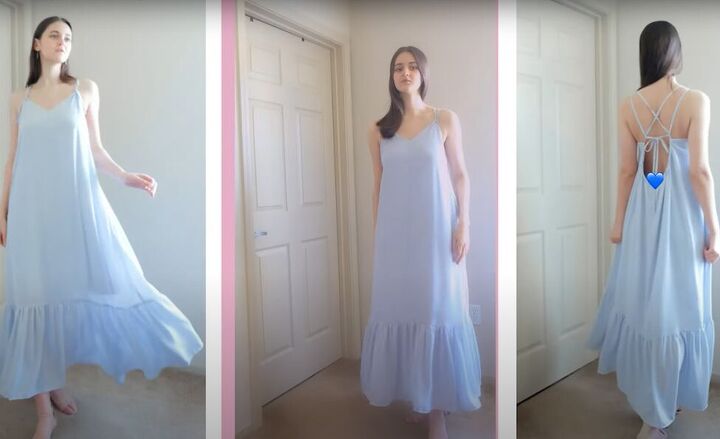
DIY open-back strappy dress
Give your dress a final press and take a look at how beautiful and flowy it is. I hope you try making this DIY strappy backless dress and let me know in the comments how yours turned out.
The author may collect a small share of sales from the links on this page.


Comments
Join the conversation