Learn How to Make a Beautiful Empire Waist Casual Dress

Watched Bridgerton and want to wear an empire waist casual dress? This Regency-inspired fantasy show has made the short puff sleeve, ruched bodice dress, and the Jane dress style wildly popular.
My empire waist dress pattern features a beautiful, ruched bodice dress with charming short puff sleeves, and the prettiest soft flared skirt. If you want to look like Daphne, Edwina, Eloise, Kate, or Penelope, this empire waist casual dress will help you channel that look. You choose the length: mini, knee, or maxi. Gather your supplies and let’s get started.
Tools and materials:
- Empire waist dress pattern: https://dressmakingamore.com/products...
- 1.5-3.3 yds of stretch knit fabric - this depends on your length & size
- 3 yards of ¼” elastic
- Bra cups - optional
- 4-thread serger
- Sewing machine
- Machine needle for knit fabric
- Matching or contrasting thread
- Pins
- Scissors
- Measuring tape
- Iron
- Clapper
- Safety pins
Tip: This pattern is only made for a medium-weight stretch knit fabric that has about 5-9% elastane. Use jersey knit, French terry, brushed poly, soft ponte knit, or a jersey rayon fabric for best results.

1. Make the pattern
Purchase, download, and print the pattern. Follow the instructions on cutting the fabric.
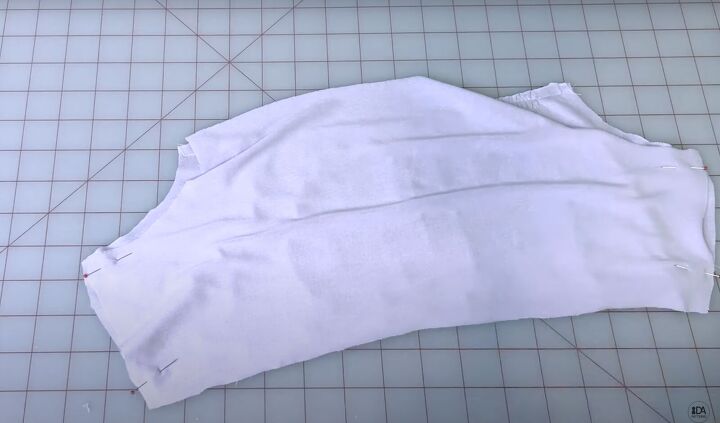
2. Make the bodice
Place two gathering stitches at the top and bottom of the front bodice piece. Mark the center of the front and lining pieces. Pin them wrong sides together.
Staystitch between the marks sewing from top to bottom.
Pin matching the marks at the sides.
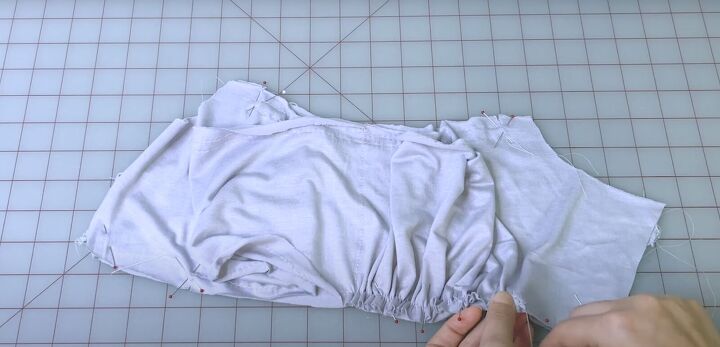
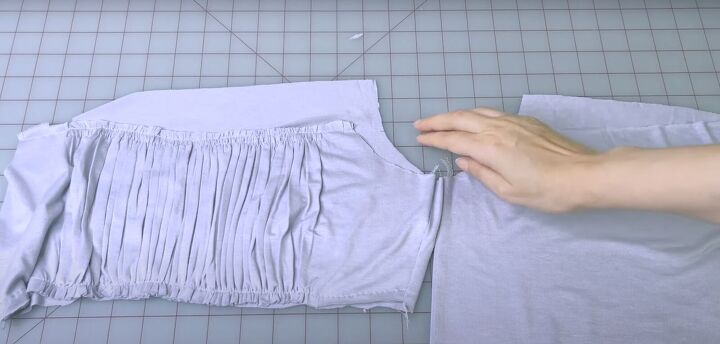
3. Make the front gathers
Pull the two bottom threads to gather on one side.
Pull the top two threads to gather on the same side. Evenly distribute the gathers. Pin to the lining. Repeat for the other side.
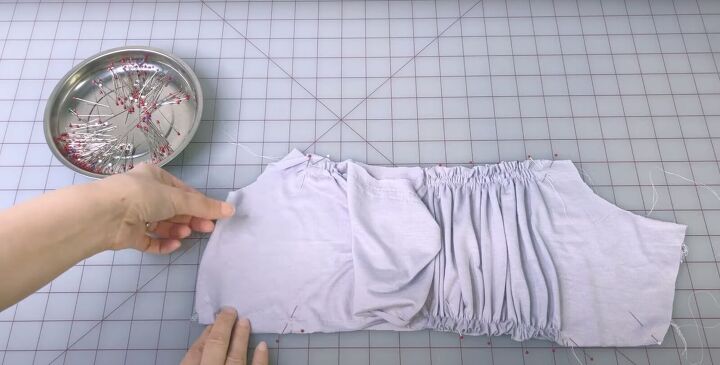
Staystitch the gathering to the lining at the top and bottom.
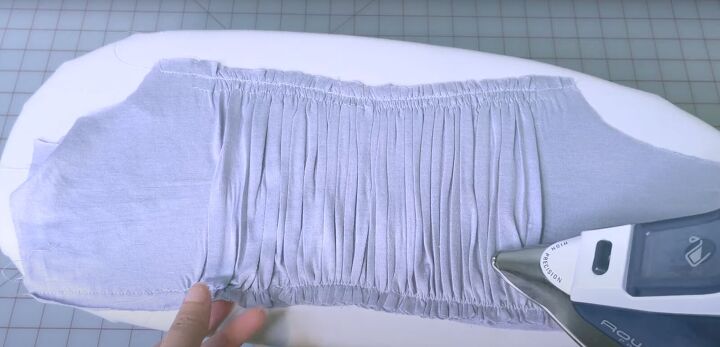
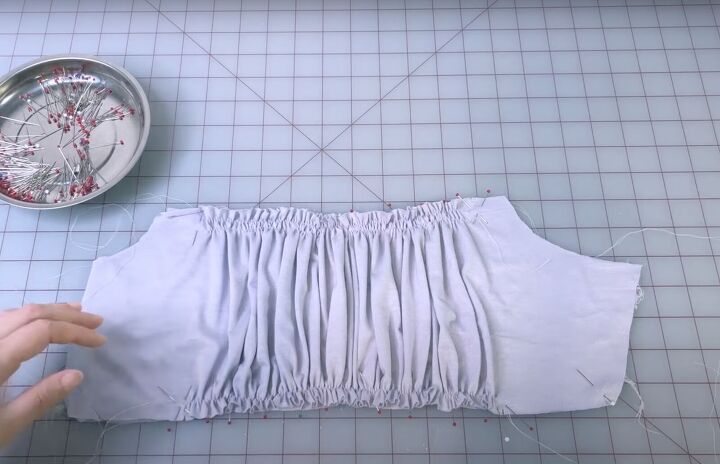
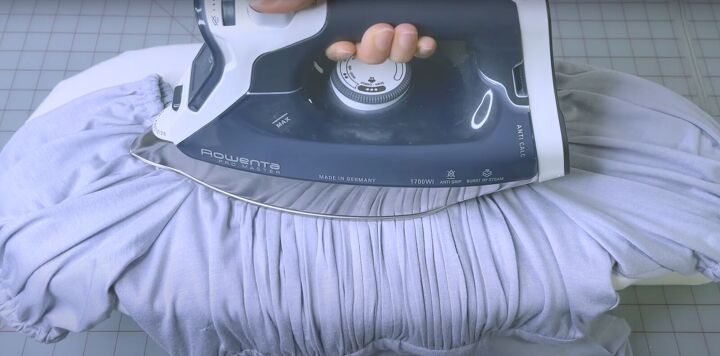
Spread out the gathers. Gently press so they remain stable. Cool.
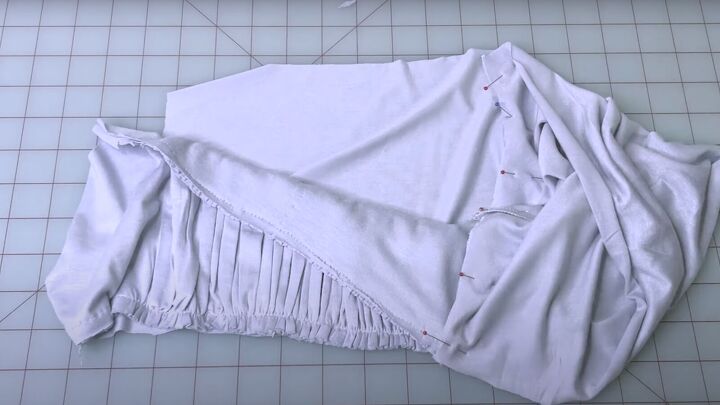
4. Finish the bodice
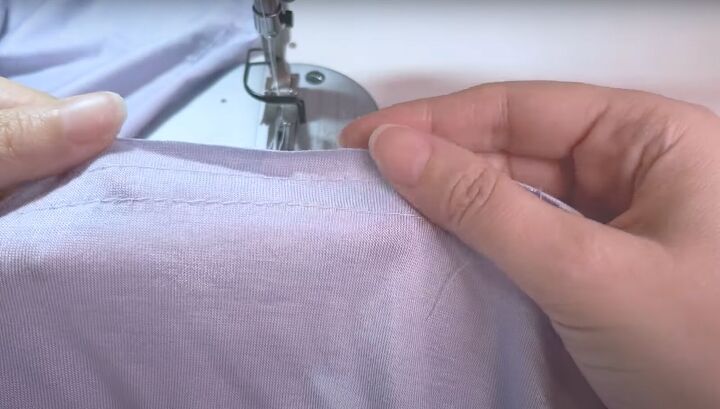
Check the bodice for symmetry and even edges. Place the front and back pieces right sides together. Pin and sew the side seams. Press and cool the side seams.
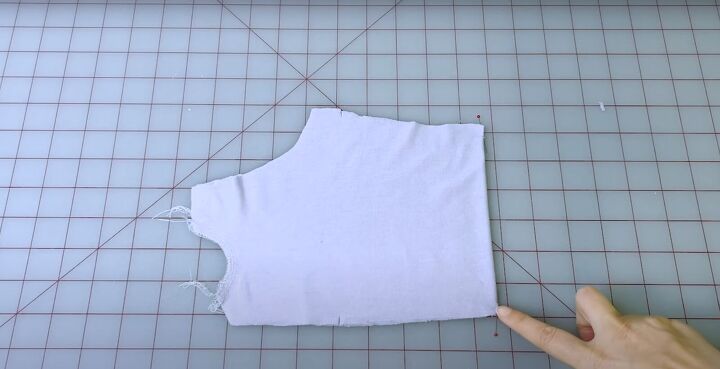
5. Make and attach the sleeves
Fold the sleeves in half, right sides together. The marks at the back will tell you which sleeve is which. Pin the sleeve side seams. Sew. Press.
Place the right sleeve to the right armhole, matching the marks on the sleeve back, bodice, and side seams. Pin the left seam using the same method. Sew both sleeves into the armholes.
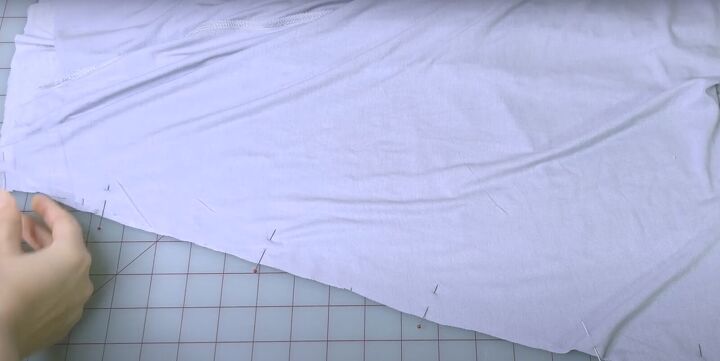
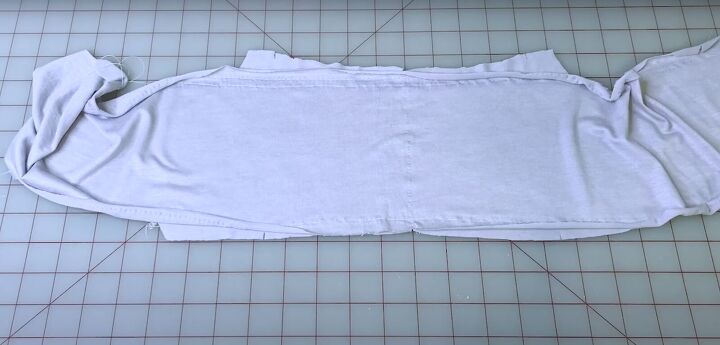
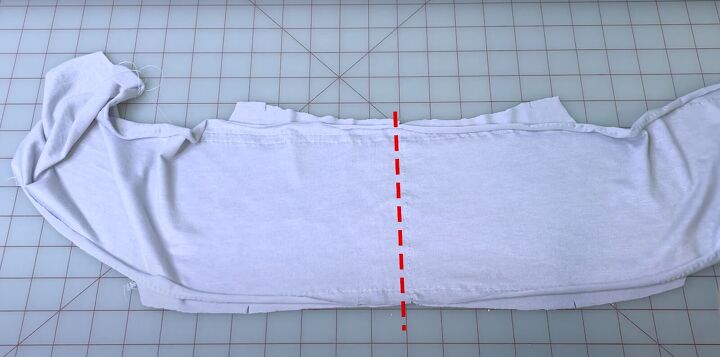
6. Make the skirt
Pin the back center seam and sew together. Press and cool the seam. Place the front and back pieces right sides together. Pin the side seams and sew together. Press and cool.
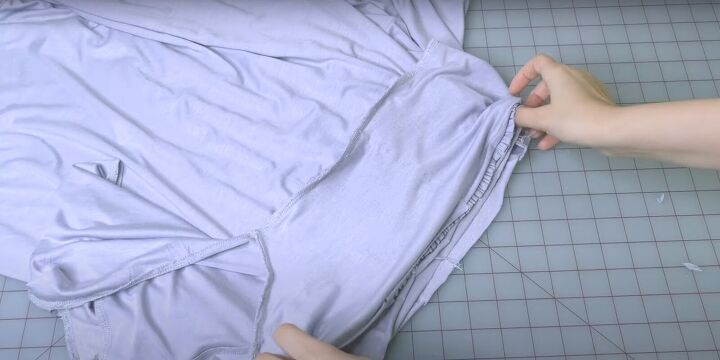
7. Attach the bodice and skirt
Turn the bodice inside out. Mark the center front of the bodice. Match up the marks of the center front of the skirt.
Place the bodice and skirt right sides together. Pin matching the center front, center back, and side seams. Pin in between these marks and sew the empire waistline.
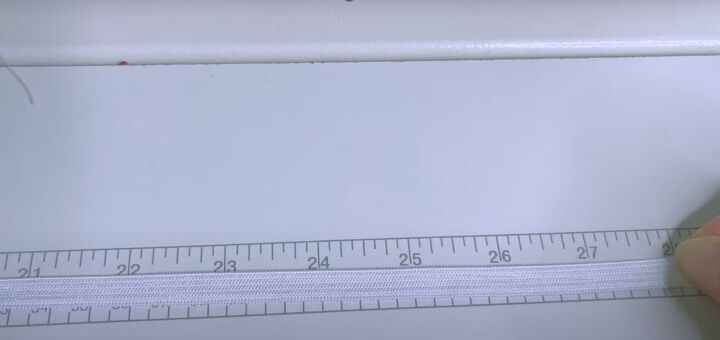
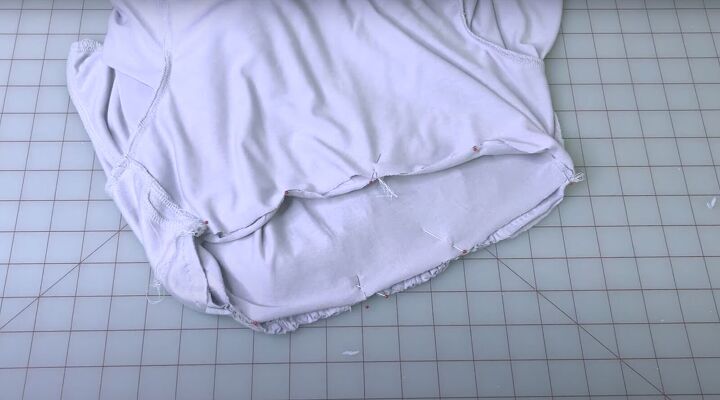
Cut the elastic to your underbust measurements. Mark the elastic at the half and quarter measurements.
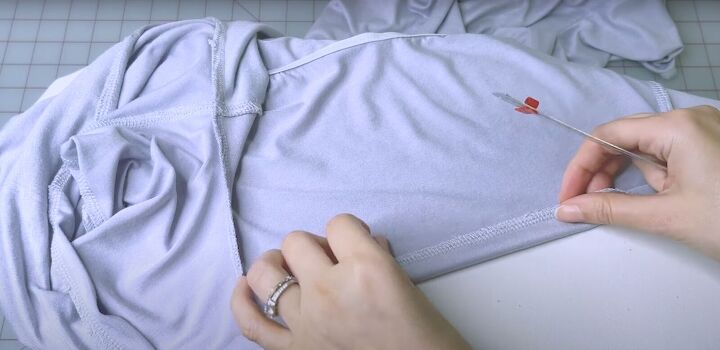
Pin the elastic at the marks at the center front, center back, and side seams. Sew the elastic to the waistline, slightly stretching it. Lightly press and cool the waistline.
8. Make the neckline
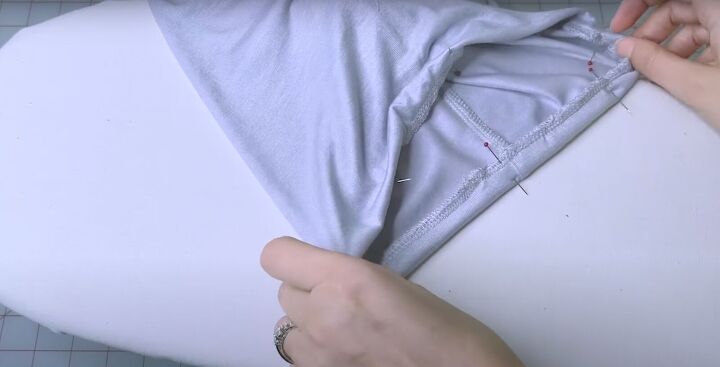
Serge around the top edge of the bodice. Serge the top and bottom of the sleeves. Press the serged seam to flatten so it is embedded in the fabric. At the neckline, fold in ⅜ to ½ inch into the wrong side.
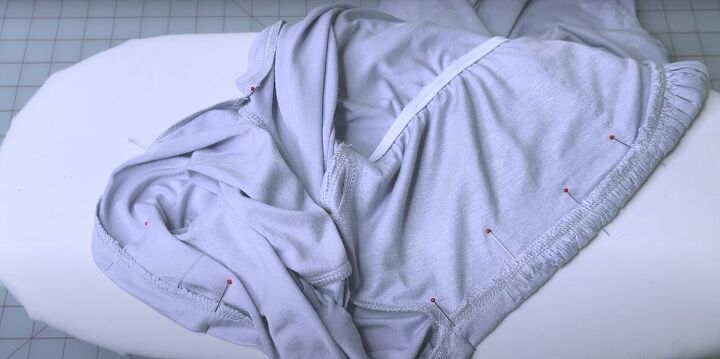
Pin all across and press to flatten. Either baste stitch or use lots of pins to keep the gathering in place.
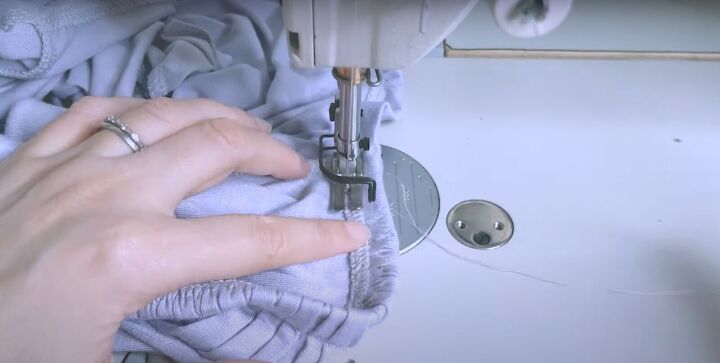
Sew at the edge of the fold to form a casing. Leave 1 inch unsewn.
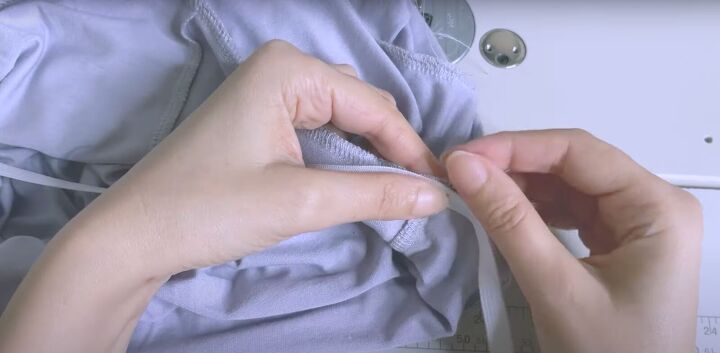
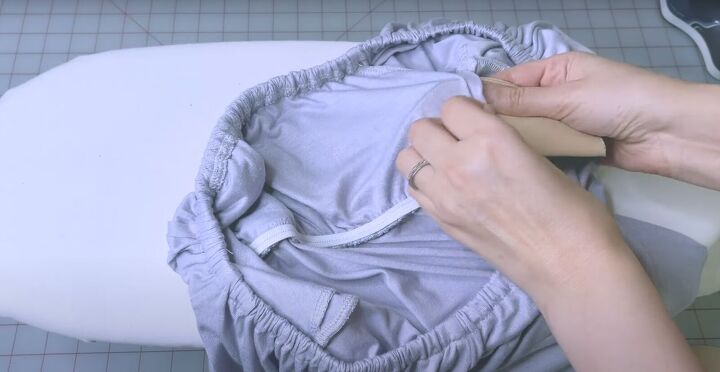
Insert the elastic using a safety pin through the space. The elastic should feel comfortable on your shoulders so check before you insert it for softness.
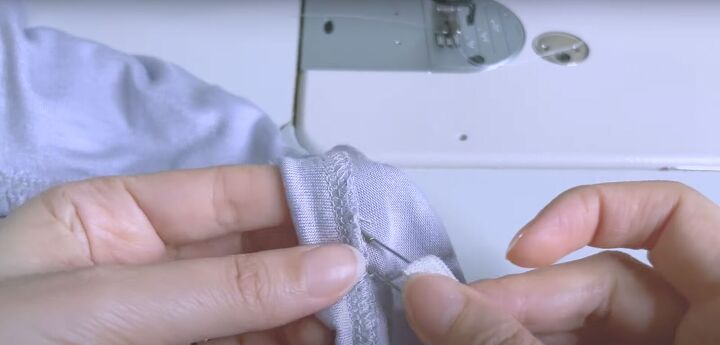
Once the elastic is tunneled through, stitch the two ends together. Reinsert into the space. Evenly distribute the gathering. Sew the opening closed.
9. Finish the dress
Make a casing on each sleeve by folding, pinning, and pressing in ⅜ inch to the wrong side. Sew, leaving a space. Insert the elastic through the space. Join the elastic edges and reinsert through the space. Sew the space closed. Evenly distribute the gathers.
Hem the dress either by using a narrow serger seam or a rolled seam. Give the pretty dress a final press.
Optional: Insert bra cups for some extra coverage through the opening at the side seams of the lining.
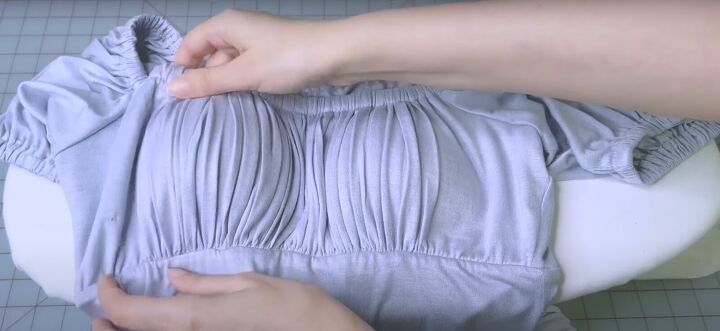
Redistribute the gathers.

Empire waist casual dress
You’ve made this beautiful empire waist casual dress.

To quote Daphne Bridgerton, “I burn for you” and would love to hear your comments on this pretty dress.

Please let me know which length you chose.
The author may collect a small share of sales from the links on this page.


Comments
Join the conversation