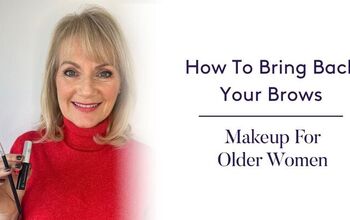
Easy Tutorial to Get on The Fluffy Eyebrow Trend

Follow along to get on board with the current, fluffy eyebrow trend! I’m sharing with you 2 products that will make your eyebrows look incredible.
My brows have been through a lot this year! I’ve had a powder ombre tattoo:
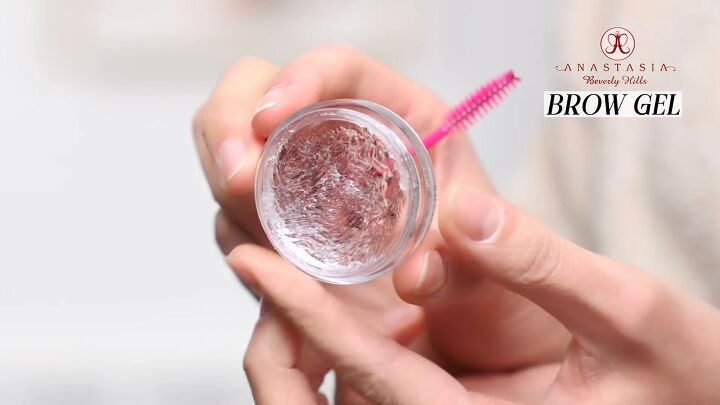
Best brow gel!
Tools and materials:
- Brow gel
- Spoolie
- Palette knife
- Concealer brush
Needless to say, I got that removed. Then I got my brows laminated, which really burnt the hairs.
I went lighter with makeup, followed by taking them too dark.
Along this journey, I’ve tried nearly every product on the shelf to try to achieve the modern, fluffy eyebrow.
I couldn’t figure out how to do this until now!
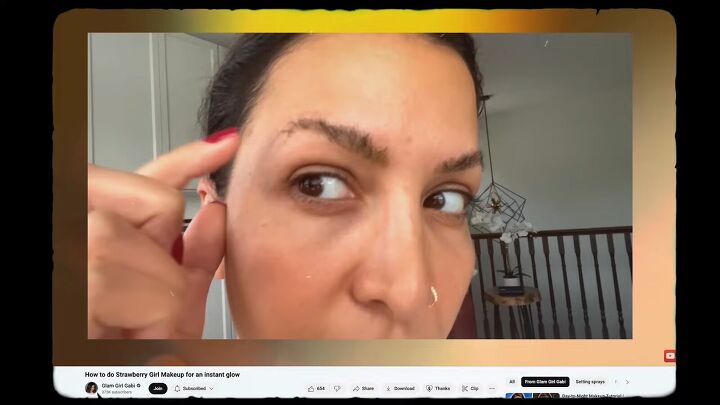
This before image shows my brows earlier today with absolutely no makeup on them:

As you can see, my eyebrows are pretty thin.
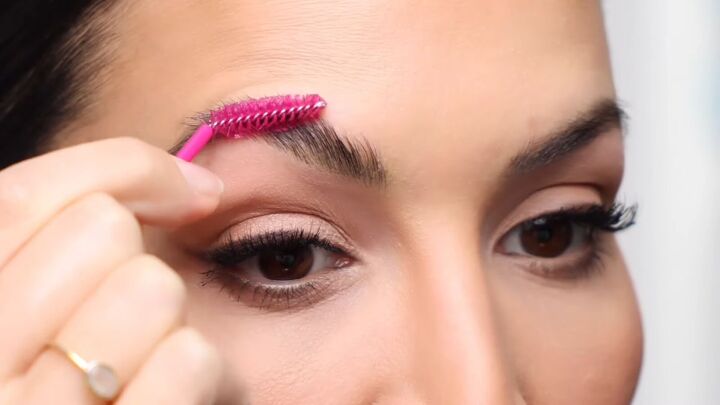
The first product I recommend is brow gel. The brand I love right now is Anastasia Beverly Hills.
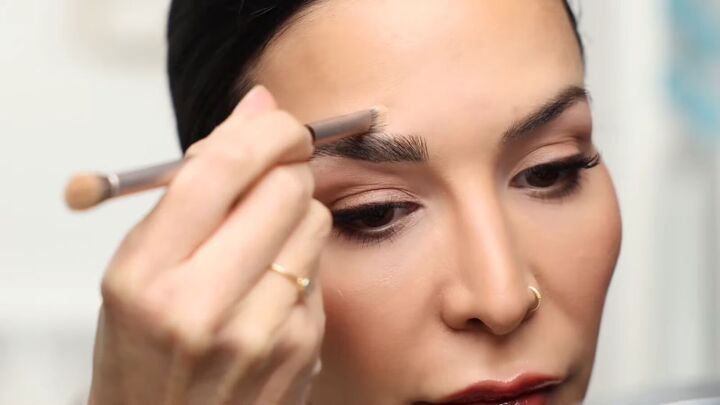
1. Apply brow gel
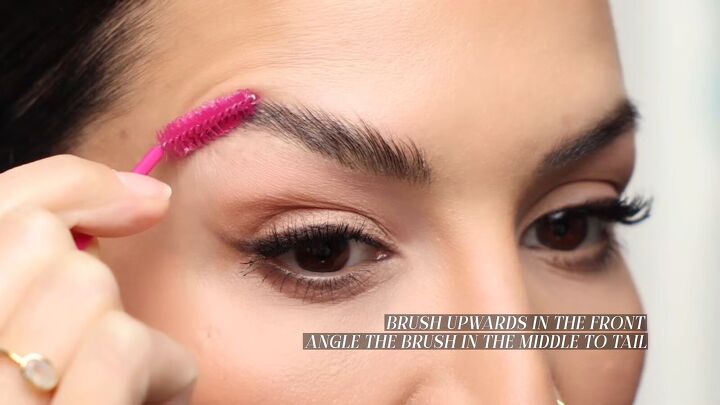
Dip a spoolie in your brow gel. Brush the product upward through the brow hair of the front section.
When you reach the middle to tail section, brush the hairs at an angle.
As soon as you do this, you should notice that your brow hairs are laying flat and in order, which will make them appear thicker.
If you want them to look more laminated, meaning, super separated and lifted:
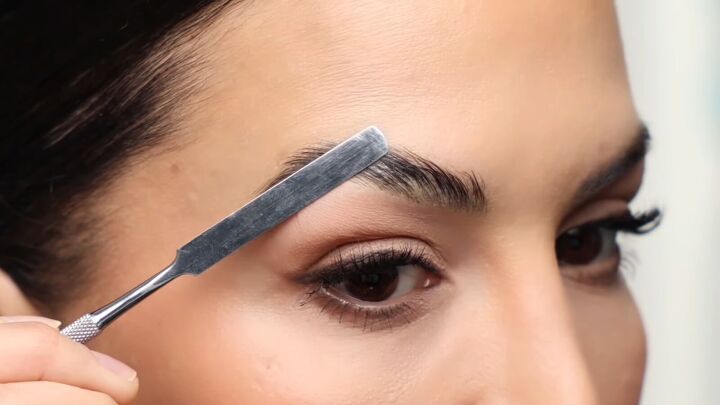
2. Push the brow hairs
Use a palette knife to push the brow hairs against the skin.
Notice the difference between my completed brow (my right) versus my untouched brow:
If your brows have a lot of hair density, your fluffy brows could be finished now.
If, like me, you have some sparse areas, or if your hair is finer, continue with me.
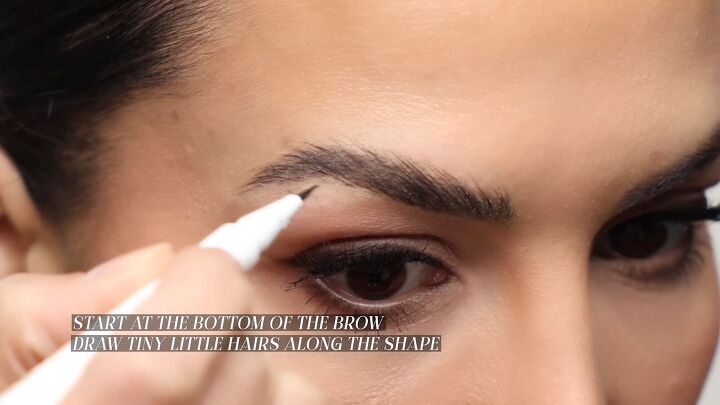
3. Fill in your brows for density
The product I’m using here is the Glossier brow flick. I’ve tried many versions of this type of brow pen, but I like this one the best.
Start at the bottom of your brow and draw tiny brushstrokes upward, into the shape of the brow, to look like hairs.
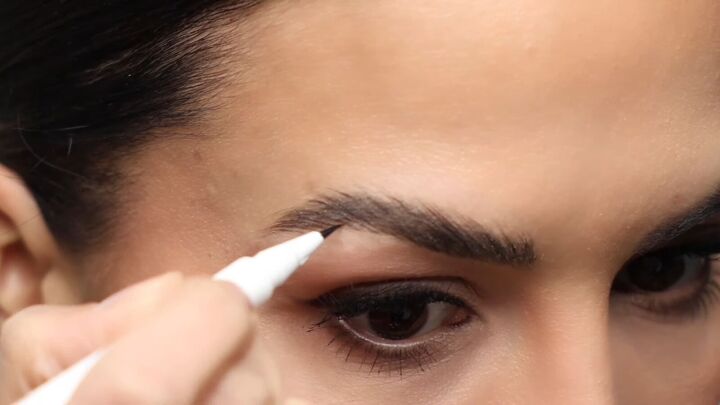
Here, I have a hole in my brow, so I’m going in with the pen and carefully drawing in hairs so that my brow arch doesn’t look too extreme.
When filling in a large area, make sure that the hair strokes are drawn close together.
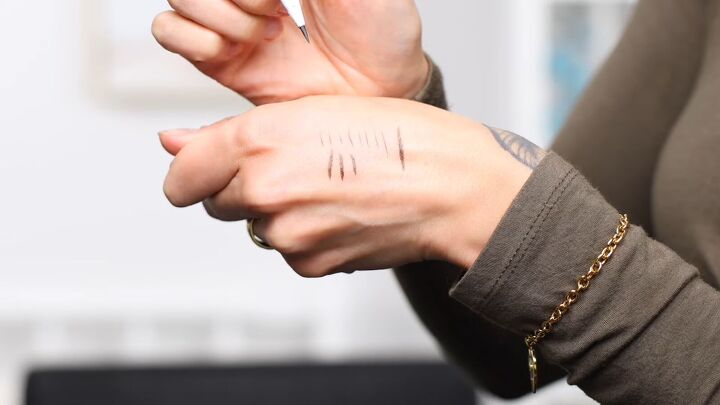
Use low pressure with this brow product. The higher the pressure, the wider/denser the line.
Play with it on the back of your hand and don’t get discouraged if you don’t like the result after the first use. Achieving your dream fluffy brows is simply a matter of practice.
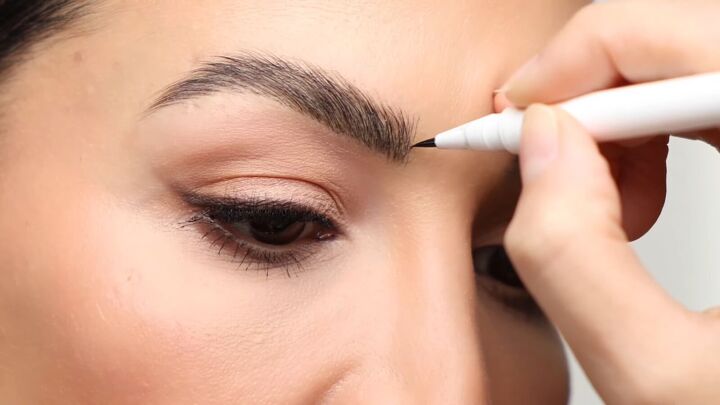
When sketching in the hairs after the front section and backward, I recommend drawing the lines on a diagonal, to the side.
Mimic the direction of your natural hair growth. To see this technique, check out the video at 5:05.
At the front of your brow, tilt your pen upward since the hairs grow in that direction.
4. Apply concealer
Once you’re satisfied with your fluffy brows, go in with a concealer brush that only has some residual concealer on it.
Brush around the perimeter, at the ends of the hairs, to make sure they are still sitting correctly.
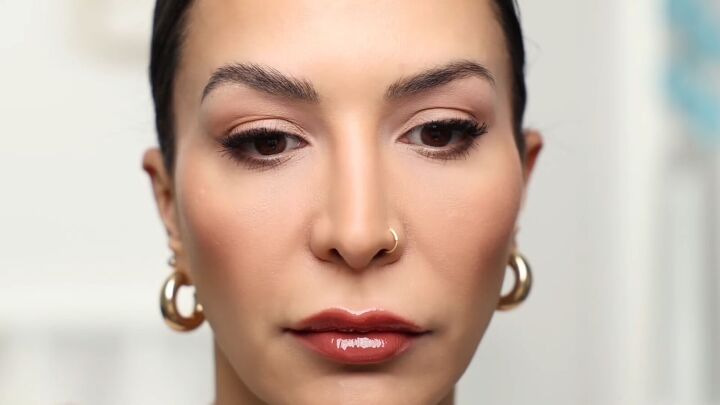
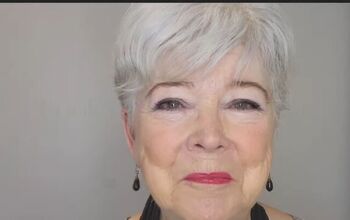
Here is the end result for these super fluffy and natural looking brows:
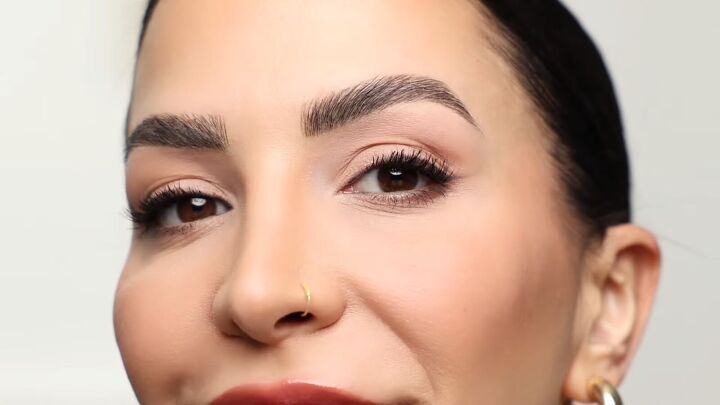
Fluffy eyebrow trend
What do you think of this fluffy brow trend? If you try it out, let me know what you thought in the comments.
Next, check out my 10 minute makeup routine to look 10 years younger.
Products used:
- Anastasia Beverly Hills Brow Freeze Gel: https://go.shopmy.us/p-4126344
- Glossier Brow Flick (I used the color brown): https://go.shopmy.us/p-3994526
- Makeup Palette Knife: https://a.co/d/afl2pcP
The author may collect a small share of sales from the links on this page.


Comments
Join the conversation
I use the NYX Lift and Snatch brow pen, I love it.