Inner Bicycle Tube Into a Wallet
Do you have old inner bicycle tubes you no longer need? This project is inspired by the thought of the upcoming Christmas and the thought of creating gifts for the men in my family. Transform the inner tube into a wallet.

When you cut into the tube you will find a chalky powder so you will need to throughly wash the rubber and allow to dry.
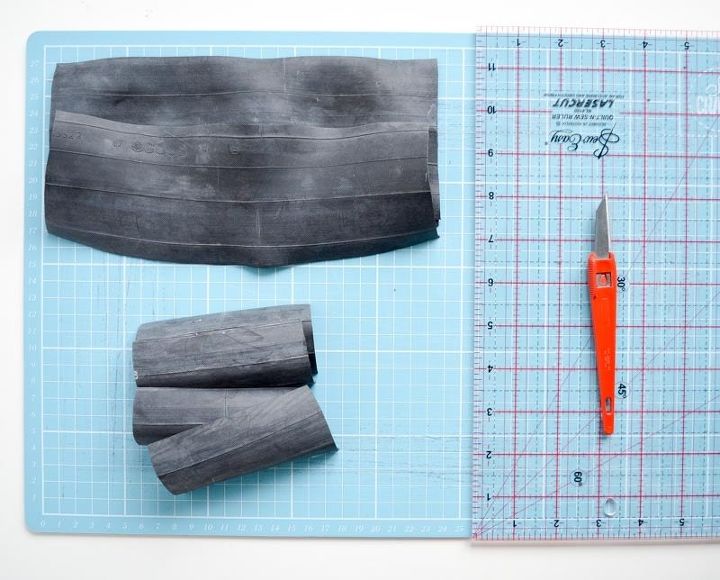
Cut the tube into lengths, two for the outer and inner, an inner note pocket section, then card sections. You can find the measurements I used here.

Place your top card pocket piece onto the note section piece and stitch in place. I suggest practicing on spare tube first as it can take a few tweaks to adjust your sewing machine, you can try a Teflon foot, walking foot, leather needle, increasing the top tension or if need be sew by hand.
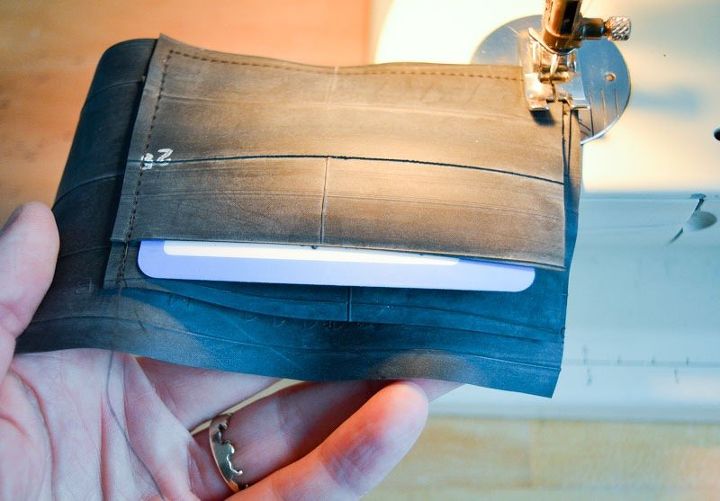
As you continue to add the card pockets ensure the cards fit snuggly so they won’t fall out.
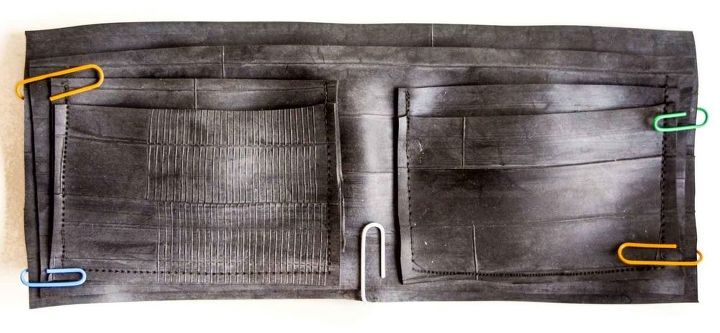
Add your note pocket piece to your inner piece and stitch together - do not use pins to hold the layers together as they leave permanent pin marks.
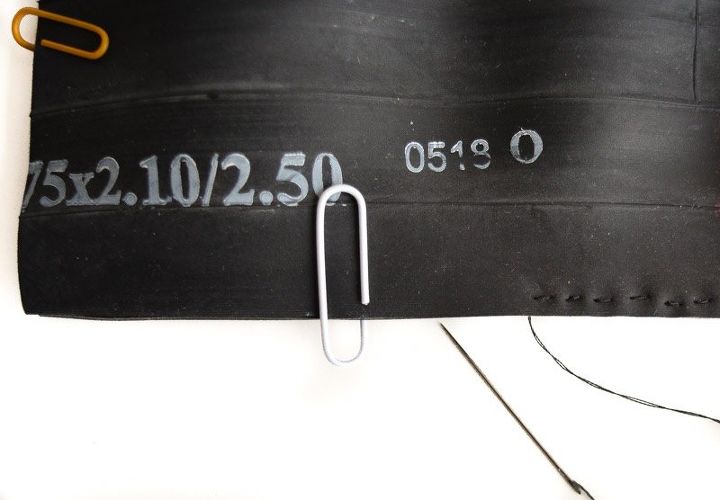
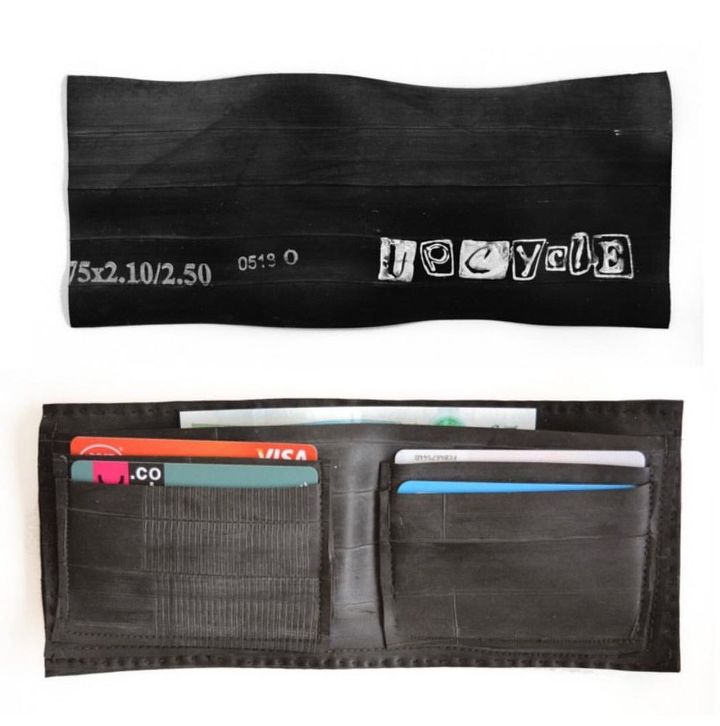
The final step is to stitch the front and back together. I have stencilled the word upcycled onto the front of the wallet - you can find out more on my blog vickymyerscreations This DIY wallet is part of a 12 days of DIY a Christmas gift series on the blog, check it out!


The author may collect a small share of sales from the links on this page.


Comments
Join the conversation
does it smell like rubber?
So unique! You could easily sell these at a craft show.