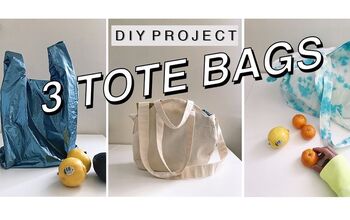
DIY Tote Bag and Hair Scarf

Spending so much time at home, I have really started sewing more! In this tutorial, I show you two, easy sewing projects that won’t take up a lot of your time. In just a few simple steps you can make yourself a functional and pretty tote bag or a stunning hair scarf Try one, or both of these fun DIYs!
Tools and materials:
Fabric
Pins
Scissors
Ruler
Measuring tape
Sewing machine
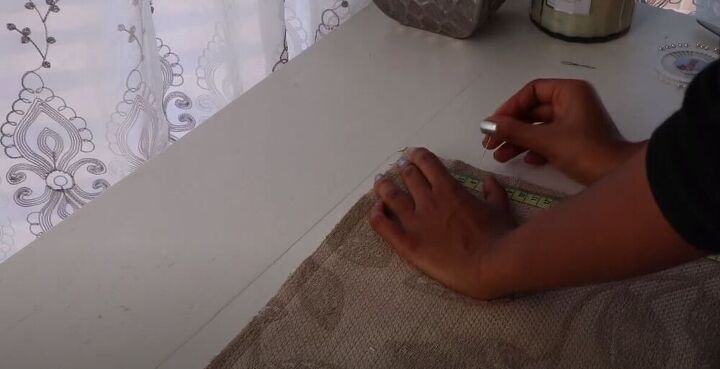
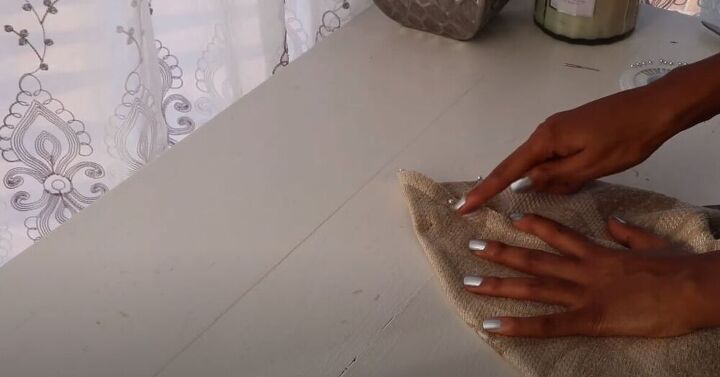
Cut the fabric
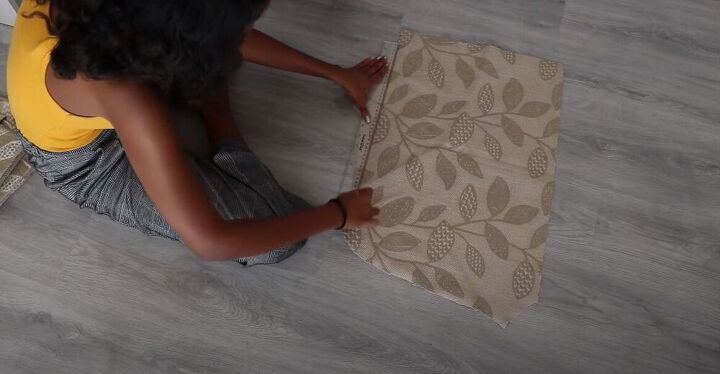
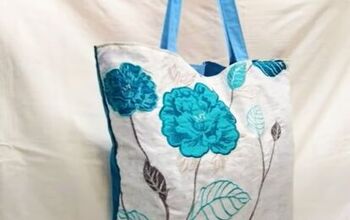
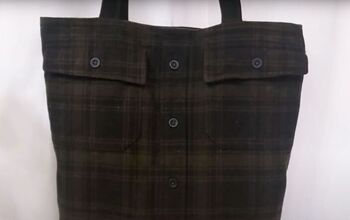
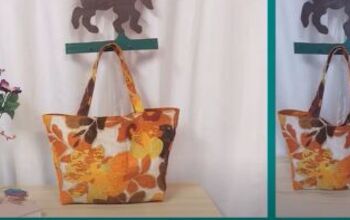
The first project I worked on is a tote bag. I used upholstery fabric that I had lying around the house but any durable fabric will do. To create the body of the bag, I measured and cut out two large rectangle pieces of fabric. The dimensions for the bag would be 40 by 50cm. (16 by 20 inches). This can always change depending on how large or small you want your bag to be.
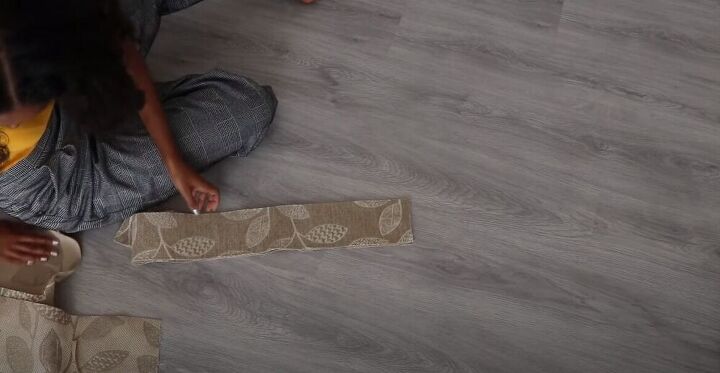
For the straps of the bag, I cut out two rectangles, 80 by 10cm (31 by 4 inches).
Sew the body of the bag
Next, I took the two panels for the bag and placed them right sides together. I made sure they were lined up nicely and then I pinned them together.
I sewed around the edges, leaving one of the short edges open as this would be the top of the tote bag. I suggest using a 0.5-inch seam allowance in this step. I also went ahead and overlocked the edges.
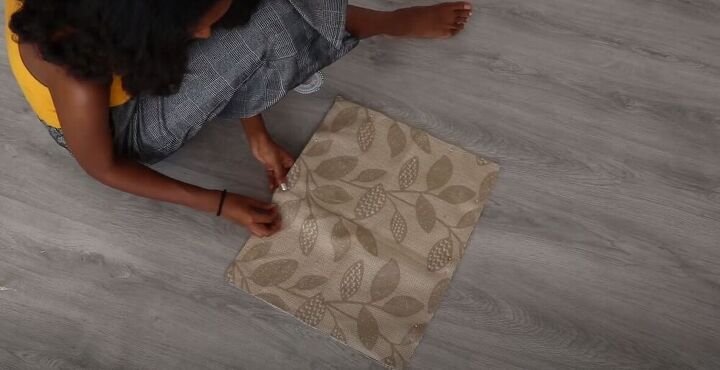
Once I had sewed the body together, I measured 5cm (2 inches) from the bottom of the bag.
This step is important because it will allow you to actually fit things at the bottom of your bag. Once I had pinned, I sewed across at the 5cm mark. I repeated this on the other side and was left with a wonderful flat bottom for my tote bag.
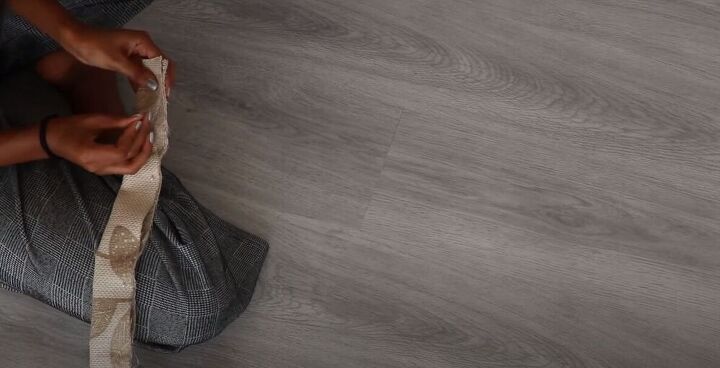
Sew the straps of the bag
With the body of the bag ready, I started working on the straps. I folded each strap, right sides facing together.
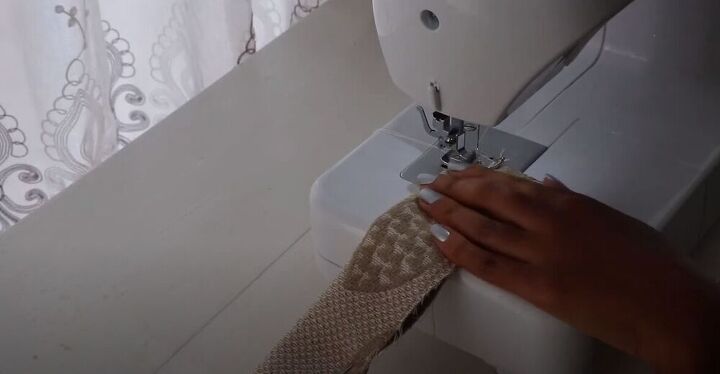
I stitched all along the strap leaving a gap in the middle so that I could turn the fabric out later on.
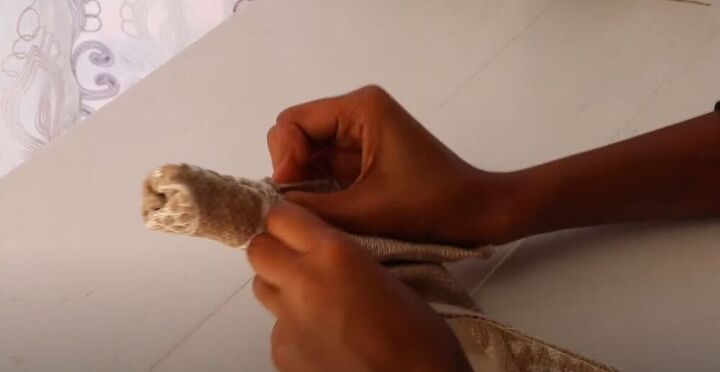
After sewing, I turned the straps right side out. This can be a bit of a time-consuming process.
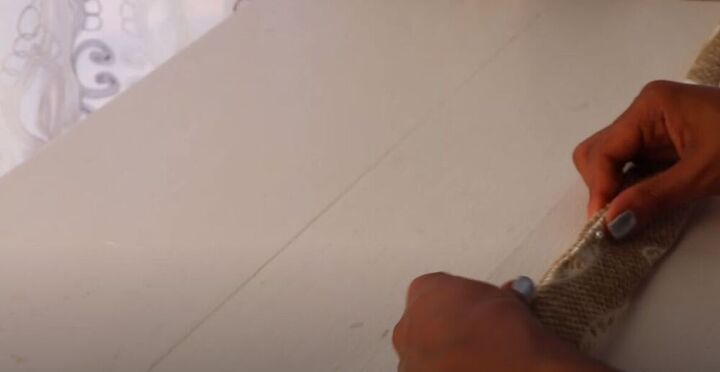
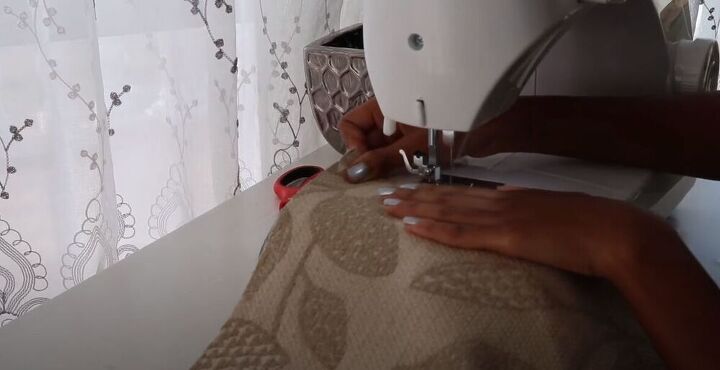
Once I had turned the fabric, I had to close the opening in the middle. I folded in the edges of the opening, pinned, and sewed it closed with a topstitch.
Attach the straps
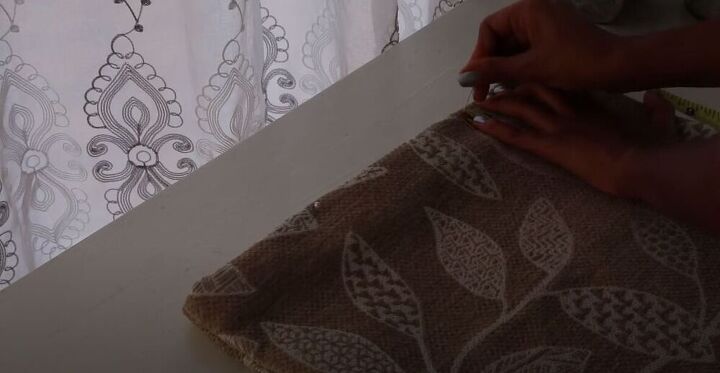
Next, I folded over the top edges of the body twice. Then using a measuring tape and pins I measured and marked in 4 inches from each side of the bag.
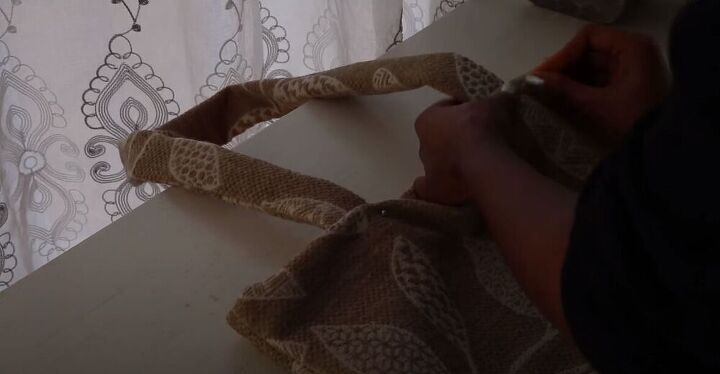
I pinned each edge of the strap at these points. I suggest lining up the edge of the strap with the edge of the inner fold inside the bag.

Once I had pinned on both straps, I went ahead and sewed across the top of the bag, right along the edge of the inner fold.
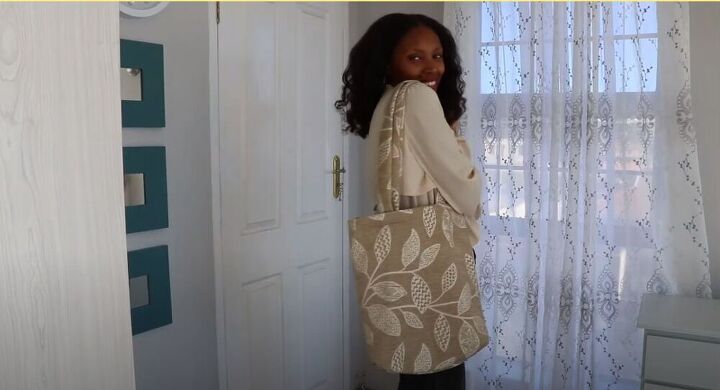
I really love how this tote bag turned out. I suggest pressing the straps and body of the bag to get a nice, clean finish.
Sew the strip of fabric
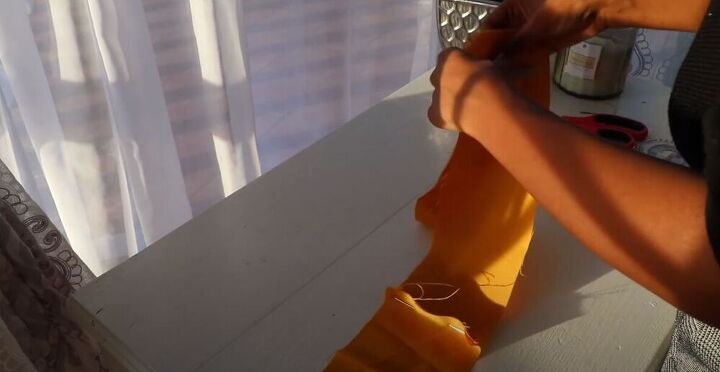
I had pieces of this gorgeous, yellow fabric sitting around the house. I didn’t want to get rid of the fabric so I decided to turn the pieces into a hair scarf. I started by pinning the pieces together. What I love about these hair scarfs is that you can make them as long or as wide as you want!
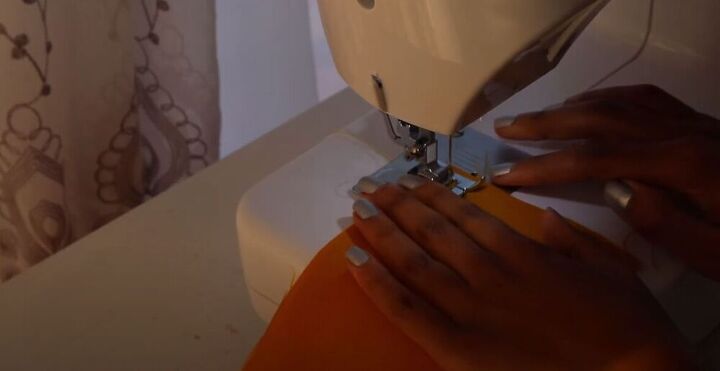
I went ahead and sewed the pieces together with a simple straight stitch.
Sew the hair scarf
I folded the long strip of fabric, right sides together, and sewed all sides. I left a gap in the middle of the strap just like I did with the tote bag straps.

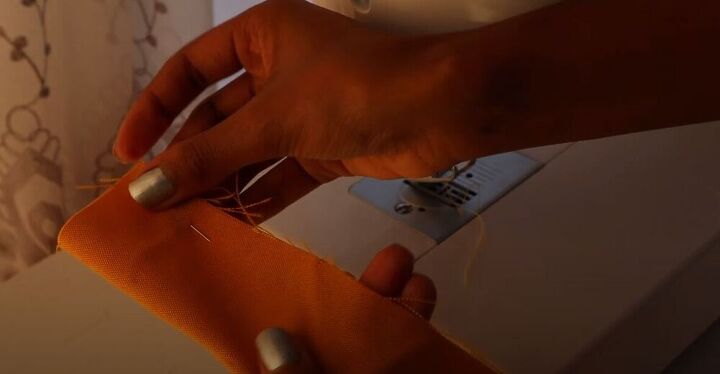
I turned the hair scarf out and then closed the gap by topstitching. It is, of course, ideal to use a thread that matches the fabric
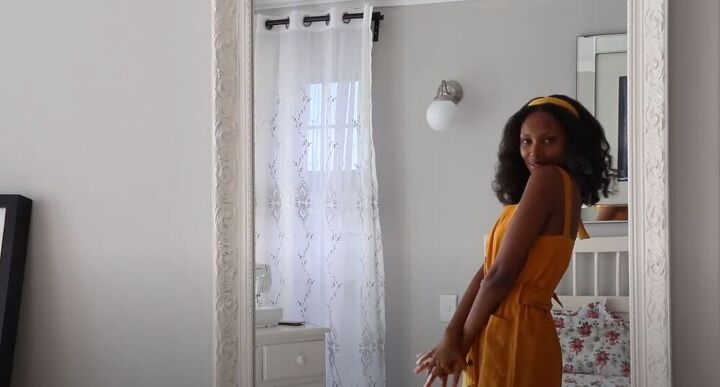
I went ahead and pressed the hair scarf to get the seams nice and flat. This simple accessory can add so much to an outfit! I would love to know which of these two pieces you are going to try! Let me know in the comments!
The author may collect a small share of sales from the links on this page.


Comments
Join the conversation
Love the idea of matching my bag to my headband!