How to Make a Cute Ruched Satin Headband From Scratch

For all the fabulous fashionistas who love accessorizing with headbands, then I have the perfect project for you. I’m going to show you how to make a satin headband using only fabric and elastic!
This lovely ruched headband is so straightforward and makes for a beautiful statement piece that will elevate your outfit and style. Also, if you have scrap fabric, it’s a great time to use it! Let’s get started!
Tools and materials:
- Satin fabric
- Sewing machine
- Pins
- Scissors
- Thread
- Marker
- 1-inch elastic
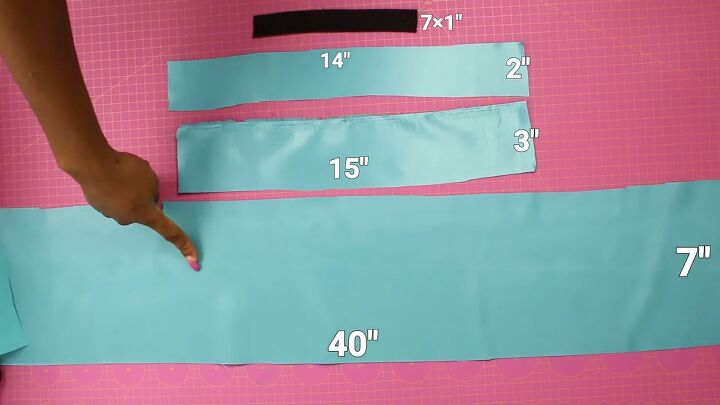
1. Measure and cut
To make the DIY satin headband, you’ll need to measure;
- Main Piece - 7x40 inches
- Elastic casing- 3x15 inches
- Inner piece- 2x14 inches
- Elastic 1x7 inches

2. Sew the headband
Take your main fabric piece and fold it in half. Measure 2 inches up from the fold and make a mark.
Then, measure 8 inches from the shortened (lengthwise) and make another mark.
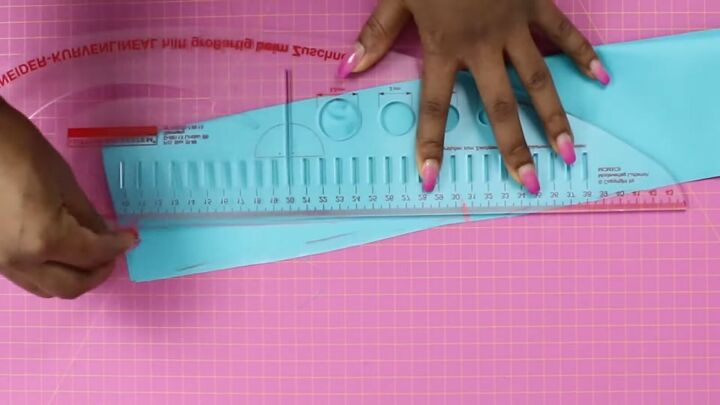
Connect these two points together and cut along the line. This will serve as a stunning tapered effect, so it’s really a crucial step.
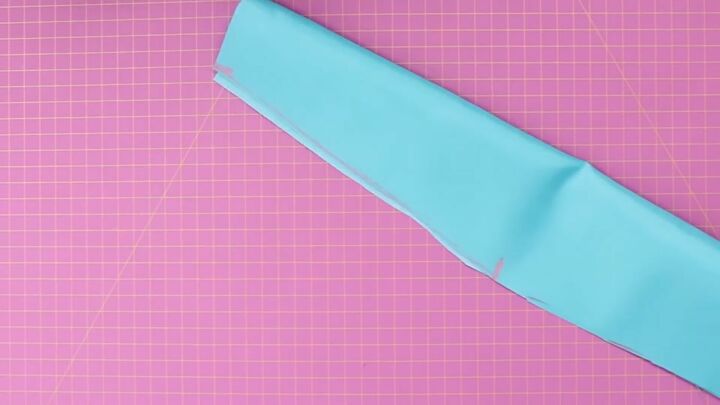
You should have something that looks like this. Now, repeat on the other end.
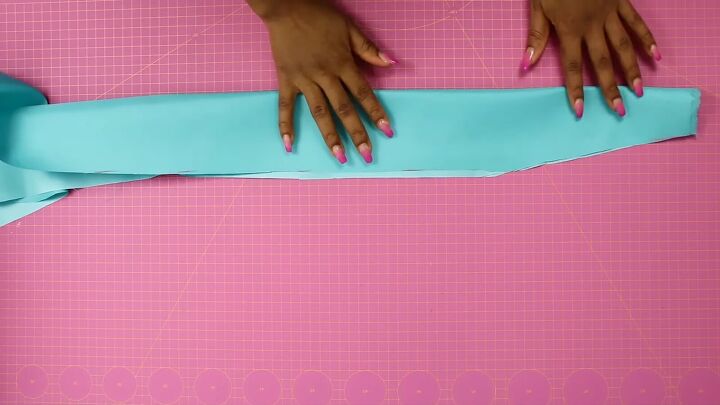
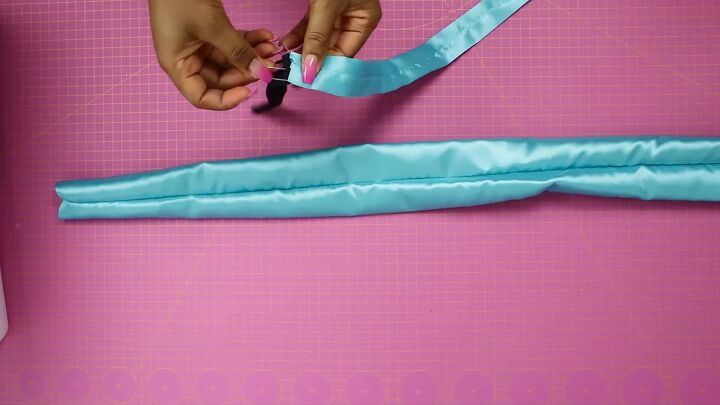
Fold the main piece with the right sides facing each other. Then, sew along the edge with a ¼-inch seam allowance.
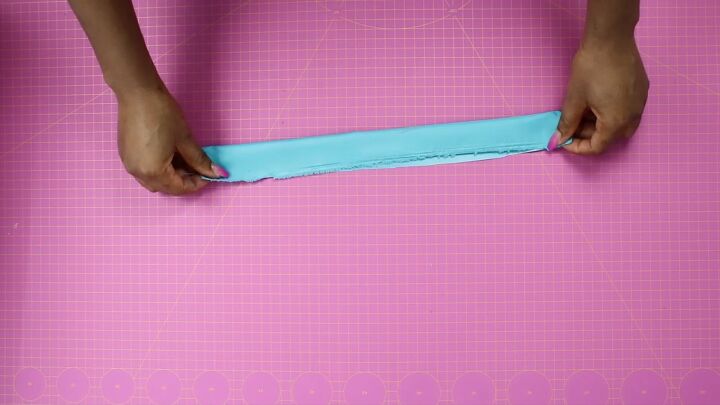
While you’re at it, take your elastic casing (3x15 inches), fold it in half, and stitch the raw edges together, too. The same seam allowance applies here, too - ¼ inch.
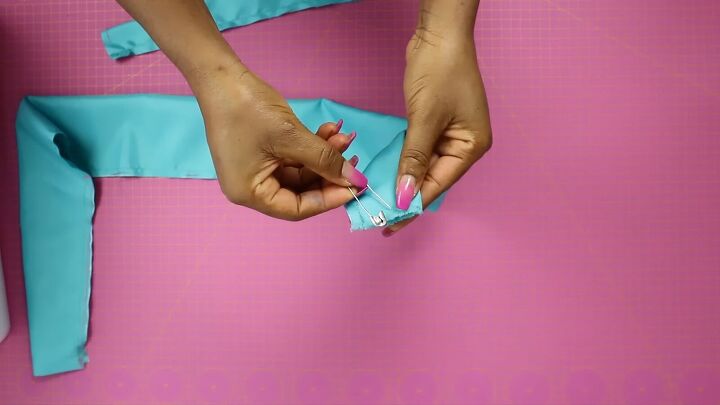
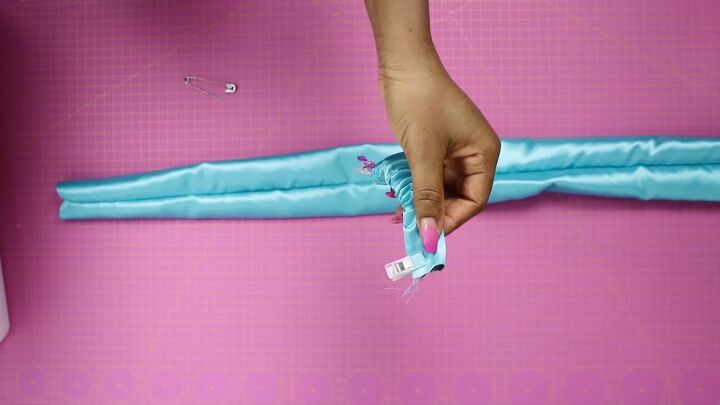
Turn the main piece right sides out. Pin a safety pin at the ends and use it to turn the wrong side inside. Also, do the same for the smaller piece.
Go ahead and iron the small elastic casing piece. I suggest not ironing the main piece as it will create visible creases—Iron the small piece in a way that the seam line is centered, as shown.
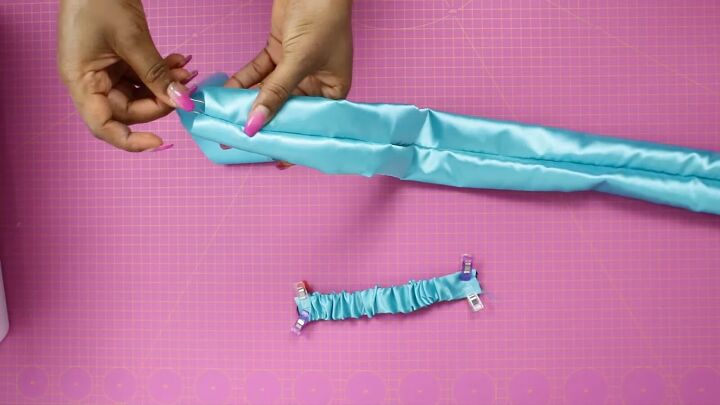
3. Insert the elastic
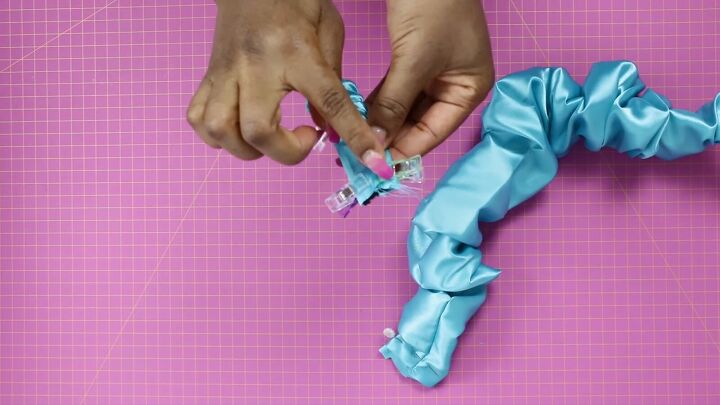
Using the safety pin again, feed your elastic through the ironed elastic casing.
Pin the edges so it doesn’t move and put aside for now.
4. Insert the inner piece
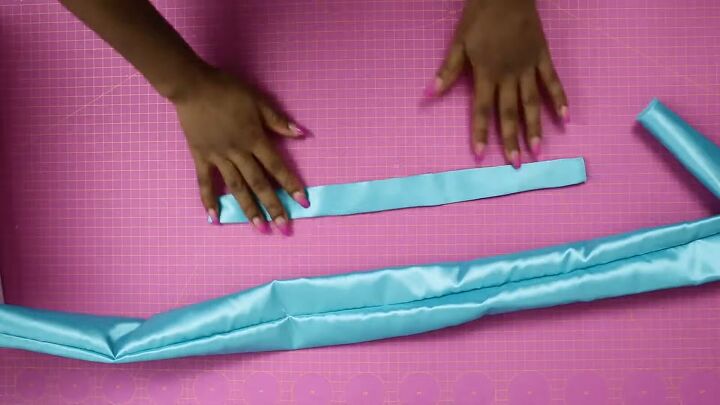
Feed the inner piece (2x14 inches) through the main piece. Again, use a safety pin to make it easier. Note that this inner piece will create the magic and turn your headband into a ruched headband.
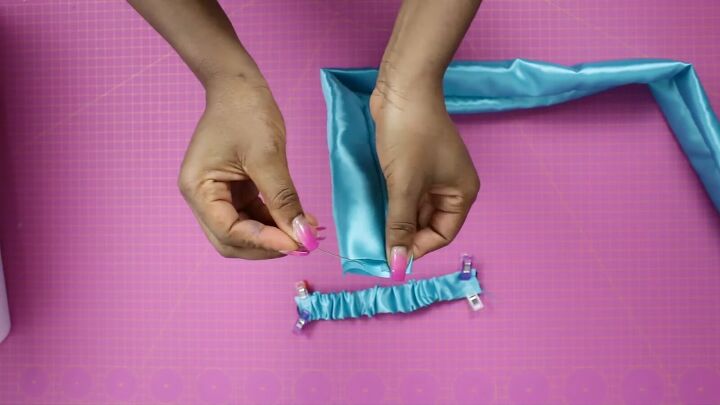
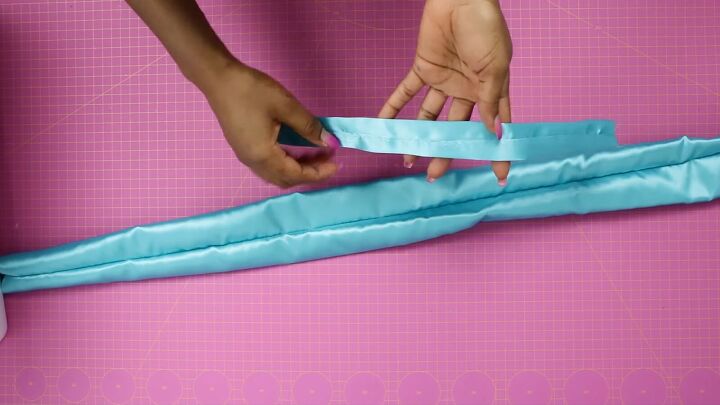
Pin the side and then ruffle the main fabric until you get to the other short end of the inner piece.
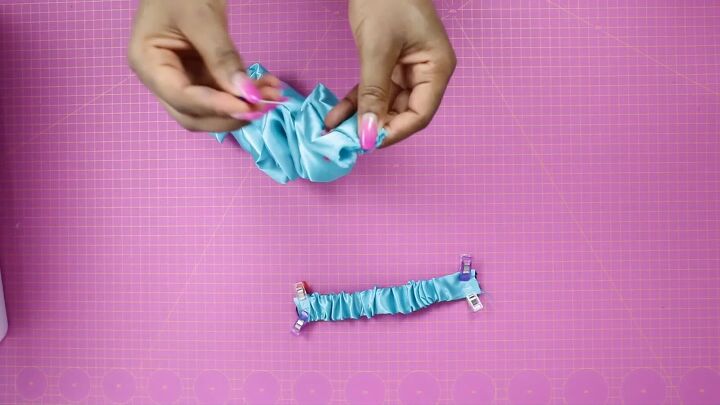
Pin the other end, and voila! You have a lovely ruched effect.
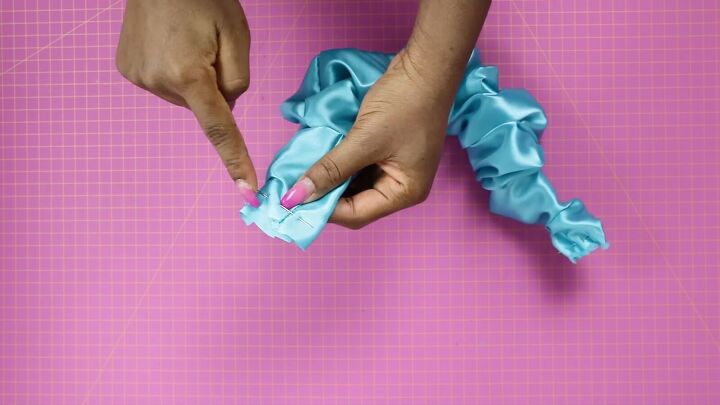
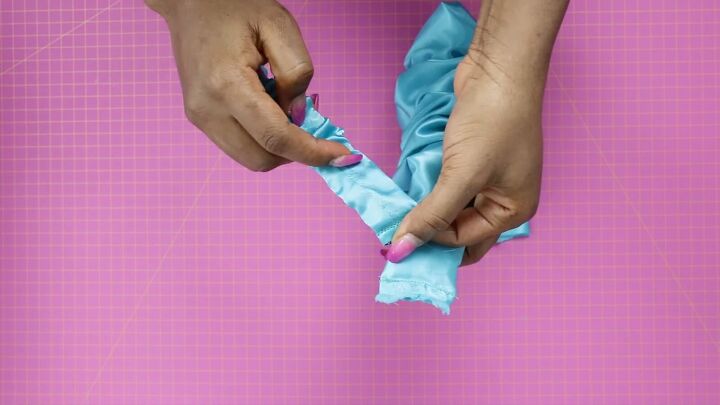
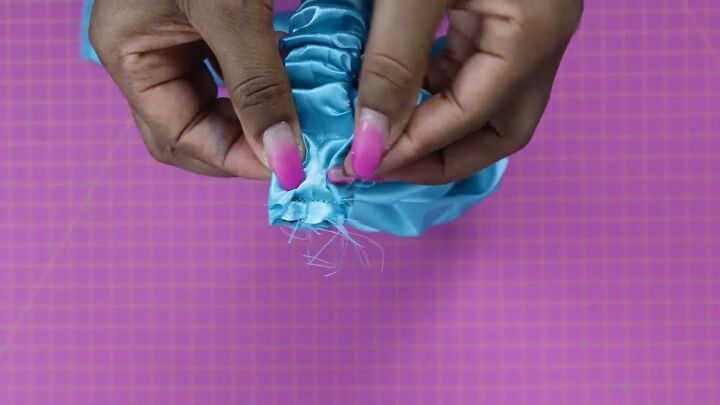
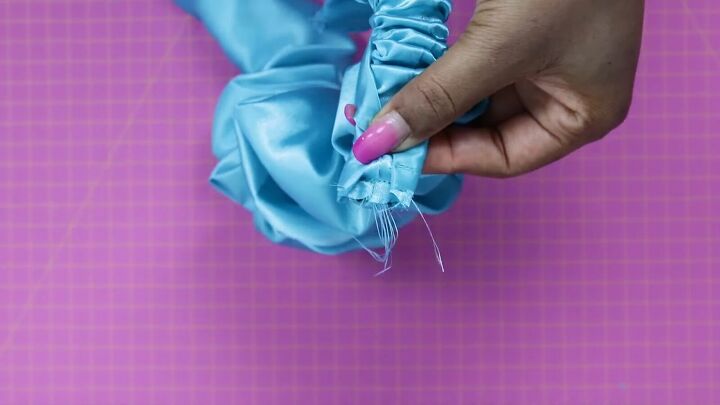
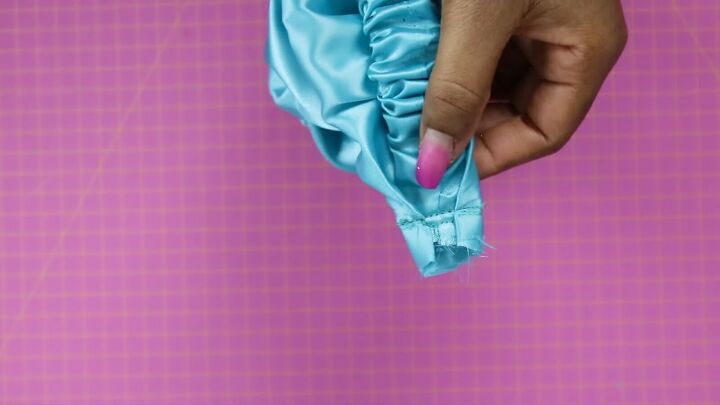
Sew the ends in place with a ¼-inch seam allowance.
Also, don’t forget to sew the elastic casing ends, too.
5. Assemble the DIY headband
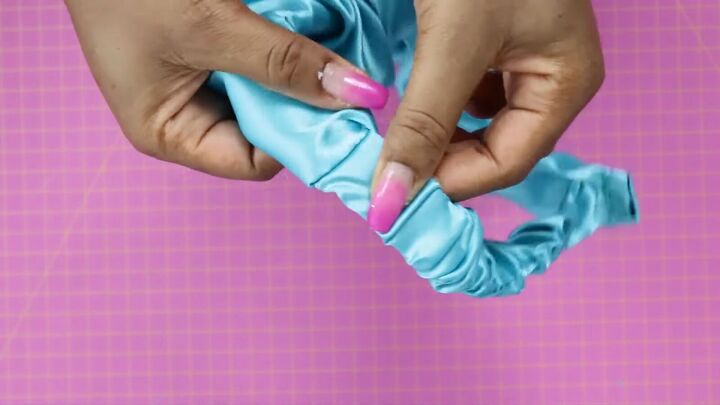
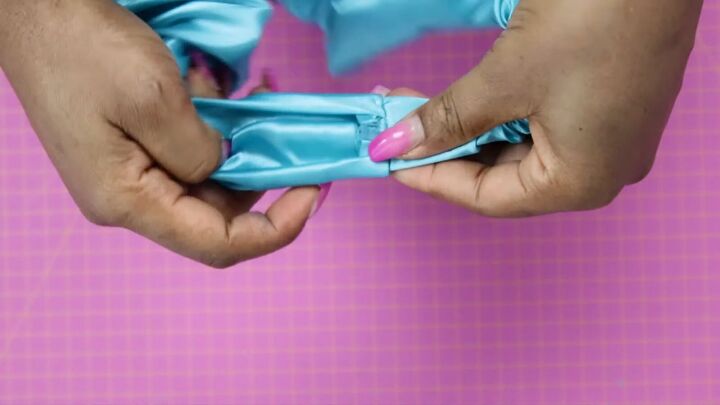
Align the main piece’s short ends and the elastic casing, making sure the right sides are facing each other.
How do you distinguish the right from the wrong side? Easy! Simply look for the seams. The side with the seam is the wrong side, while the side without is the right side.
Once the short ends are aligned, fold the excess seam from the main fabric onto the elastic casing.
Tip: Trim off any threads for a neater finish.
Now, stitch down the end and repeat on the other side.
Tip: Overlock the raw edges to prevent fraying.
Flip the headband the other way so that the right sides face out.
If you want to hide the raw edge of the short ends, it’s best to measure 1 inch instead of 2 inches at the beginning (when creating the tapered pattern).
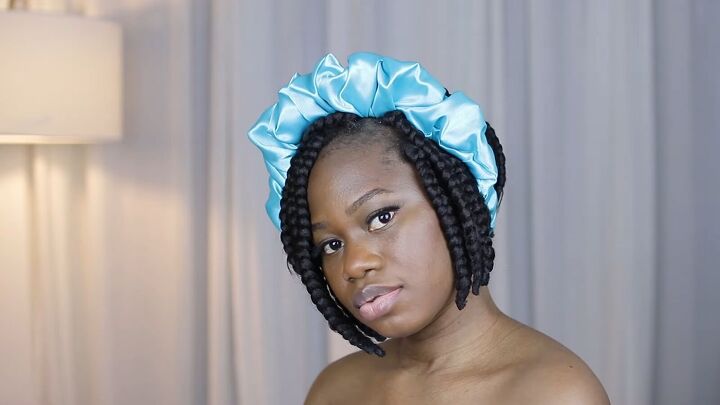
How to make a satin headband tutorial
So, how do you like this exquisite rushed headband? You can make a couple of these and start a collection of your own. What did you think of this tutorial? Let me know. I’d love to hear your feedback!
The author may collect a small share of sales from the links on this page.


Comments
Join the conversation