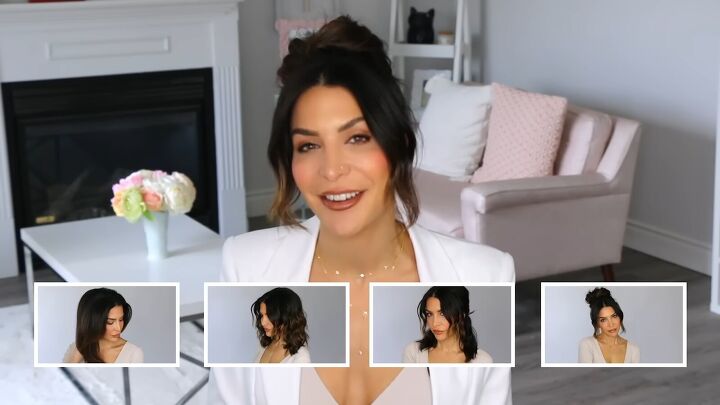
How to Style Medium Length Hair in 4 Cute Ways

If you have shoulder length hair and you’ve been stuck in a hairstyling rut, I’ll teach you how to style medium length hair. Let's get started.
Tools and materials:
- Heat protection spray
- Hair thickener foam
- Blowout brush
- Claw clip
- Velcro rollers
- Volume stamping tool
- Thickening hairspray
- Curling wand
- Wide tooth comb
- Bobby pins
- Hair brush
- Ponytail holders
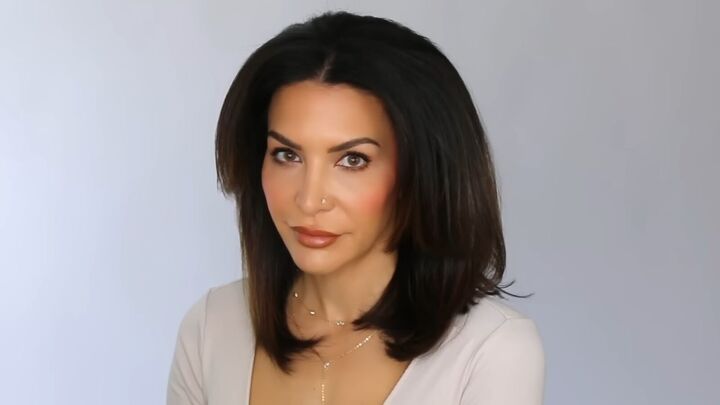
Look 1: Voluminous blowout
Start with a great blowout for good hair days that last.
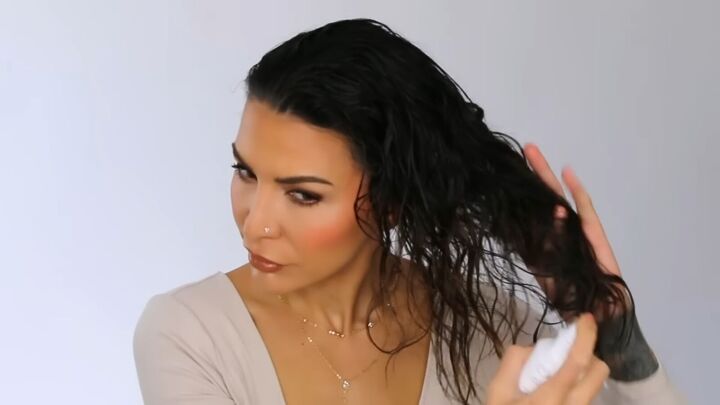
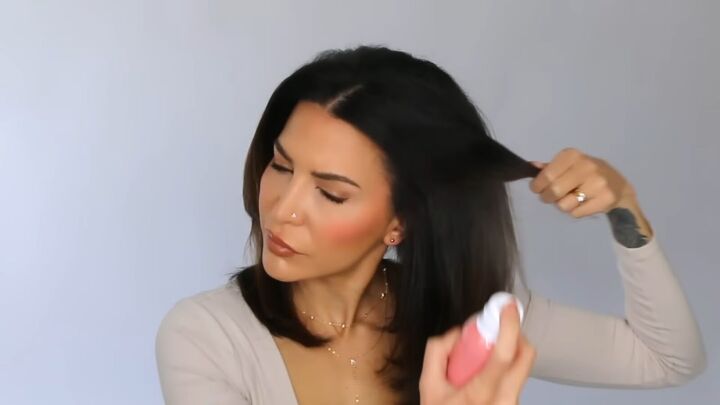
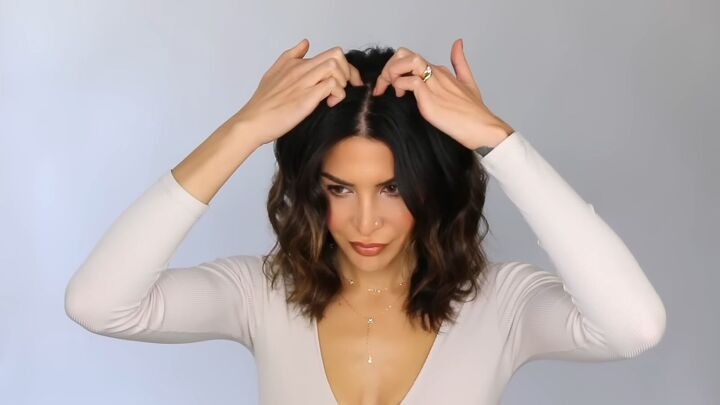
1. Prep your hair
Apply heat protection spray to wet hair.
Apply hair thickener to your roots.
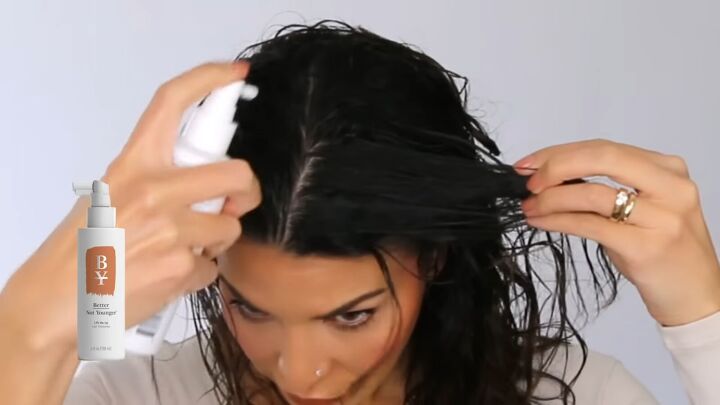
Massage the product with your fingers.
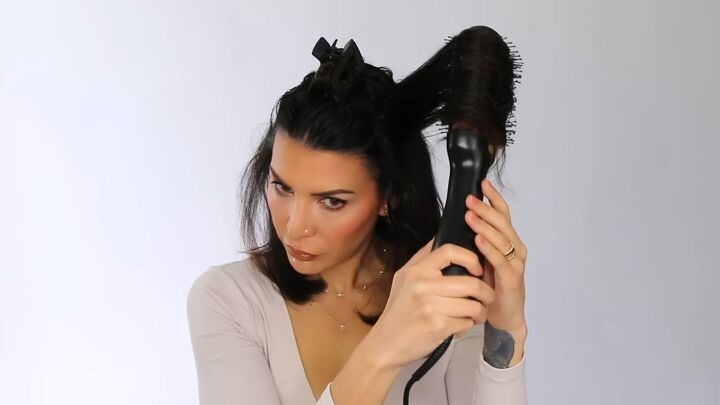
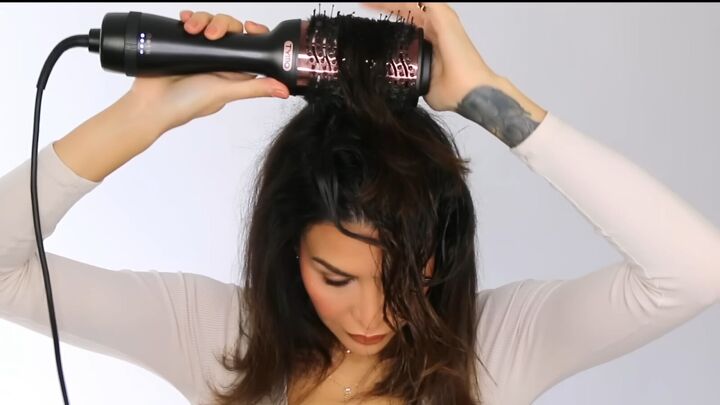
2. Dry with a blowout brush
Clip up all of your hair except a small section at the bottom. Then use a blowout brush to dry.
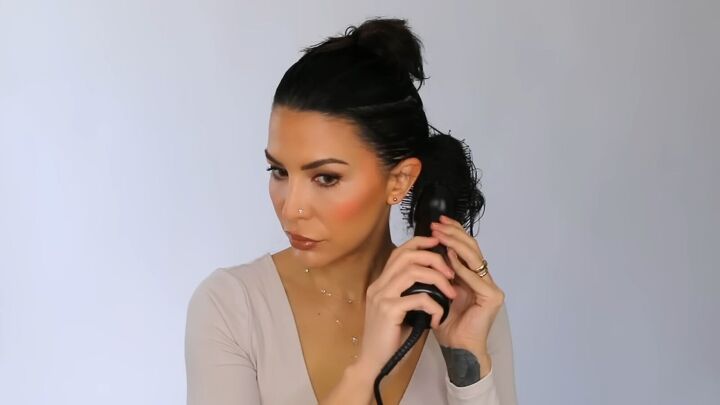
Dry the hair section by section in the same way, except for the uppermost section.
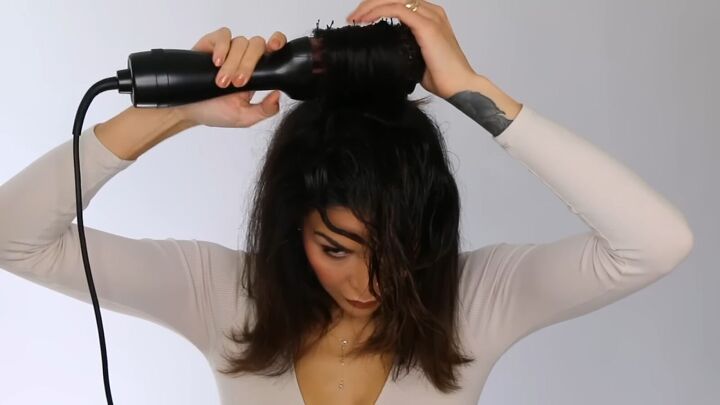
3. Style the mohawk section
Split the section at the top of your head without a part line.
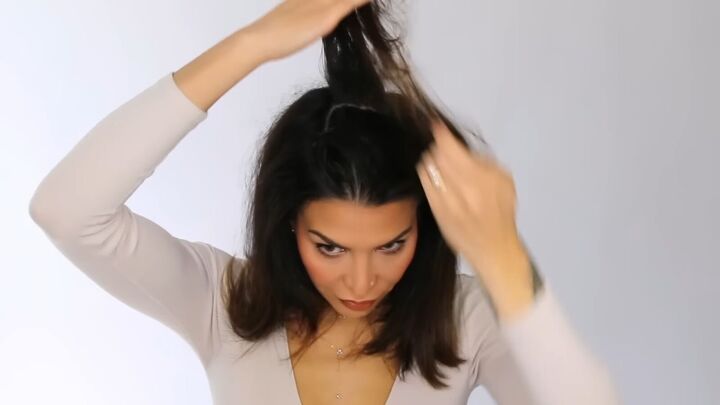
Starting with one of the halves, blow dry moving toward your face.
Then blow dry moving to the back. Dry this section in each direction a few times. Then repeat with the other half.
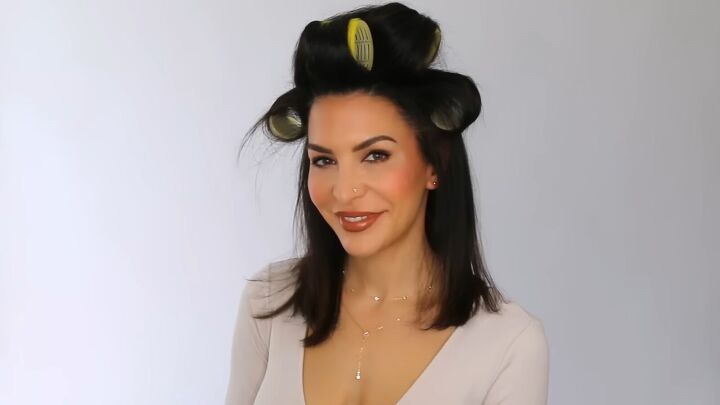
4. Add volume
Apply Velcro rollers while the hair is still warm.
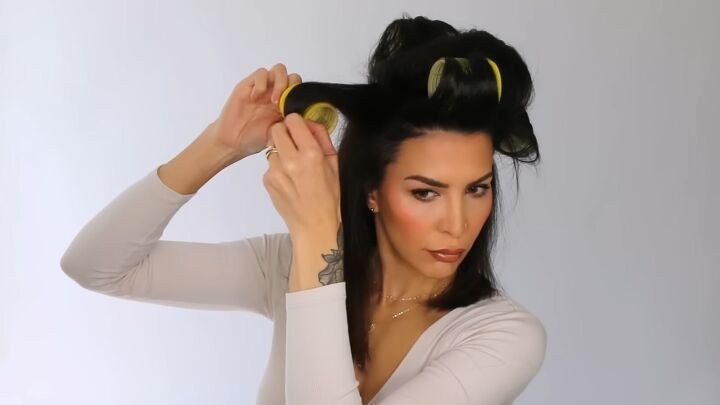
Allow the hair to cool completely for 5-10 minutes before taking them out.
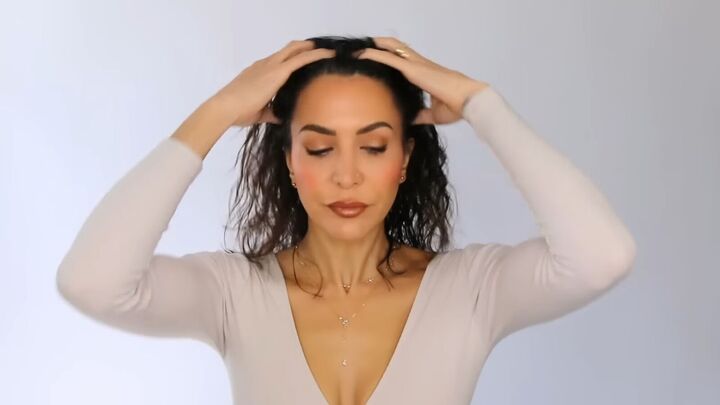
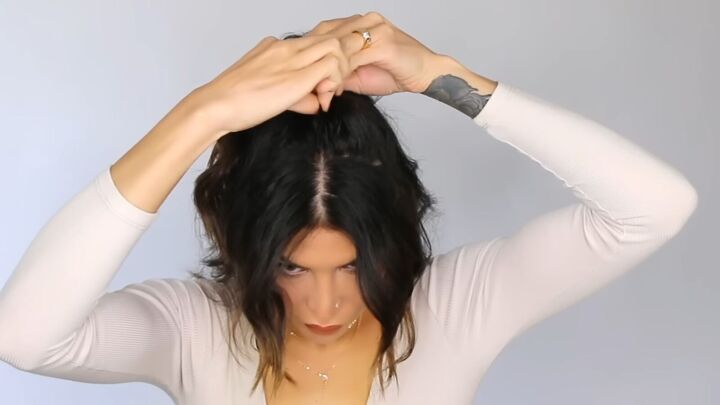
5. Add more root volume
Lift up hair from one side of your part and flip it to the other side, clipping it out of the way.
Grab hair at the root and stamp it a few times with a volume stamping tool.
Repeat with more sections of hair, making sure you’ve left enough hair on top to cover the stamping tool’s work.
See the video at 3:47- 3:55 for specifics.
I highly recommend the volume stamping tool because it’s way less damaging than back-combing!
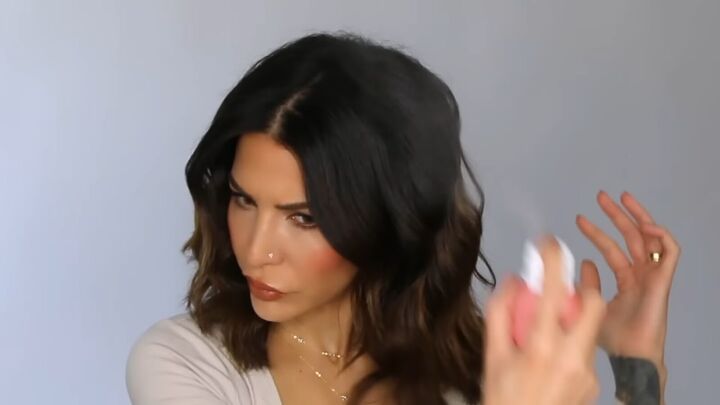
6. Apply hairspray
After stamping the other side, apply hairspray. Use your fingers to guide the hair while the spray is still wet.
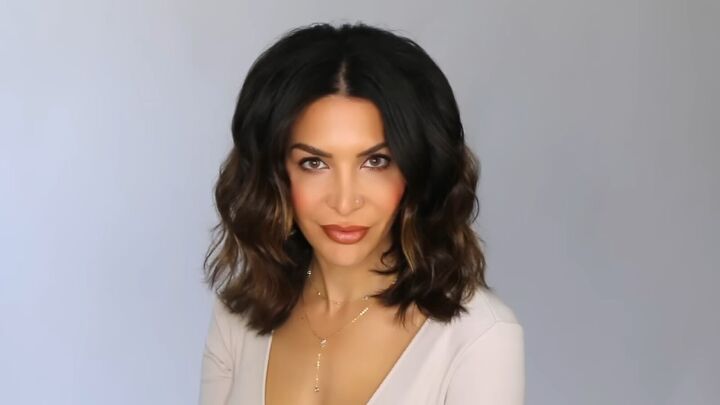
This blowout look is complete:
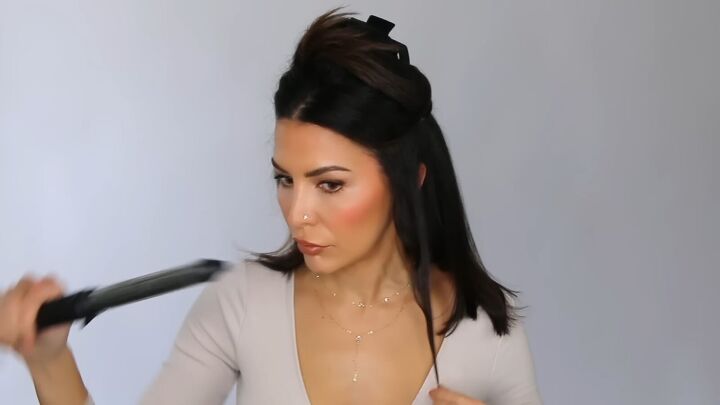
Look 2: Beachy waves
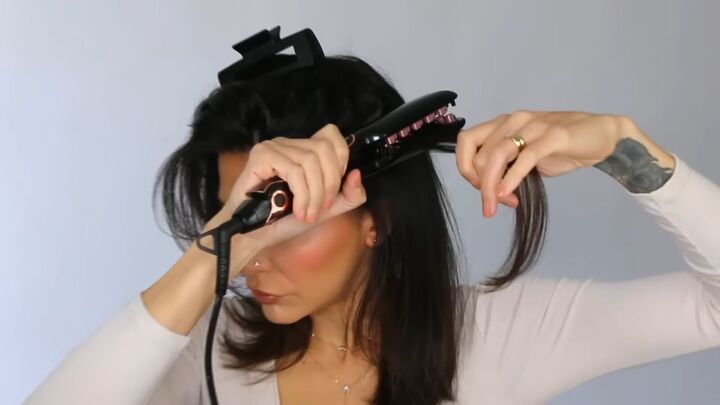
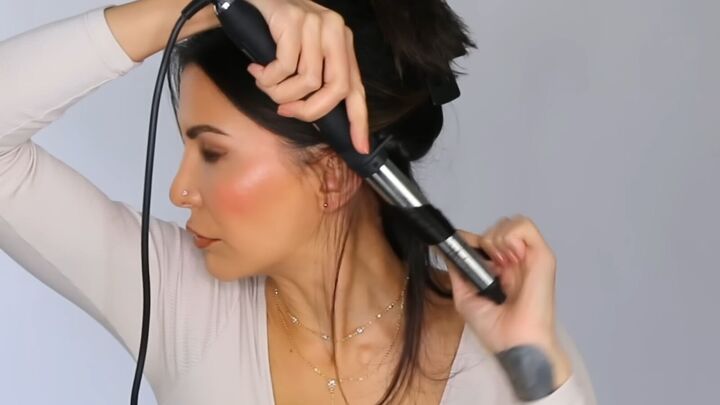
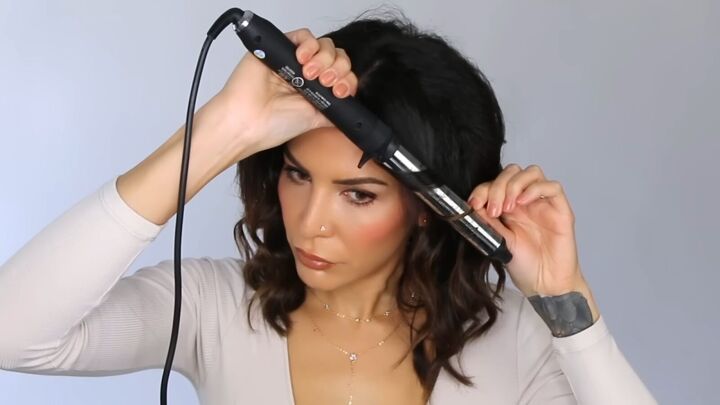
The easiest way to achieve beachy waves is actually with a curling wand.
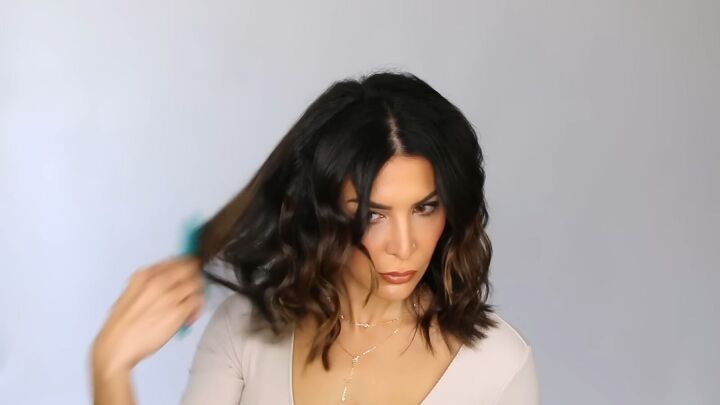
1. Use the wave method to curl
Clip up half of your hair to be able to start from the bottom and work upward.
Draw an imaginary line at the back of your head. Curl the hair to each side, away from the face and toward the back.

To do this, place your curling iron behind the first chunk of hair. Lay the root portion flat on the iron.
As you wrap the rest of the hair, twist it, leaving about 1” out at the bottom.
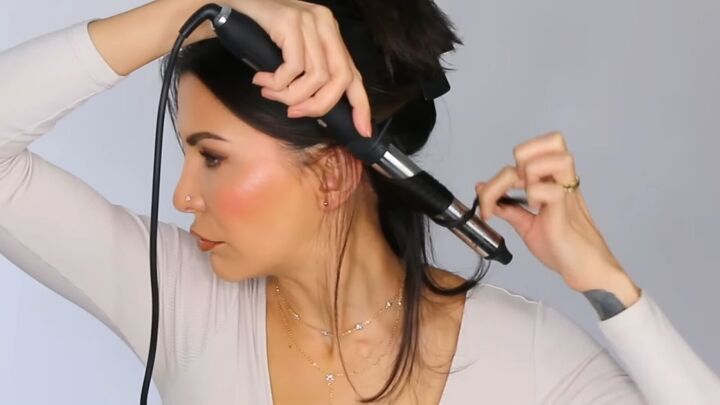
This twisting creates waves as opposed to ringlets.
Release more hair from the clip as you go. When you remove the iron each time, give the hair a gentle pull to encourage the waves.
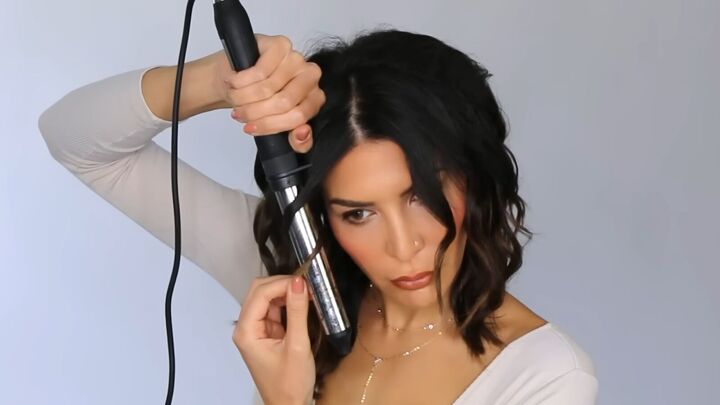
2. Detail the face framing section
When you get to the front, curl smaller sections at a time using the same method.
3. Use a comb and hairspray
Once completely cool, run a wide tooth comb through your hair.
Then apply hairspray.
This wavy look is perfect for shoulder length hair because the waves don’t compromise the length.
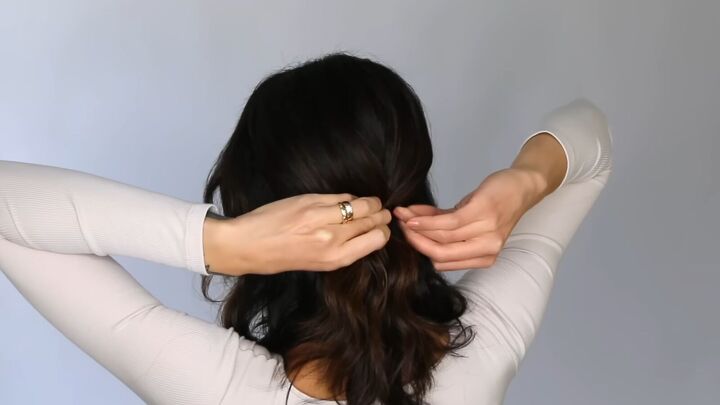
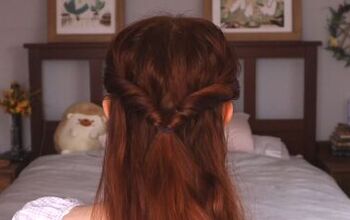
Look 3: Half-up made simple
You can do this simple yet elegant look when your hair is curly, wavy or straight.
1. Find the apex and scoop the hair
Find the apex, the highest point, by placing a brush on the top of your head. The place where it lies flat is the apex.
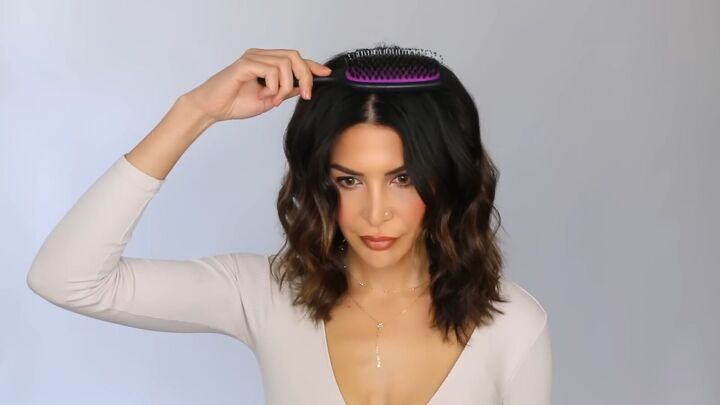
From there, scoop some hair back with your fingers.
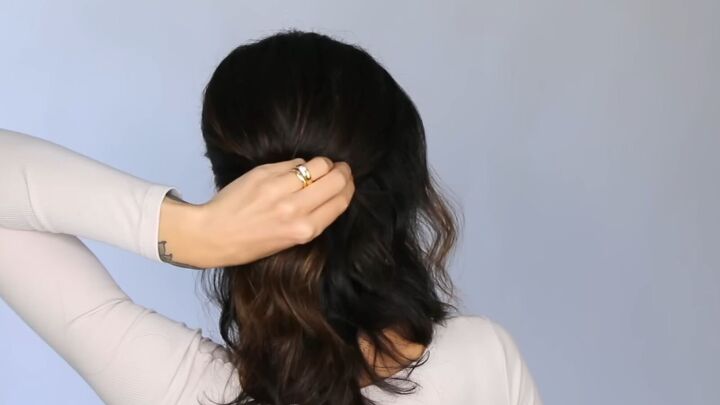
2. Pin the hair
Pin the hair back by criss-crossing bobby pins.
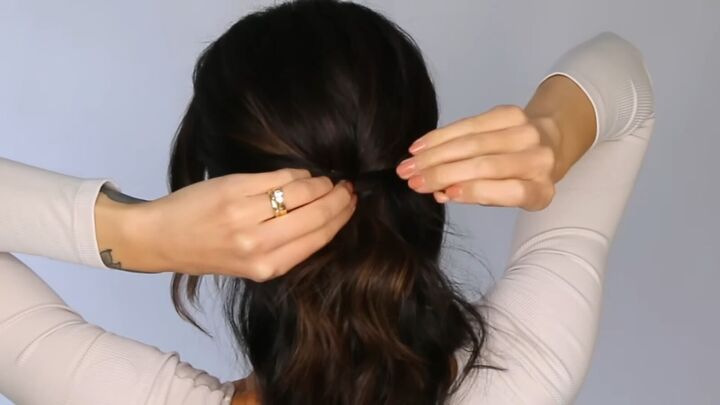
3. Pull more hair back
Take hair from the side, leaving out the face framing hair.

Cross that hair over the pins, securing it in place with another.
Repeat on the other side.
You can see the results of this gorgeous look even better on this blonde, mannequin:
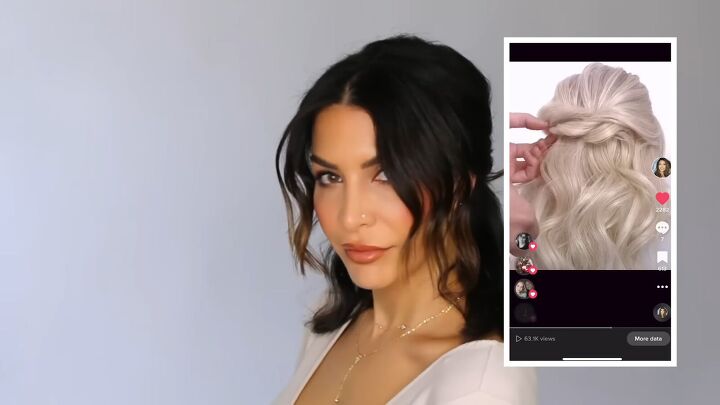
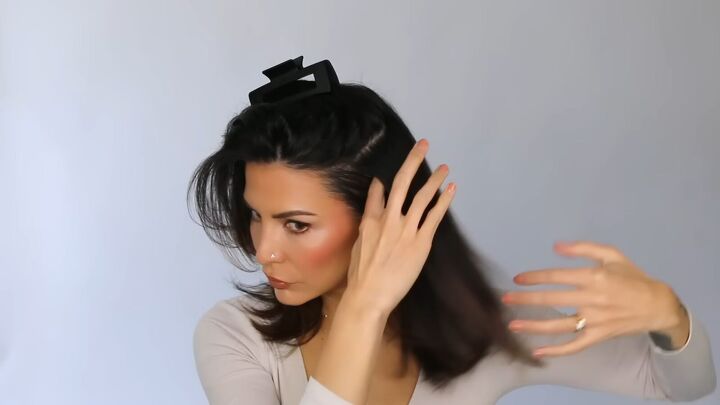
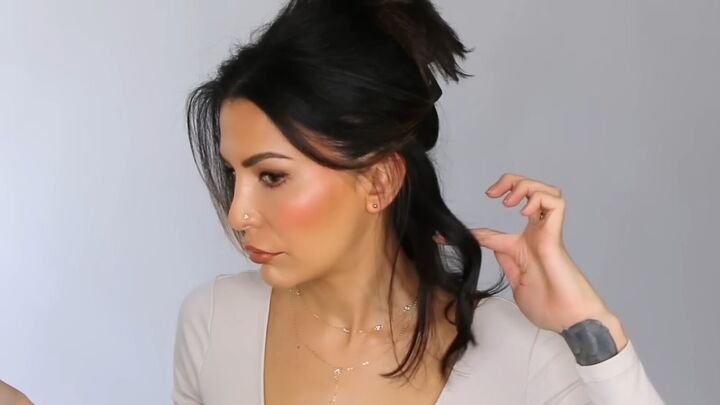
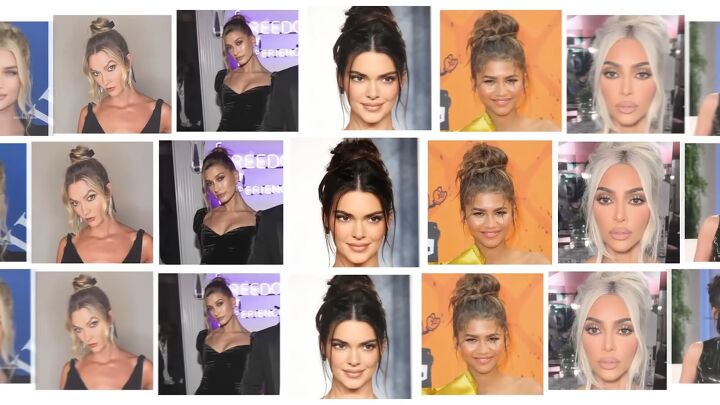
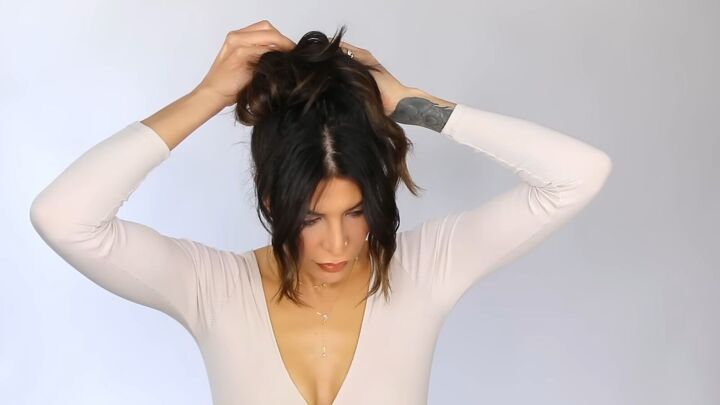
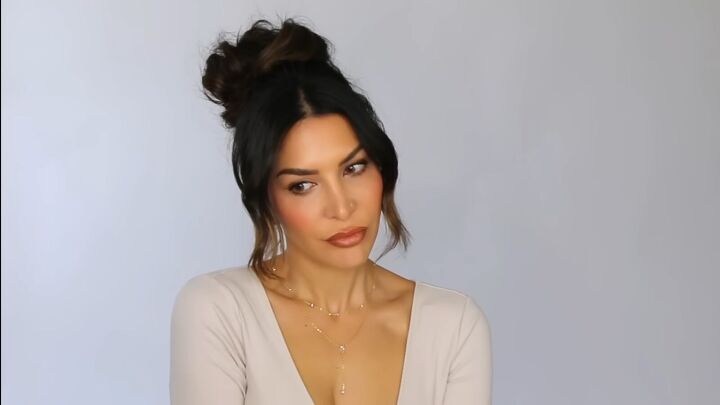
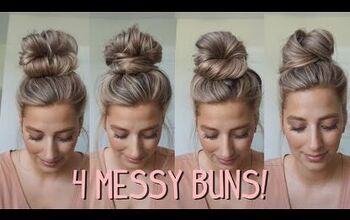
Look 4: Modern Hollywood updo
Every celebrity is wearing this trending updo in 2023:
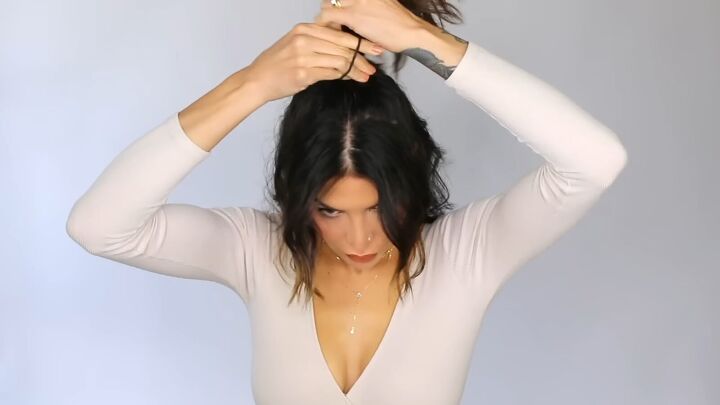
1. Put your hair half up
Pull your hair half up and high, leaving out the face framing hair.
The nature of this updo is messy, so don’t bother with a brush! You want texture everywhere.
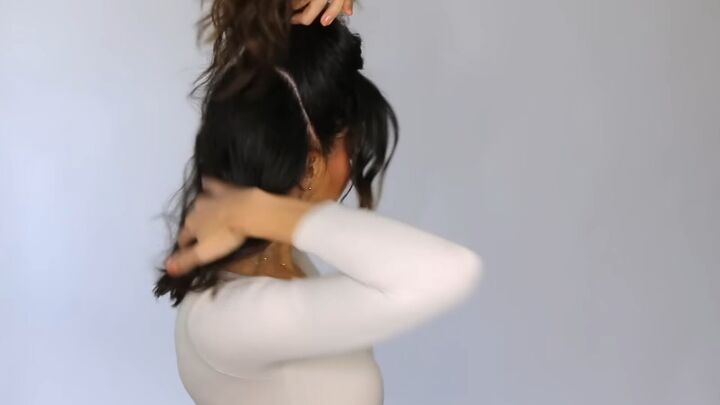
Secure with a hair elastic and then pinch and pull before the ponytail.
2. Make another ponytail
Grab more hair and secure another ponytail under the first.
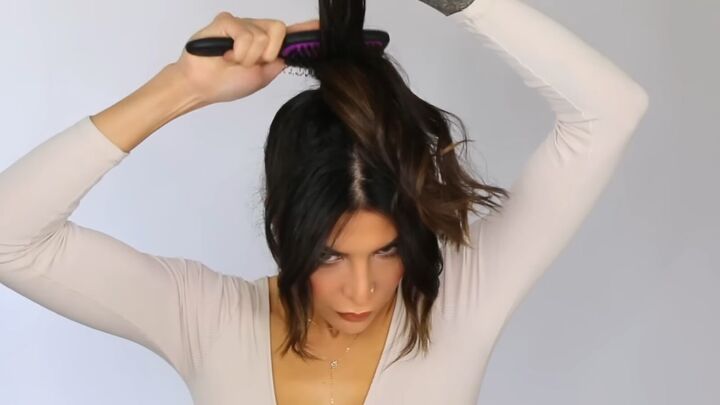
3. Back brush
Take small sections of the ponytails and back brush them.
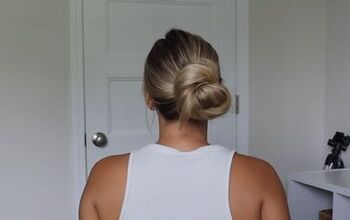
4. Split, spin and secure the hair
Split the ponytail sections.
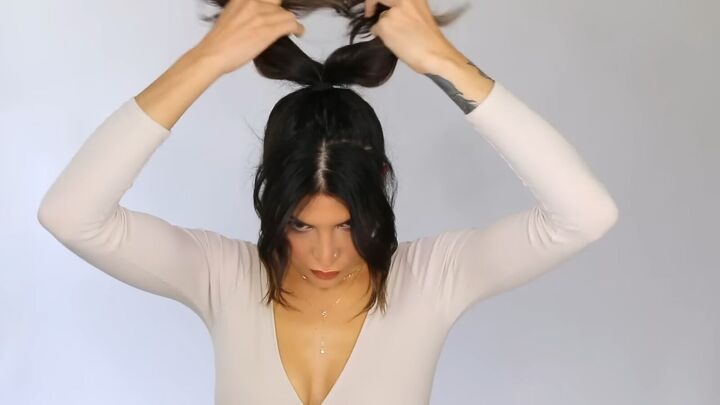
Spin one section in your hand, rotate it around and secure it with bobby pins.
Repeat. My main tip is to keep your bobby pins closed. This will hold the hair without distorting the shape of the bun.
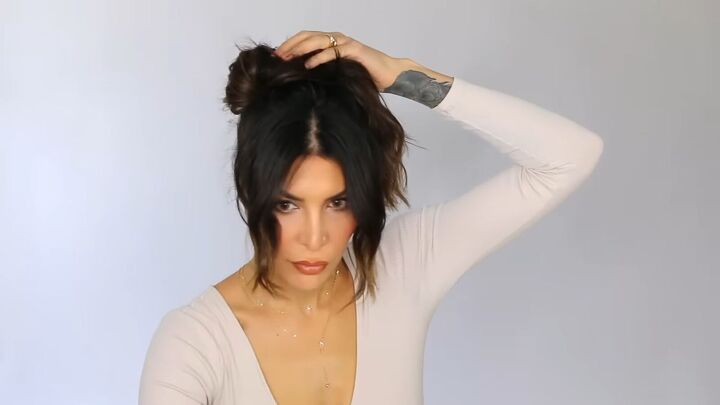
Apply hairspray. Here is the final look:
Let me know which one of these looks is your favorite and if you’re inspired to try any at home.
How to style medium length hair
For more content, check out how to style curtain bangs in 3 easy steps with me!
The author may collect a small share of sales from the links on this page.


Comments
Join the conversation
What is the BRAND name of the:
Hair thickening foam
Heat protection slray
Blowout brush