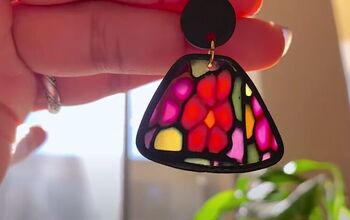
Polymer Clay Polka-Dot Flower Earrings

Need a fresh take on your polymer clay jewelry making? In this tutorial, I will show you how to make a gorgeous pair of flower earrings using a polka-dot technique! Your polymer clay jewelry will never be the same!
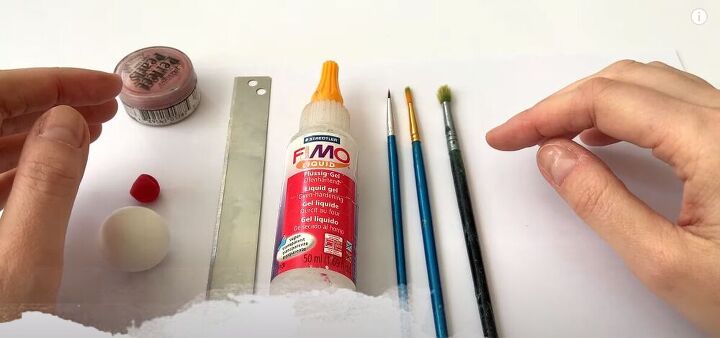
Tools and materials:
- Polymer clay
- Liquid polymer clay
- Paintbrush
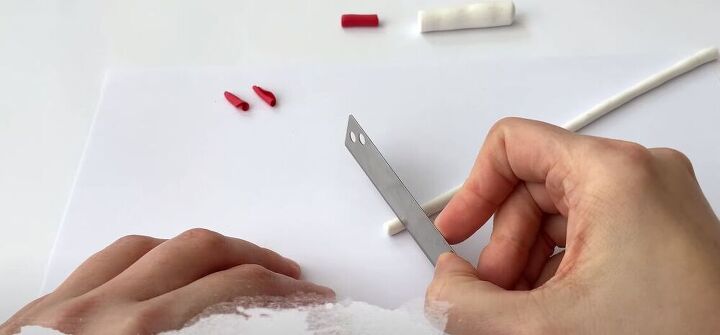
- Knife
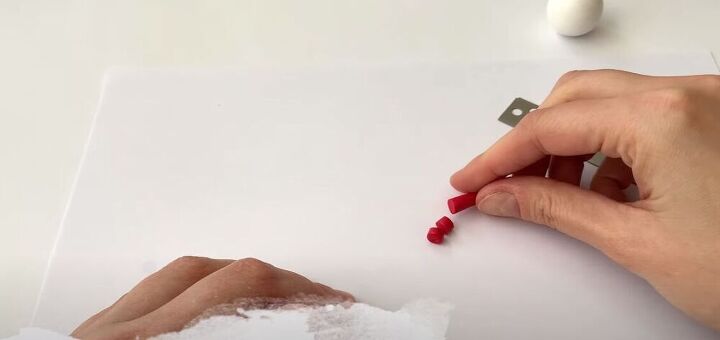
Create the flower center
First, I started with the center of the flower. I cut two small pieces of red polymer clay and rolled each piece into a ball.
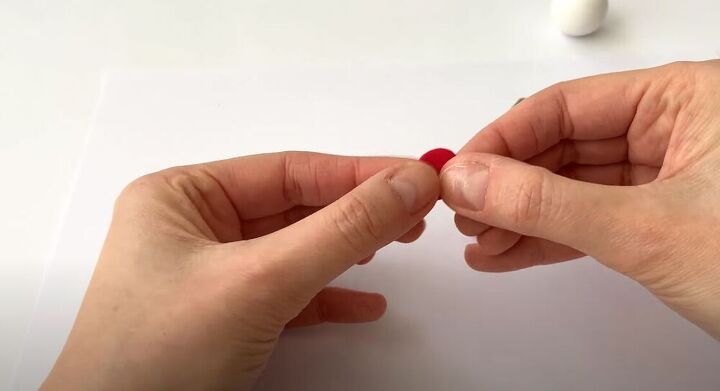
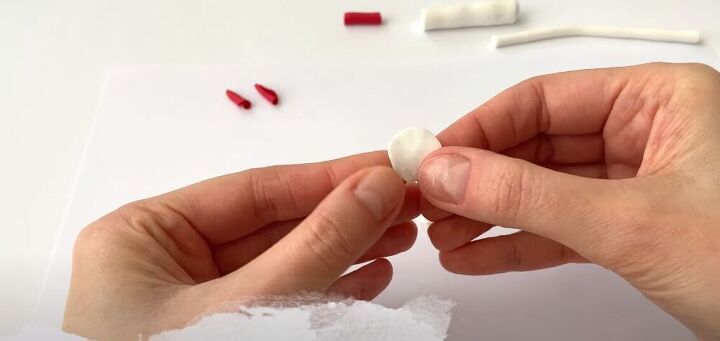
I then used my fingers to flatten the pieces.
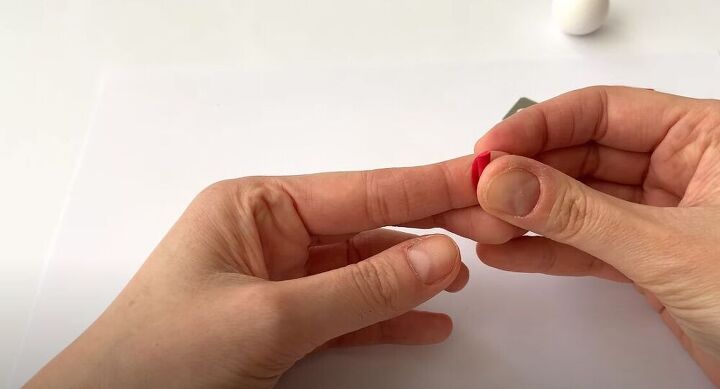
Next, I went ahead and rolled the flat circle to create the flower center.
Create the flower petals
I moved on to work on the petals. I decided to use white clay for the flower petals and I cut 6 small and 6 large chunks of the clay.
To create perfect petals, I made flat circles from the chunks I had cut.
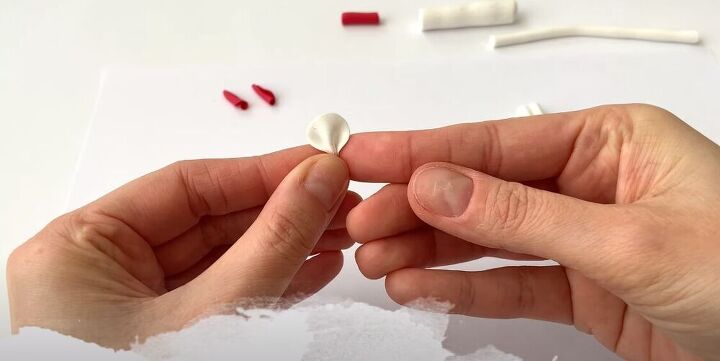
I then went ahead and modeled all of the petals into the perfect shape.
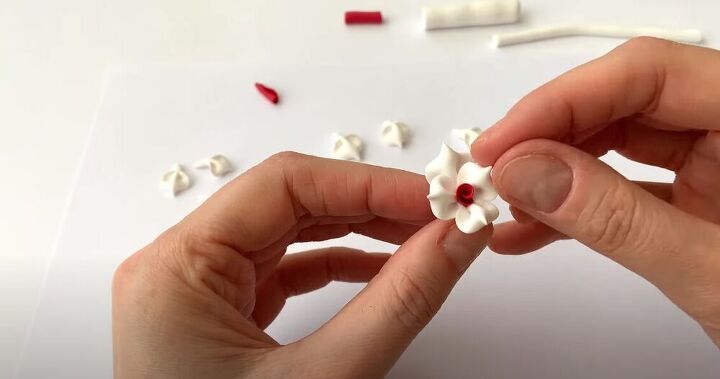
Next, I added the petals to the center of the flower. I first added 3 smaller petals and then 3 larger ones on the outside.
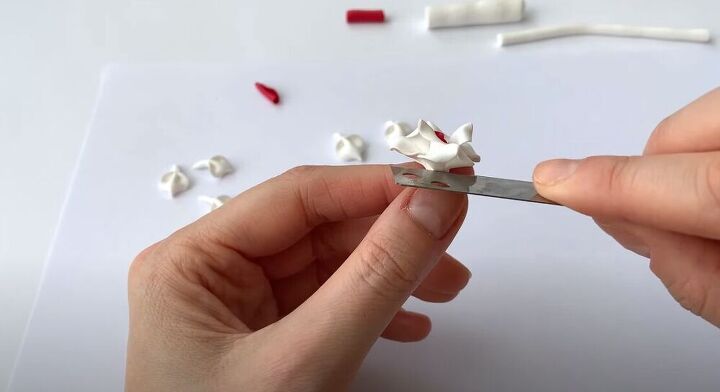
I then carefully cut away the stem.
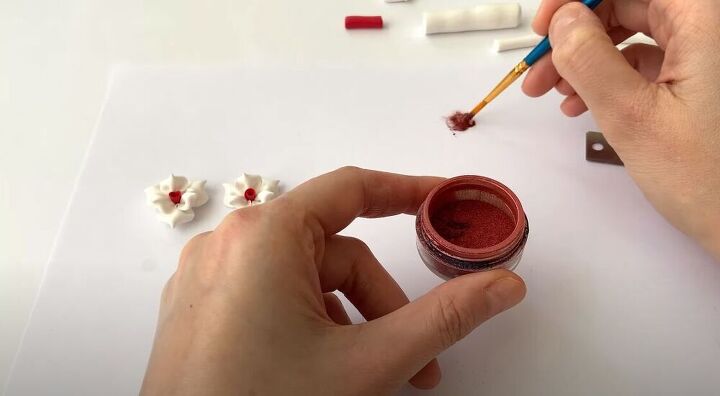
Add the polka-dots
Finally, it was time to get started on the polka-dots! I took a drop of the liquid polymer clay and mixed it with the mica powder.
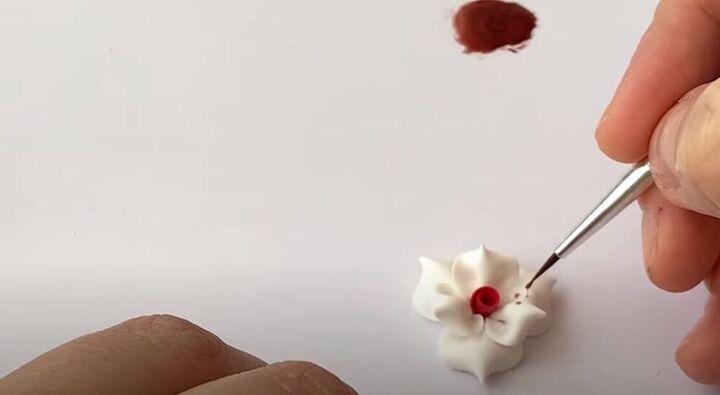
Using a brush with a very thin tip, I began adding the small polka-dots to the flower petals.
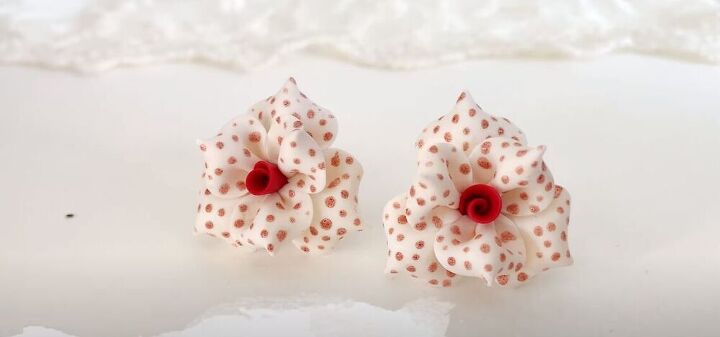
All that was left to do was cure the earring in the oven and glue on the earring backs. The polka-dot technique is definitely one of my favorites when it comes to polymer clay jewelry! I would love to hear what colors you would choose when making these flower earrings? Let me know in the comments!
The author may collect a small share of sales from the links on this page.


Comments
Join the conversation
Really cute, I may try them!
wow, they are stunning