How to Make Cute Mushroom Earrings Out of Scraps of Felt

In this tutorial, I will show you how to make these adorable plush mushroom earrings. All you need is felt, thread, the mushroom drop earring pattern, and a sewing needle. I can’t wait to show you the results! Let’s start.
Tools and materials:
- Felt
- Thread
- Sewing needle
- Embellishments
- Stuffing
- Free mushroom earrings pattern
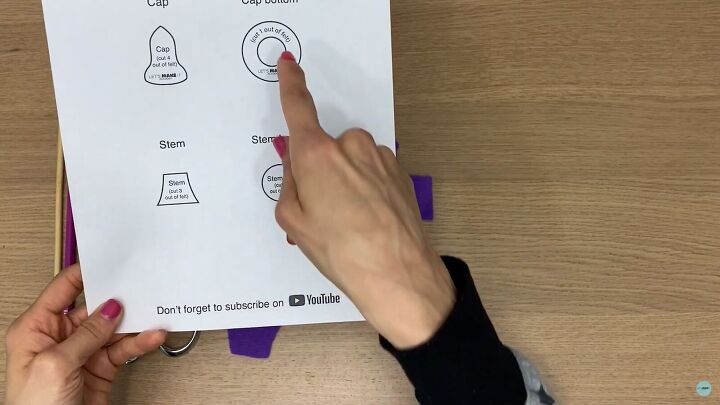
1. Pattern and tools explained
Once you have downloaded the free mushroom earrings pattern, go ahead and cut out these four easy pattern pieces.
To quickly explain this pattern, the red part is the mushroom cap; then you have the actual stem, the cap bottom (under the cap), and the stem’s bottom. This pattern will help you choose your colors for each section.

2. Cut the pattern pieces
Cut out the pattern pieces and then trace them onto your felt. How you do it is up to you, either holding it down or pinning it down. Whatever is easiest for you!
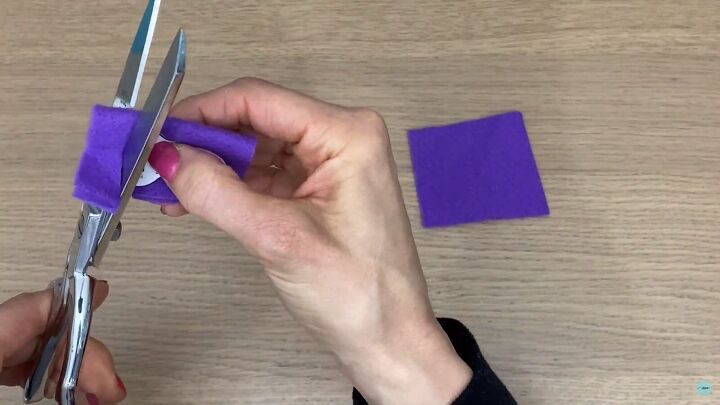
Ensure to follow the instructions; cut four pieces for the cap, three stem pieces, and one piece for the cap and stem bottom.
Tip: Fold the felt to cut out more pieces.
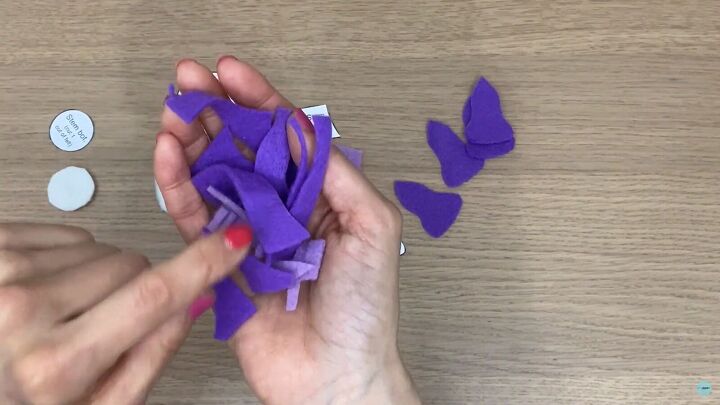
Before we start making these cute mushroom earrings, I want to point out that if you don’t have stuffing, you can use the excess felt pieces as your stuffing; just chop them into tiny pieces.
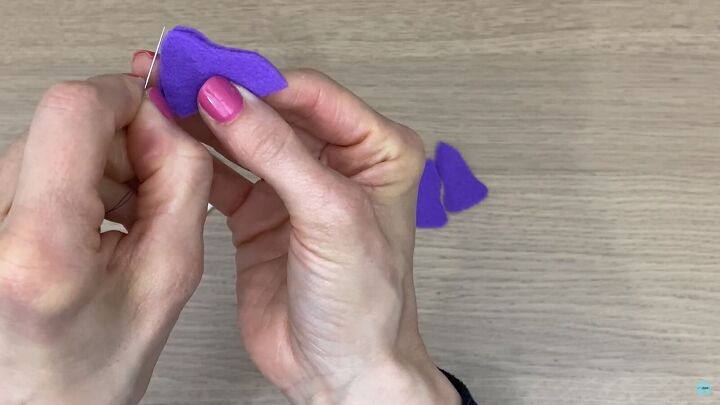
3. Sew the mushroom cap
Take two pieces and sew the sides together, from the curved end to the tip.
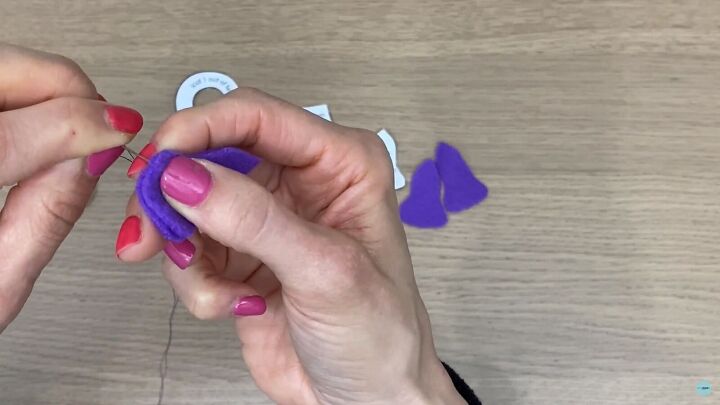
Use an overcasting stitch and try to keep them even. You can use any stitch you want; this will be on the inside, and no one will see it.
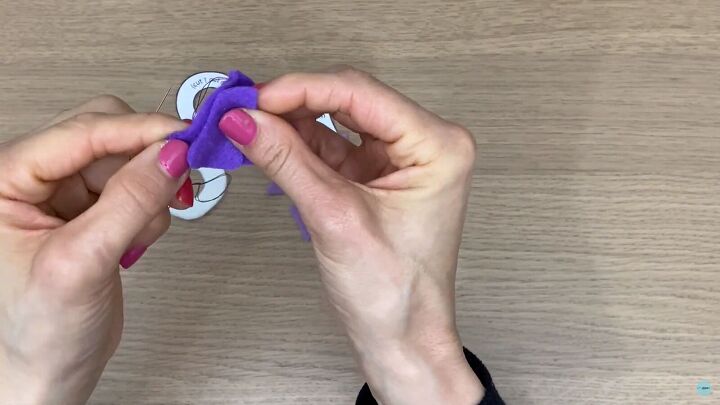
Once you reach the tip, add another piece and sew the side from the tip down. End off the stitch when you get to the bottom.
Add the last piece and start sewing from the bottom. Then, continue down to close it off.
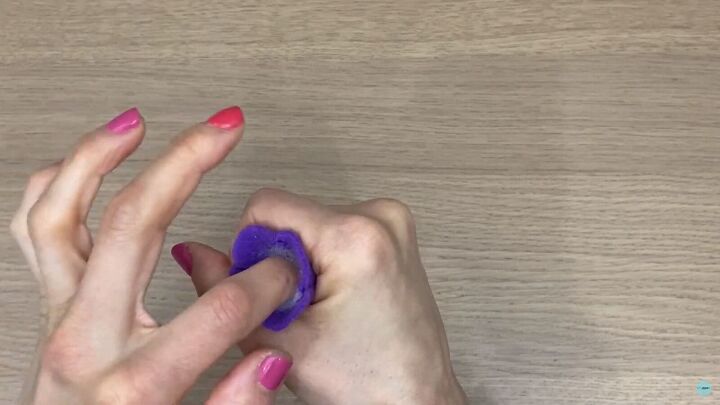
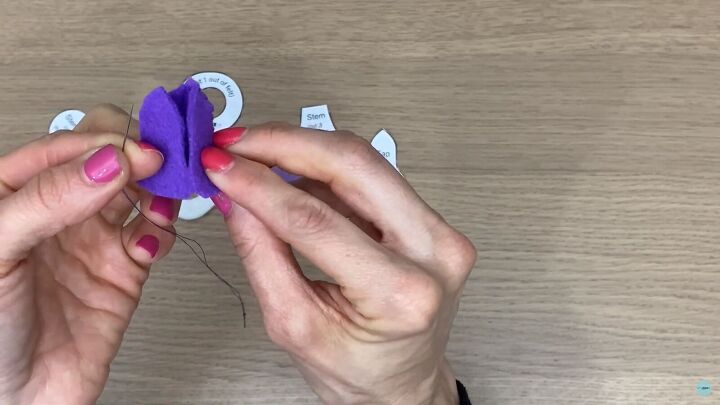
Turn the mushroom cap right sides out and add a little stuffing.

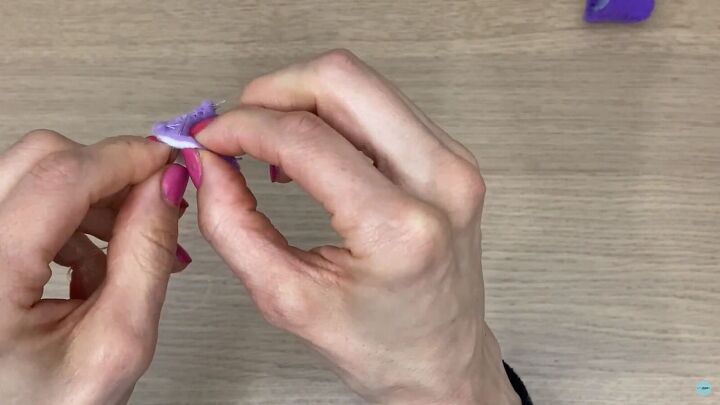
4. Sew the stem
Sew the three stem pieces the same way as you did with the mushroom cap.
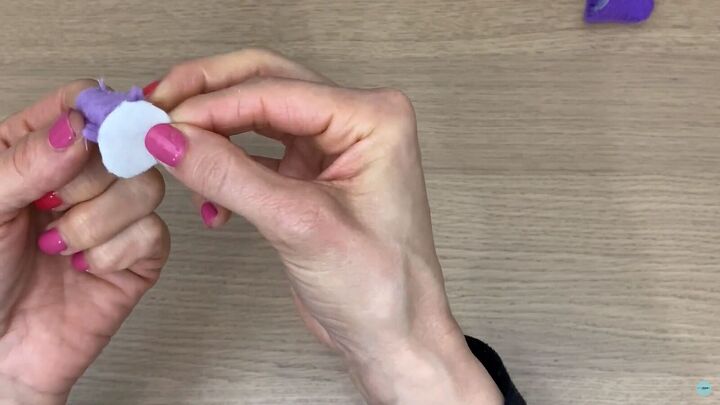
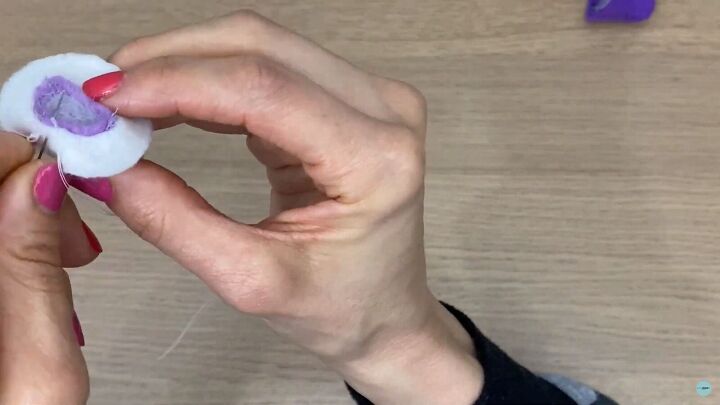
5. Attach the stem bottom
While the stem is still wrong sides out, sew on the stem bottom. You’ll need to make it fit and give your felt a little stretch.
Switch your thread color if needed, and sew around the perimeter.
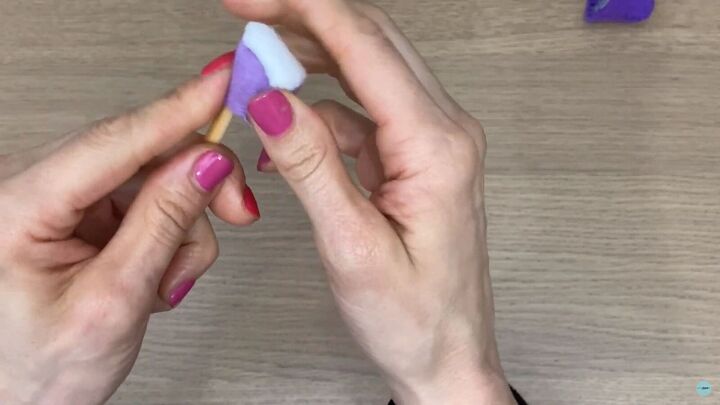
Turn the stem's right sides out and use a chopstick to get the edges out.
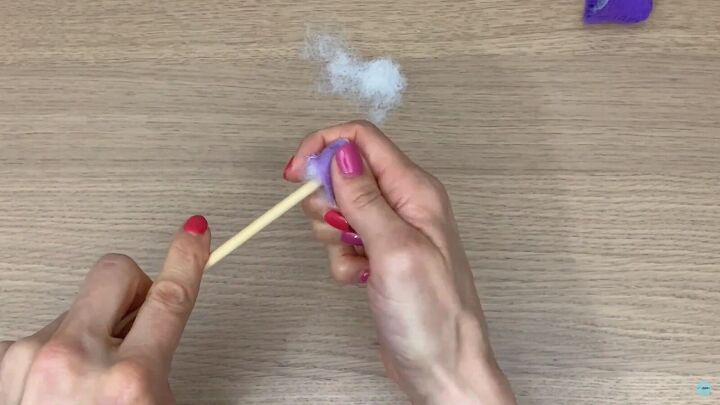
Next, place the stuffing inside with the help of the chopstick.
Tip: Make little balls from the stuffing to make the process easier.
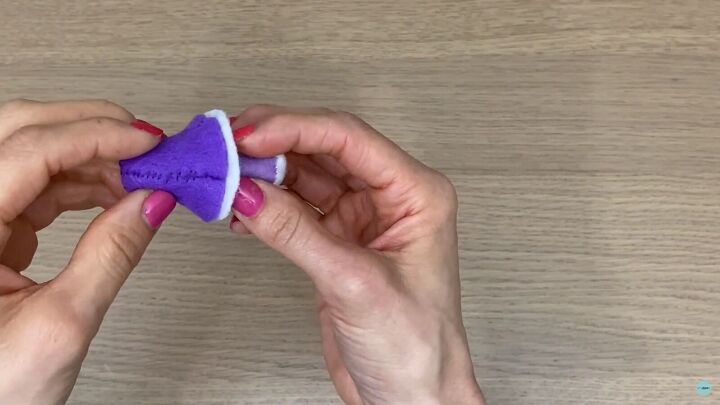
6. Attach the cap bottom
It’s time to attach the cap bottom around the top of the stem. So, put the cap right over the stem and sew!
7. Assemble the mushroom earrings
Now, sew the cap onto the rest of the mushroom.
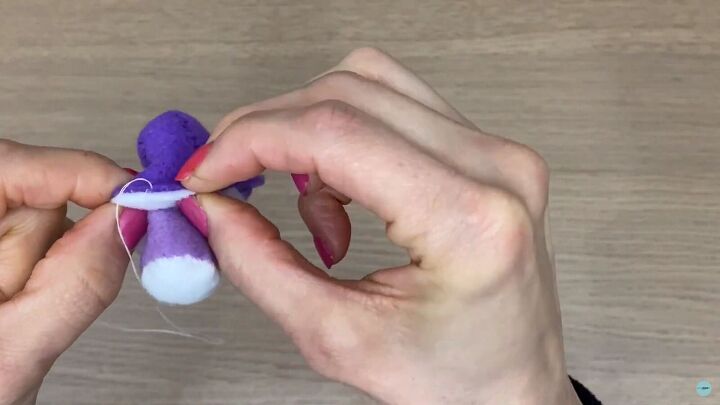
It’s really simple; either hold it or pin it and work your way around the perimeter with the same stitch.
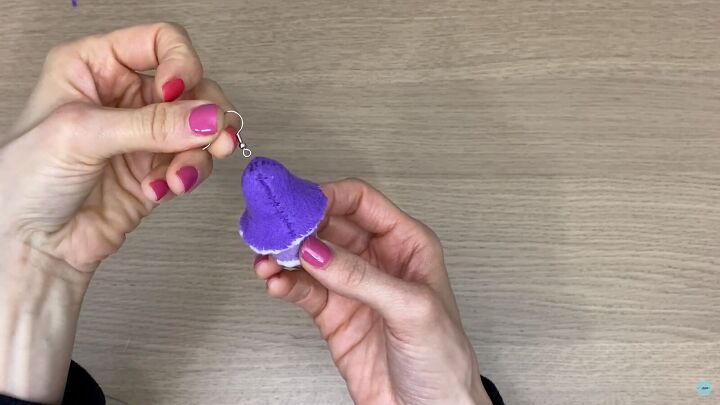
8. Sew the earring hook and embellishments
Your cute mushroom earring is almost complete. Now, sew on the earring hook right on top so it dangles.
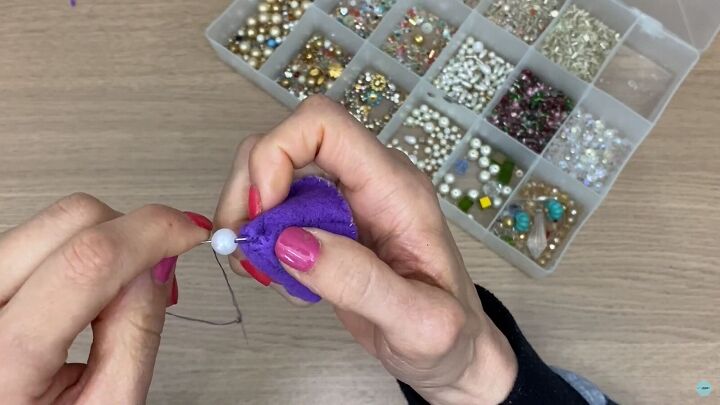
Before you attach the ear wire, add a cute little pearl first.
Now, secure it with an end-off stitch by creating a small loop and putting your needle through the loop.
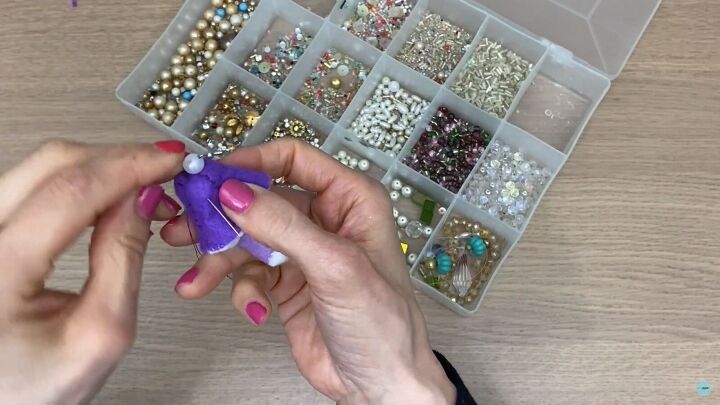
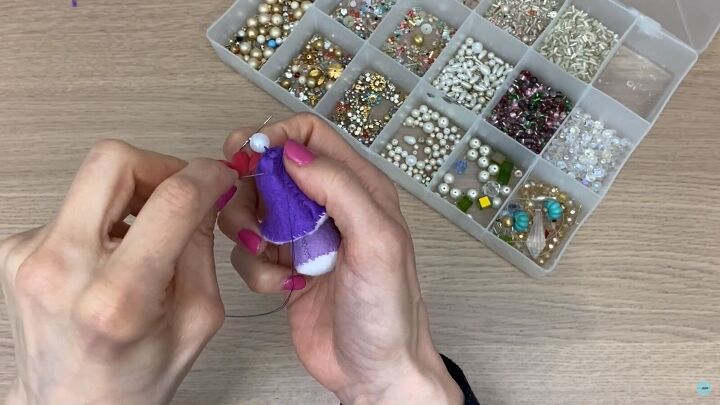
Don’t cut the thread just yet; because you can add your embellishments now. Slide your needle through the mushroom earring to the center and feed through your beads!

You can use glue (instead of sewing), beads, or anything you want to make your mushroom earring look cuter! Pick up the bead with the needle and go back under the bead to another spot. Continue this process to make your own creation!
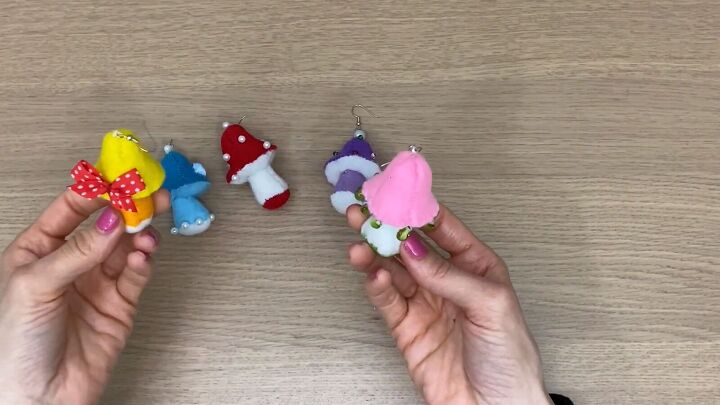
How to make mushroom earrings
How easy was this mushroom earring sew-along? Of course, I only made one mushroom drop earring, but you’re going to go ahead and make the second! Also, look at all the color combos and different embellishments you can use! It’s, seriously, so fun to create! Thanks for joining me on this tutorial on how to make mushroom earrings. See you next time.
The author may collect a small share of sales from the links on this page.


Comments
Join the conversation