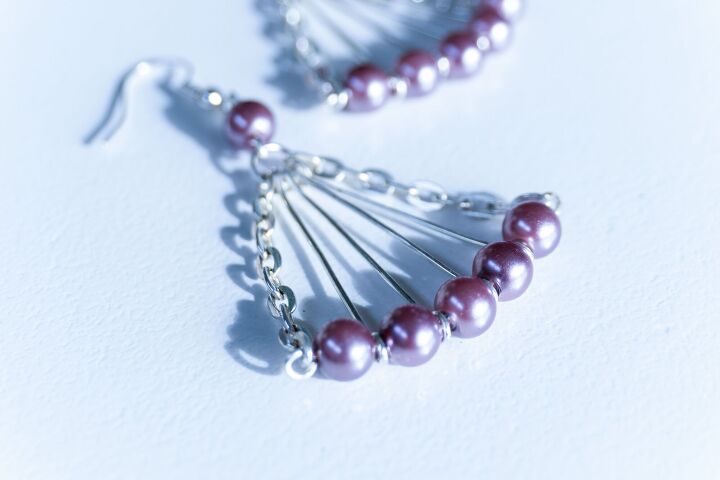
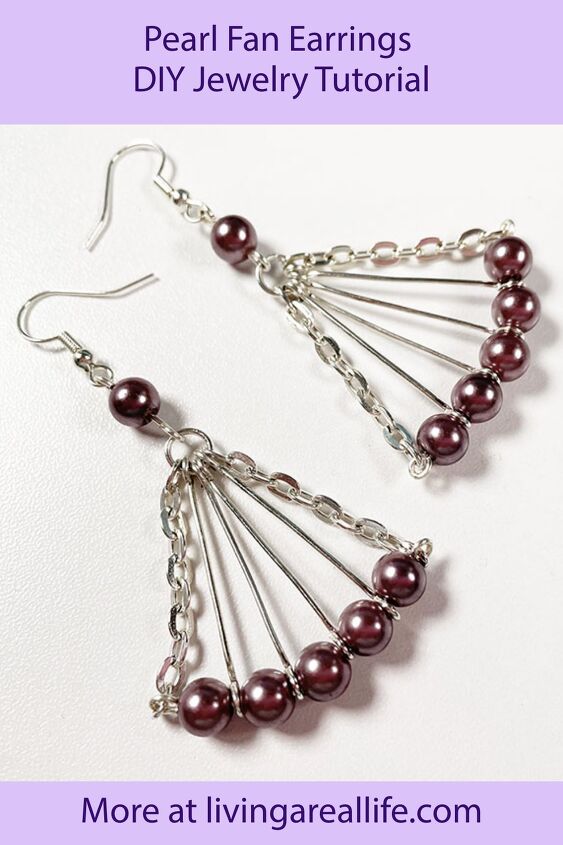
How to Make Pearl Fan Earrings
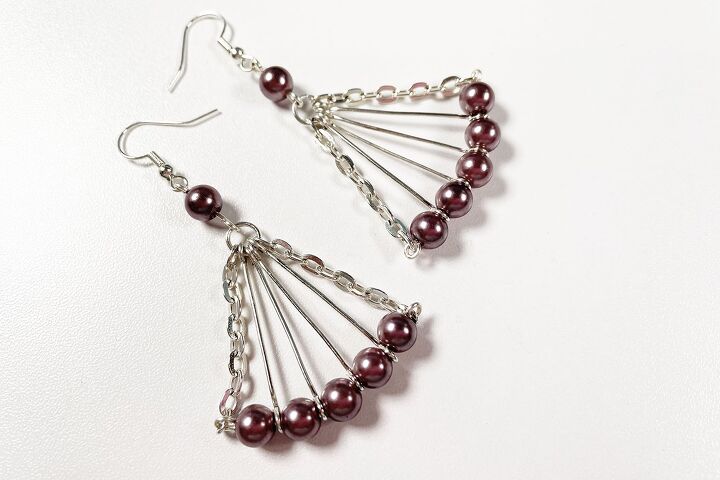
The great thing about these earrings is that they look really complicated but they aren’t. Don’t you love it when that happens!
These earrings also use only a few supplies so, even better.
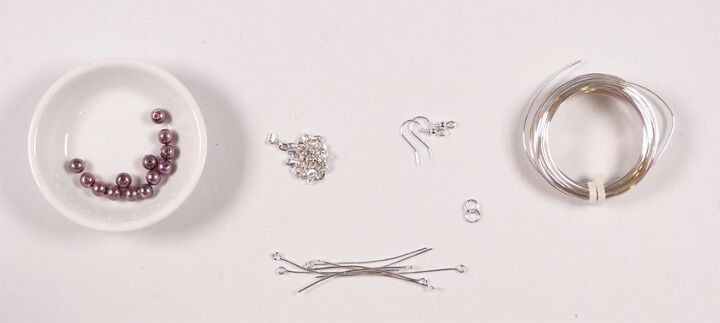
Materials
To make the pearl earrings you will need:
- 6mm Rose Silver Glass Pearls x 12
- 5cm Silver Eyepins x 8
- 5mm Silver Flat Oval Cable Chain x 12cm approximately
- 6mm Silver Jump Rings x 2
- 19mm Silver Twist Earhooks x 1 pair
- 20 Gauge Silver German Style Wire
If you would like to make the rainbow earrings, switch out the pearls for 12 Acrylic Rainbow Mix Beads.
Tools
The tools I used to make these earrings are:
- 1.5mm 1-Step Looper
- Chain Nose Pliers x 2
- Nylon Jawed Pliers
- Flush Cutters
- Ruler
- Fine Point Maker
If you don’t have a 1-step looper, use this technique to make your loops.
Instructions
Watch the video or read the instructions below:
Straighten the Eyepins
Use the nylon jawed pliers to straighten the eyepins. To do this, pull the jaws of pliers along the wire while holding the eye. Repeat until the wire is straight.
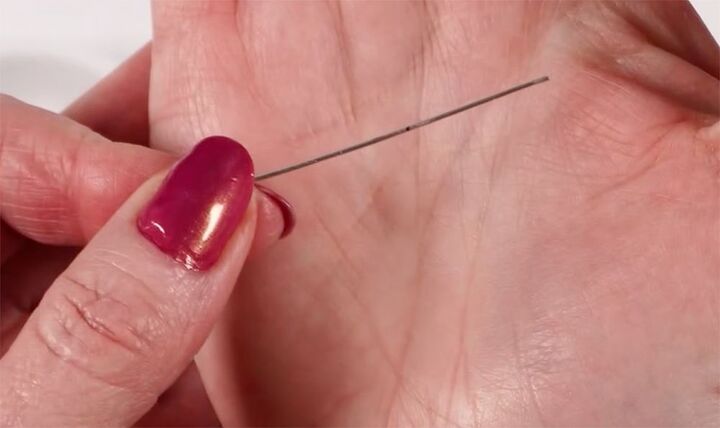
Measure the Eyepins
Measure the eyepin 2.5cm from the bottom of the loop. Make a mark with the marker. Repeat for all the eyepins.
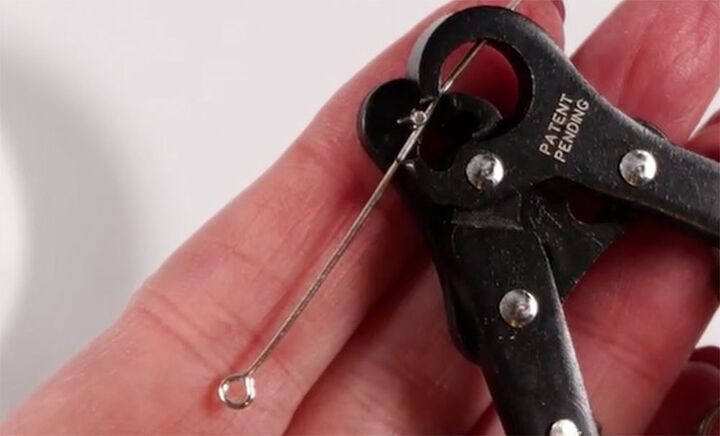
Make the Loops
Line up the cutting jaw of the 1-Step Looper with the mark and make the loop. Repeat for four eyepins. If you’ve never used a 1-Step Looper, watch this video to find out all about this wonderful too.
If you don’t have a 1-Step Looper you still make these earrings, just place the bend in the wire at the mark. The loops made by the 1-Step Looper will be slightly smaller than the existing eyepin loops.
Use both pairs of chain nose pliers to ensure the loops are facing the same way.

Lay the eyepins up on your table so that all the larger loops are all at the same end, just so you don’t mix them up.
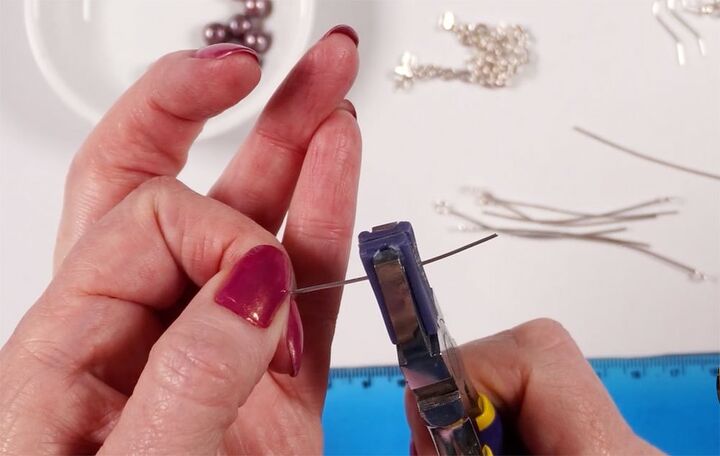
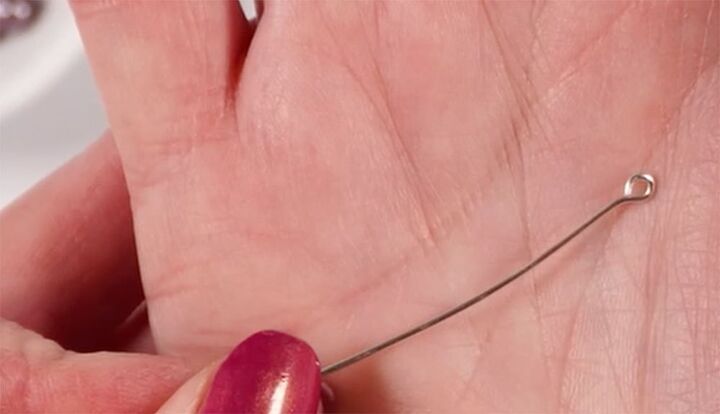
Cut a piece of the 20 gauge wire about 8cm long. Make a loop in one end. Make sure it’s properly closed.
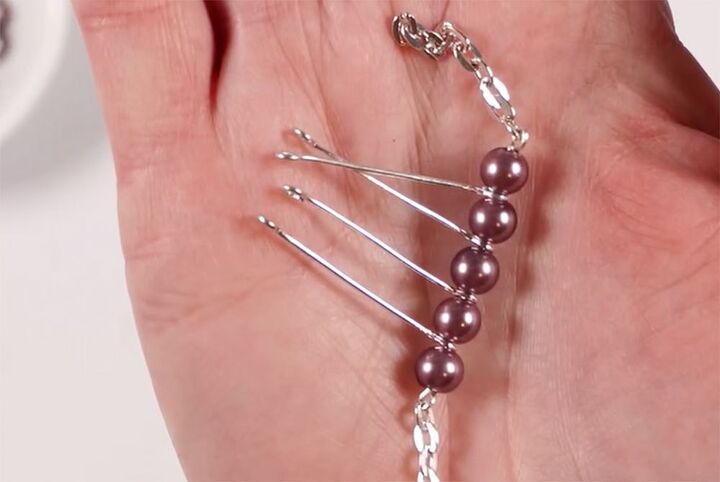
Threading on the Beads
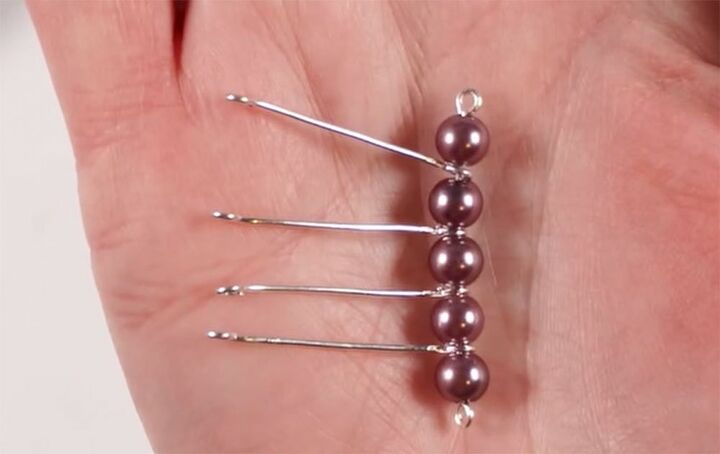
Onto the wire thread on one of the beads, one loop, then alternate until you have five beads on the wire. Make sure that the loops are all the same way (ie the opening side of the loop is facing the same way on all pieces of wire).
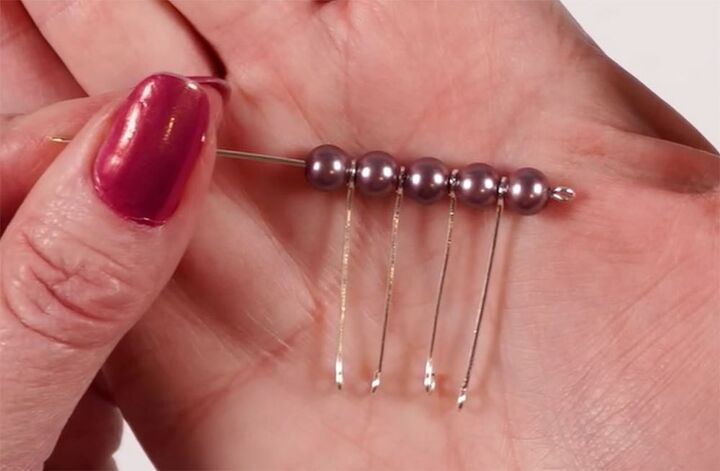
Make a loop in the other end of the wire. Make sure the loop is well closed and that it’s facing the same way as the one on the other end.
Attach the Chain
Cut two pieces of chain 10 links long (this is more accurate than measuring).
Support the beads with your thumb and finger and place the chain nose pliers on the side of the loop that opens. Move your hand down so that the loop opens. If you’ve not used this technique before watch this video all about making loops.
Thread on the end link of a piece of chain. Close the loop by reversing the process.
Repeat for the other end of the wire.
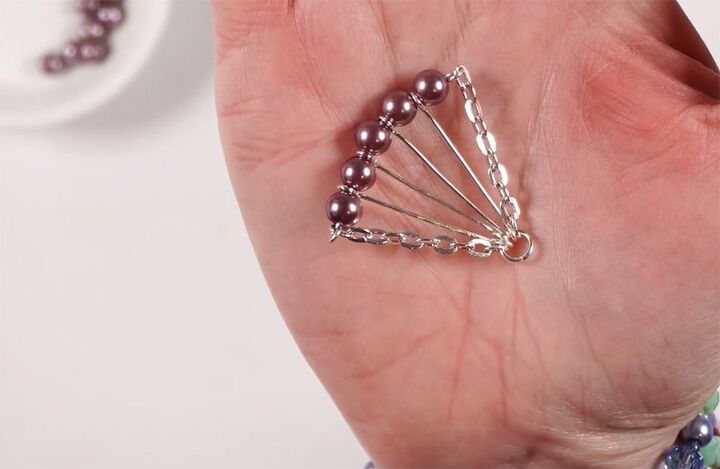
Add the Jump Ring
Open the jump ring and feed on the end link of the chain. Then add each of the loops of the eyepins, then the end link of the other piece of chain. If you can’t get all the components on, just gently bend the wire with the pearls on it. The jump ring is quite full now. Close the jump ring. If you’ve not used jump rings before, watch this video all about jump rings.
Gently bend the wire with the pearls into a curve. When you make the second earring, make sure the curve is the same.
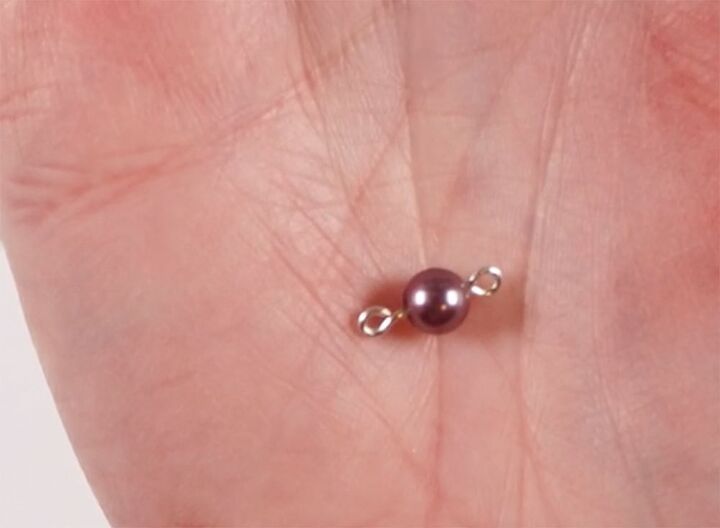
Make the Top and Add the Ear Hook
Cut a 4cm piece of wire and make a loop in one end. Feed on one of the pearls, then make a loop in the other end.
Open one of the loops on the component (don’t open the jump ring) and feed the jump ring on. Close the loop.
Open the loop of the ear hook and thread on the top loop of the last component. Close the earhook.
Repeat all of this for the second earring.
In the video, I also showed you a pair of the same earrings I made with some acrylic rainbow beads.

Jewellery I’m Wearing
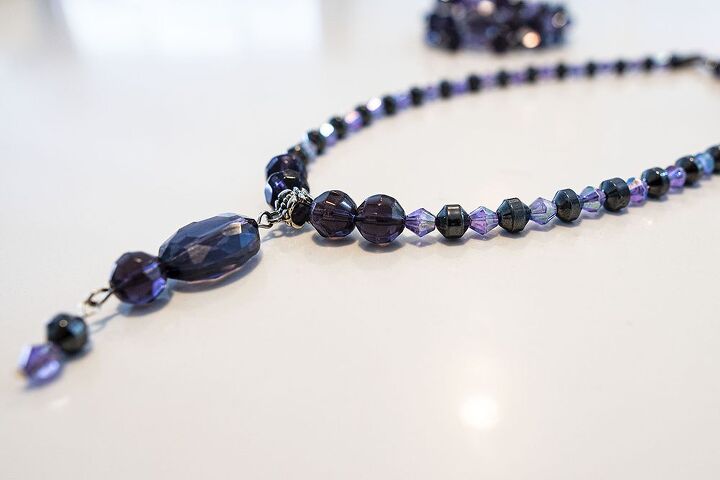
In the video I’m wearing the Focal Bead Necklace. You can watch the tutorial here.
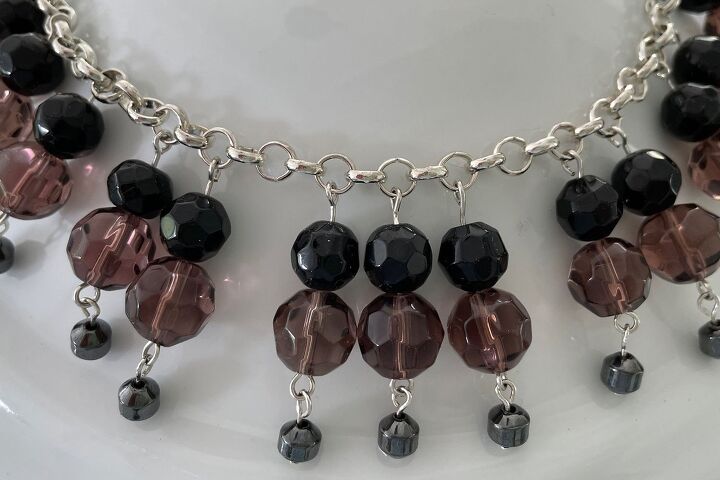
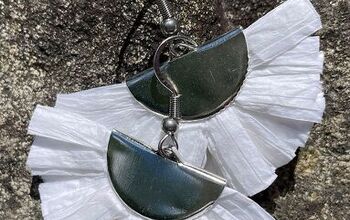
The earrings I’m wearing are made from one of the dangles on this Moody Statement necklace. You can watch this tutorial here.
I really hope that you enjoyed this earring tutorial. As I said, they are quite easy to make but look very elegant and effective.
Remember to subscribe to my YouTube channel and ring the notification bell so you will never miss a thing.
⇓ REMEMBER TO PIN THIS PROJECT FOR INSPIRATION AND SHARE WITH YOUR FRIENDS!!⇓
If you like my blog be sure to click on the RECOMMENDED button and SHARE it with your friends! It’s the best way for my blog to grow so I can continue to give you great content. I would love for you to be part of my family so sign up to receive my emails. Every time I post a blog, I will send you an update email. Also, follow me on Facebook HERE, Instagram HERE and Pinterest HERE.
Come by and say Hey!
The author may collect a small share of sales from the links on this page.


Comments
Join the conversation