From A - Z: How to Make Slab Earrings

These earrings are super fun to make and even more fun to wear. I love how versatile they can be and the fact that once they’re done they’re completely unique - your style, your way! This is how to make slab earrings.
Tools and materials:
- Polymer clay
- Liquid clay
- Needle
- Bead
Mix your clays
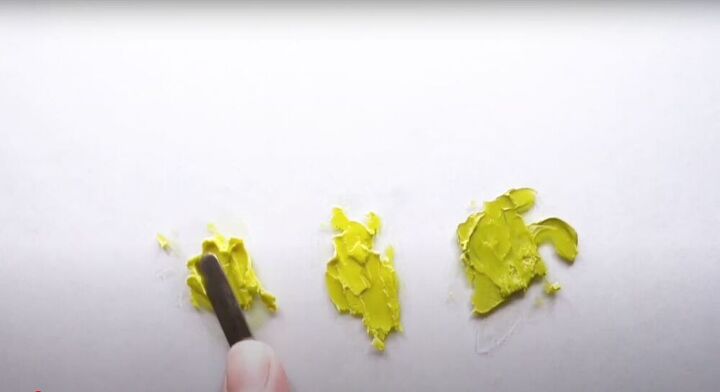
Mix polymer clay with a small amount of liquid clay until the texture of your clay is paint-like. Repeat this with all the clays (colors) you will use for the earrings. (I have two shades of blue, three shades of pink, green, orange, and white).
Make the branches
For the branches, use polymer clay without mixing in any liquid clay. Simply take your clay and roll it out between your fingers and flat surface until you get your desired thickness. Then, use a needle to place the branches on the background. When you’re done, press in lightly with your finger.
Make your leaves
Take a piece of green clay and roll it between your fingers. Then, place it on the tip of your tool and press it into the background while pulling backward. This will create your desired leaf shape. Feel free to play around with the colors, shades, and sizes. I added orange.
Add some color
Next, I took some pink clay and made balls. I rolled tiny pieces of clay between my fingers until they were round and then used a needle to place these balls on the background. I put the balls next to the leaves. Once you’re done, use your fingers or a tool to press in.
Use your needle
Your needle can also be used to make some nice decorations. Use the sharp tip to make some small holes across your background for some texture and detail.
Cut out your earrings
Using a teardrop-shaped cutter, cut out your earrings. I cut out two big teardrops and then three more small ones. Try not to let any of your creations go to waste.
Bake your earrings
Once the earrings are cut out, add a small hole to the top of the drop so that you can add a bead there later on. Then, bake the earrings for about ten minutes.
Make a frame
Take polymer clay - without adding liquid clay - and cut out a piece that is around the same thickness as the background of your earring. Use this clay as a frame for your earring. Gently apply it to the rim of the earring. Use the blade of a knife to smooth it out.
Put in your studs
Use some liquid polymer clay to apply ear studs. Simply place a drop of the clay on the thick side of the teardrop and push the ear stud into it. Then, place the earrings back into the oven for another 30 minutes.
The last thing to do is find a bead you love and loop it in. These earrings are completely unique. Every leaf, dot, and stem is made completely by me. I hope this helped you learn how to make clay slab earrings - I’m excited to see the colors and patterns you come up with!
Enjoyed the project?
The author may collect a small share of sales from the links on this page.




Comments
Join the conversation
What a beautiful job! You are gifted. You do need good eyes and hands for sure. Thanks for sharing
I love these earrings. You are very talented !