Learn How to Make a Stunning Jumpsuit

I have always wanted a jumpsuit but I couldn’t find the right style in the store. That’s when I decided to make my own! I love how versatile a jumpsuit is! You can dress it up or down and wear it for every occasion. If you have been looking for your next closet essential, the search is over! Follow my tutorial and learn how to make a gorgeous jumpsuit. My easy, step-by-step guide will have you rocking this fashion-forward look in no time!
Tools and Materials:
- Sewing machine
- Thread
- Fabric scissors
- Pins
- Measuring tape
- Seven-inch zipper
- Fabric
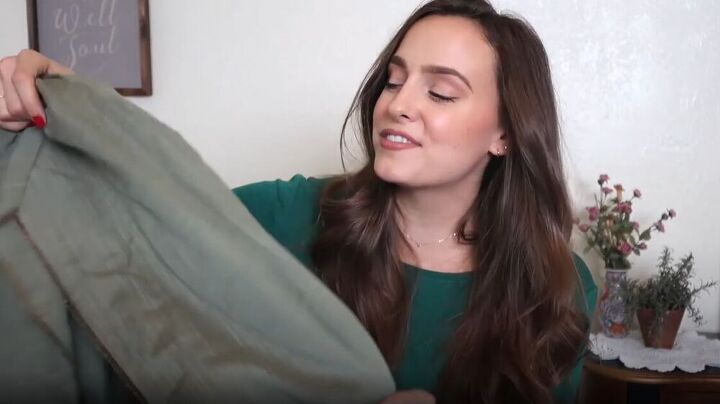
Before we get started, let’s talk about the material. For this jumpsuit, I used Tencel fabric. I absolutely love this fabric because it is so soft and it’s also environmentally friendly! I have chosen this green-grey color but get creative using colors you love, that complement your skin tone!
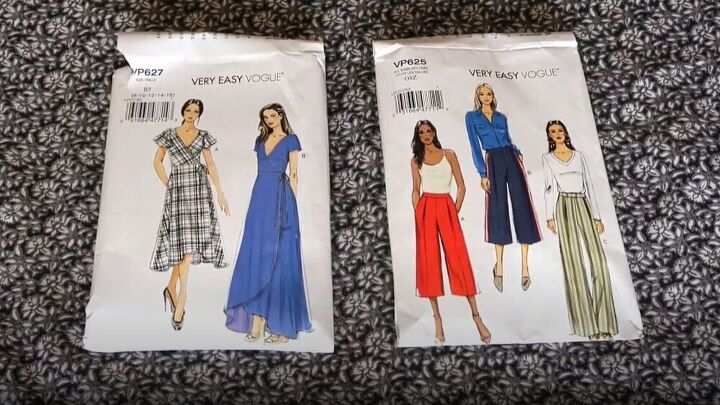
I couldn’t find a pattern I liked, so I ended up making a pattern, for the top of the jumpsuit, from a wrap dress and used a pattern for flared pants for the bottom.
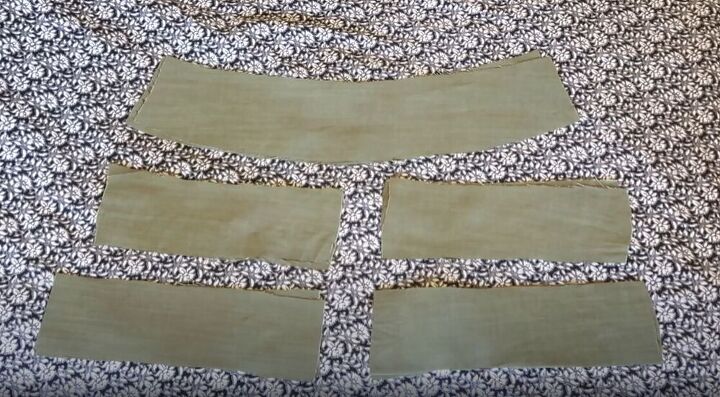
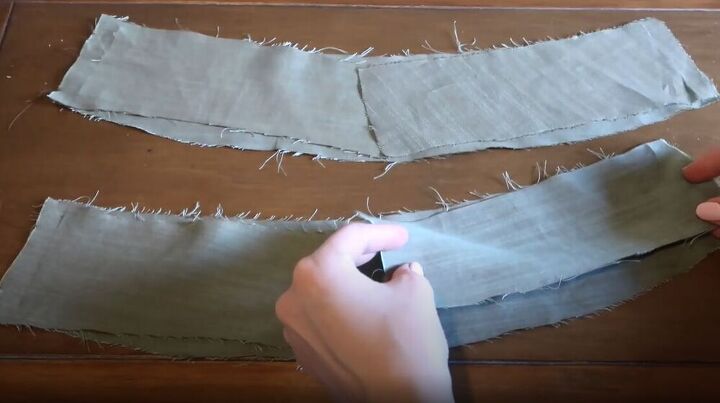
Once I had cut out patterns for a front and back bodice, and pants, I cut out a front waistband, a back waistband, and some shoulder straps.

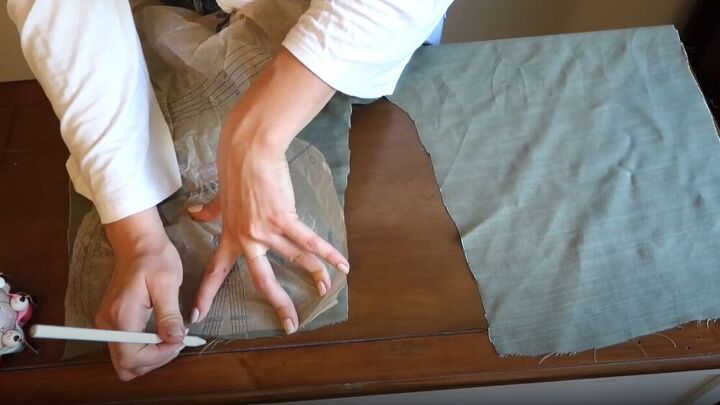
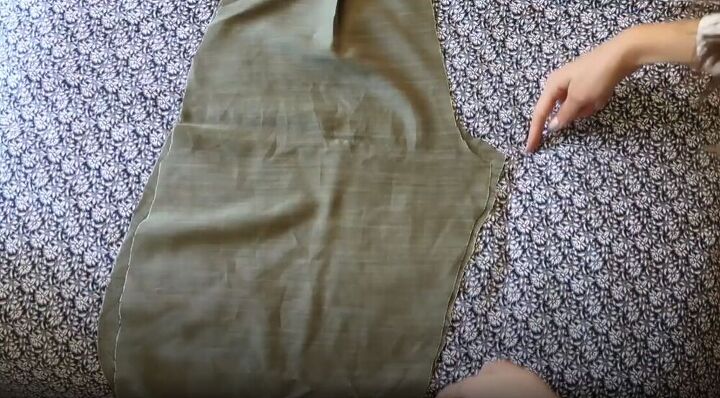
To get started, I folded my fabric in half with the right sides facing each other. I placed down the front and back pattern pieces for the legs of my jumpsuit and cut around the patterns.
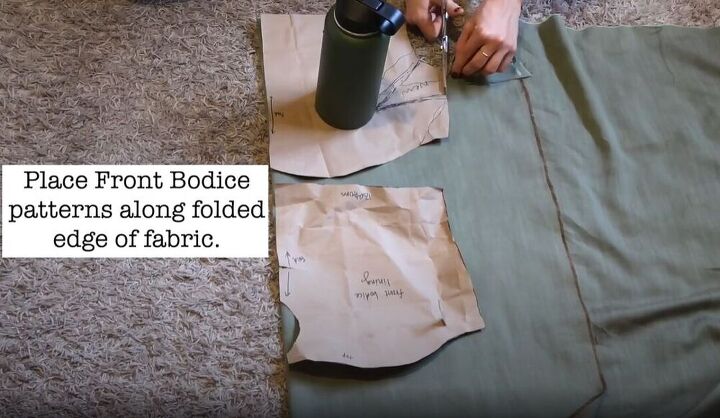
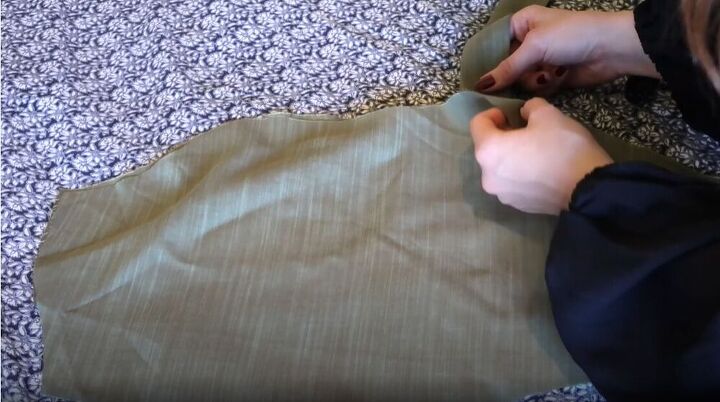
I placed my front bodice pieces along the folded edge of the fabric. The reason for two pattern pieces is that one will become the front bodice and the other will be the front bodice lining. I cut out these front pieces and was ready to start with the back.

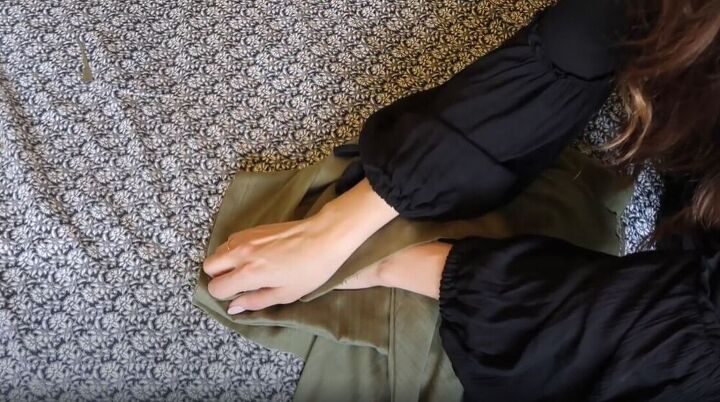
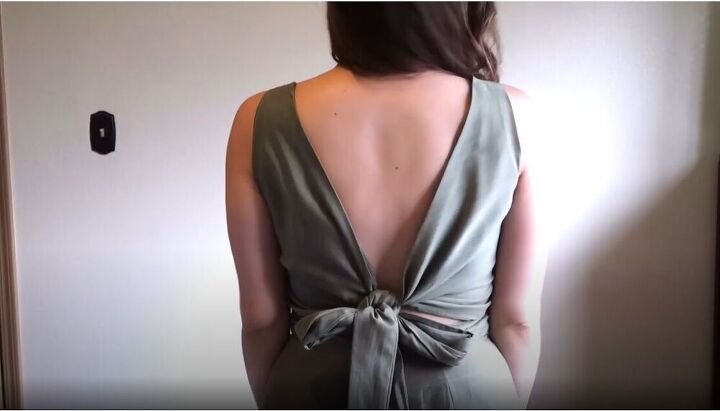
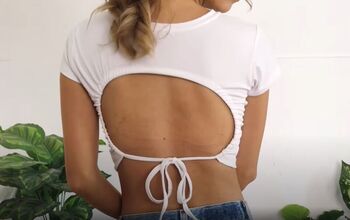
To create the back bodice I placed my back, left pattern down. I then added twenty-eight inches onto the end for the waist tie. I cut the fabric and then repeated the same for the back, right piece. The waist tie adds so much to this jumpsuit and helps to style it in different ways! Before we continue making this awesome jumpsuit, It’s important to mention that everything except the pants is lined, so make sure you have all the pieces doubled for the bodice, waistband, and straps.
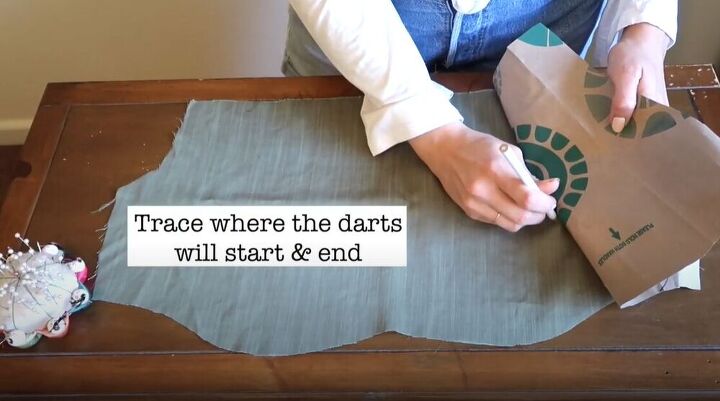
In order to create the ultimate jumpsuit, I added darts and pleats in all the right places, to give the perfect finish. I started by tracing where the darts would start and end onto the front piece of my bodice.
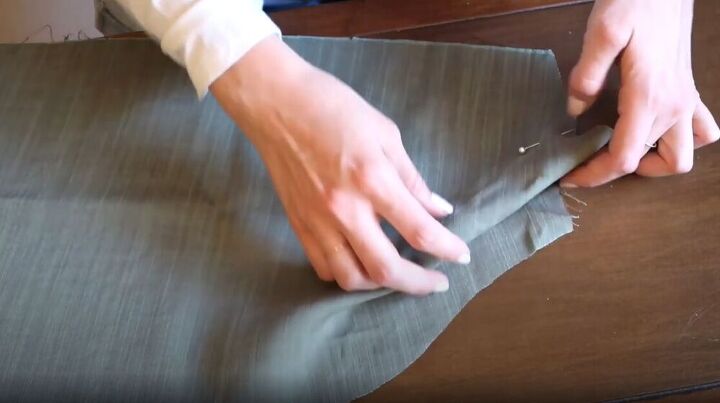
I then folded along the traced line and pinned.
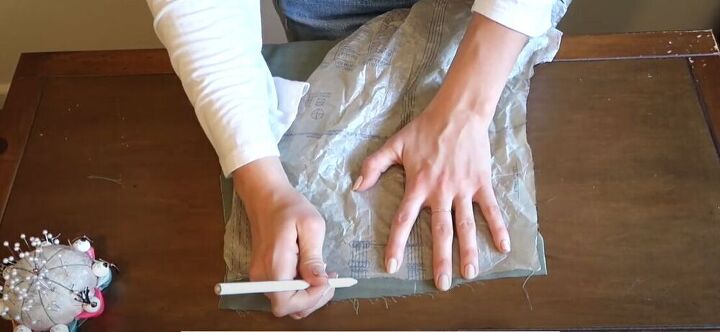
To create a perfect pleat in the pants, I marked where the pleats would be on the front side of the pants.
I then folded the pleat from the side seam to the inseam and pinned it in place.
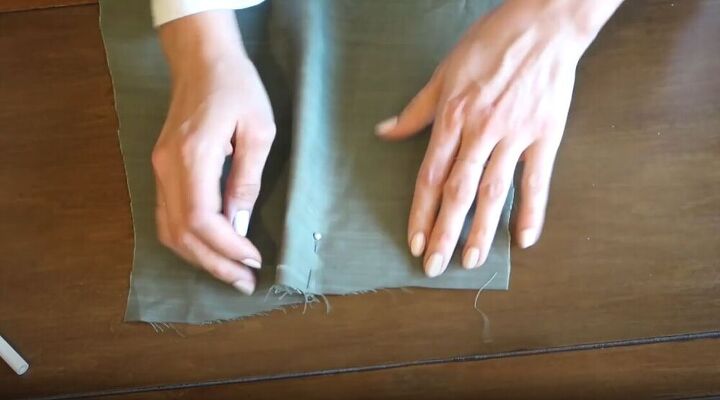
I moved on to the back pieces of the pants and marked where the darts would be. I folded along the marked lines and pinned the fabric in place.
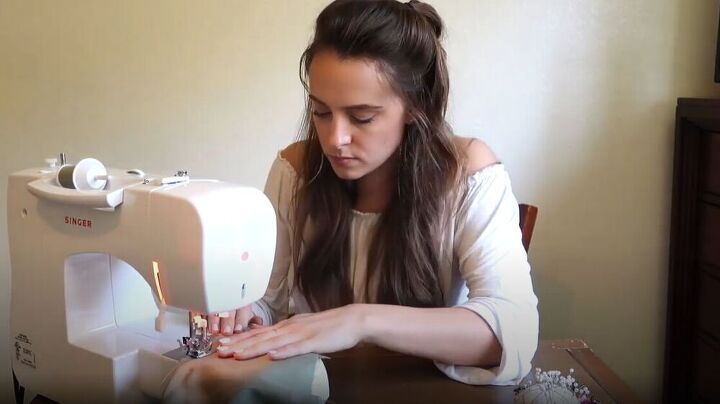
To get started with sewing, I sewed diagonally across the pinned line on the front bodice to create those gorgeous darts. I then moved on and sewed the two darts and pleats of the pants.
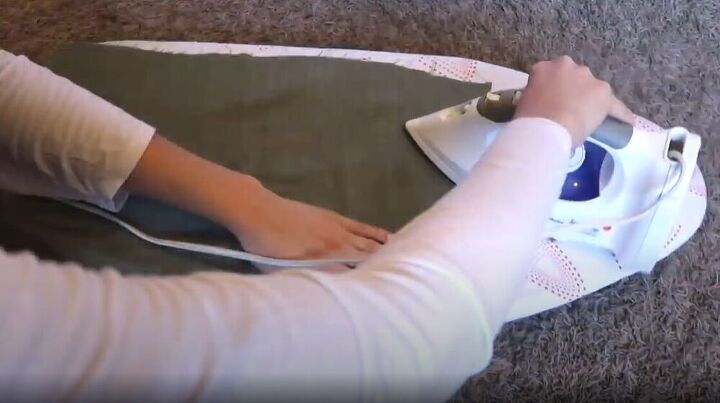
I love a perfect finish on my clothes, so before I could go any further, I pressed the bodice and pants where I sewed the darts.
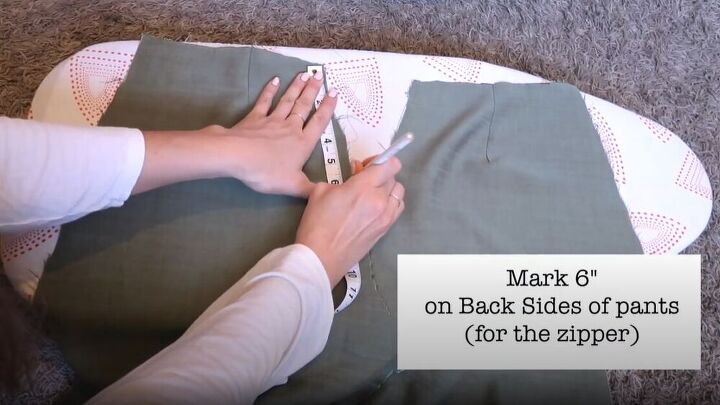
Once I had pressed the fabric, I marked six-inches on the backside pieces of the pants to show where I would attach the zipper.
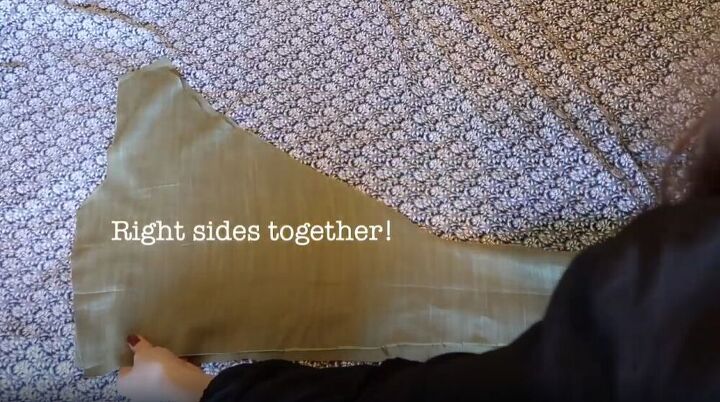
I laid down my back pant piece with the front piece over it, right sides together. I pinned the inseam and sewed them together. Once I had finished the inseam, I sewed the other side pieces together.
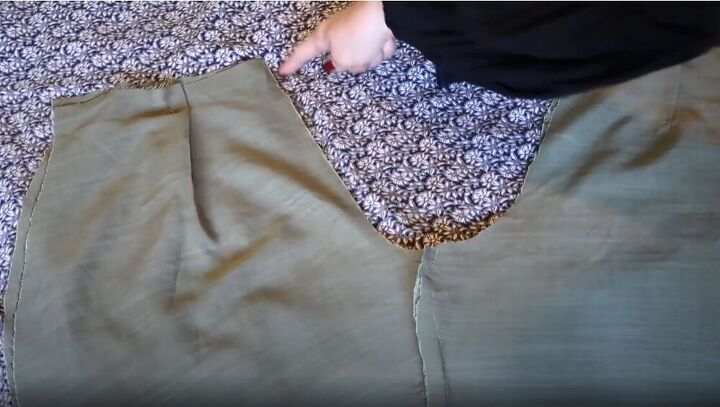
I placed the front on top of the back piece, right sides facing together, and sewed along the crotch line in the shape of a ‘U’. I made sure to stop sewing when I reached the mark I had made for the zipper!
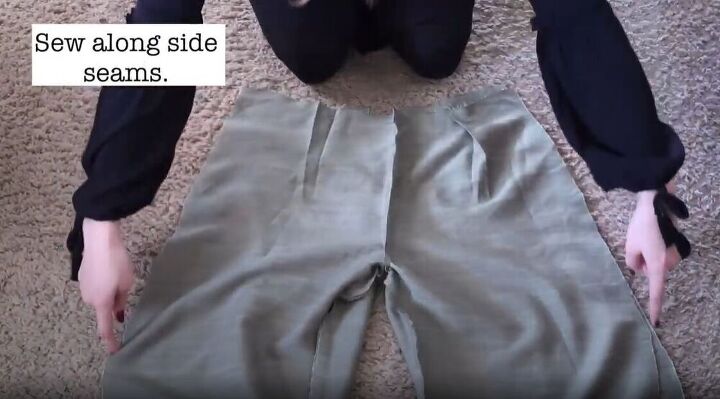
I turned the pants right side out and sewed along the side seams. I love how these are really starting to look like pants!
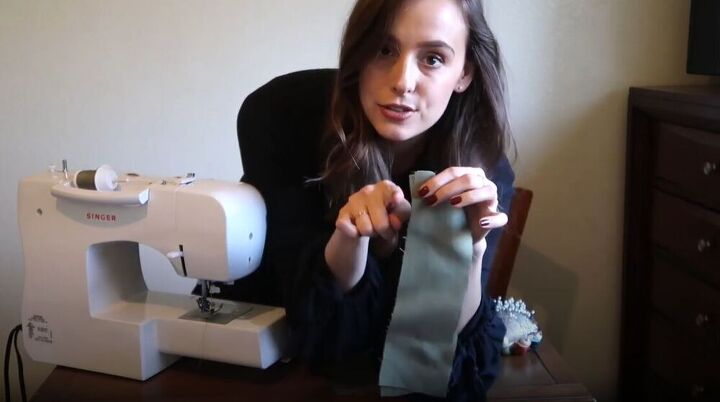
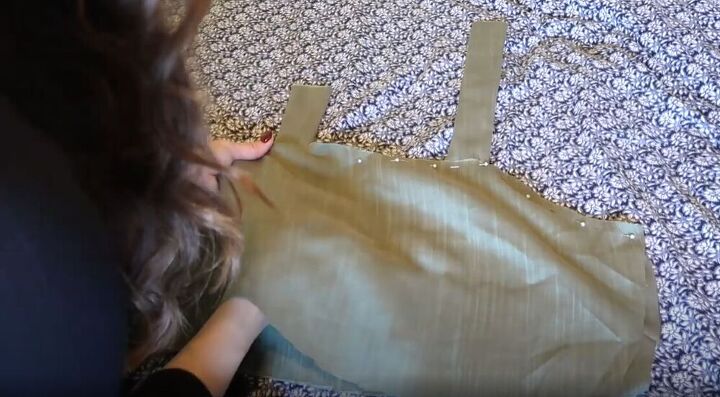
I took the four pieces I cut for the shoulder straps and put them into pairs. I then sewed along the length of the straps for each pair leaving the tops open, for now. Once the straps were sewed I turned them inside out and ironed them.
Next, I placed the front of my bodice down and placed the lining over it, right sides facing together. I inserted the strap between the two pieces and found where I wanted to put it so that it would be comfortable on my body. I pinned the length of the bodice at this point.
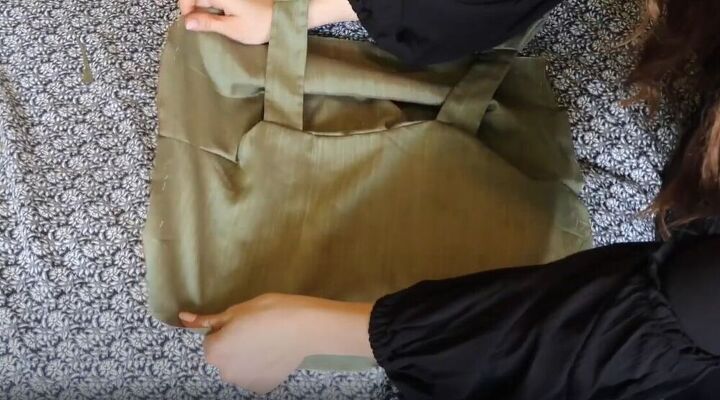
I then pulled the straps down and pinned them in place at the top of the bodice. The straps are really in between the bodice and the lining at this point. I sewed all along the pinned edge and it was amazing to see that the front bodice was almost finished!
Time to move on to the backside of the bodice! I placed the lining on top of the back bodice piece, right sides facing each other. I then sewed along the top and bottom length. I sewed closed the armpit and I also sewed the end of the waist tie.
I placed my front bodice down and put the back bodice pieces over the front bodice. I then inserted the ends of the straps from the front bodice into the openings in the back bodice.
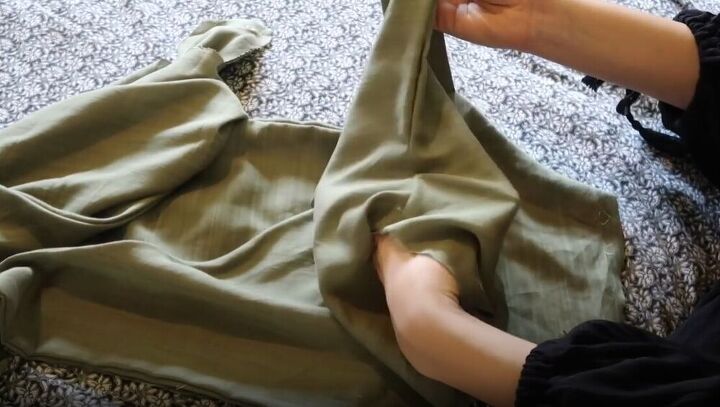
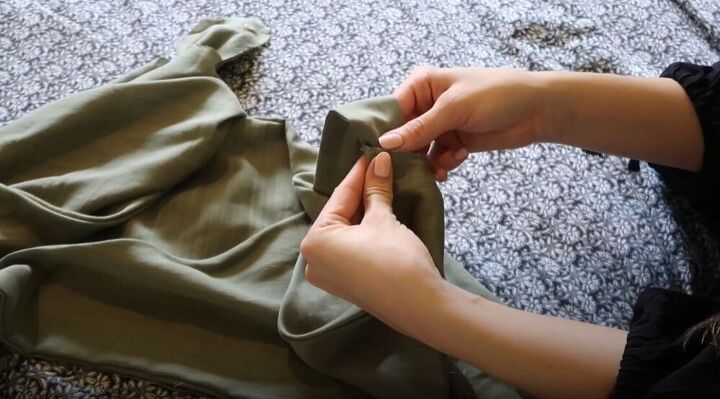
I then put my hand through the side opening of the back bodice and pulled the strap through turning that back piece inside out.
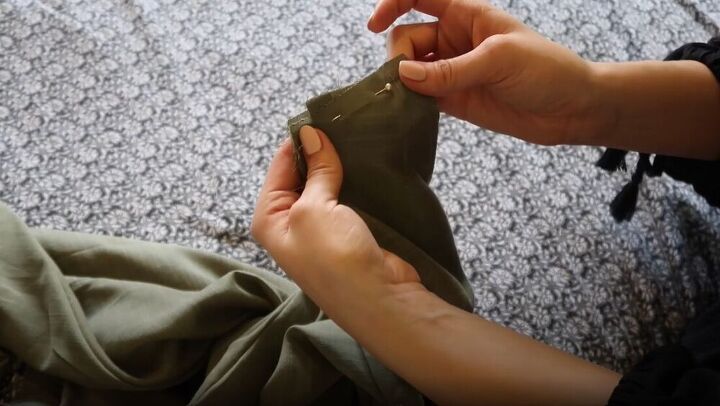
Once the strap was where I wanted it, I pinned it in place and sewed along the pinned edge. Working with lining can always be a little difficult but it adds so much to your new outfit!
To get started on attaching my front and back bodice, I opened up the front bodice so that the lining and front piece were separated.
I then laid the back bodice pieces down and lined them upright at the sides.
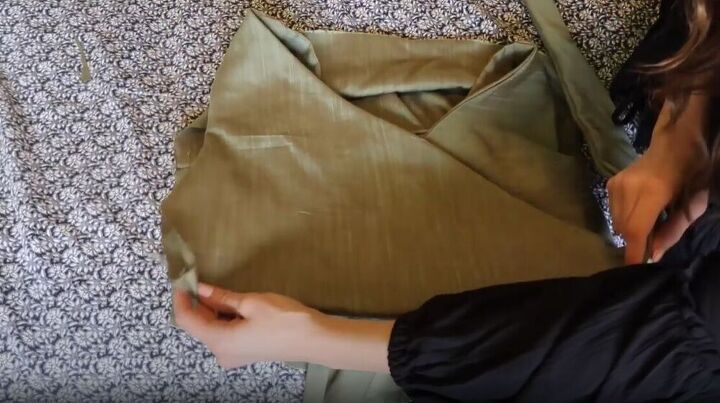
I took the other side of the front bodice and folded it down over the back bodice, pinning all the sides together. I sewed along both of the pinned sides. This technique really helps sew the bodice together without any raw edges, giving it a gorgeous finish!
I laid down both front waistband pieces and placed the back pieces over the front ones. I sewed along the two outer, width edges.
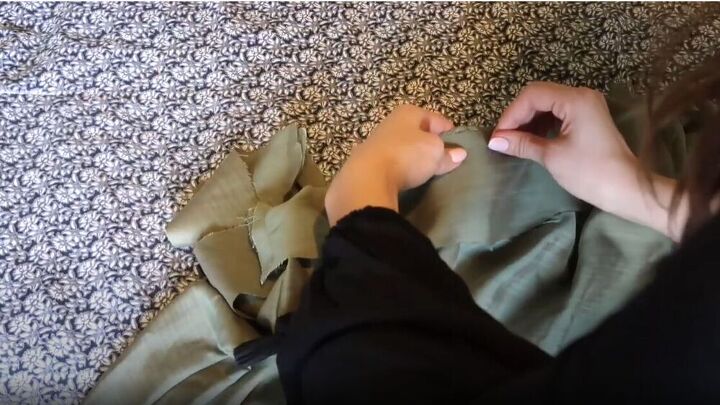
I pinned one of the pieces to the outside of the pants, front sides together, and pinned the second piece along the waistband on the insides of the pants. I then sewed all along the pinned end.
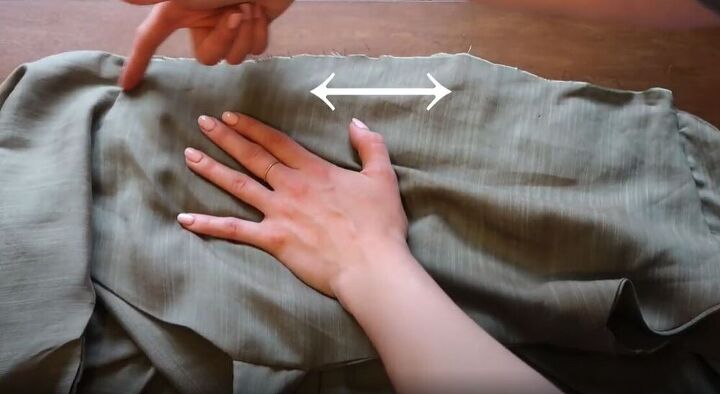
I laid my bodice right on top of the edge of the waistband and sewed all along the edge. I then sewed it all the way around, Finally putting this awesome jumpsuit together! I hemmed the bottom of the pants to give a nice finish to the piece.
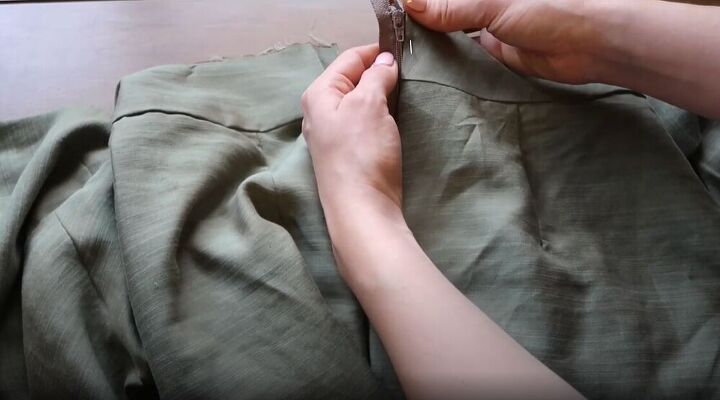
For my final step, I lined the zipper up with the folded edge and pinned it all the way down. I sewed along the pinned line and finally, once it was in place, hemmed the raw edge of the waistband.
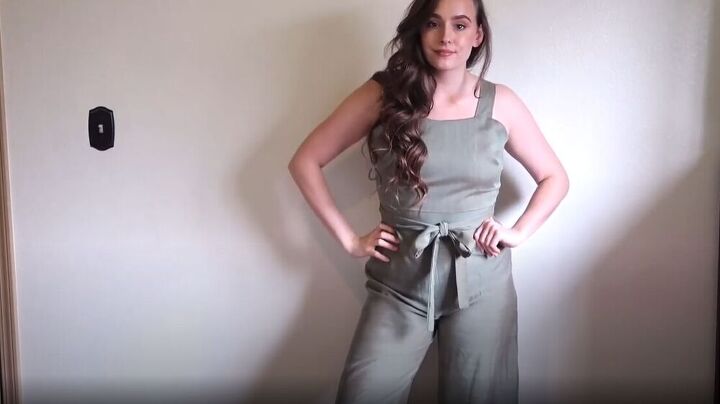
I am obsessed with this jumpsuit! How would you style it? Let me know in the comments below!
The author may collect a small share of sales from the links on this page.


Comments
Join the conversation
LOVE!! The color is perfect
Wow that turned out amazing! Love that you can wear it different ways too!