How to DIY Super Cozy Christmas Pajamas

I made some DIY Christmas pajamas with matching house shoes.
It was a quick, inexpensive project that I'm going to wear to prepare brunch on Christmas morning. I'd never made anything with pockets before, so I really enjoyed learning a new technique.
Tools and materials:
- McCalls Digital Sewing Pattern M8100
- Printer
- 50 sheets of plain printer paper
- Cotton fabric
- Interfacing
- 3 yards of 1 inch wide elastic
- Flat flip flops or slides
- Pins
- Scissors
- Sewing machine
- Glue gun
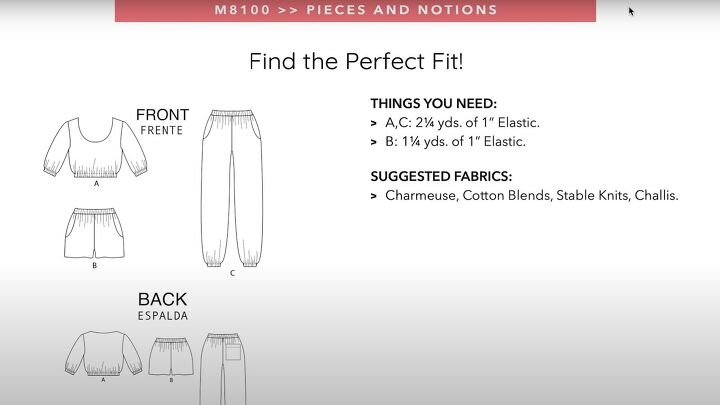
1. Prepare the pattern
Print out the pattern pieces from the document and assemble them as shown on the accompanying chart.
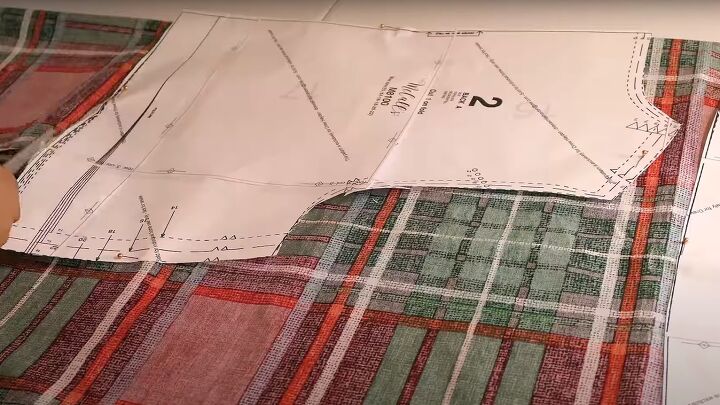
2. Cut the fabric
Lay out your folded fabric and pin the pattern pieces on to it as shown on the chart.
Cut around each piece.

3. Join the shoulders
Lay the front piece over the back with right sides facing and pin and sew them together at the shoulder seams.
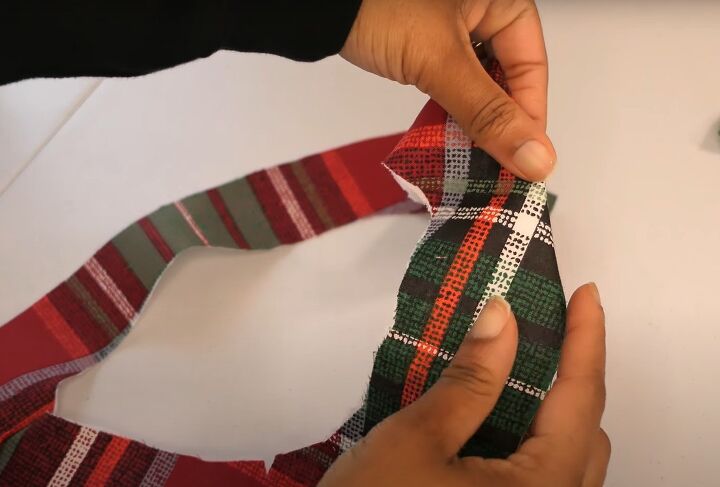
4. Join the neck facing
Lay the interfacing over the front and back neck facings, pin them together at the shoulder seams and stitch them.
Turn a narrow hem on the un-notched edge of the facing to the wrong side and sew around it.
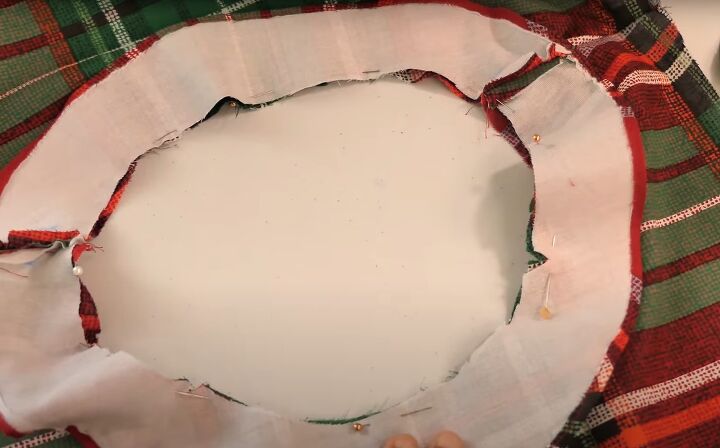
5. Attach the neck facing
With right sides together, pin and sew the neck facing to the front and back pieces around the raw edge, matching the notches and shoulder seams.
Hand stitch the outside edge of the facing to the seam allowance on the shoulder seams.
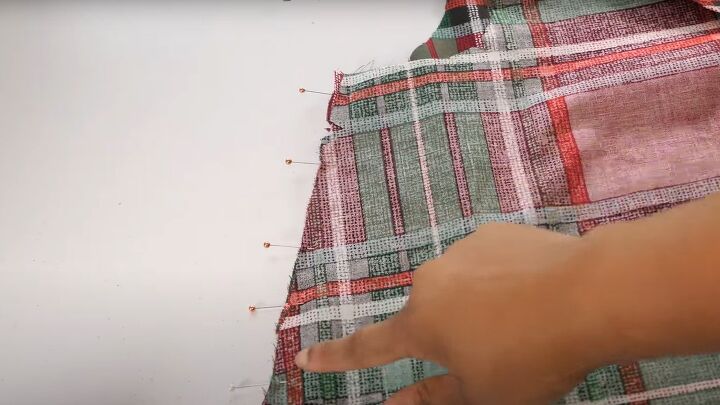
6. Sew the side seams
Pin and stitch the front and back together at the side seams.
7. Sleeve cap and seams
Leaving long ends, run 2 rows of long stitches between the dots on the sleeve caps. Sew the sleeves along the side seams.
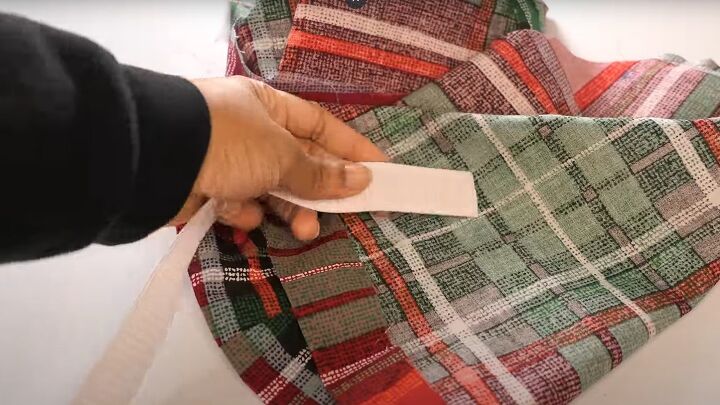
8. Sleeve casing
Turn up the sleeves along the fold line and press. Fold under a 1/4-inch hem on the raw edge and stitch to the sleeve, leaving an opening.
Insert the elastic.
9. Attach the sleeves
Insert the sleeve caps into the armhole opening.
With right sides together match the notches, dots and seams, gathering the sleeve head to fit. Sew around the armhole.
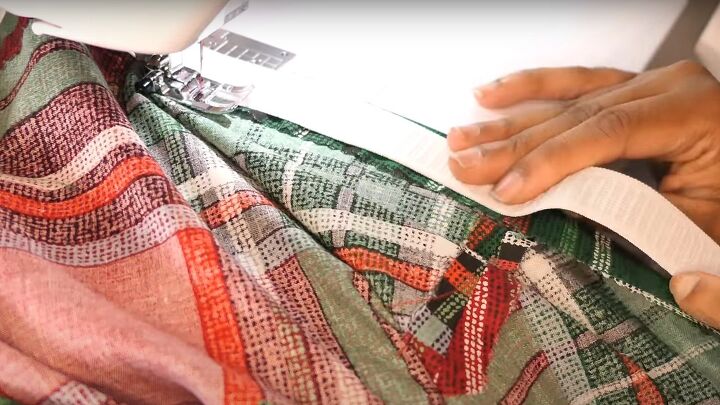
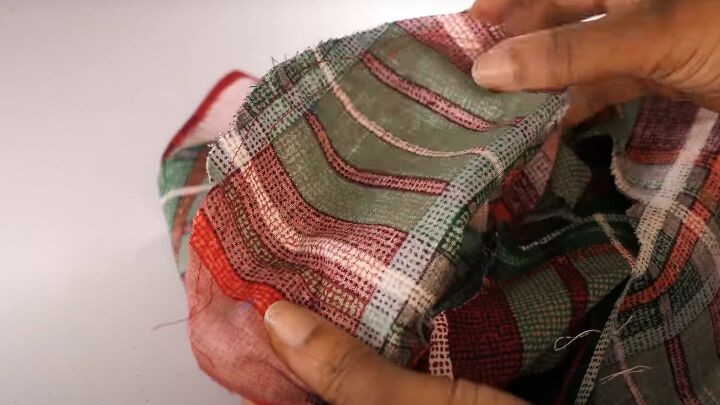
10. Lower edge casing
I trimmed the lower edge of the top with pinking shears before folding the edge to the inside.
I then stitched it along the cut edge to make the casing. I used the elastic as a guide while sewing.
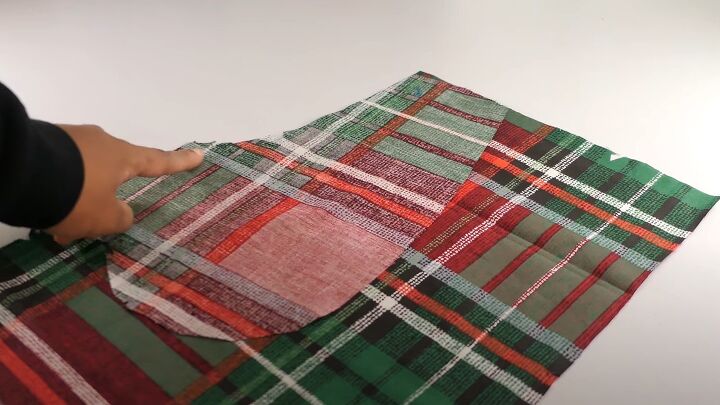
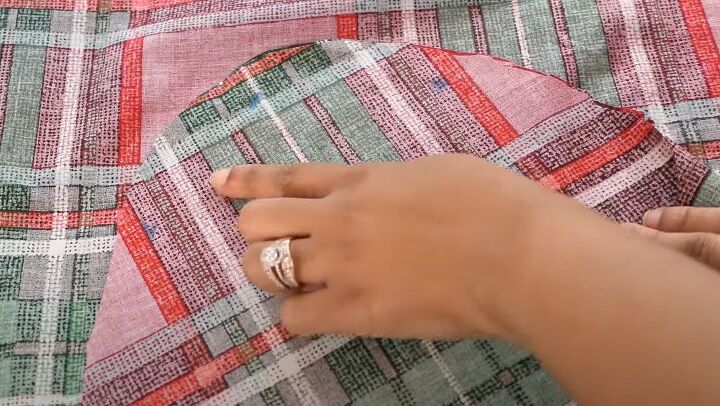
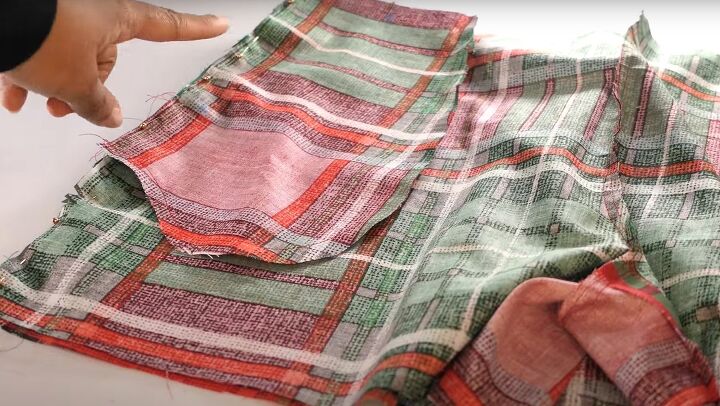
11. Insert pockets
Pin the front pocket pieces to the front shorts, matching the notches.
Stitch along the curved edge between the dots. Sew a second row of stitches 1/4 inch from the first row inside the seam allowance.
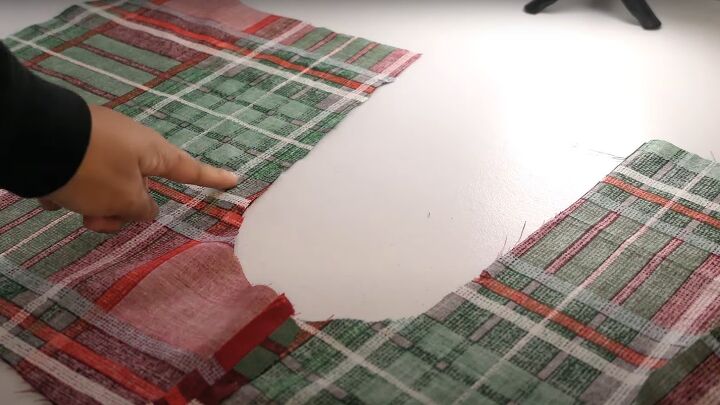
Trim the excess seam allowance, open out the two pieces and stitch "in the ditch" on the right side.
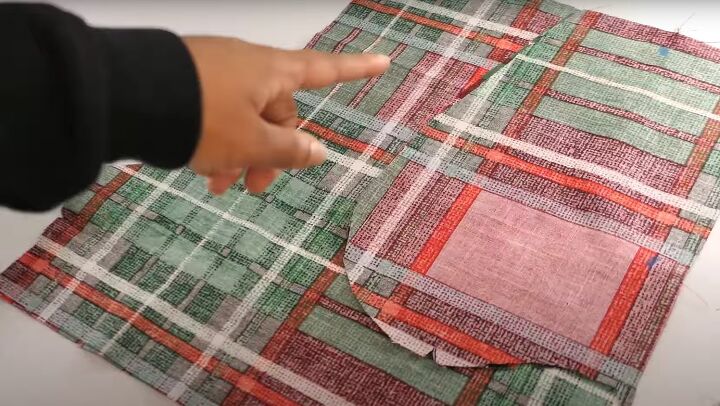
Lay the second pocket piece over the first, right sides together, matching the notches on the long-curved edge.
Stitch along this edge, leaving the front open.
12. Sew crotch seam
Stitch the front and back pieces together at the inner leg edge.
Pin the front and back pieces together along the crotch seam, matching up the inner leg seams at center front and center back.
Stitch twice, once on the seam line and a second row 1/4 inch from the first inside the seam allowance. Trim close to the second row of stitches.
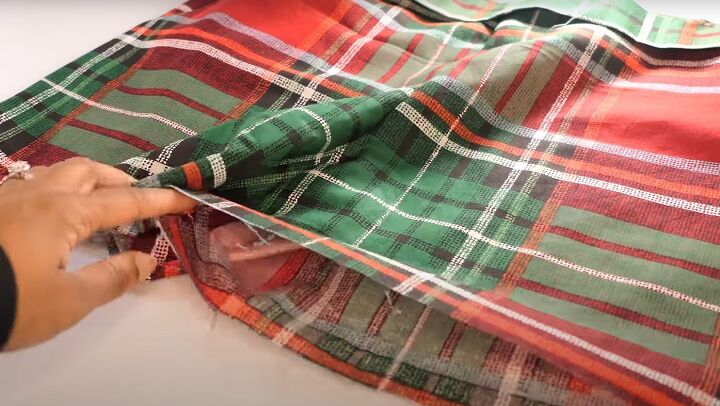
13. Join side seams
Pin and stitch the side seams on the shorts.
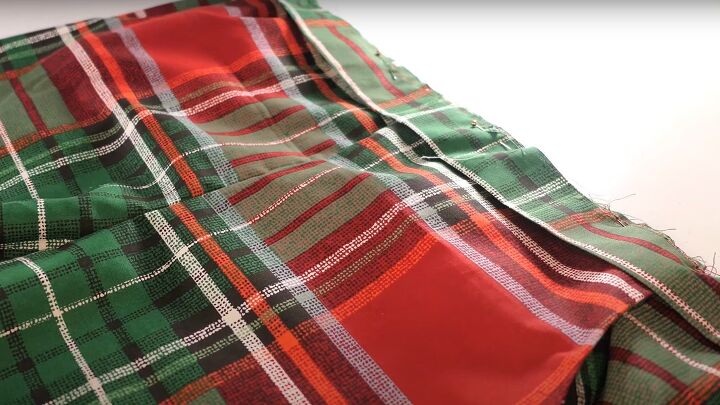
14. Attach waistband
With right sides facing, join the casing sections leaving an opening on the left side seam between the dots.
Fold the casing in half lengthways, wrong sides together, and baste the lower raw edge.
Pin the casing to the upper edge of the shorts, matching the center and side seams, and stitch two rows as before.
Trim the seam allowance, finish the raw edge of the casing and insert the elastic
15. Hem shorts
Hem the pants edge and press.
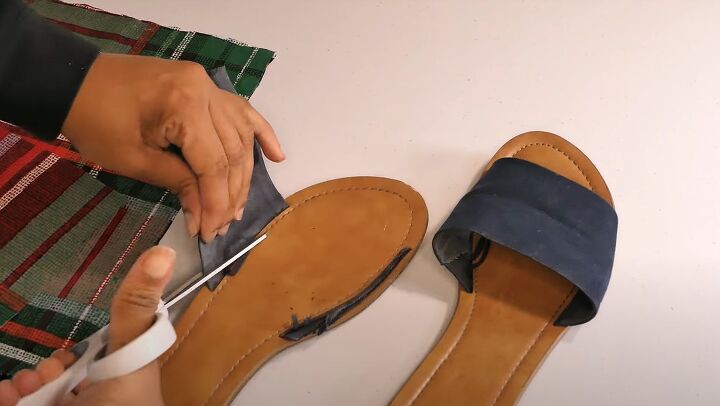
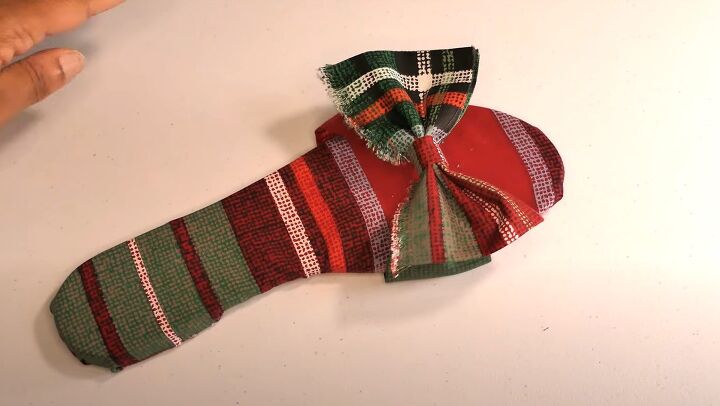
16. Cover shoes
Remove the fabric or straps from the shoes.
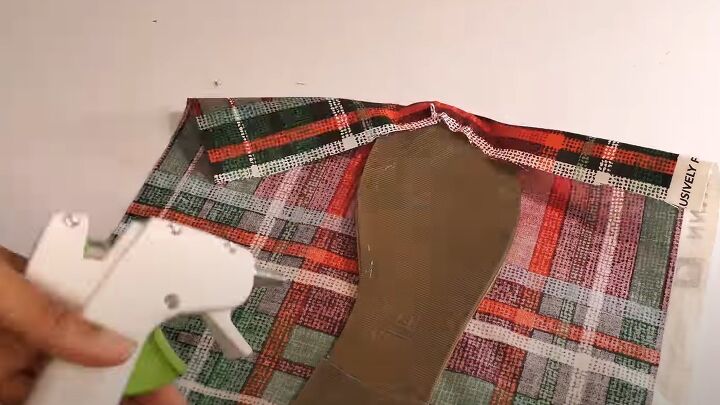
Cover the soles of the shoes with fabric, gluing it into place underneath.
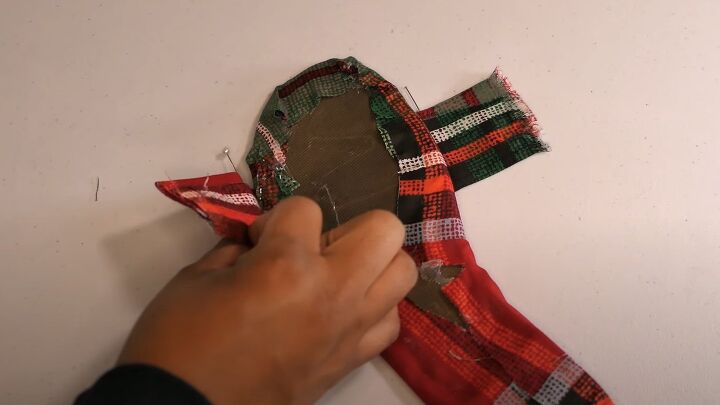
Fold and press two small rectangles of fabric and glue them to the shoes as a base for the bows.
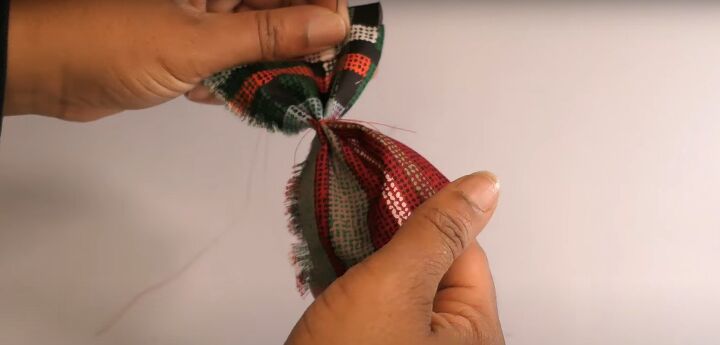
Fold two narrow strips of fabric into thirds lengthways and tie each in the middle to make a bow shape.
Attach the bow to the base on each shoe.
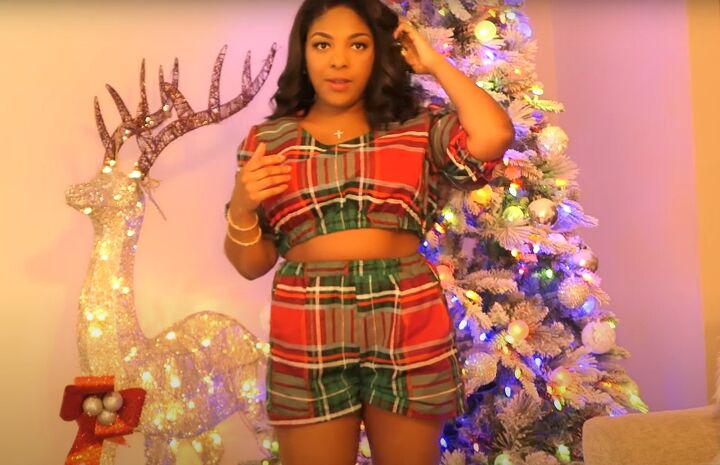
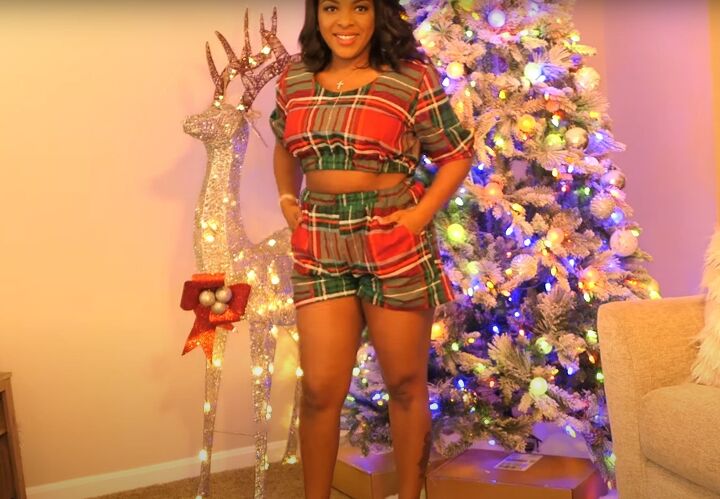
DIY Christmas pajamas
So, there you are! A cute set of holiday pajamas so I can be comfortable and look good on Christmas morning.
I hope you enjoyed my Christmas pajamas DIY - please let me know what you thought of them in the comments below.
The author may collect a small share of sales from the links on this page.


Comments
Join the conversation