Easy Sewing Tutorial: How to Make the Waist of Your Pants Smaller

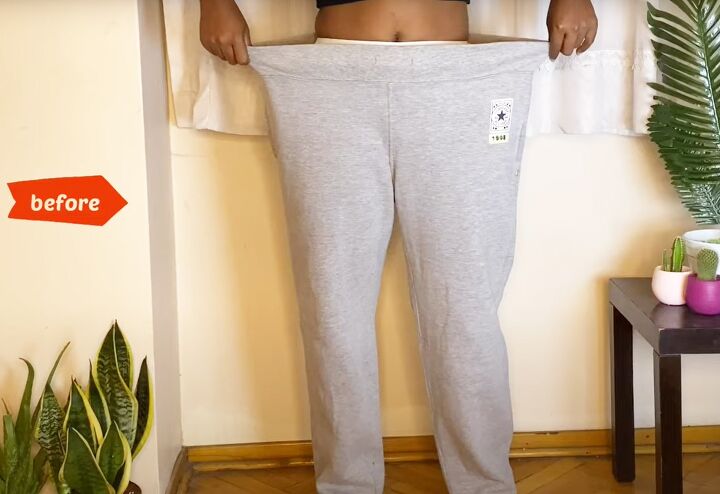
I thrifted a pair of size 18 sweatpants and I’m a size 8. I needed to make the pants waist smaller and to take in the legs and crotch seam in proportion.
This is a quick and easy resize and alteration which is easy to follow.
Tools and materials:
- Oversized pants
- Waist cord
- Narrow elastic
- Seam ripper or blade
- Safety pin
- Fabric marker
- Measuring tape
- Pins
- Scissors
- Sewing machine
1. Try on and measure
Try on the pants and decide how much you need to take them in by. Mine were very large around the waist, the crotch was too low and the legs were too long.
Measure yourself around the top of your hips where the waistband will go. You can also measure your crotch depth front and back.
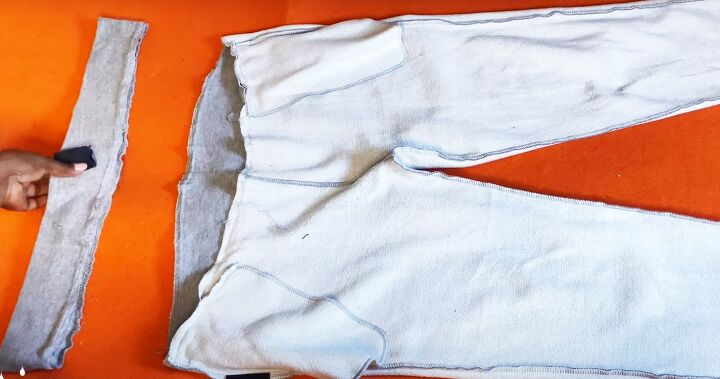
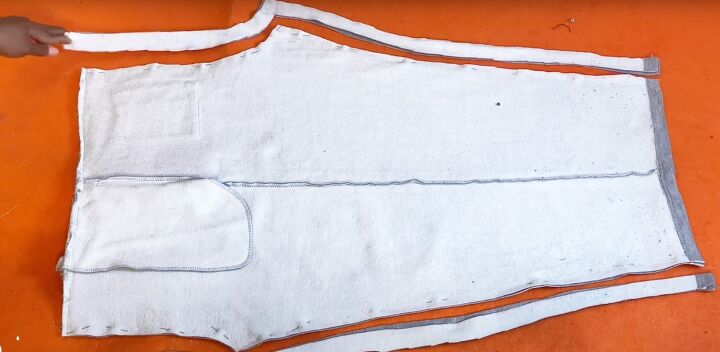
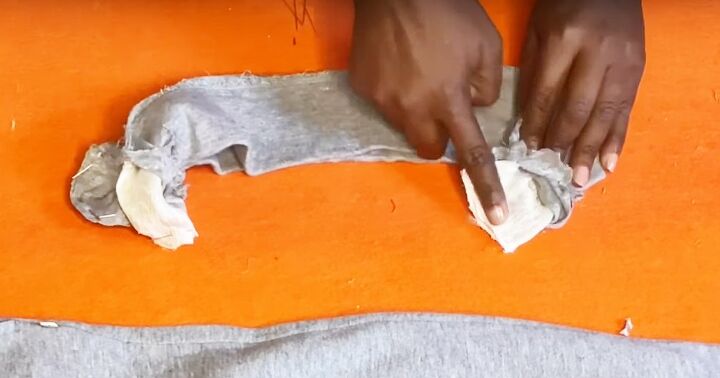
2. Remove waistband
I used a razor blade to remove the waistband.
You could use a seam ripper instead. Don’t just cut it off with scissors because we’ll be putting it back on later.
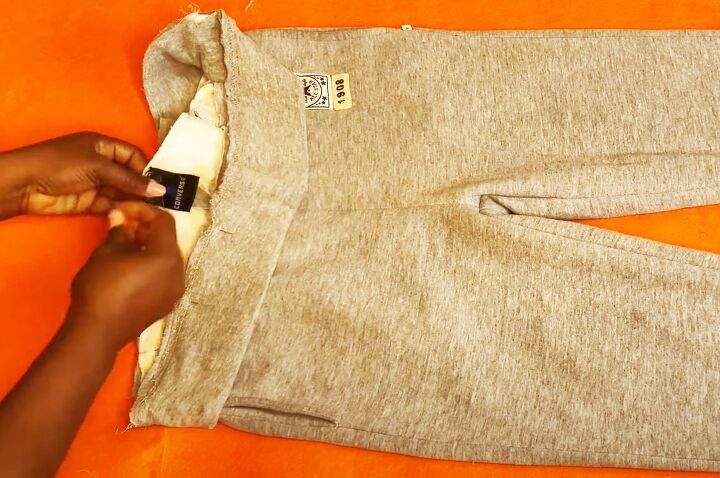
3. Mark the adjustments
Cut out the inside leg seams and across the crotch.
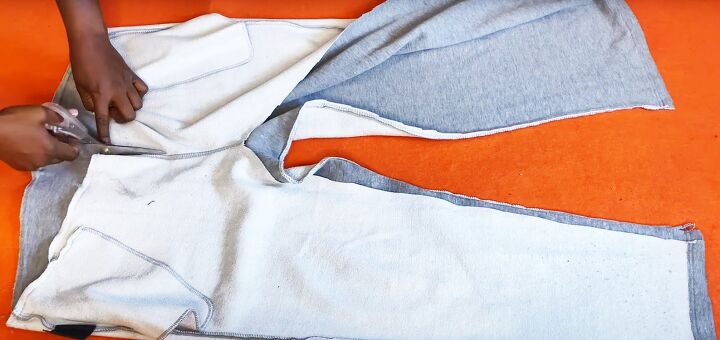
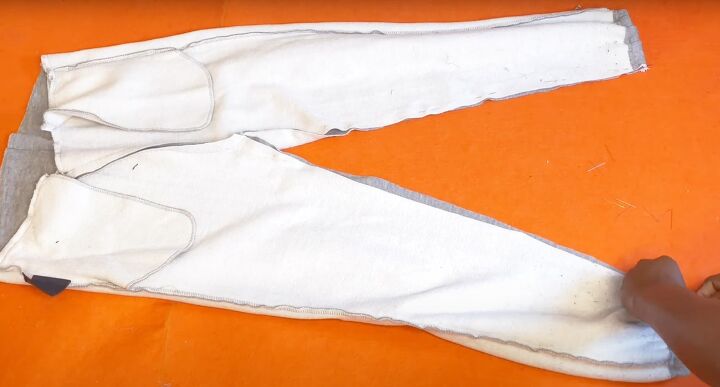
Place the two sections over the pants together with the right sides facing.
Mark your back and front waist measurements at the waist edge, measuring from the center.
Measure and mark 1.25 inches (3 cm) in along the front crotch seam and 1 inch (2.5 cm) along the back crotch, or to fit the size you need.
I also marked 1 inch (2.5 cm) along each inner leg seam.
Pin the two pieces together and cut off the excess.
4. Pant cuffs
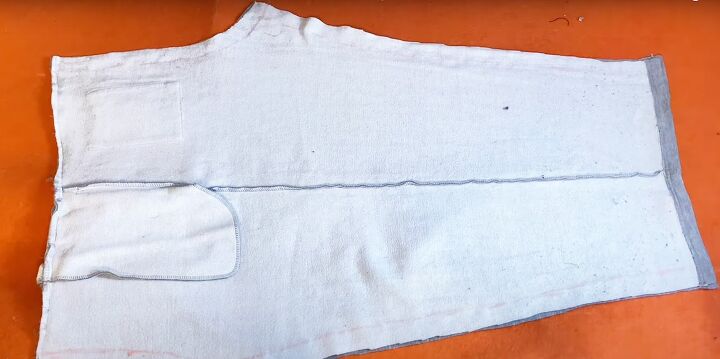
Sew the two crotch seams, taking a half inch (1 cm) seam allowance.
Cut two pieces of narrow elastic each 11 inches (27.5 cm) long.
Use a safety pin to thread them through the pants cuffs and pin them in place at the inner leg seams.
Pin and sew the inner leg seams, taking a seam allowance as before.
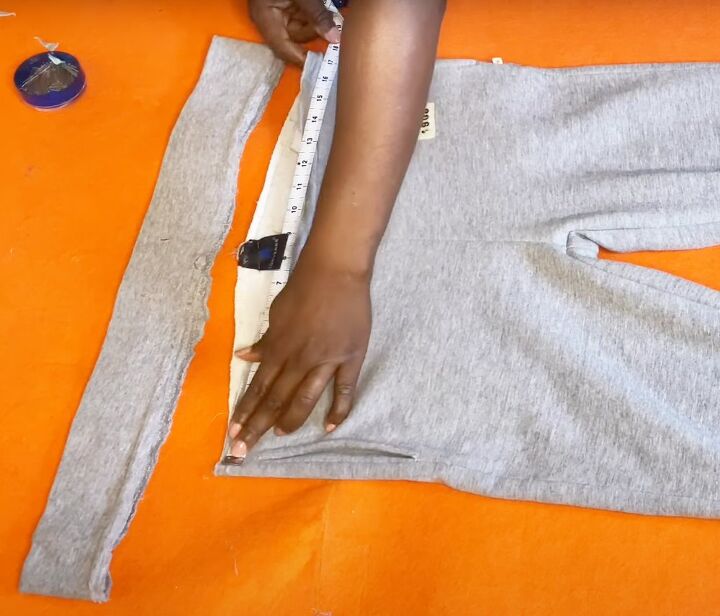
5. Resize the waistband
Turn the pants right side out.
Measure the width of the waist edge and the width of the waistband.
Divide the difference by 4. My waistband was 36 inches (90 cm) and my pants 26 inches (65 cm), so the difference divided by 4 is 2.5 inches (6.25 cm).
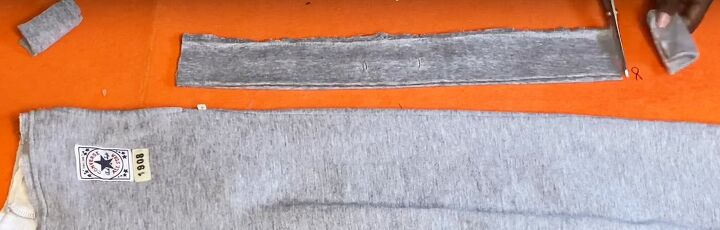
Lay the waistband flat and cut an equal amount from each side, so the drawstring holes remain in the center of the waistband.
In my case I cut 2.5 inches (6.25 cm) from each side of the waistband.
Pin and sew the cut edges of the inner elastic together and close the waistband side seams.
6. Reattach the waistband
Pin and sew the waistband to the pants, with the right sides together.
Make sure the drawstring holes are centered over the front seam of the pants.
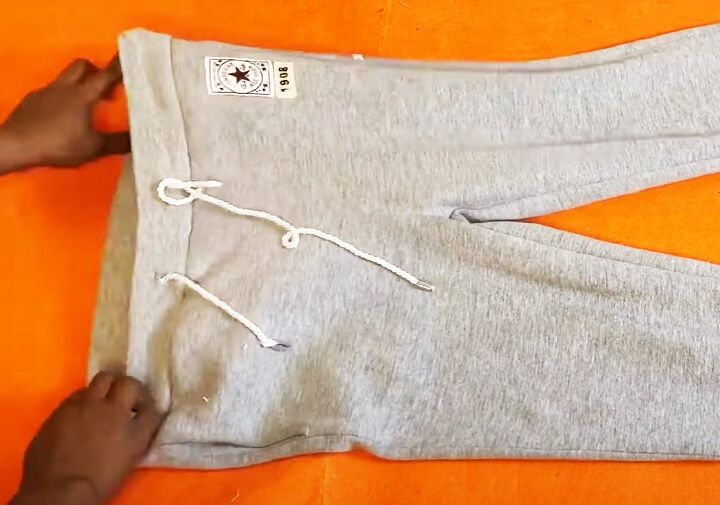
Attach the safety pin to one end of the new drawstring cord and thread it through the waistband.
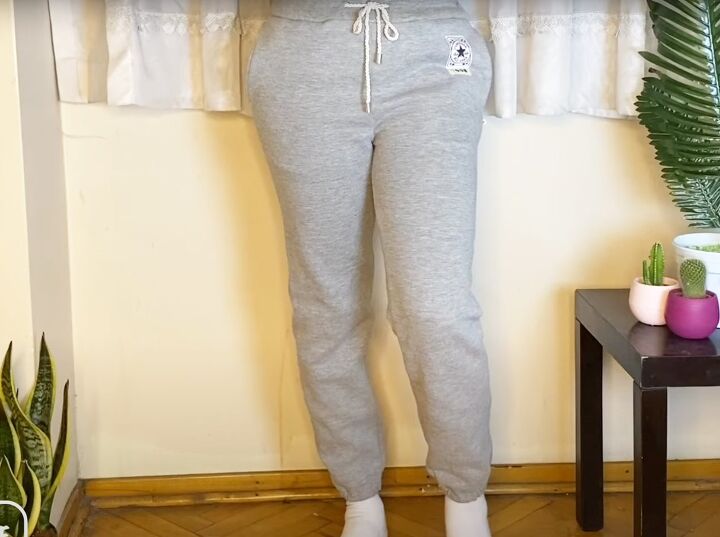
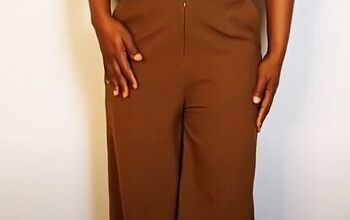
How to make pants waist smaller
This was a really successful thrift flip alteration. I hope you could see how easy it is to make pants smaller in the waist.
They look so good that you wouldn’t know they’d been altered.
I’d love to see your projects, as well as what you think of this one. I’m looking forward to seeing your comments.
The author may collect a small share of sales from the links on this page.


Comments
Join the conversation