How to Do Quick & Simple Red & White Nail Art

I call this nail design a red wine nail design. It is created with red, white, and metallic gel nail polish, with different designs on every nail. That’s what makes it so unique. If you love giving yourself manicures, then you probably already have everything you need on hand – so let’s begin!
Tools and materials:
- Red gel nail polish
- White gel nail polish
- Metallic drawing gel nail polish
- Regular nail polish brush
- Fine line nail polish brush
- Nail polish dropper tool
- Base coat
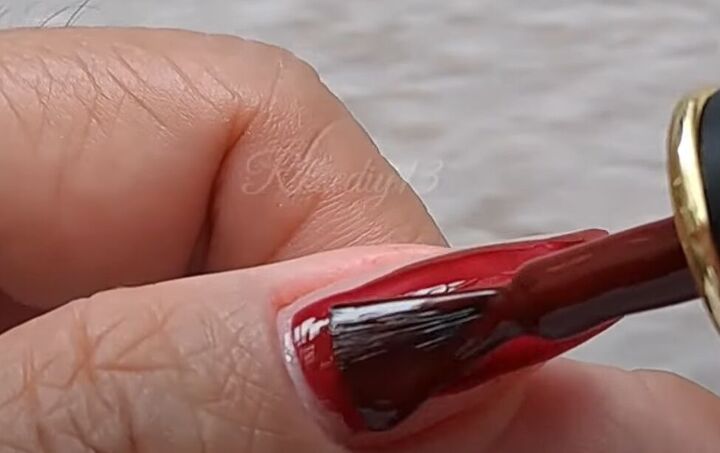
1. Apply a red coat of nail polish to three fingers
Apply a deep red-colored nail polish to the nails on your thumbs, middle fingers, and baby fingers, from base to tip.
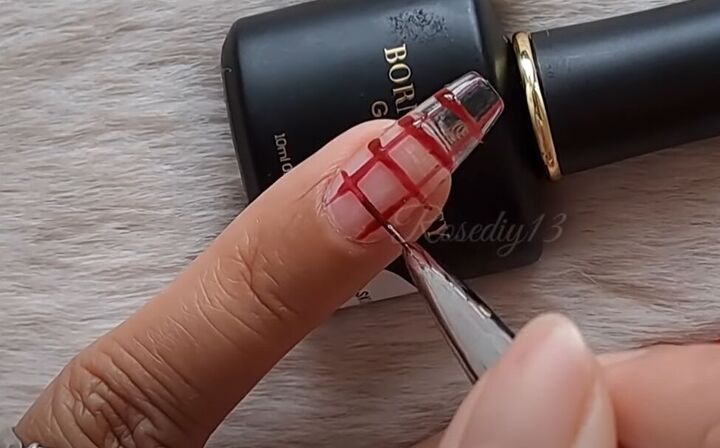
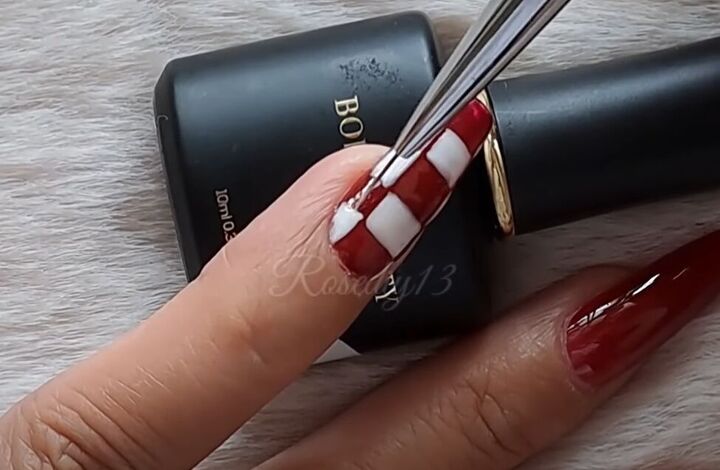
2. Ring finger crosshatch design
For your ring fingers, use a very fine line brush to paint a cross-hatch design on your nails.
Start with 2 vertical lines, then do 3 to 4 horizontal lines, depending on the length of your nails.
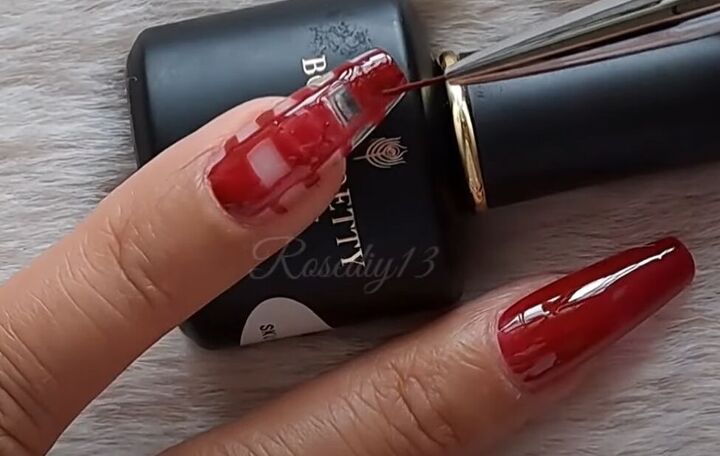
Use the same brush to fill in alternate squares down the middle of the crosshatch, beginning with the square closest to your nail bed.
Then, fill in the crosshatch squares on both sides of your nail, filling the alternate squares to the ones you filled down the middle.
3. Add white nail polish
Use white gel nail polish to fill in all the remaining empty crosshatch squares down the middle and one the sides of your nails.
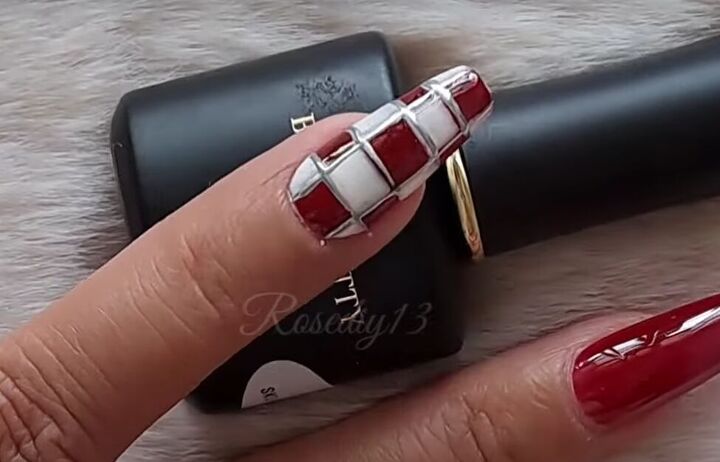
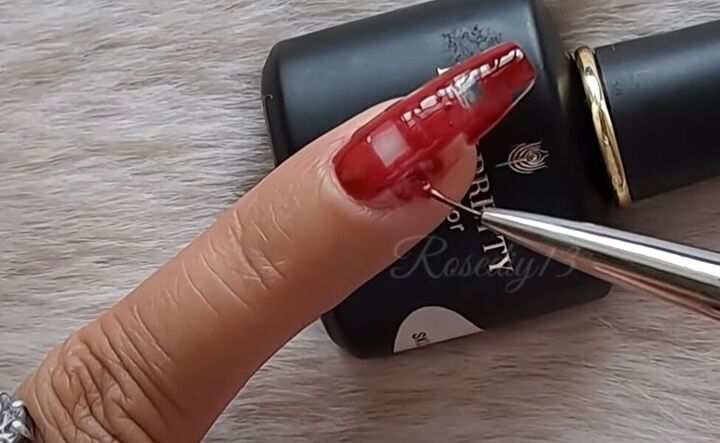
Now use metallic drawing gel and a fine line brush, redraw the original crosshatch lines.
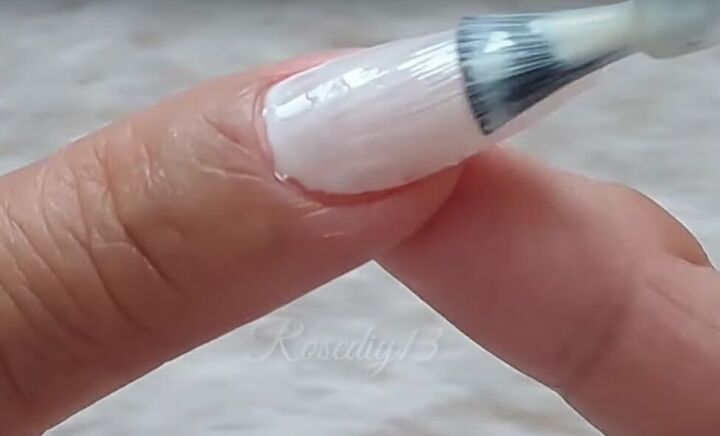
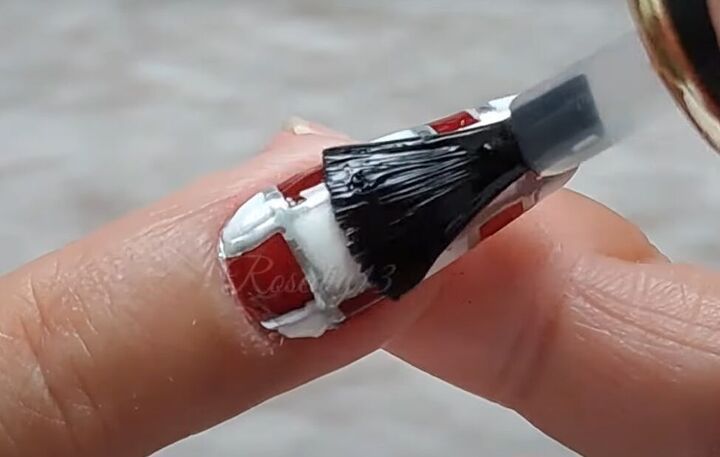
4. Pointer finger stylized heart design
Apply a base coat of white gel nail polish from base to tip on your pointer finger.
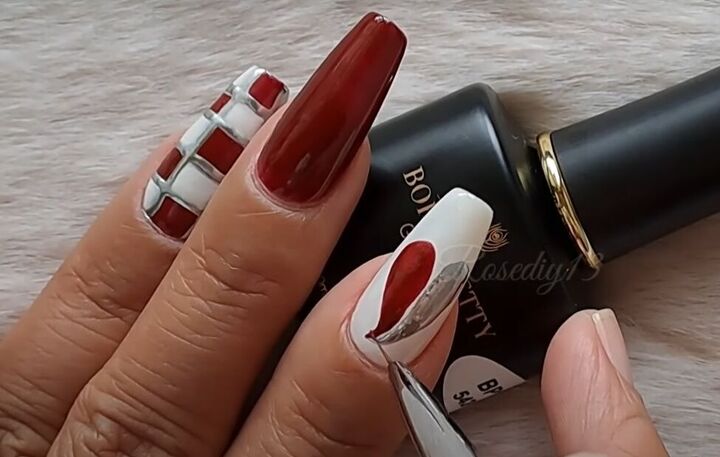
With a nail polish dropper tool, draw a heart shape on the white base in two parts: make one half of the heart deep red and the other half metallic silver, leaving a small gap between the two halves.
5. Add a top coat
Add a clear top coat to all of your polished nails. Remember to apply the top coat to the tips of your nails as well.
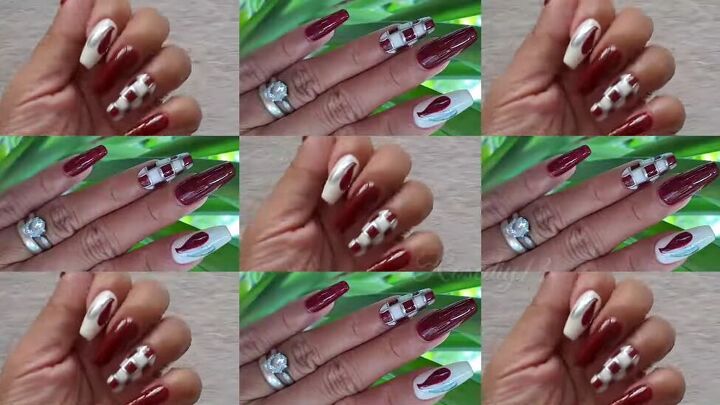
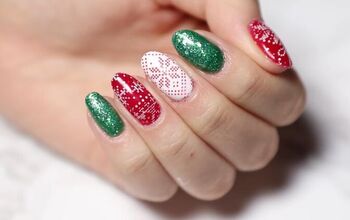
Red and white nail art
I love the way this red and white nail design turned out, especially the unique designs on my pointer and ring fingers! I think it’s really very festive looking.
If you like this nail art design too, then give it a try! And if red isn’t your color, then pick a different color.
Leave a comment to let me know how your nail art design worked out and how you liked this tutorial.
The author may collect a small share of sales from the links on this page.


Comments
Join the conversation