5-Minute DIY: Cute and Easy Ribbon Bracelet

I love making jewelry, but I don’t want to spend ages working with intricately little fiddly beads.
In this tutorial, I’m going to show you a DIY ribbon bracelet with large pearly beads that is super easy to make and should take you no longer than five minutes.
Tools and materials:
- Scissors
- Beads
- Ribbon
- Stretchy jewelry cord
- Needle
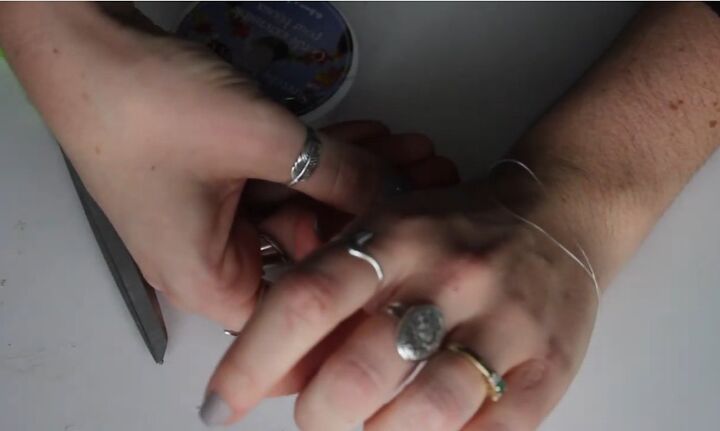
1. Cut the cord
First, take the cord, wrap it around your wrist twice, give yourself a little excess, and then cut that strand.
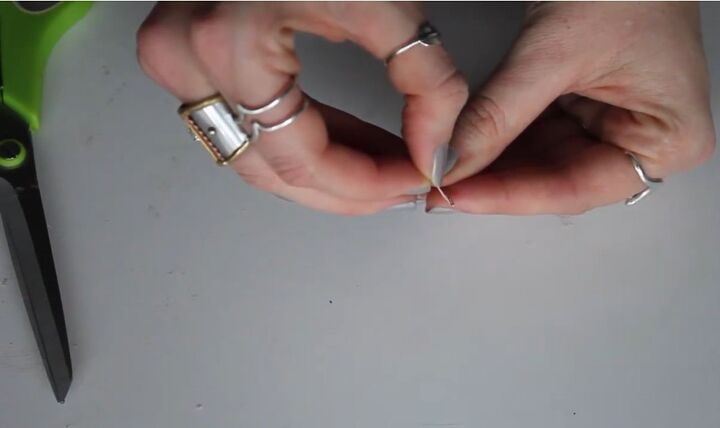
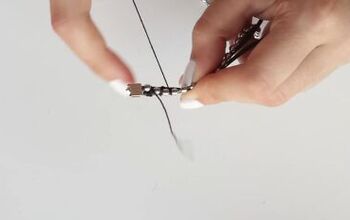
2. Thread the needle onto the cord
Grab the needle and make sure that it slides through the hole in the beads that you're working with.
Then, thread the jewelry cord onto the needle and tie a knot on one end.
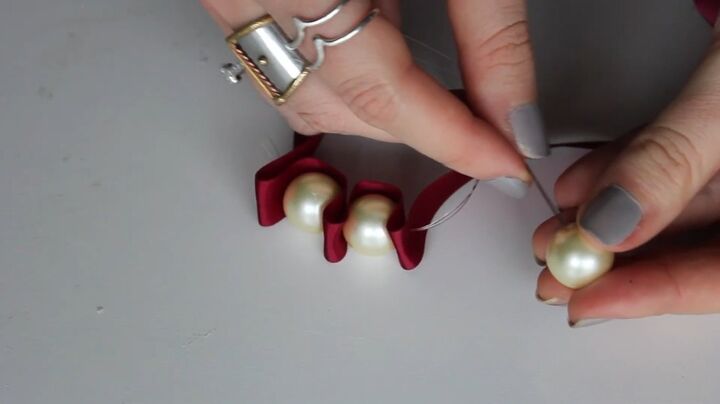
3. Thread the cord through the ribbon and add beads
Cut a long strand of ribbon and thread the jewelry cord into that ribbon.
I started about 6 inches (15cm) from one end. Put a bead onto the cord.
Fold the ribbon, and you kind of make an accordion shape around each bead. So each bead is going to be wrapped with that ribbon.
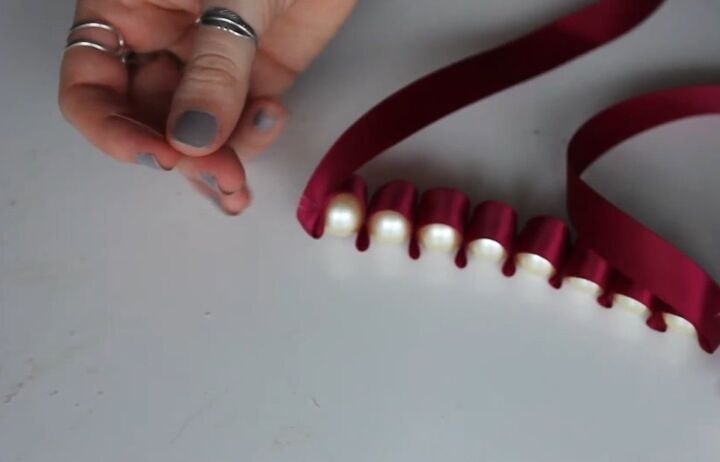
4. Continue the pattern
Continue that pattern for the entire length of your bracelet. How long it is will depend on the size of your wrist.
Remember that the cord is stretchy, so even if the bracelet looks small, it can still be stretched to fit around your wrist.
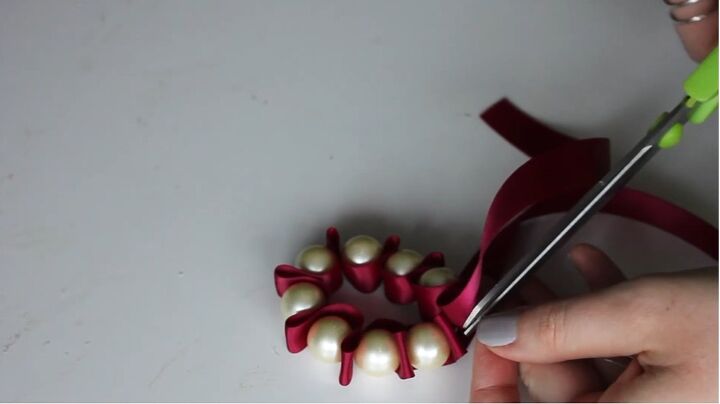
5. Tie the ends
Once it is all finished, all you have to do is tie the two ends together and trim off any excess cord.
You can either just wear the bracelet with the ribbon hanging down, or you can tie the ribbon in a knot and then just trim off the ends at an angle.
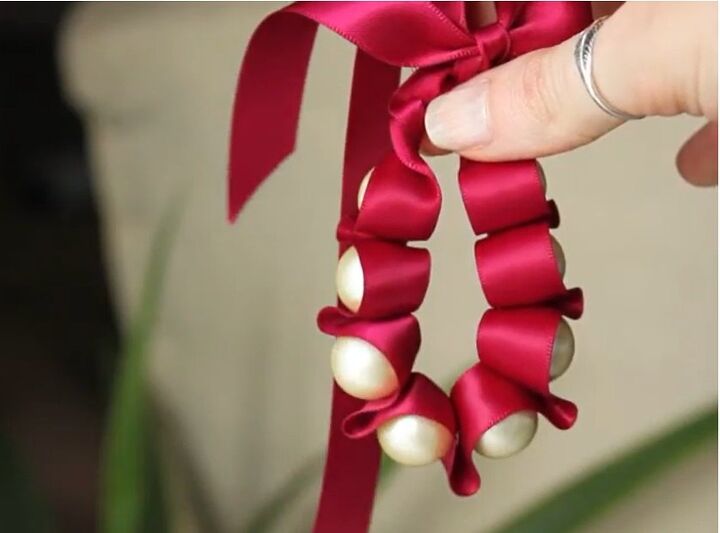
Ribbon bracelet
Here is the finished bracelet. I love the big, chunky, pearly beads encased on the red ribbon.
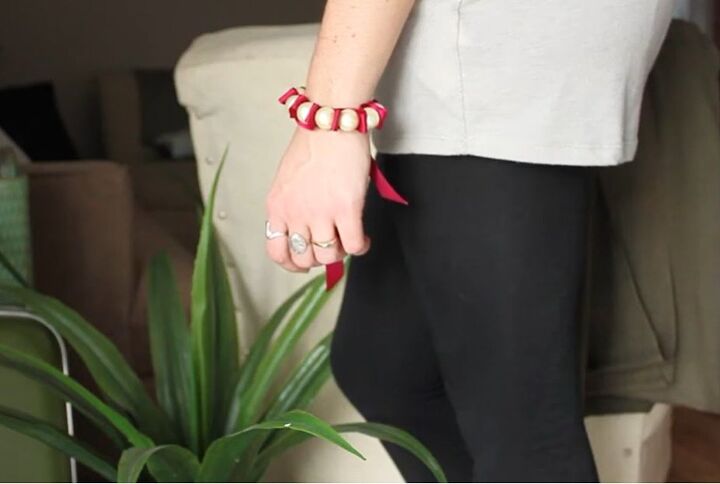
This ribbon bracelet was so easy to make as it doesn’t have lots of different components. I can’t wait to wear this bracelet!
If, like me, you enjoy jewelry projects that are quick and simple, leave me a comment down below!
The author may collect a small share of sales from the links on this page.


Comments
Join the conversation
So cute, I'm thinking regular beading thread & making it bigger for an ornament.😉