6 Super Quick and Easy Rope Braid Hairstyles

Hey guys, for today's tutorial, we are going to do some rope braid hairstyles.
We're going to start with a very basic rope braid and work our way up, where I’ll show you some other rope braid hairstyles. I’ll talk you through step-by-step how you can create these braids.
Tools and materials:
- Hair tie
- Bobby pins
Basic rope braid
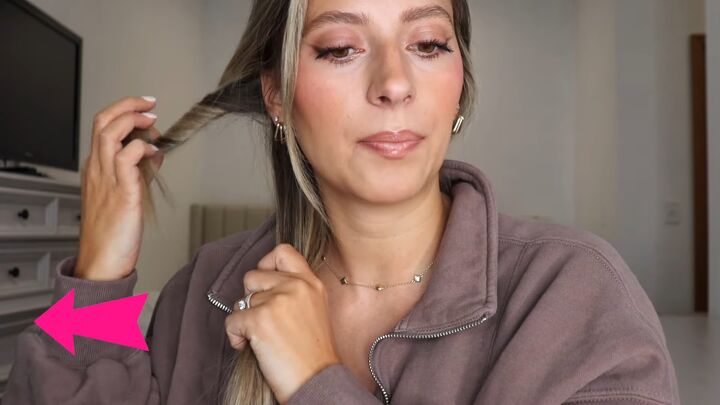
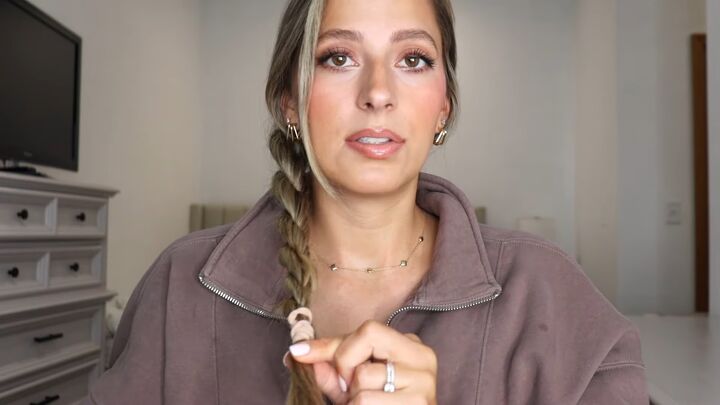
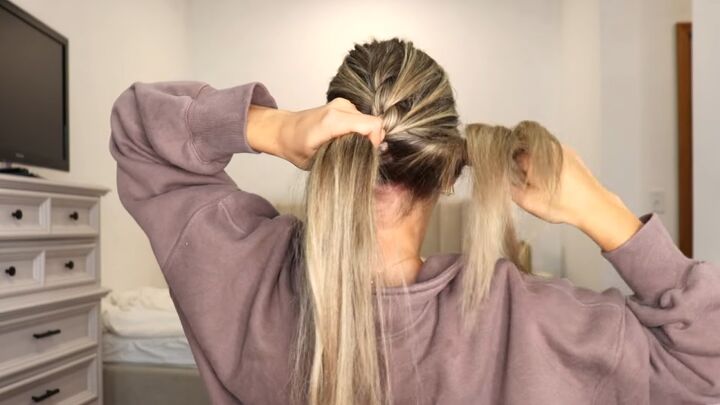
1. Split hair and twist outside section
Put all your hair to the side and split it into two equal sections.
Take the outside section of your hair, take your pointer finger, and twist it away from your face around your finger.
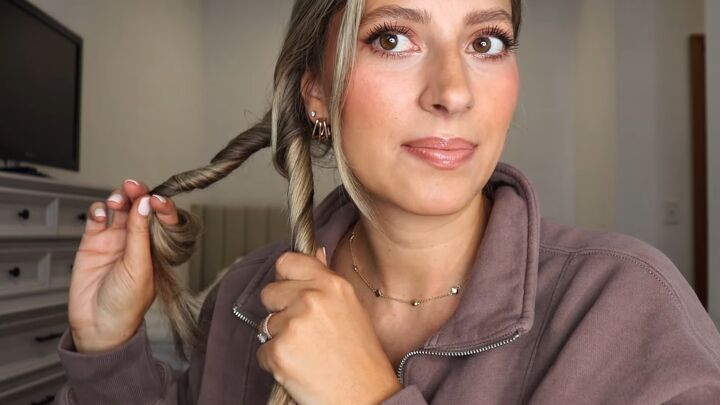
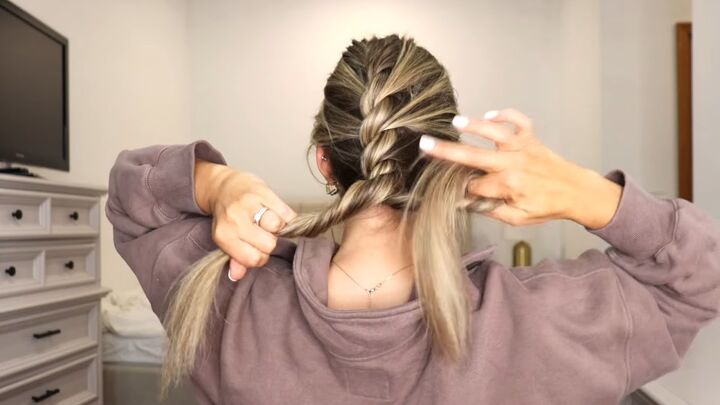
2. Twist the other section
Then take that outside section and cross it right over your inside section. So we're just switching hands.
But you're going to continue twisting your outside section away from your face.
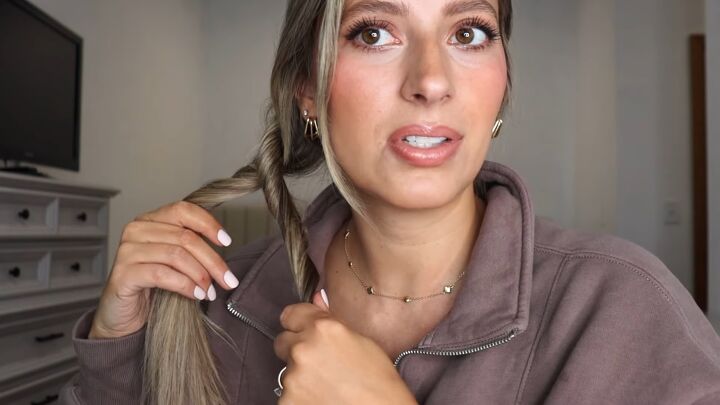
3. Cross sections over
Then do the same thing - take that outside section and cross it over that inside section, just swap places.
One more time, take the outside section, twist it away from your face, and then just cross it over that inside section.
Do that all the way down.
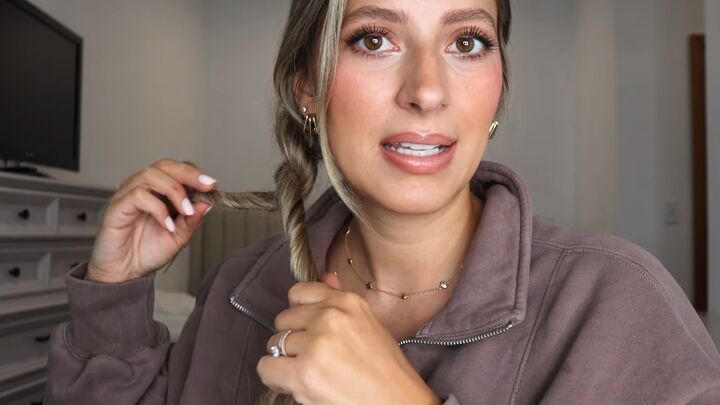
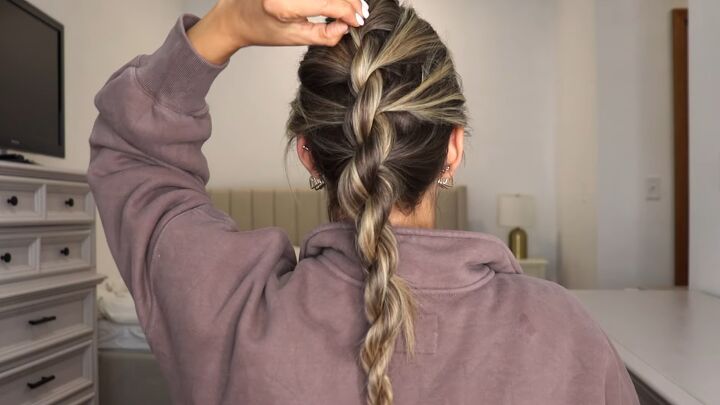
4. Tie the end
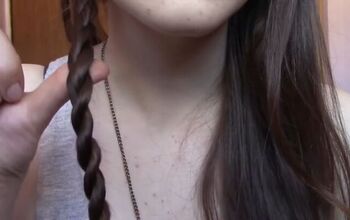
So you will know if you did your rope braid correctly if when you put your hair tie on, it will not loosen. It should stay nice and tight and secure.
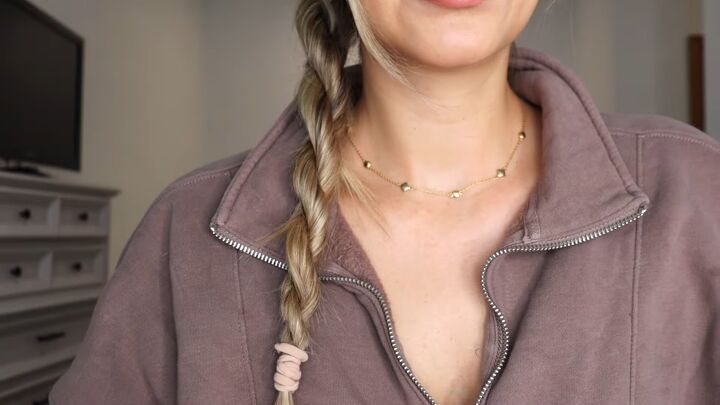
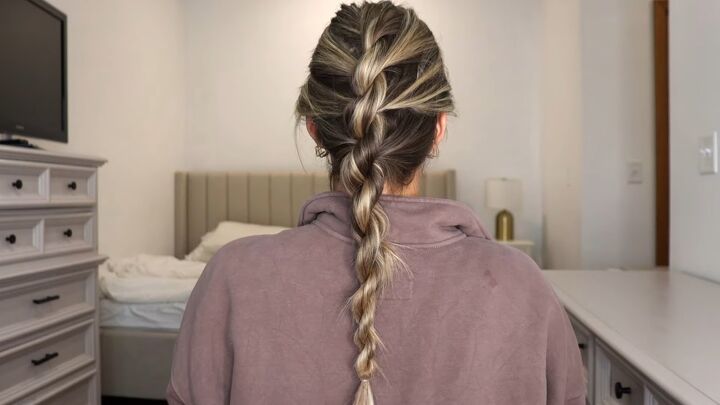
Here is the basic rope braid as a side braid.
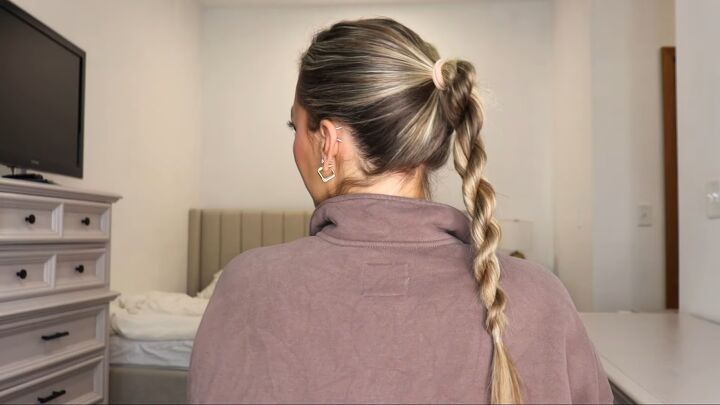
And here is a rope braid as a ponytail.
Rope braid bun
1. Wrap around
To make a rope braid bun, take the rope braid and wrap it around itself. As you’re wrapping it around itself, bobby pin it into place.
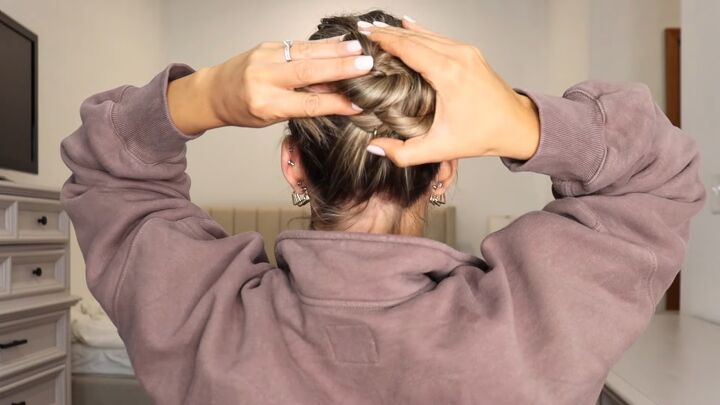
Keep going, wrapping it around itself.
2. Tuck ends
Once you get to the ends, tuck them up underneath so they stay hidden, and then bobby pin them into place.
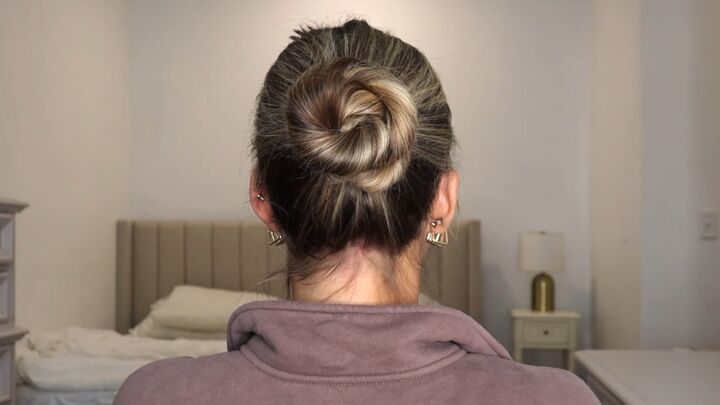
Here is the finished rope braid bun.
French rope braid
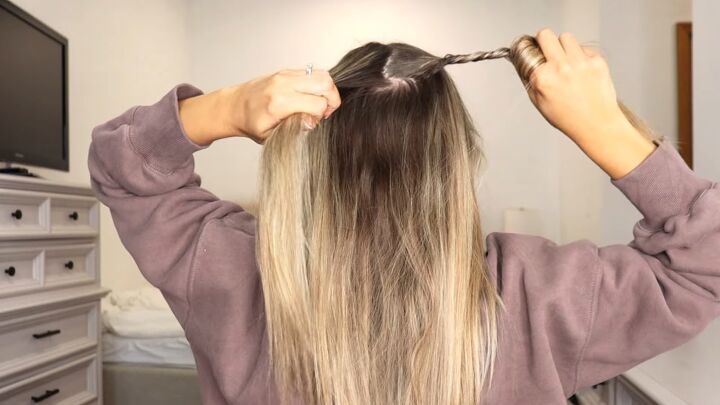
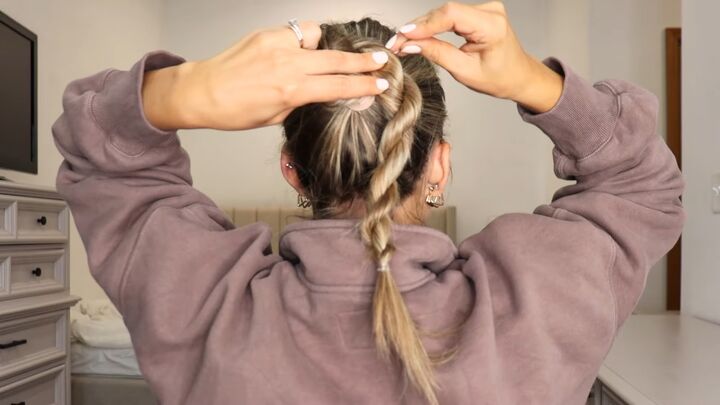
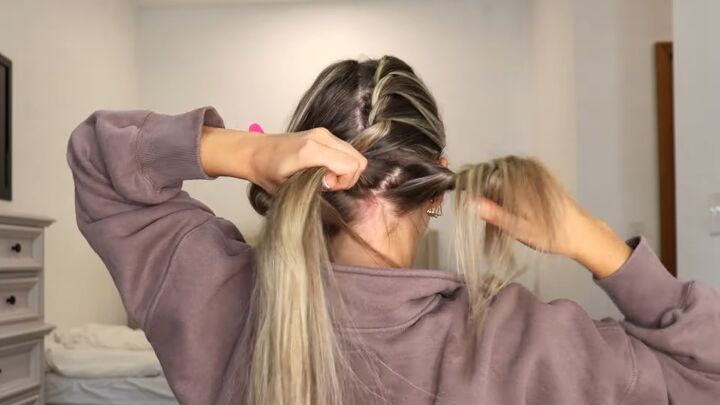
1. Split hair and twist outside section
Start at the top of your head, take a section of hair, split it into two sections.
Just like we have been doing, take your right section and twist it away from your face.
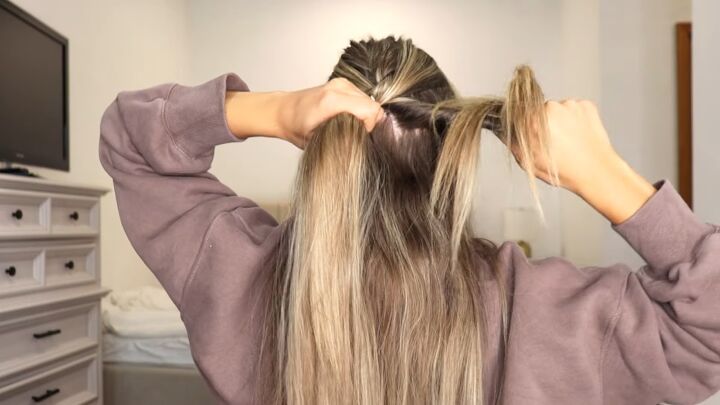
2. Cross sections over
Cross it over your left section. Make sure when you're crossing over you're crossing it tight.
3. Continue with the braid
Add in a section of hair to your right. Add in a section of hair to your left, take your right section, twist it away from your face. Cross it over your left section.
Then add in hair to your right section, and add in hair to your left section.
Make sure you're adding the same amount of hair to each. Take your right section, twist it away from your face, and cross that over your left section.
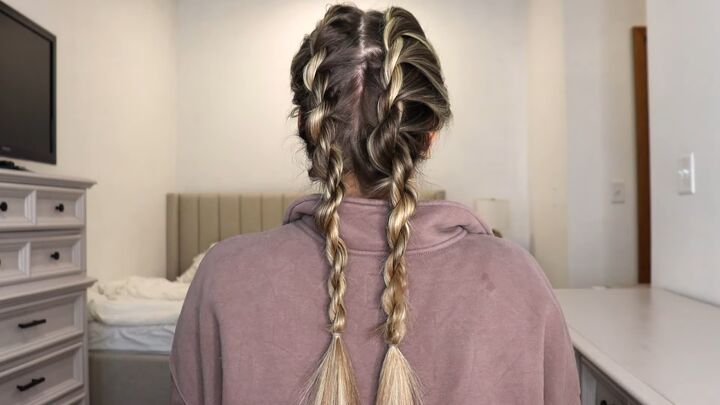
When you reach the bottom of your neck, split the rest of your hair into two sections and just twist the right section away from your face crossing it over your left.
Again, twist the right section away from your face, crossing it over your left.
Once it’s finished, you can fluff it out a little bit.
I love this style. I feel like it looks like a princess braid. It is just so beautiful. I picture having this in the summertime with a cute little sundress.
Pigtail style
For a pigtail hairstyle, you can either braid going back, or you can braid going down the side.

1. Braid pigtails
I’m going to braid going back. You want to do like we have been doing, split your hair into two sections, take your outside section. Cross it away from your face, twisting it over that inside section, tying it tight.
Now pick up a section of hair, adding it into that outside section, and pick up a section of hair, adding it into that inside section.
Then we're just going to take that outside section, twist it away from our face and cross it over our inside section.
Try to make sure all the hair is added in by the time you reach the bottom of your ear. Repeat the process all the way down and tie the bottom off with a hair tie.
Here is the finished look.
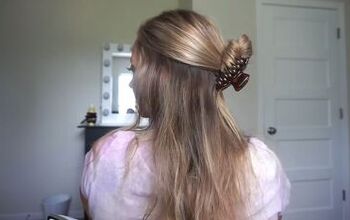
Half-up style

1. Make two rope braids
For this final look, make rope braids on either side of your head, bring them around the back, and tie them together in the middle of your head.
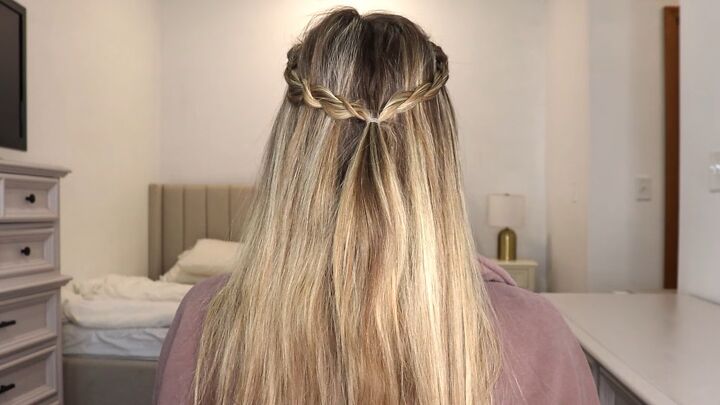
This is it, it’s a simple half-up hairstyle, and it is so beautiful.
Cute rope braid hairstyles
So that is the end of the tutorial. Now you should be an expert on how to make rope braids.
Let me know which style was your favorite in the comments below.
And, for more hair content, check out my post on 4 Cute and Easy 60-second Hairstyles.
The author may collect a small share of sales from the links on this page.


Comments
Join the conversation