How to DIY a Cute Tiered Skirt and Top Set

I found a bedsheet in my local thrift store for just $3 and turned it into a really cute DIY tiered skirt and top.
This is a great thrift flip project for spring and summer and includes a free tiered skirt pattern. It's best for beginners with some experience.
Tools and materials:
- Bedsheet
- 2 inch elastic
- 1/4 inch elastic
- Interfacing
- 5 buttons
- Measuring tape
- Fabric marker
- Pins
- Scissors
- Safety pin
- Loop turner
- Sewing machine
- Serger (optional)
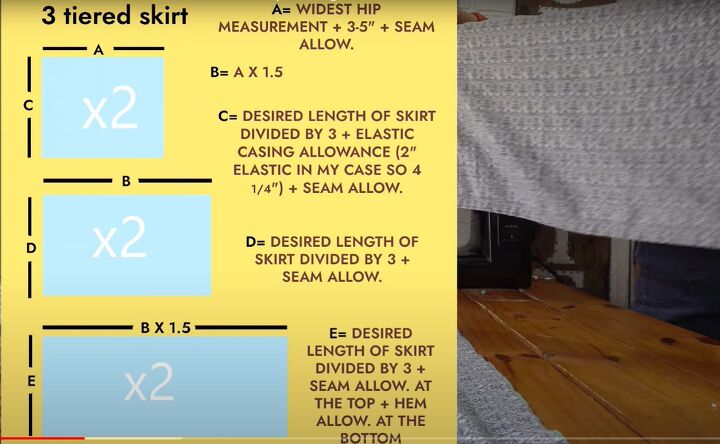
1. Tier skirt pattern
Decide on the final length of your maxi skirt.
Measure your hips at the widest point.
Cut two pieces of fabric for each tier:
The top tier is the width of your hip measurement plus 3 - 5 inches plus seam allowances. The length is one-third of your skirt length plus seam allowance, plus 4.5 inches for the waistband.
The middle tier is the width of the top tier x 1.5. The length is one-third of your skirt length plus seam allowances.
Cut the bottom tier the width of the middle tier x 1.5 and the length one-third of your skirt length plus a top seam allowance and bottom hem allowance.
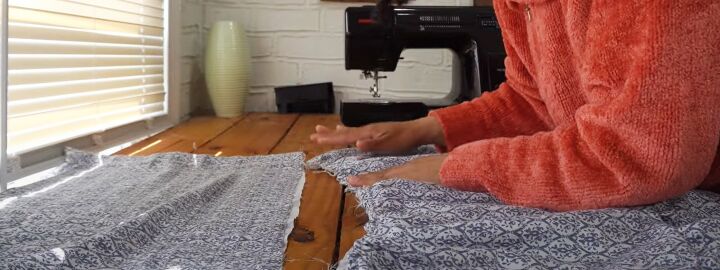
2. Assemble
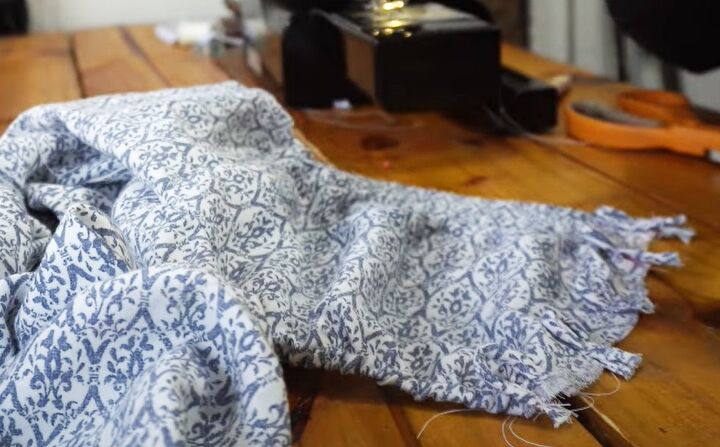
Join each tier along the short sides with the right sides facing. Finish the raw edges.
Sew two rows of gathering stitches along the top edge of the bottom tier. Leave long ends.
Gather the bottom tier to the same width as the middle tier.
Pin and sew the bottom tier to the middle tier with the right sides facing.
Attach the middle tier to the top tier in the same way.
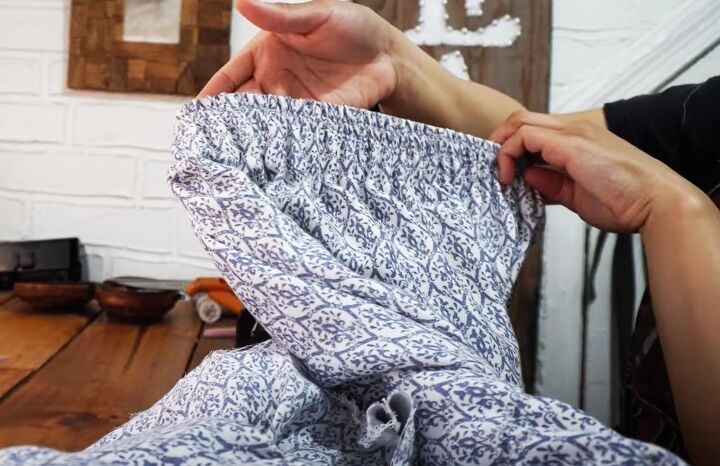
3. Waistband and hem
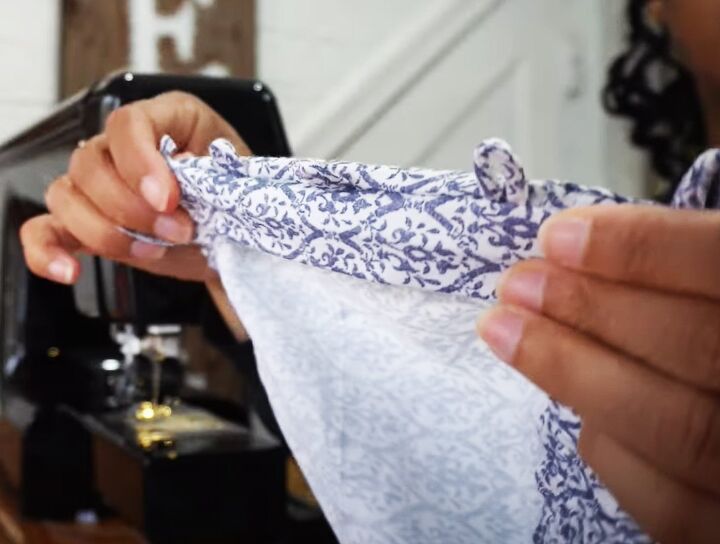
Turn the top edge of the top tier to the inside by a half inch plus two inches, and press.
Sew the waistband in place along the lower edge, leaving an opening through which to feed the elastic.
Feed the elastic through the casing. Overlap the ends of the elastic and sew them securely. Sew the opening closed.
Sew fours rows of straight stitches half an inch apart along the waistband, stretching the elastic as you sew.
Make a narrow double hem along the bottom edge of the skirt.
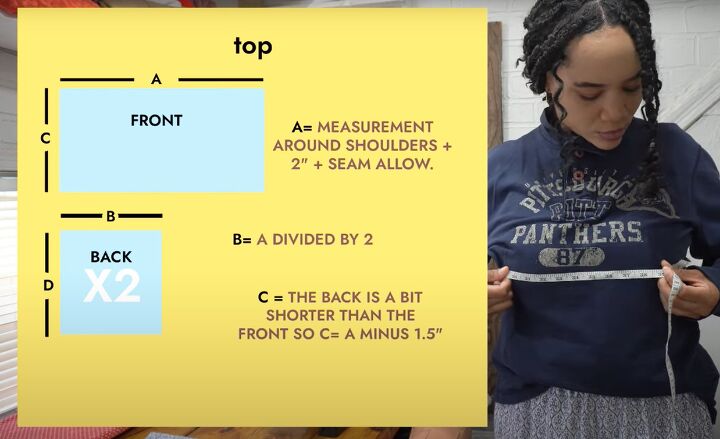
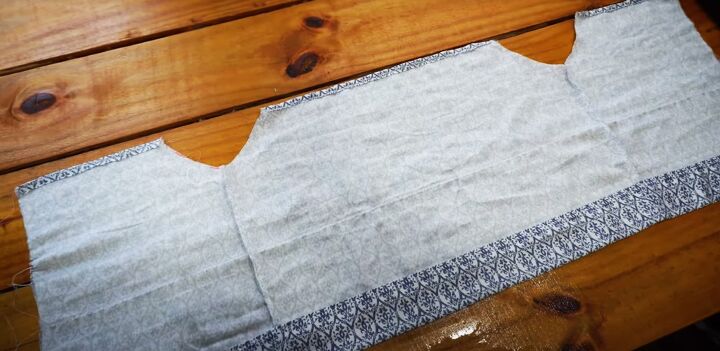
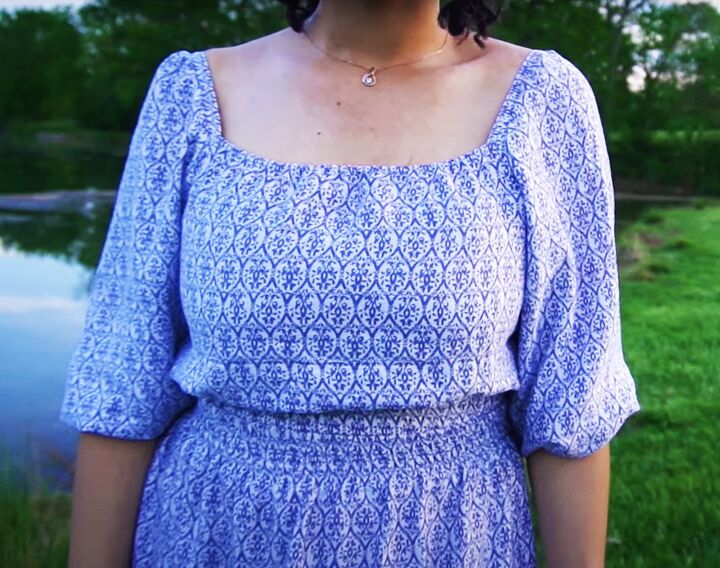
4. The top
For the front, take the measurement across your shoulders and add 2 inches plus a seam allowance for the width. Measure from above your bust to your waist for the front length
Cut two pieces for the back, each half the width of the front and 1.5 inches less in length.

5. Assemble
Sew the backs to the front at the side seams, with right sides facing.
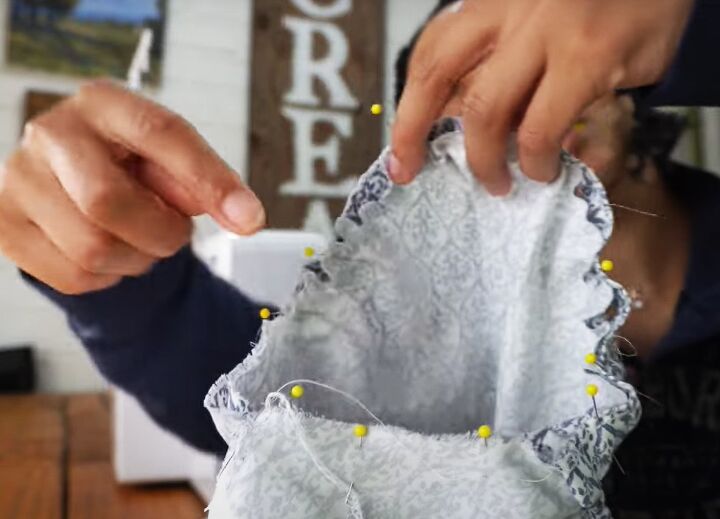
Trace the lower armholes using a shirt as a template and cut them out. Finish the raw edges.
Press up the bottom edge by half an inch plus two inches for the elastic casing.
Press a narrow casing along the top edge.
Top stitch the casings in place, leaving openings for the elastic.
Feed the elastic through the casings and finish as you did for the skirt waistband.
6. Shoulder straps
Cut two shoulder straps from your sheet. Fold them in half lengthways and sew the long edges. Turn them right side out.
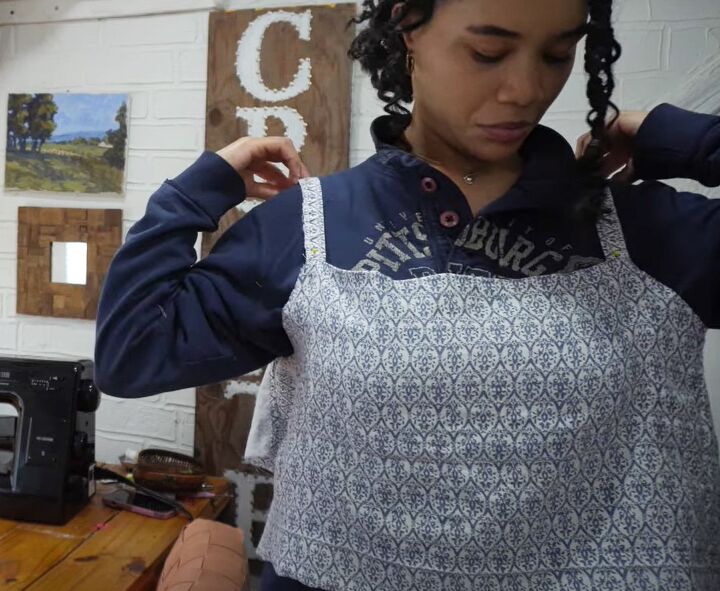
Pin the shoulder straps to your top to figure out the correct length, then sew them in place.
The top looks really cute sleeveless, but I wanted to add sleeves to mine.
7. Sleeves (optional)
I used a sleeve pattern I'd made for another project. If you want this to be a summer dress, you can leave the sleeves off.
Cut out 2 sleeves and sew the seams.
Gather the sleeve head to the length of the shoulder strap. Pin and sew the sleeve to the armhole and shoulder straps.
Make a casing at the sleeve edge and thread the narrow elastic through it.
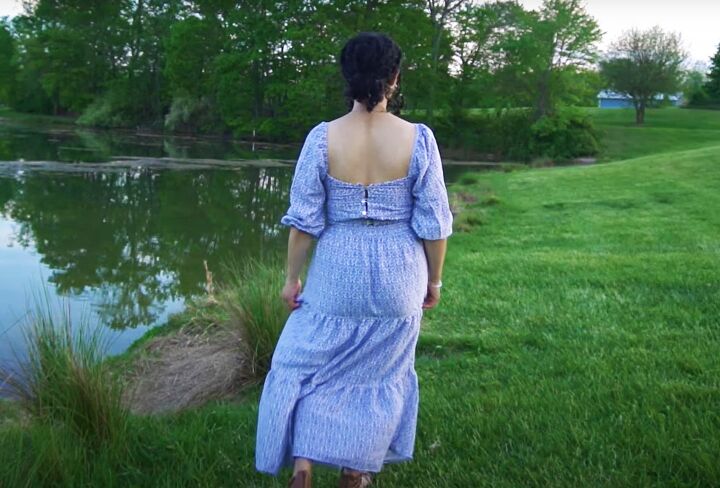
8. Button loops
Cut a rectangle of fabric double the length of the center back plus allowance and 3 inches wide. Iron interfacing to the wrong side.
Press the long edges towards the center.
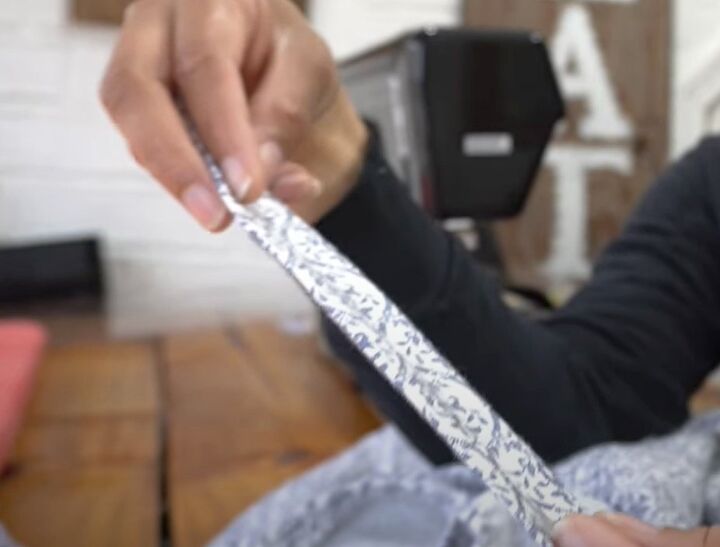
Cut a bias strip from the sheet. Sew it into a long tube and turn it right side out.
Cut the strip into five individual loops.
Baste them to the center back.
Cut the strip you added interfacing to in half and sew over the loops with right sides facing. Turn it to the inside and top stitch in place.
Attach the other half to the second side of the center back in the same way as you would bias tape. Sew on the buttons.
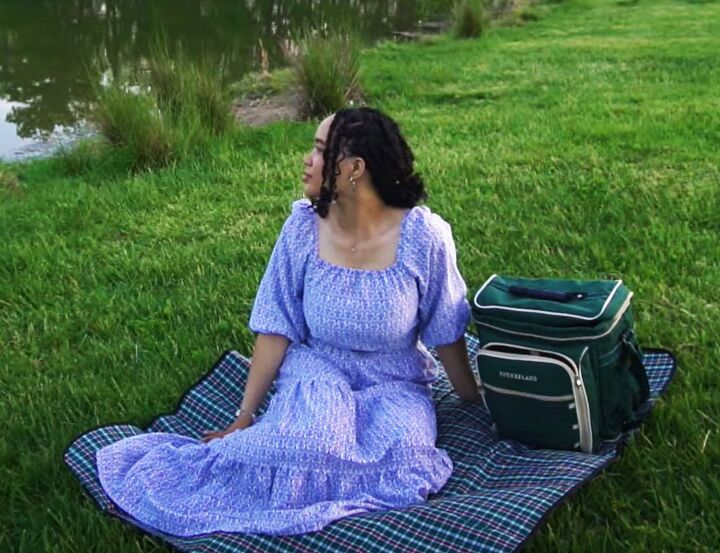
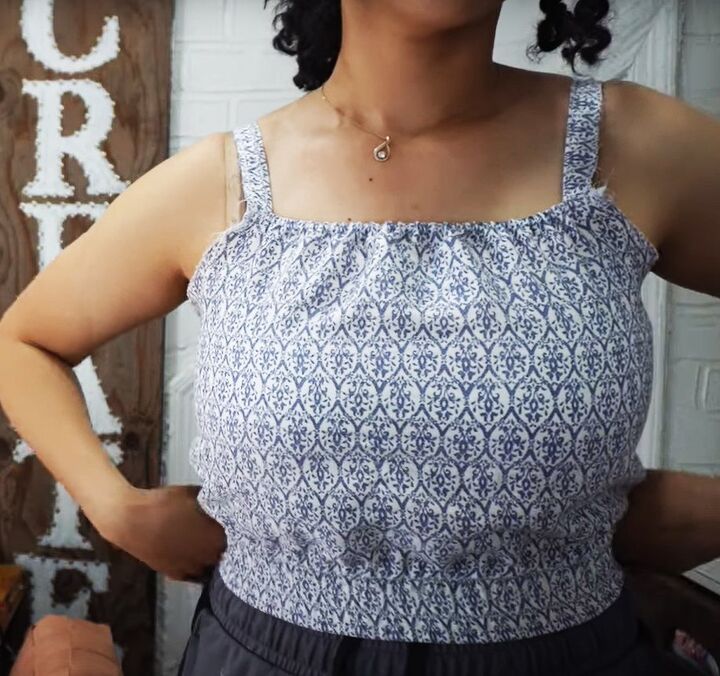
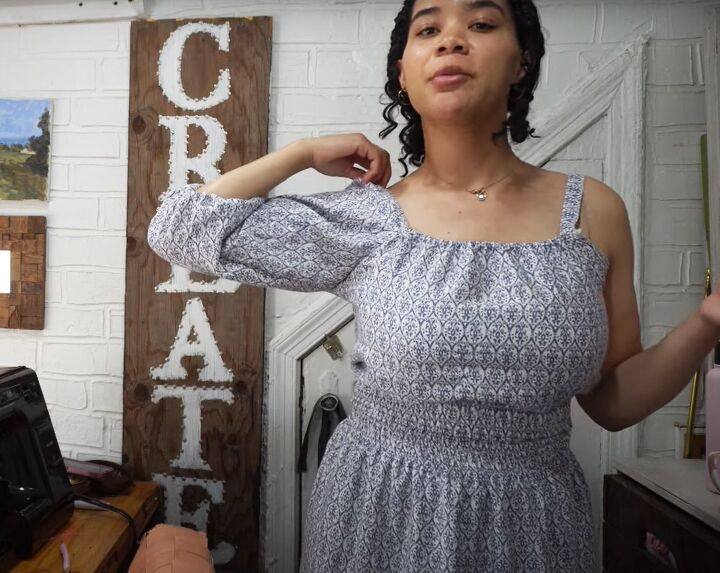
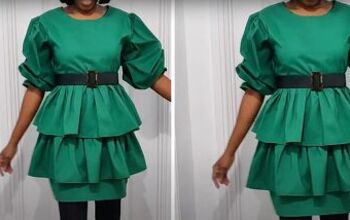
DIY tiered skirt and top set
This is exactly the look I wanted for a romantic spring picnic in the park! Isn’t it adorable?
I hope you love it as much as I do and can find the perfect fabric for it. I’d love to see what you make - please, drop me a comment below.
Next, check out my post on How to DIY a Super Cute Romper.
The author may collect a small share of sales from the links on this page.


Comments
Join the conversation