How to DIY an Adorable Mini Skirt

In this project I'm going to show you how to sew a mini skirt from scratch.
I bought the fabric years ago and forgot I had it, but it's perfect for this DIY mini skirt. It's a high waisted skirt with a side zipper but no lining or buttonhole so it's very easy to make.
Tools and materials:
- Firm fabric
- 8 inch zipper
- Matching thread
- Tape measure
- Ruler
- Tailor's chalk
- Pins
- Scissors
- Sewing machine
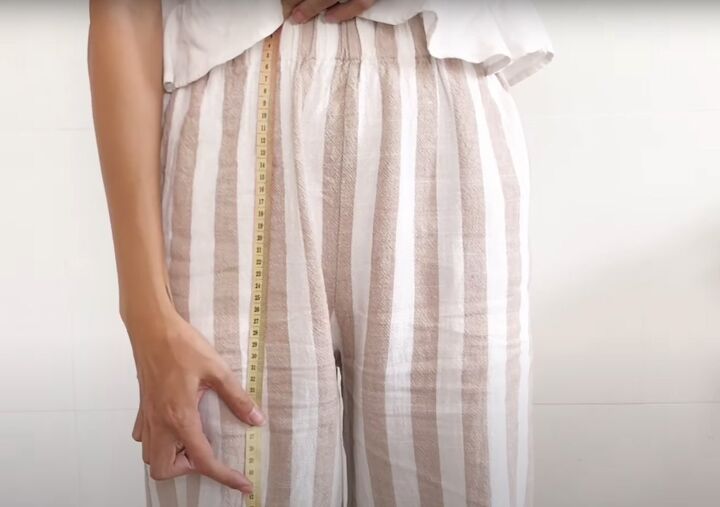
1. Take your measurements
Measure around the widest part of your hips, around your natural waist and also the length you want the finished skirt.
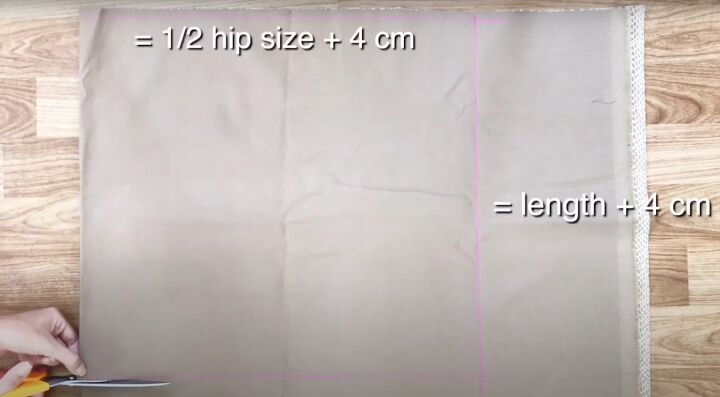
2. Cut the front and back pieces
You don't even need a mini skirt pattern. You can draw your skirt shape directly on to the fabric with chalk.
Fold the fabric in half widthways and draw a line across the fabric from the folded edge equal to half your hip size plus 1.5 inches.
Measure down from this line the finished length of your skirt plus 1.5 inches and draw a second line parallel to the first, across the fabric.
Join the two lines at each end.
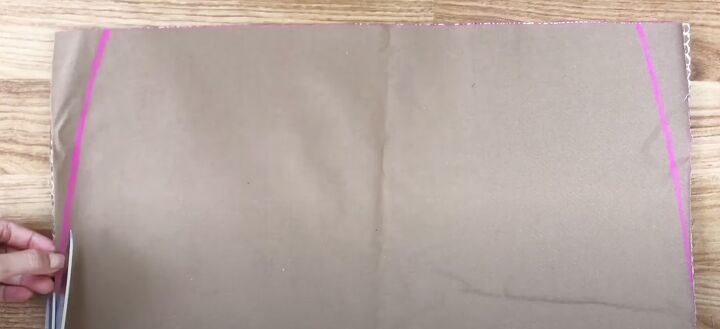
Cut around the 3 lines, then cut along the fold to separate the two parts of the skirt.
3. Shape the waistline
Lay the two pieces on top of each other, right sides together.
Measure 1.5 inches in from each side edge at the top of the skirt and 8 inches down from the top edge for the waist to hip curve.
Join the two marks on each side with a curved line and cut along it through both layers.
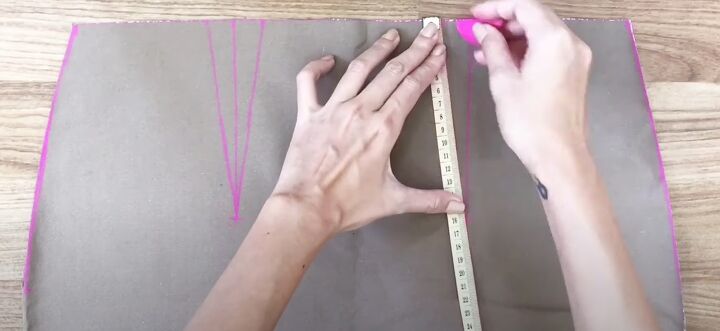
4. Back darts
The back waist edge needs to be half your waist measurement plus 0.75 inches after sewing the darts.
For me, that meant making the waist 3 inches narrower than the hips.
On the back skirt piece, I marked 0.75 inches in from the side edge at the top and 6 inches down from the top edge and joined them with a straight line.
Then I marked 0.75 inches either side of the line and connected each to the lower end of the line to make a triangle. I repeated that on the other side of the back.
Pin and stitch the back darts.
5. Front waistline
I didn't want to make front darts. Instead, I measured 1.5 inches in from each side edge of the front piece and drew a curved line from there down to the top of the hip. I cut along that line.
Oversew all the raw edges.
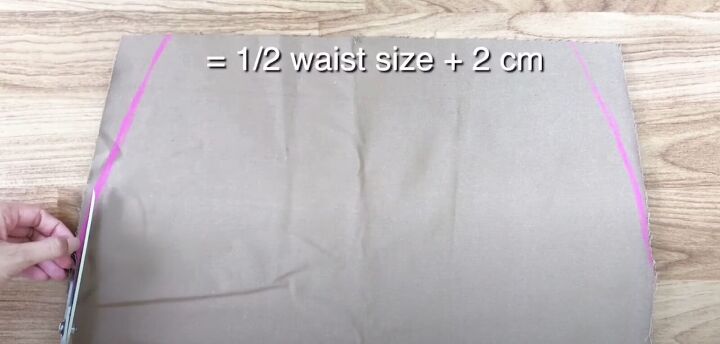
6. Waistband/facing
Cut 2 rectangles of fabric, each 3 inches deep and half your waist measurement plus 1.5 inches in length.
Place one rectangle under the front skirt piece at the top edge and one under the back skirt. Draw the outline of your skirt on to them.
Cut along the lines and oversew the raw edges of the facing.
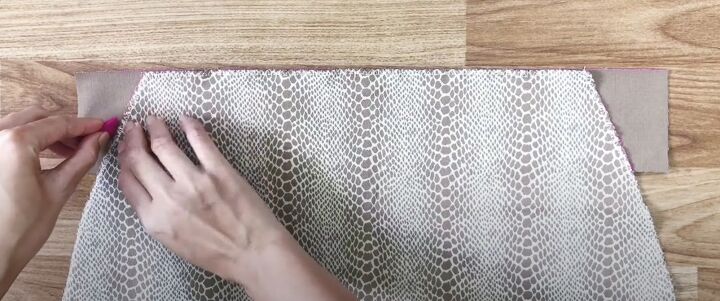
7. Attach facing
Pin a facing to each skirt piece, right sides together, and stitch along the top edges.
Open the facing and top stitch close to the seam on the right side. Fold the facing to the inside and press.
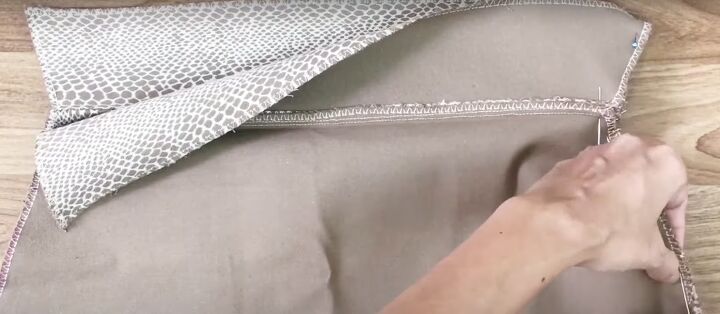
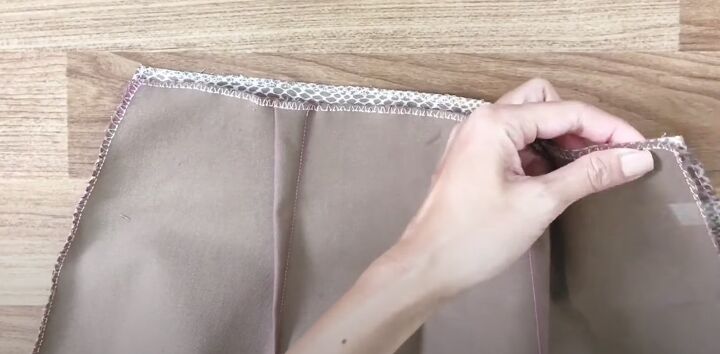
8. Side seam 1
Matching the top seams, pin the front and back facing together at one side, right sides together. Continue down the side seam to the lower edge and stitch
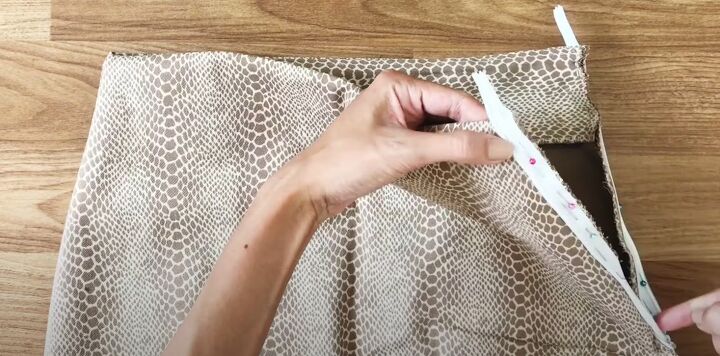
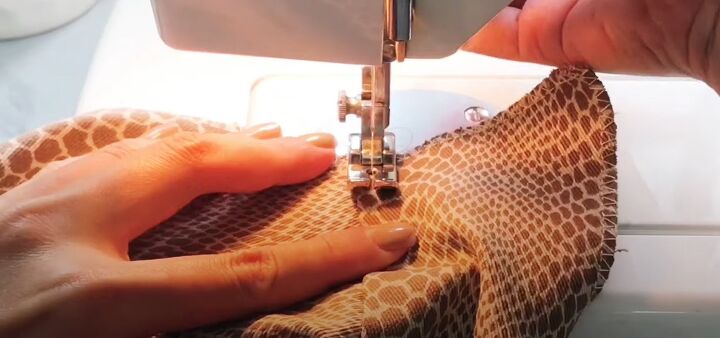
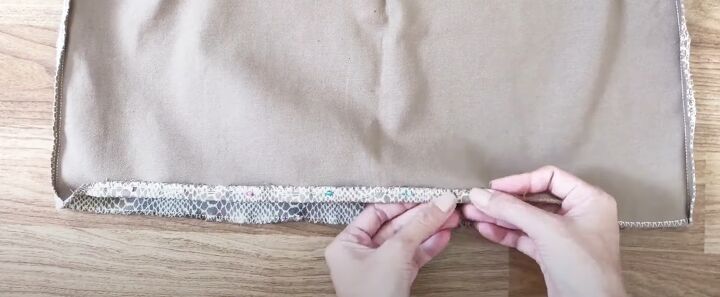
9. Insert zipper
Pin the zipper to the front of the skirt at the other side edge, right sides facing, leaving the tape free at each end.
Matching the top of the teeth to the facing seam and the tape edge to the raw edge of the seam so it's within the seam allowance.
Pin the other side of the zipper to the back edge in the same way.
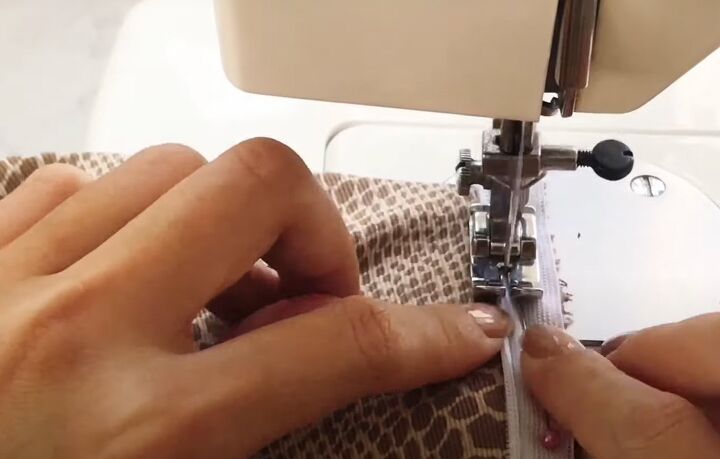
Stitch close to the edge of the tape on the right side.
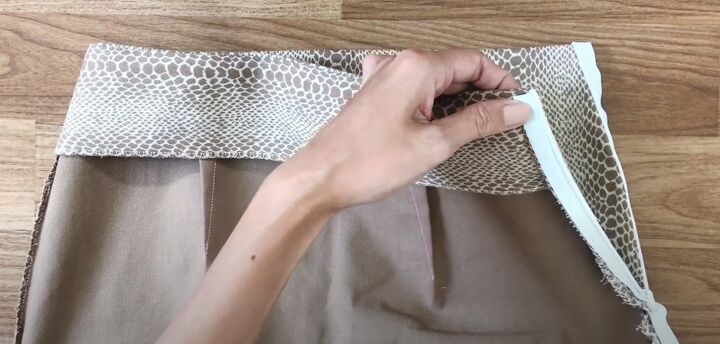
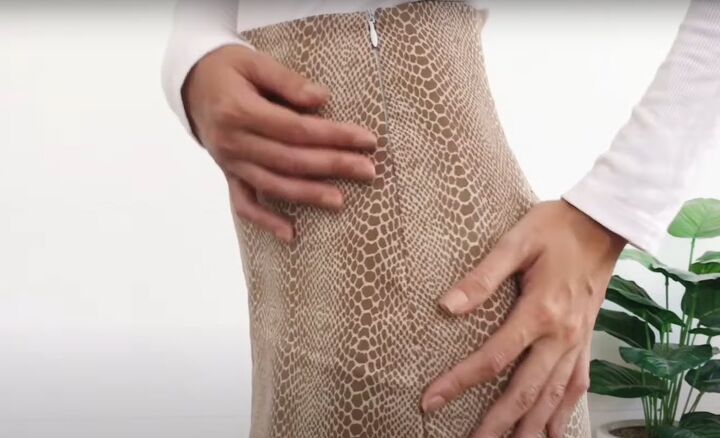
10. Side seam 2
Pin and stitch the side seam from the end of the zipper to the lower edge, following the previous stitching line.
Fold the excess zipper tape at the top to the inside of the waist facing, turn back the seam allowance and hand stitch down at the top edge on each side.
11. Hem the skirt
Turn up a narrow hem at the lower edge and stitch.
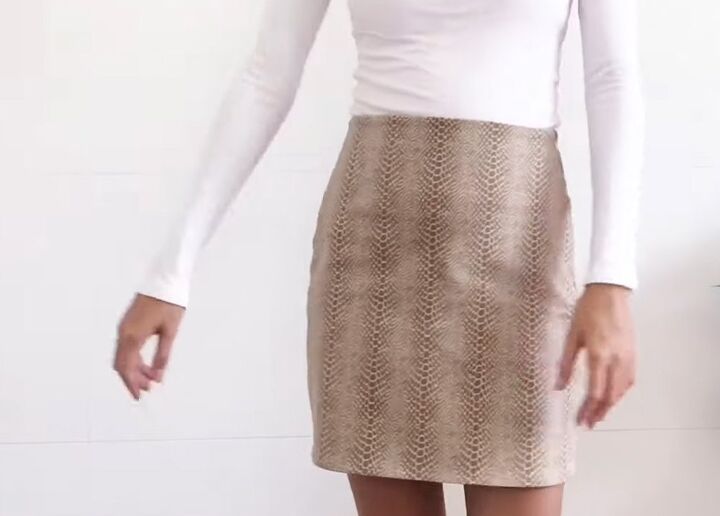
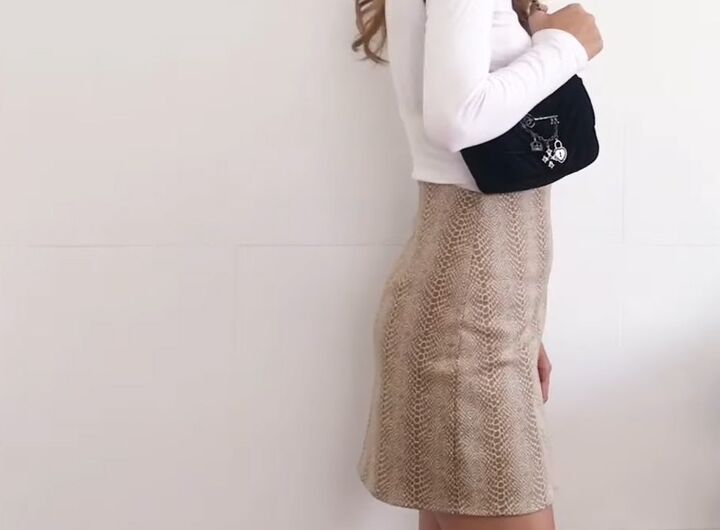
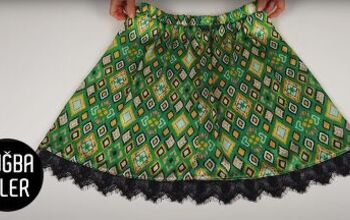
DIY mini skirt
This was a quick and easy project to make. My skirt fits me perfectly and I think it looks great! It would be easy to adapt to make an elegant pencil skirt too.
If you enjoyed this, please let me know in the comments - I really value your opinion.
For more sewing content, check out my post on How to Make a Gorgeous DIY Wrap Dress Out of 2 T-Shirts.
The author may collect a small share of sales from the links on this page.


Comments
Join the conversation