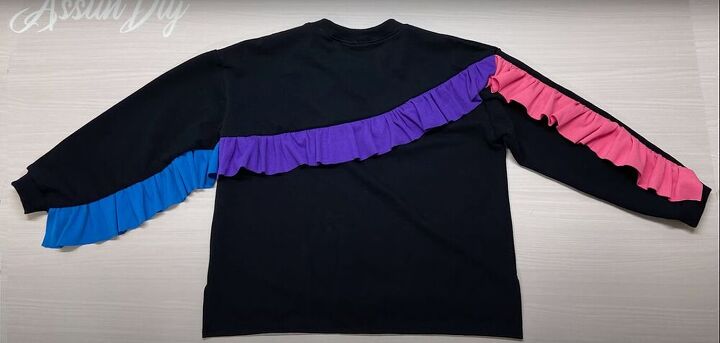
DIY Ruffle Sweatshirt From Scratch

Make a unique sweatshirt with this ruffle sleeve sweatshirt tutorial. Show your true colors in this fabulous DIY top that is simple to make and so much fun to wear. Keep reading for step-by-step instructions.
Tools and materials:
- Sweatshirt (to trace)
- Paper
- Pen
- Scissors
- Sweatshirt fabric
- Wide strip of ribbed fabric (match color to sweatshirt)
- Three wide strips of colored ribbed fabric
- Pins
- Ruler
- Sewing machine
- Serger (optional)
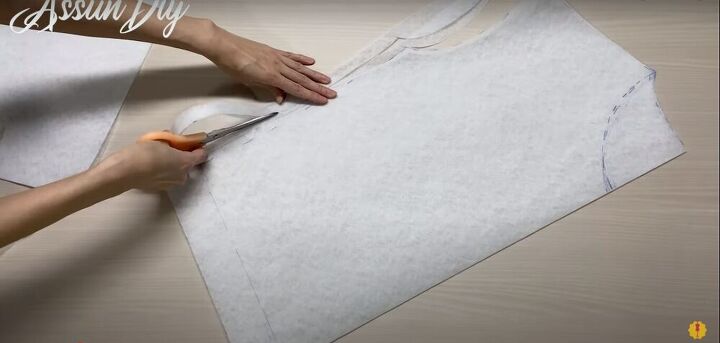
Draw and cut
See 0:40-2:58 in the video for instructions on how to draw the sweatshirt pattern and cut out all the pieces.
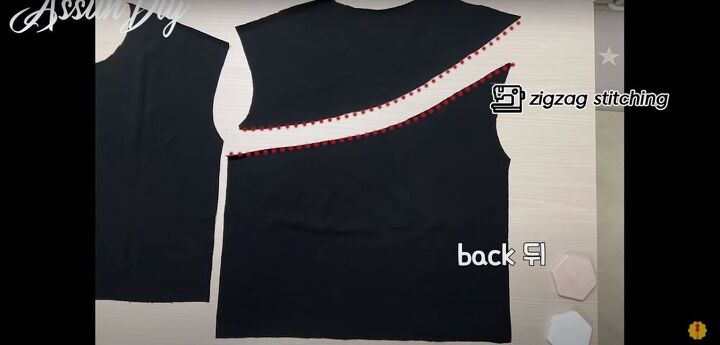
Sew
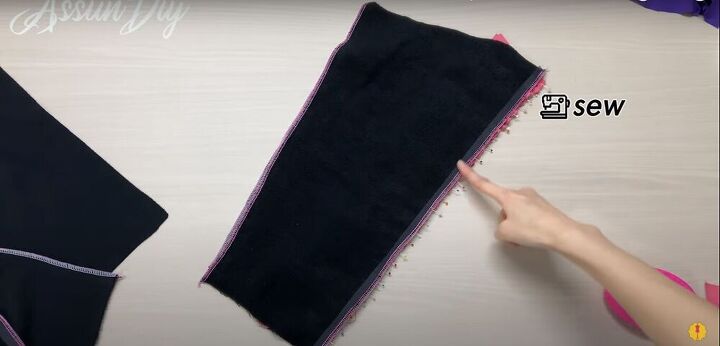
Zigzag stitch the asymmetrical edges of the back pieces, and the side edges of the sleeves.
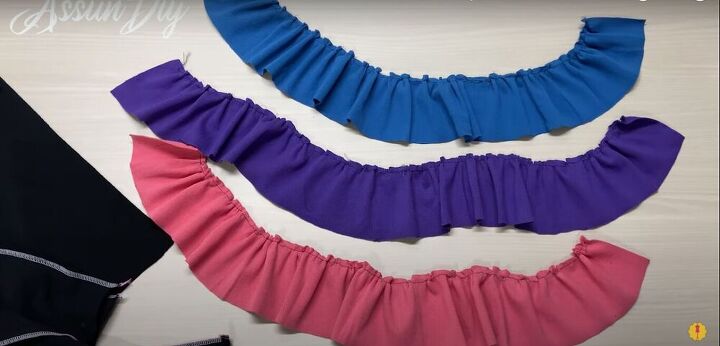
Gather
Use a gathering foot on your sewing machine to gather one edge of each of the ribbed fabric strips.
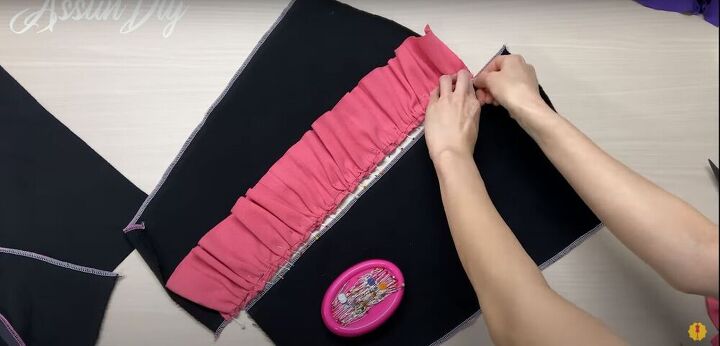
Pin
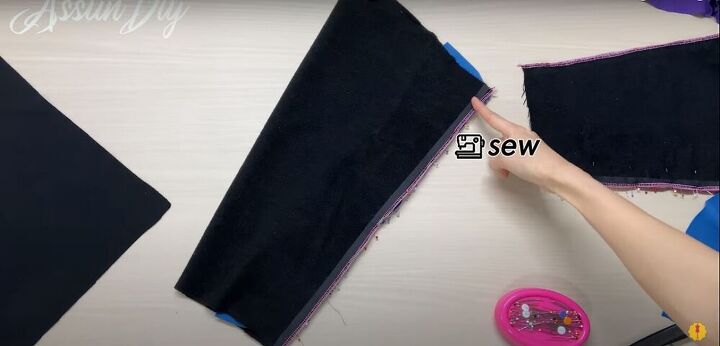
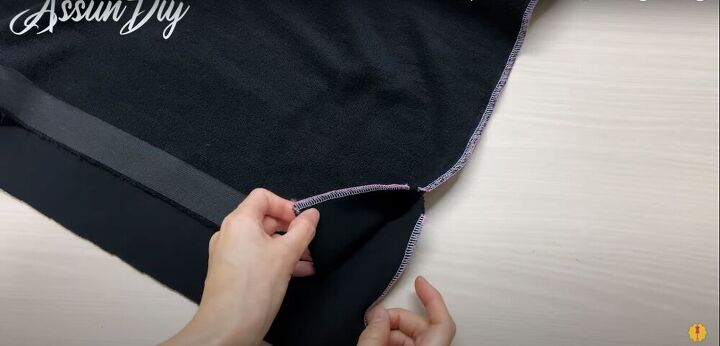
Starting from 2 centimeters (¾ of an inch) above the bottom of the sleeve, pin one ribbed strip to the edge of one of the half sleeve pieces. Cut off any excess ribbed fabric.
Pin and sew
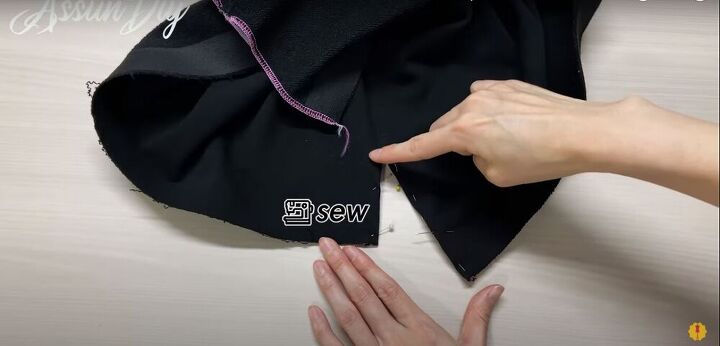
With right sides together, pin the second half of the sleeve to the first, with the ruffle sandwiched in the middle, and sew down both side seams of the sleeve.
Repeat
Repeat the process with the whole sleeve piece, folding the sleeve in half, and sewing only the edge with ribbed fabric pinned in between it.

Pin and sew
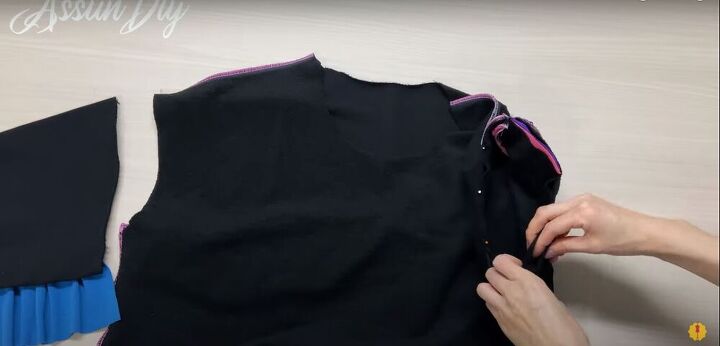
Pin the last ruffle along the top edge of the bottom back piece, and then lay the top back piece on top with the ruffle sandwiched in the middle, and sew all the layers together.
Pin and sew
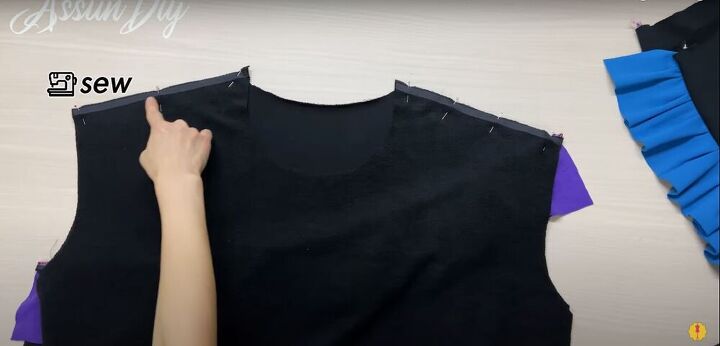
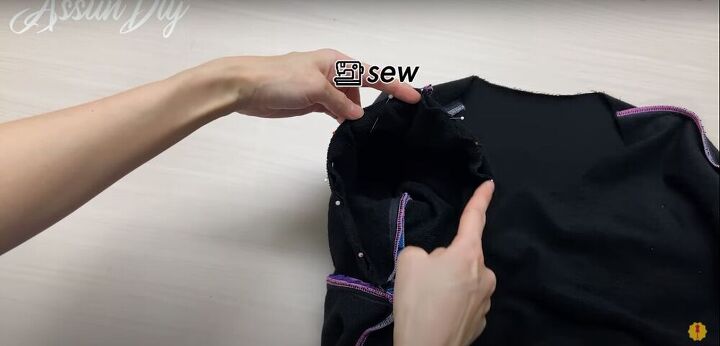
With right sides facing, pin and sew the front and back pieces at the shoulder seams.
Measure, mark, and sew
Measure and mark 7 centimeters (2¾ inches) from the bottom of the shirt. Pin the side seams together, stopping at the 7-centimeter mark, and sew down the seams till that point.
Zigzag stitch
Zigzag stitch the seam allowances, as well as the raw edges of the slits on the sides of the sweatshirt.
Pin and sew
Fold the edges of the side slits inward, pin them, and sew them down.

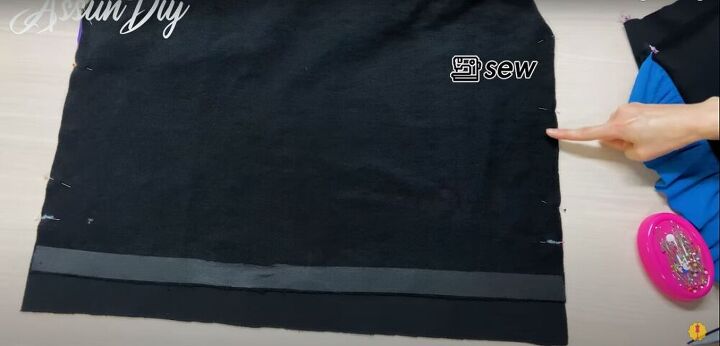
Zigzag and hem
Zigzag stitch the raw edges at the bottom of the sweatshirt. Then, fold up the hem once, and sew it down.
Pin
With right sides together, pin the sleeves in place. Pin the ends of the ruffles together, as well.
Sew
Sew the sleeves in place.

Cut
From the black ribbed fabric, cut two 21 x 11 centimeter (8¼ x 4½ inches) rectangles, and one rectangle that is 8 centimeters (3 inches) wide, and about 80% of the length of the neckline of your sweatshirt.
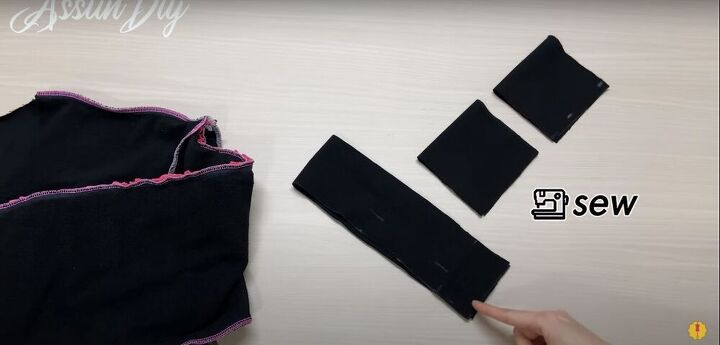
Sew
Fold each rectangle in half and sew the short sides together on each one.

Pin
Fold each circle so the seam is on the inside, and pin the raw edges together.
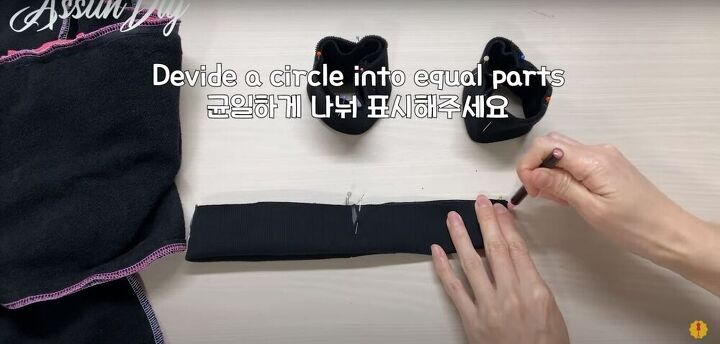
Mark
Mark the quarter points on each circle.
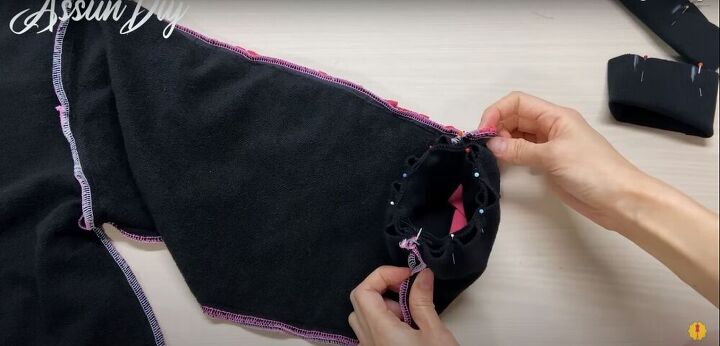
Pin
Pin the cuffs in place, using the quarter points you marked as a guide. Stretch the fabric between the pins to make the cuff wide to fit in the sleeve.
Do the same for the neckband.

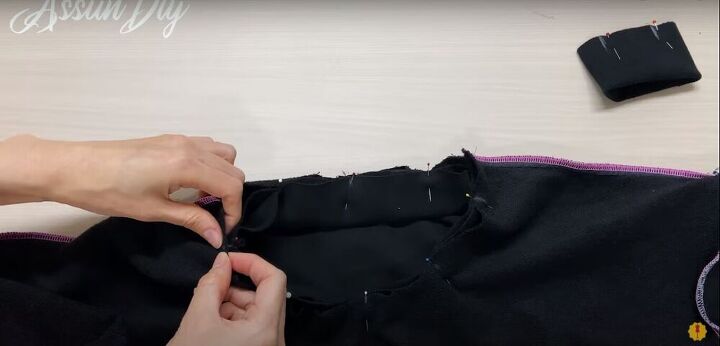
Sew
Then sew the cuffs and neckband in place and zigzag stitch the seam allowances.
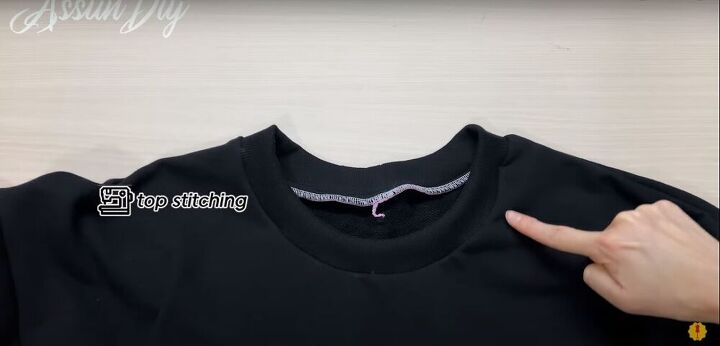
Topstitch
Topstitch around the seam of the neckline, and you’re done!

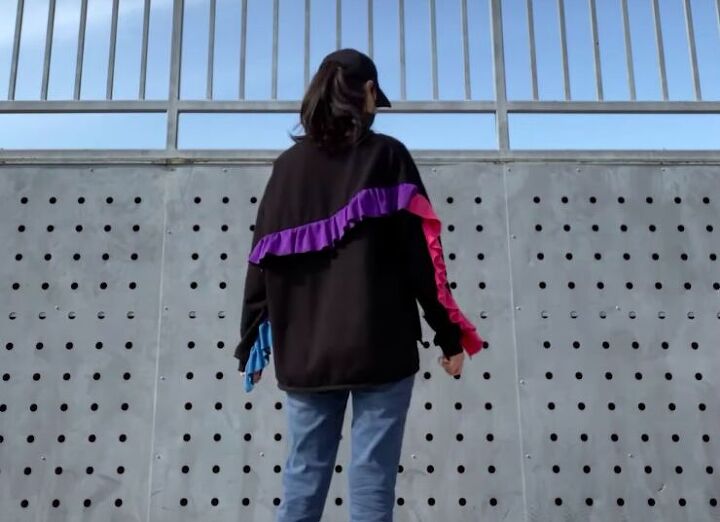
How adorable, right? If you use this tutorial to make a ruffle sweatshirt of your own, I would love to see the results!
The author may collect a small share of sales from the links on this page.


Comments
Join the conversation