Check Out How I Made This Rolled Shoulder T-shirt

A T-shirt is a staple piece in everyone’s wardrobe. To keep on-trend and stay stylish, I decided to DIY a rolled shoulder T-shirt which is so in right now! I used an old T I had sitting in my closet and was able to transform it in just a few simple steps. If you want to learn how to refashion an old T-shirt into the most amazing rolled shoulder top, my tutorial is just what you need. Follow my very simple, step-by-step guide and get started on this amazing rolled shoulder T-shirt.
Tools and materials:
- T-shirt
- Scissors
- Needle and thread
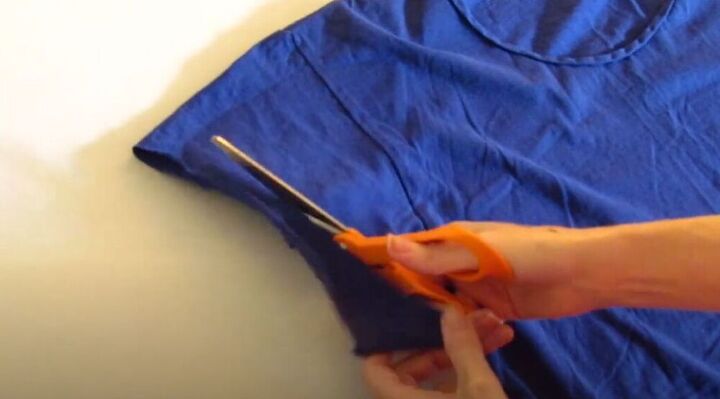
For the first step, flatten the sleeve so that the underarm seam is lying straight. Then grab your scissors and cut. Start at the inner edge of the seam and slowly cut at an angle until you reach the outer top edge of the sleeve.
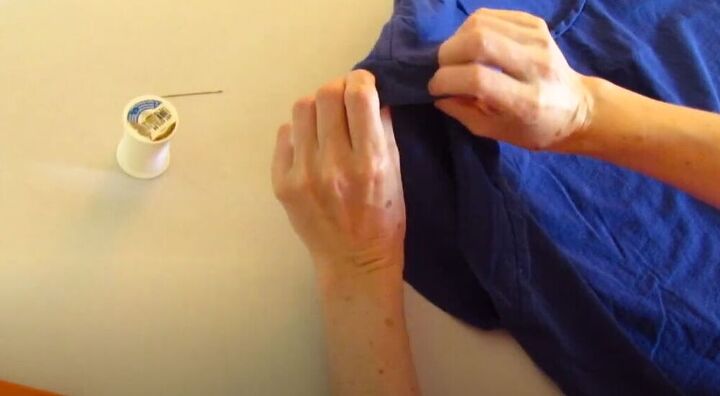
Once you have cut the sleeve, start folding it inwards until you reach the shoulder seam of the T.
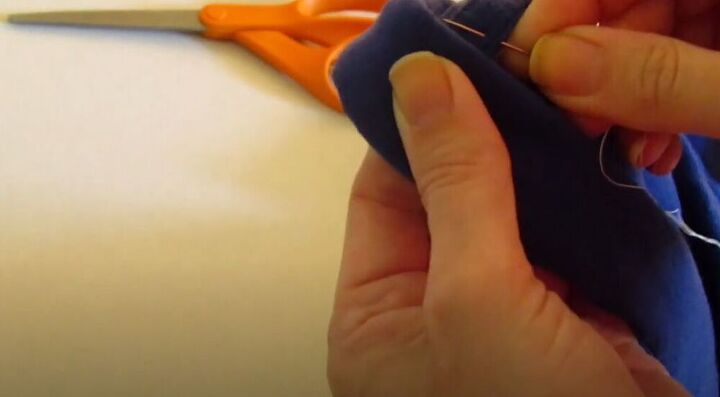
It’s now time to sew your gorgeous rolled sleeve in place. Start by turning the fabric over so that you can sew on the inside of the sleeve. Start at the inner shoulder seam and move through your rolled fabric.
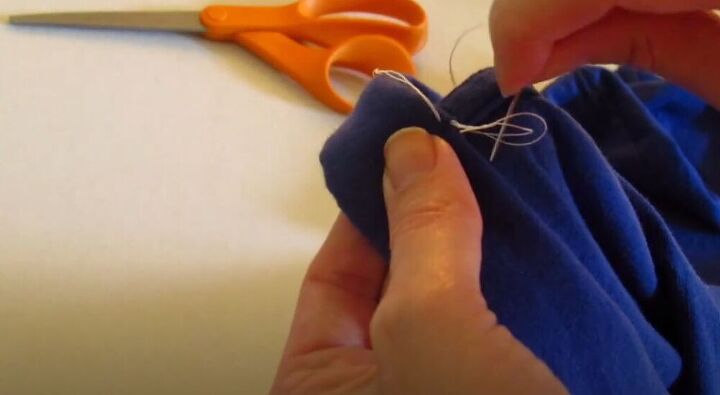
While you are sewing pull your thread, leaving a little bit behind so that it creates a loop, and then thread your needle through the loop to create the small knot you need. Do this a few times to hold the fabric in place.

Once you have finished sewing next to the shoulder seam you will be left with this amazing rolled shoulder T-shirt. How would you style this gorgeous T? Let me know in the comments below!
The author may collect a small share of sales from the links on this page.


Comments
Join the conversation