Super Cute T-shirt Weaving Design Tutorial

Follow along with this step-by-step tutorial to create a one-of-a-kind, DIY long sleeve t-shirt with a weaving design.
This project is completely no-sew which makes it beginner-friendly. Let’s get started!
Tools and materials:
- Loose-fitting long sleeve t-shirt
- Fabric scissors
- Tailor’s chalk
- Cardboard pieces
- Ball-shaped beads
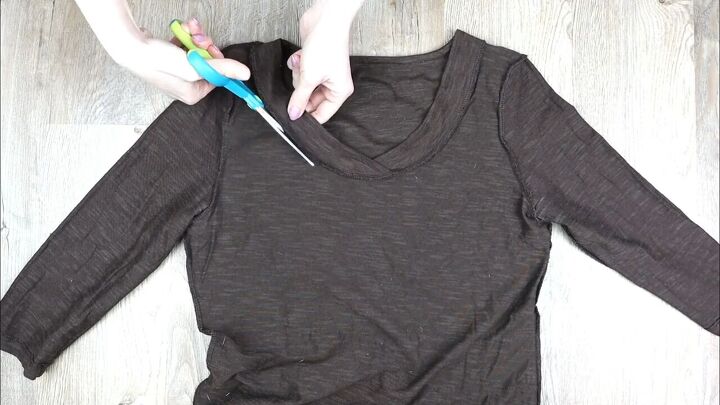
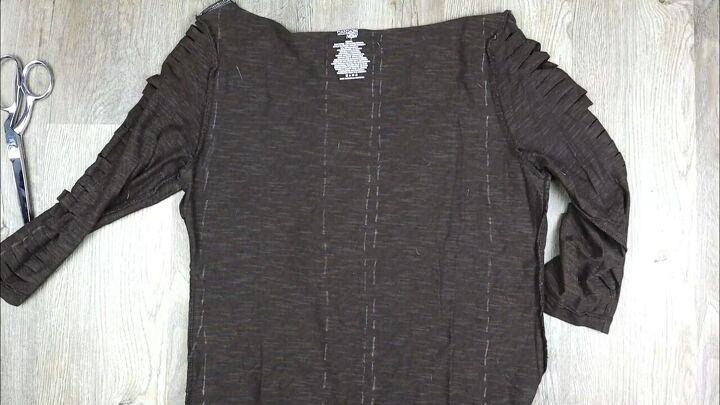
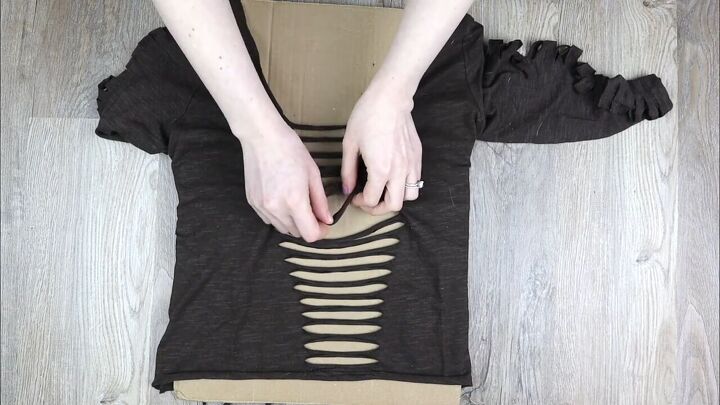
1. Cut off the collar
Turn your shirt inside out and cut off the collar.
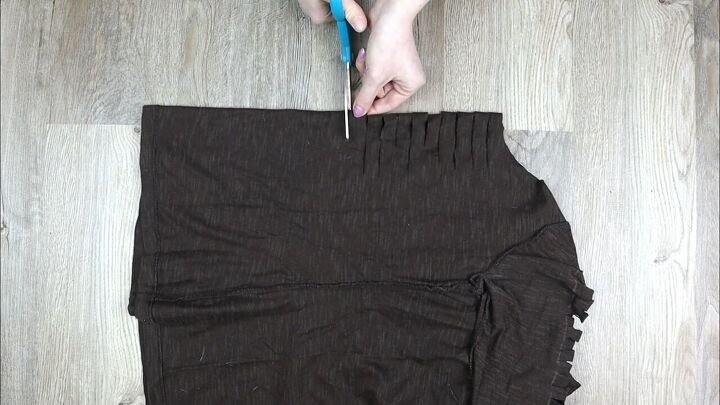
2. Mark the sleeves and cut slits
Use tailors chalk to mark down the sleeves where you want to make your slits.
Then cut slits all the way down the sleeves.
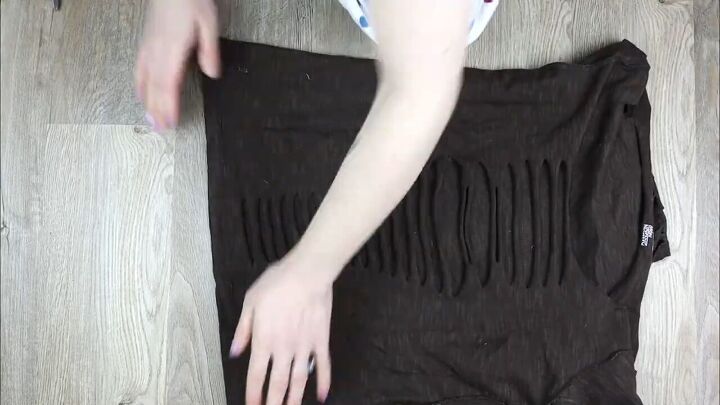
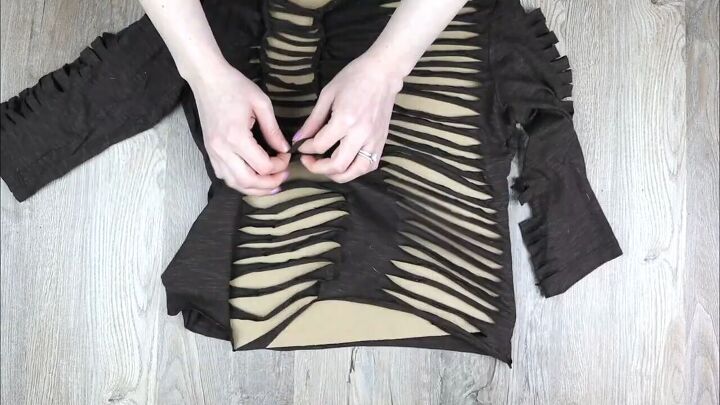
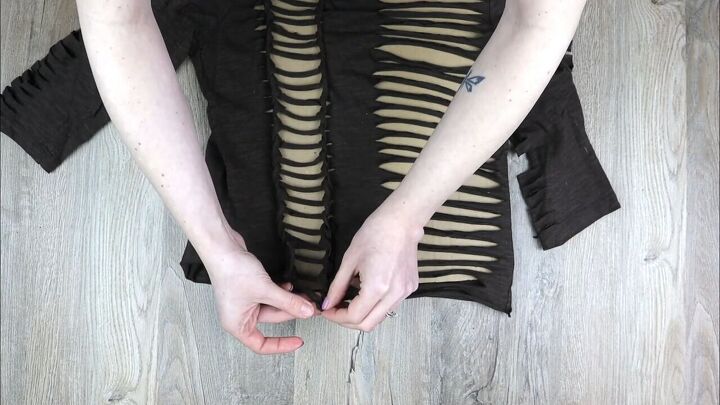
3. Fold, align seams and cut down the center
Fold your shirt in half, down the center, making sure the seams line up.
Then, cut slits down the center. For an off-kilter look, cut some slits long and some a bit shorter.
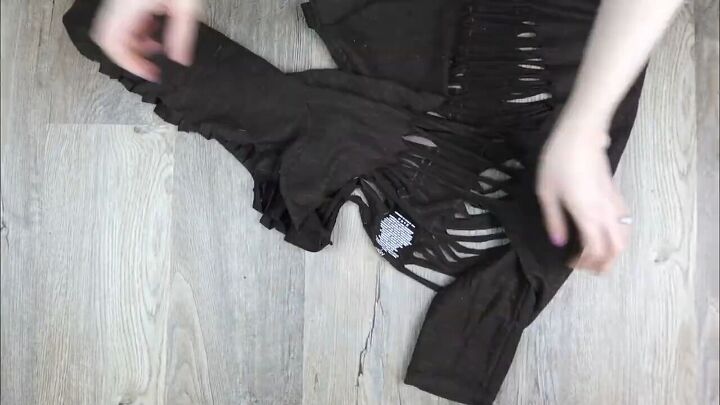
Realign the shirt and it should look something like this:
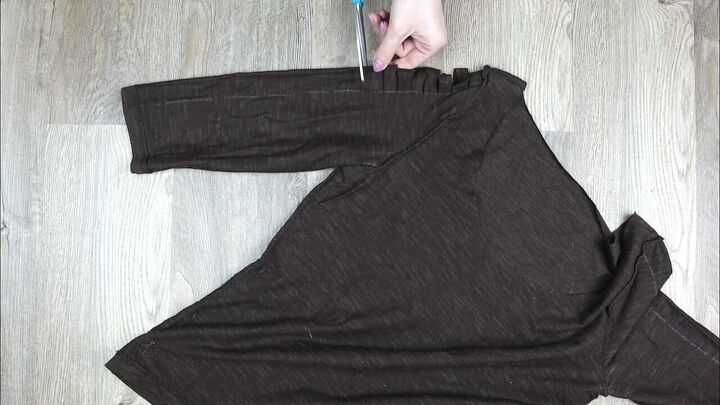
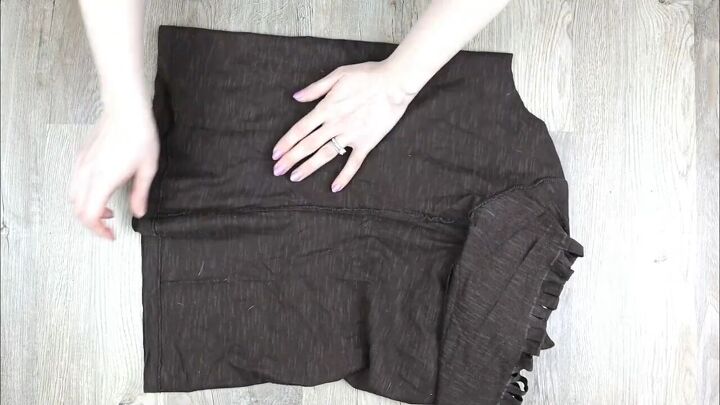
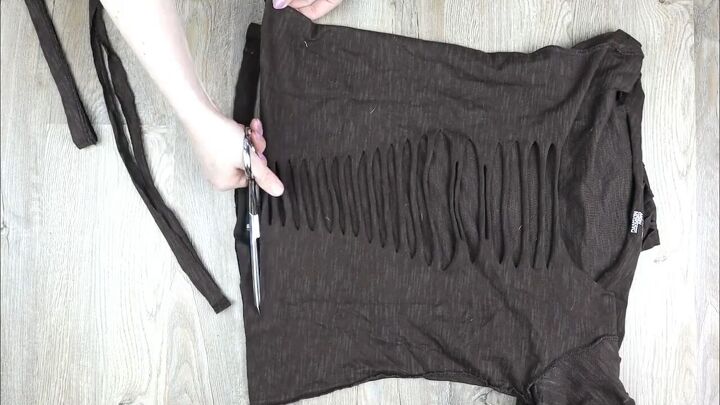
4. Cut bands
Cut off 3 bands from the bottom to use later.
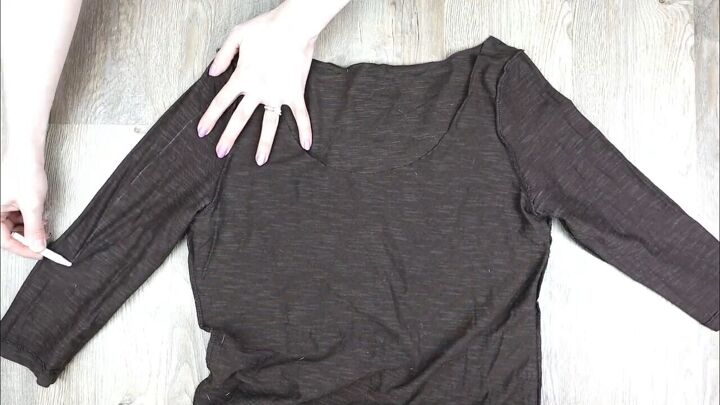
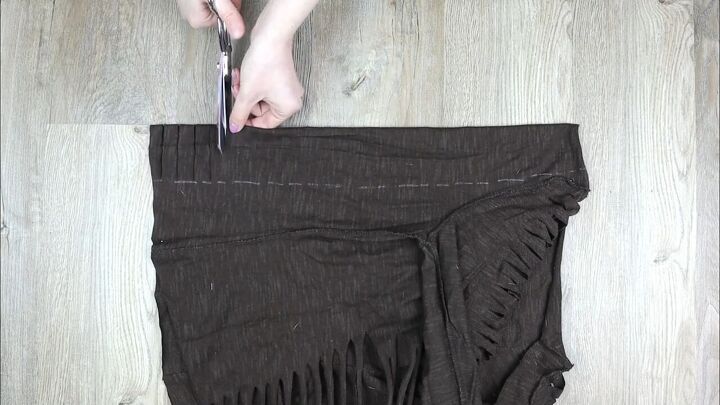
5. Mark the back
Now mark lines down the back of the shirt, like this:
6. Fold and cut slits
Next, fold the shirt in half along the center of each section to cut more strips.
See the video at 2:55 -3:11 for a visual.
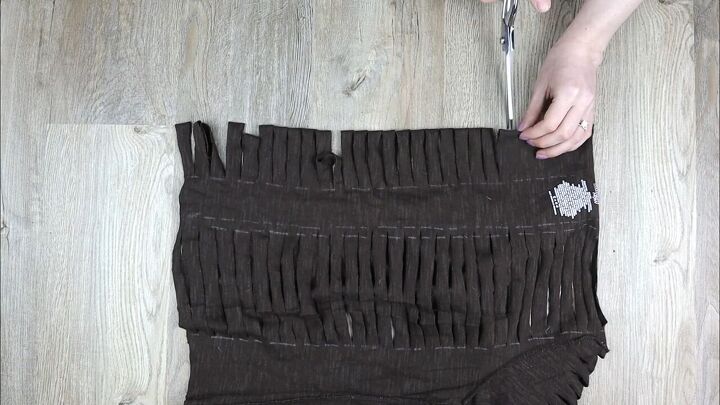
Then stretch the shirt out gently to pull the slits.
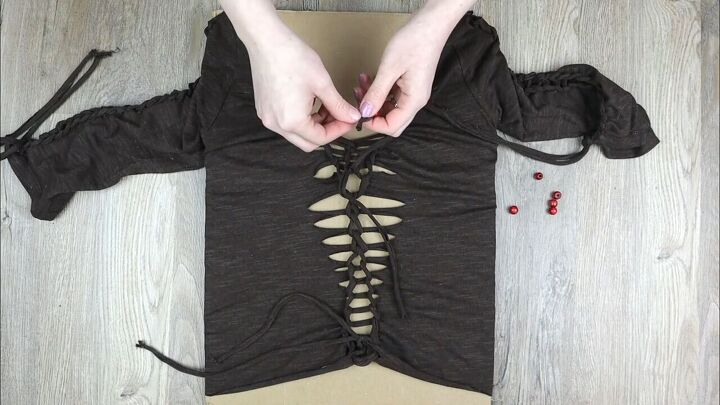
7. Make ladder weaves on the back
Place a large piece of cardboard inside the shirt or put the shirt on a dress form if you have one.
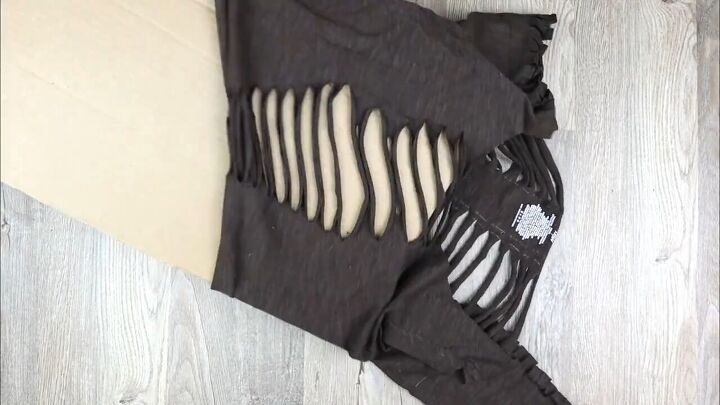
With the back facing you, make ladder weaves all the way down each column.
If you’re unfamiliar with this weave technique, check out the video at 3:54 -4:07 to see it precisely.
When you reach the end of the column, cut the last rung.

Then tie it to the strand above it.
Repeat on the other column as well.
Here’s how this should look:
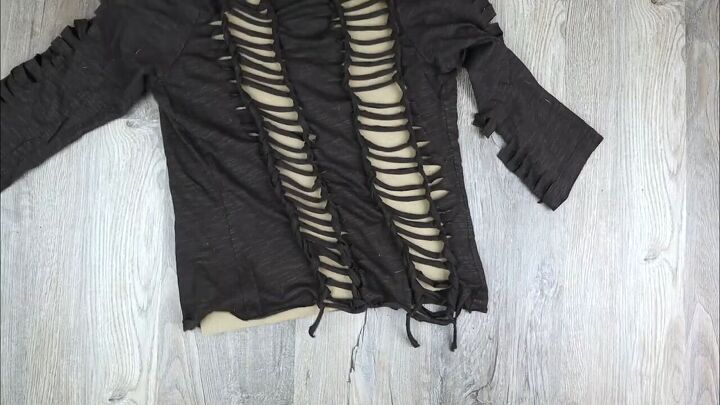
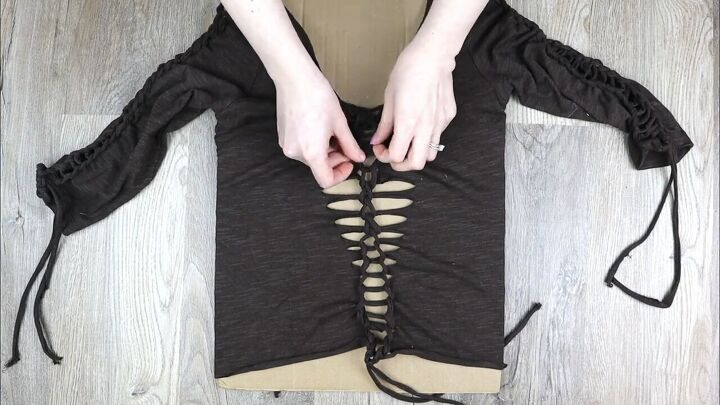
8. Weave the front
Flipping the shirt to the front, do a ladder weave down to about the halfway point.
Next, do a twisted weave for about 4 strands.
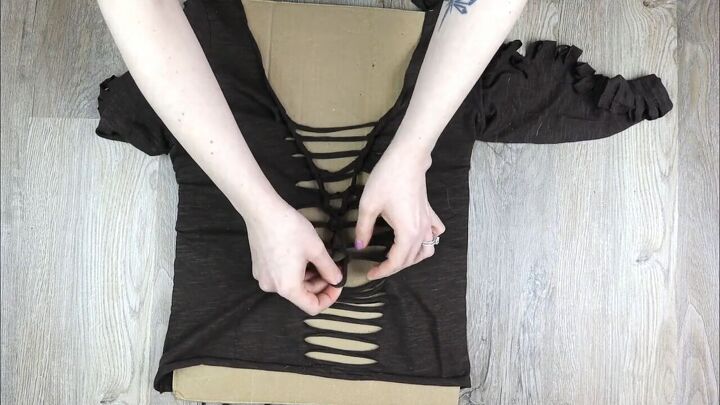
Then finish off the rest of the strands with a ladder weave.
This t-shirt weaving design is really starting to take shape!
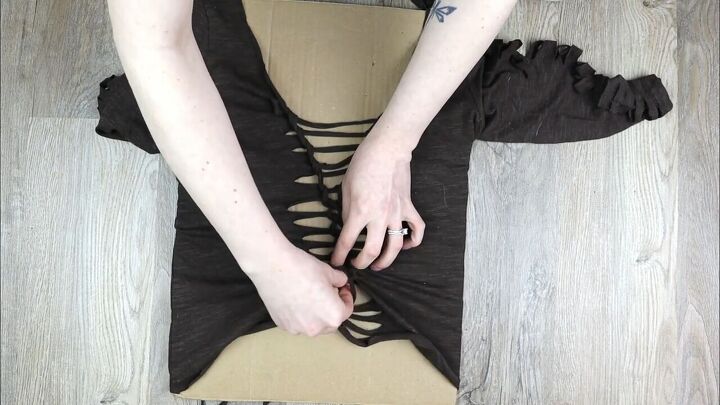
9. Tie the bottom
Take an excess strand that you cut before and loop it around the 2 bottom pieces, tying them together.
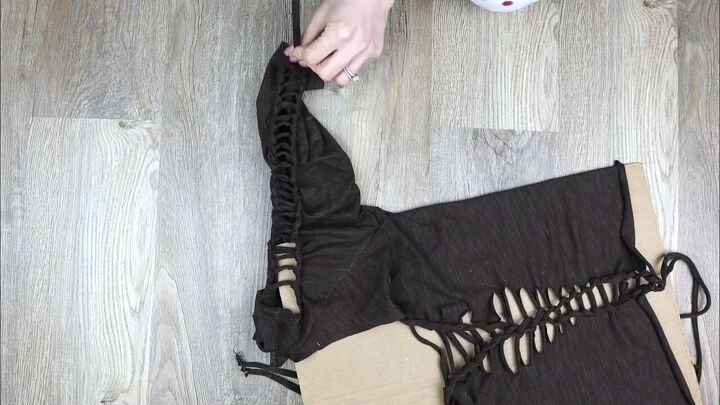
10. Weave the sleeves
Stick a long piece of cardboard in the sleeves. Then create a ladder weave down each one.
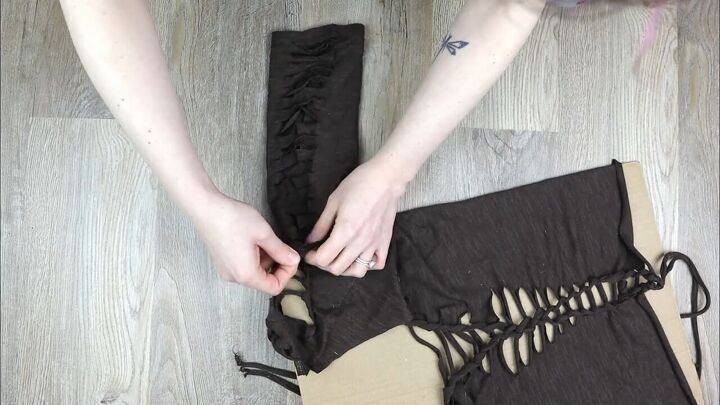
Then tie off each end with a strand of excess fabric.
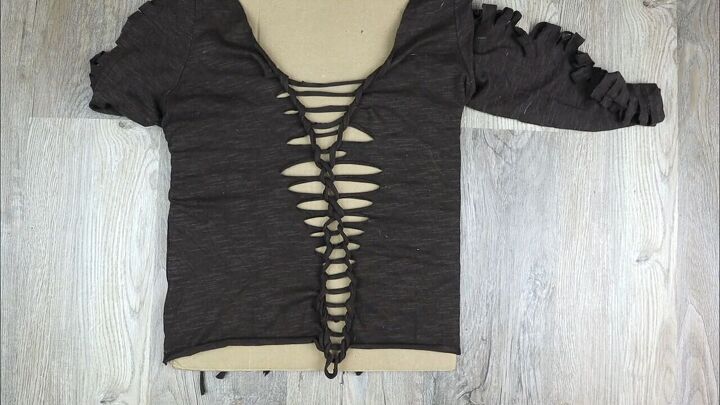
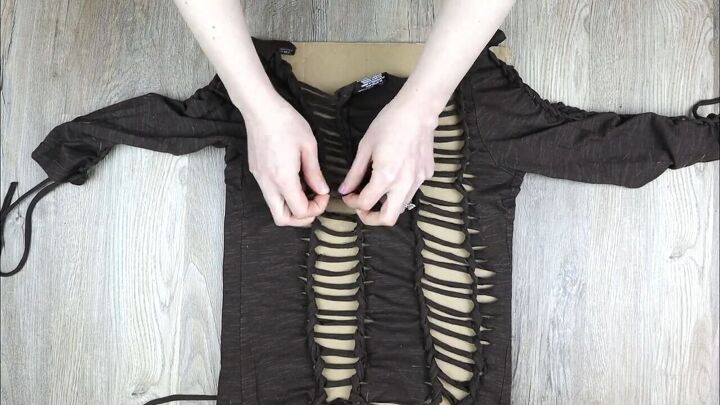
11. Add another twisted detail in the front
Go back to the front and continue with a twisted weave as far as you can and then tie it off with another strand of fabric.
Stretch out the weave slightly with your fingers.

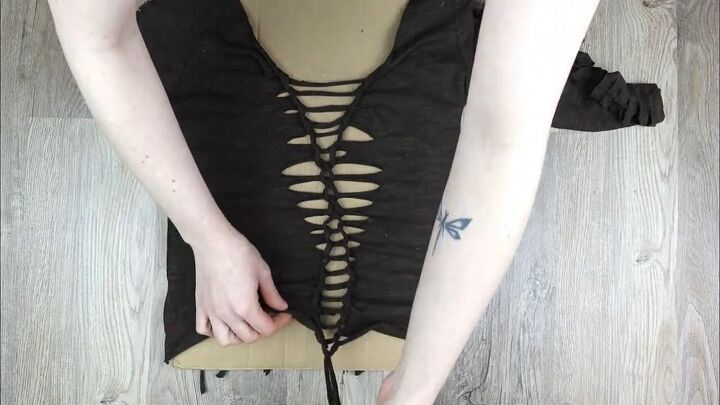
12. Add another ladder weave down the back
Do an extra set of ladder weaves down the back columns.
13. Add beads
For an extra detail, tie a few round beads to the hanging strings.
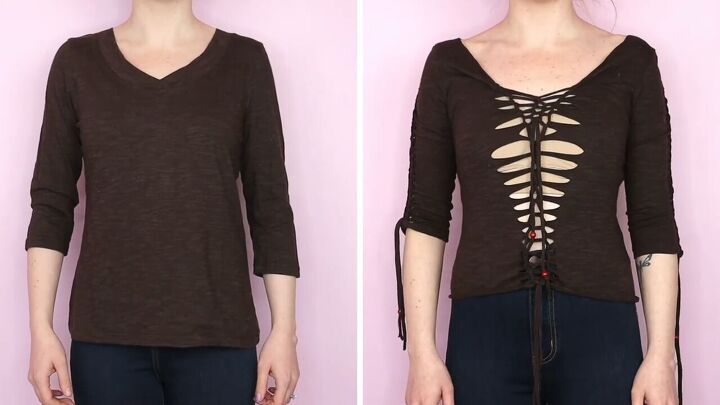
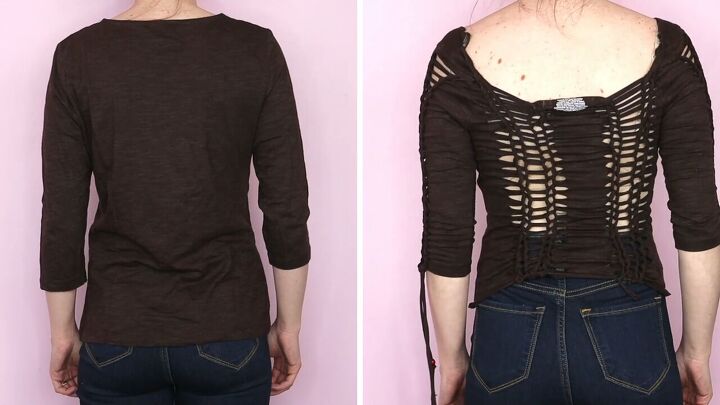
That’s all there is to it! Here is the before and after for comparison.
Front:
Back:
Sleeve:
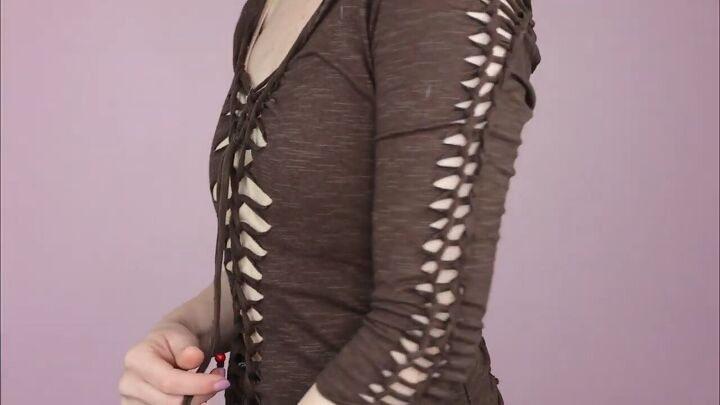
T-shirt weaving designs
I hope you loved this t-shirt weaving design tutorial. It was a lot of fun experimenting with this DIY t-shirt cutting idea.
Let me know how you get on with this DIY in the comments!
For another weaving DIY, check out my Easy DIY T-shirt and Leggings Weaving Tutorial.
The author may collect a small share of sales from the links on this page.


Comments
Join the conversation