How to DIY a Cute Cross Strap Top

The Delta cross strap top pattern is part of my jersey mix and match collection of tops and skirts.
For this reason, seam allowances at the waist aren't included, so I show you how to add extra length in the tutorial.
You will need an elastic knit fabric with about 5% elastane. It's the perfect pattern to learn how to sew a crop top if you've never done it before.
Tools and materials:
- Delta halter neck top pattern
- Elastic knit fabric: 95% cotton and 5% elastane
- Paper for pattern
- Scissors
- Tape
- Ruler
- Pen
- Pins
- Safety pin
- Sewing machine
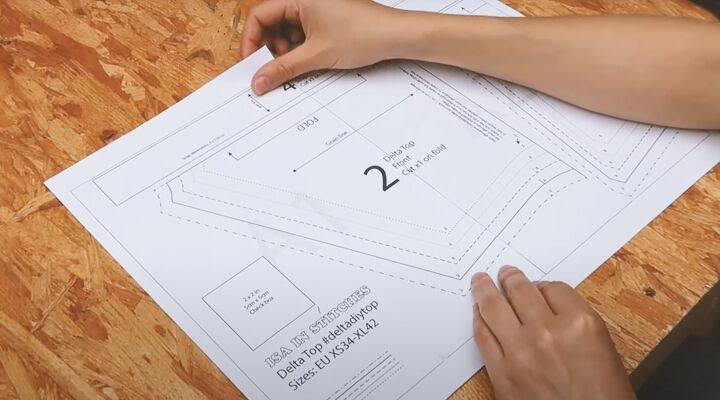
1. Prepare the pattern
Cut off the right margin from the first two pages so you can tape the three together.
If you want to make a crop top, you can leave the pattern the length it is.
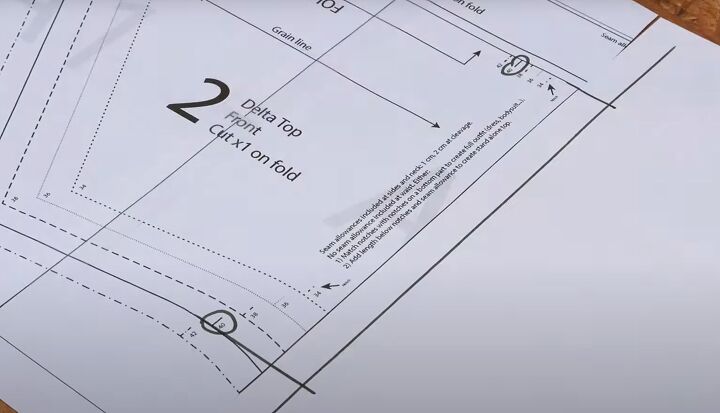
For a regular length top, find your size on the pattern.
Measure down a total of 1.75 inches (4 cm) from the waist on each side, to include the half inch (1 cm) hem allowance.
If you want a longer or shorter top, adjust this measurement accordingly.
Draw a line between the two points and cut the pattern piece out. Make the same modification on the back and the lower front sections.
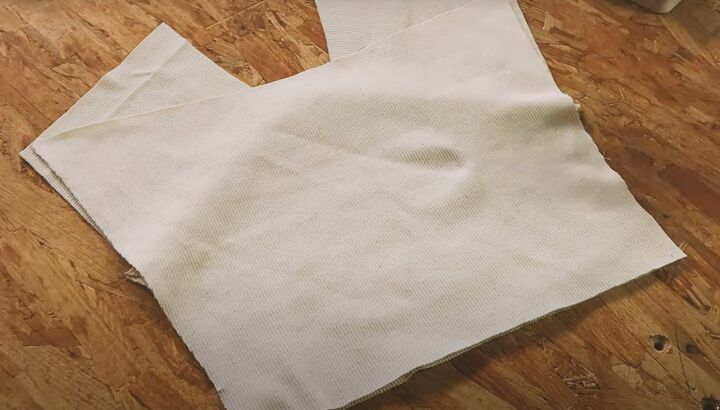
2. Cut the fabric
Cut two top front sections, and one each of the bottom front and the back sections on the fold.
I had to make my straps from several strips of fabric joined together. If you can, it's much better to cut the strap in one piece.
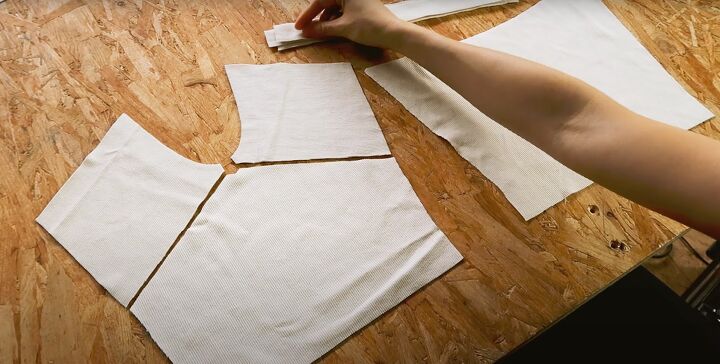
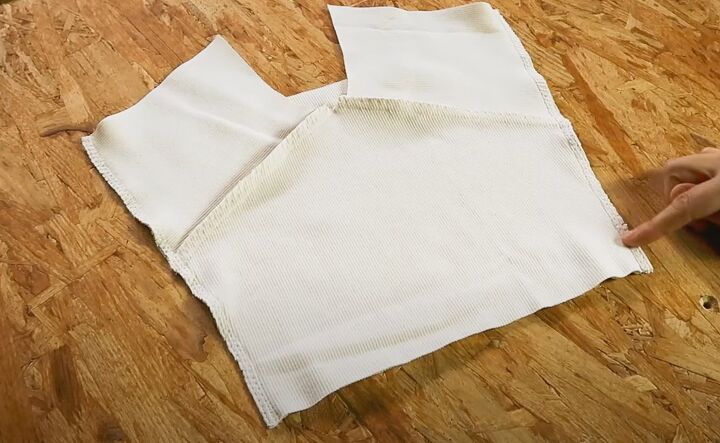
3. Sew the fronts
Lay the bust panels on the lower front, with the right sides together.
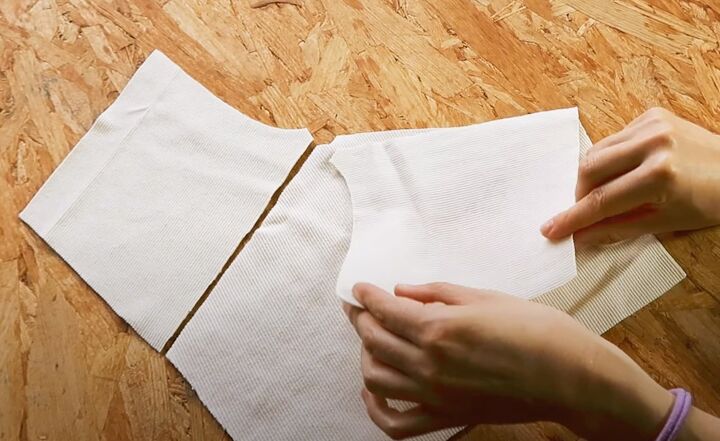
Sew with a straight stitch or if you have a larger bust, use a zigzag stitch for more stretch.
Finish the edges with a zigzag stitch.
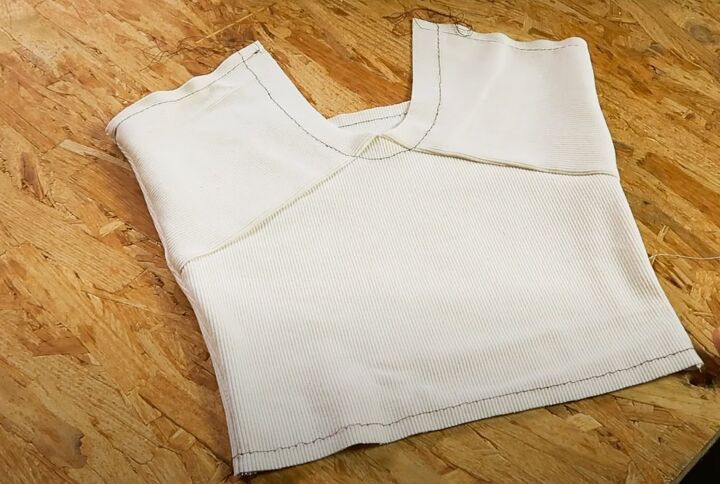
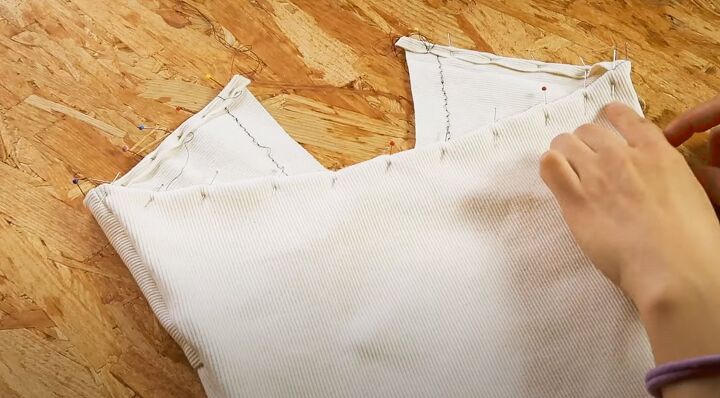
4. Join the front and back sections
Place the front and back with the right sides together. Pin and sew the side seams.
Finish the edges as before to keep the seam allowances flat and prevent them from wrinkling.
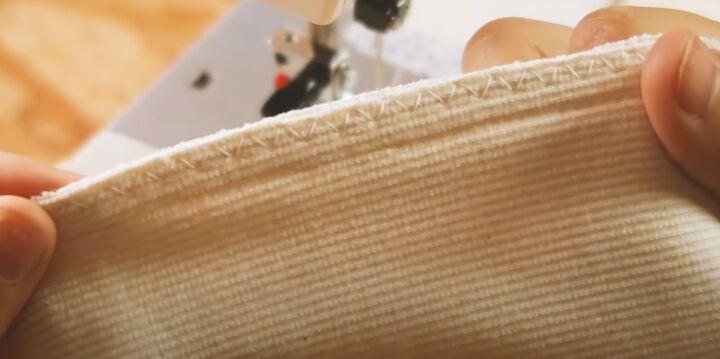
5. Sew the hems
Baste the seam allowances along the edges with a contrast thread.
Stitch half an inch (1 cm) inside the neckline and lower edge, and 0.75 inches (2 cm) around the cleavage.
Fold and pin the hems, and sew with a zigzag stitch.
Sew the neckline before the cleavage so you can fold the corner inside the cleavage hem.
Remove the basting stitches.
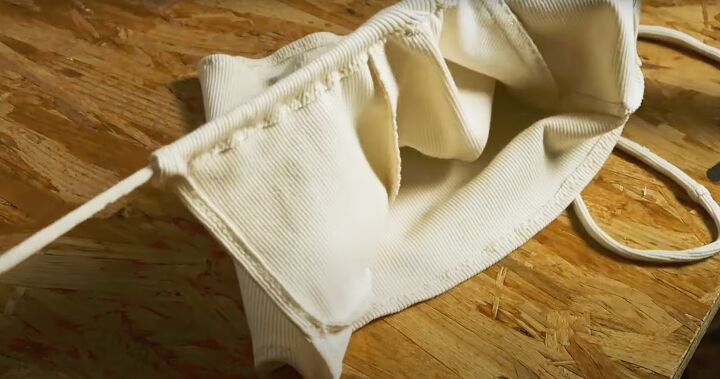
6. Make the strap
If you had to cut your strap in several pieces as I did, join the short ends together.
Fold the strap in half lengthways with the right sides together and sew with a zigzag stitch.
Use a safety pin to turn the strap right side out and insert it through the channel of the cleavage.
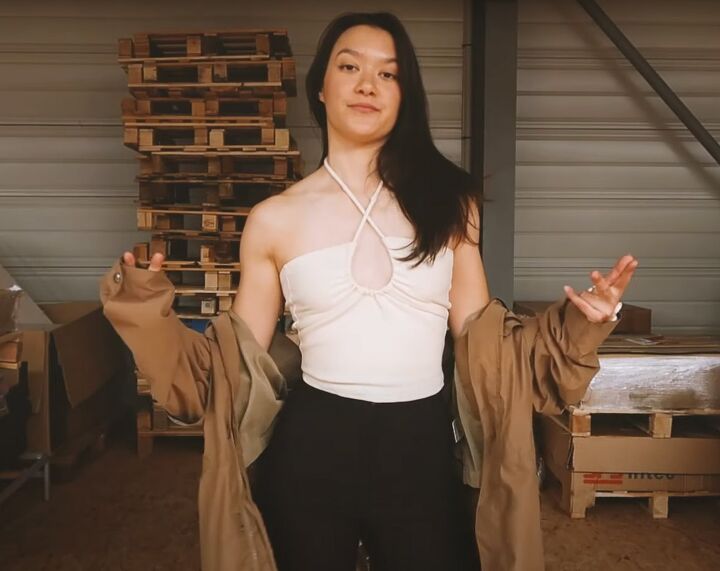
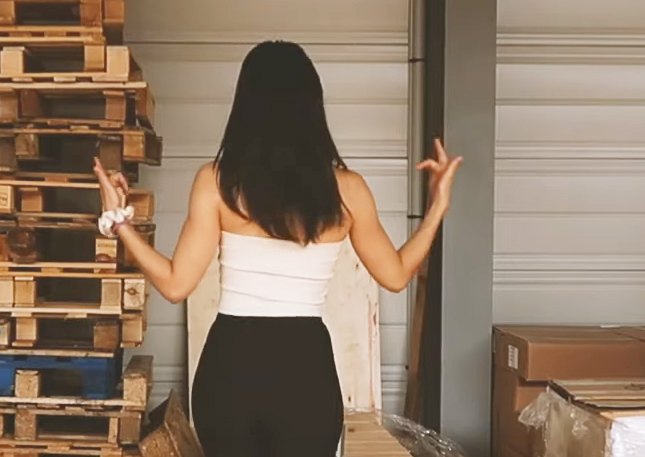
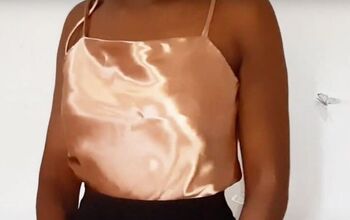
DIY cross strap top
This white halter neck top is so comfortable to wear. The cleavage is adjustable, so you can show as much or as little as you like.
I wish I'd been able to cut the strap in one piece because the joins do show, but I learned my lesson. Maybe I'll sew a bead over them to hide them.
I'd love to know what you think of my patterns. Please drop me a comment below.
Check out my post on How to DIY a Cute Ruffle Cami Top.
The author may collect a small share of sales from the links on this page.


Comments
Join the conversation