How to DIY Cute UV Resin Earrings

Today, we’re going to make one of the easiest UV resin jewelry pieces you will ever do. You add a bit of resin, you add a bit of foil, you put it in a bezel, and you got yourself some beautiful earrings.
Before you begin, put on a protective mask, gloves, and apron. We’re going to be working with chemicals, so make sure you're protecting yourself.
Tools and materials:
- Round nose pliers
- Long nose pliers
- Silicone mini cups
- Popsicle stick
- UV resin light
- Teardrop bezels
- UV resin
- Silver and gold foil
- Scissors
- Mask
- Gloves
- Apron
- Lighter
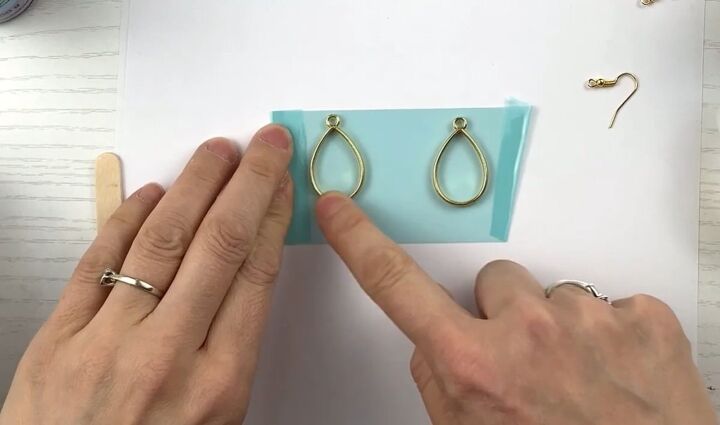
1. Cut the tape
The first step is to cut a strip of tape and press the bezels down firmly onto the tape.
Then, fold the tape over at either side to make a place to put your fingers so that your hand doesn’t stick to the tape.
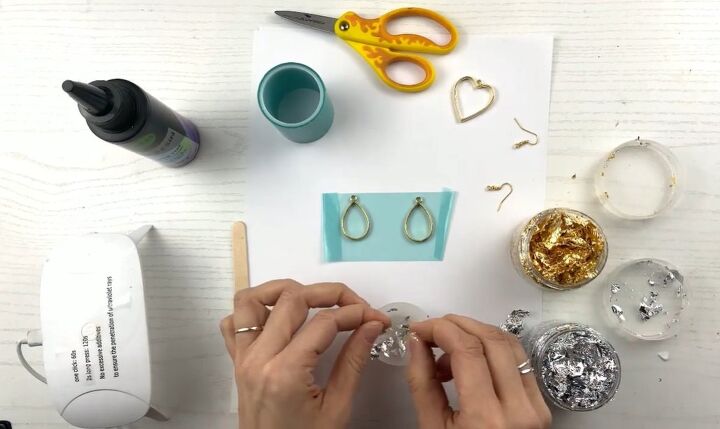
2. Break up the foil
Now break up the foil. I’m going to use both silver and gold, but you can use just one of them if you prefer.
You don’t want the foil so concentrated that you can't tell that there's clear resin.
Don’t break up a ton of foil, as it doesn't take a lot to fill the bezels.
Make sure you’re only tearing up one layer of foil, as multiple layers would just clump up really badly.
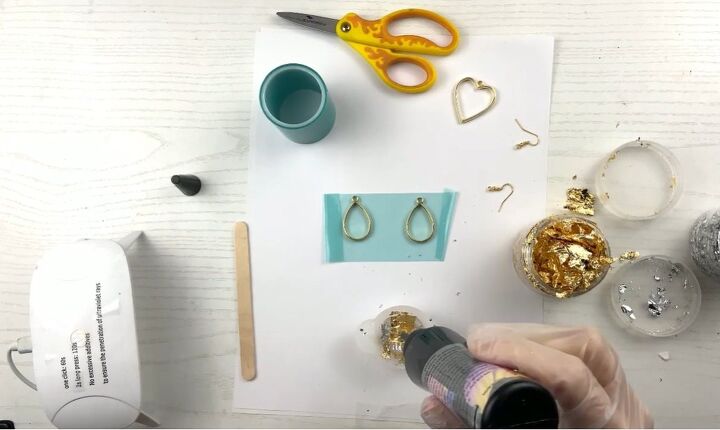
3. Add resin
Next, add UV resin into the foil and stir it with the popsicle stick. Make sure you’re gentle so as not to create many bubbles.
Make sure that you’re breaking all the foil up, and that it’s getting covered in the resin. I'm even going to add more of my resin in there because I want you to be able to tell that it's clear, and I want space in between my foil.
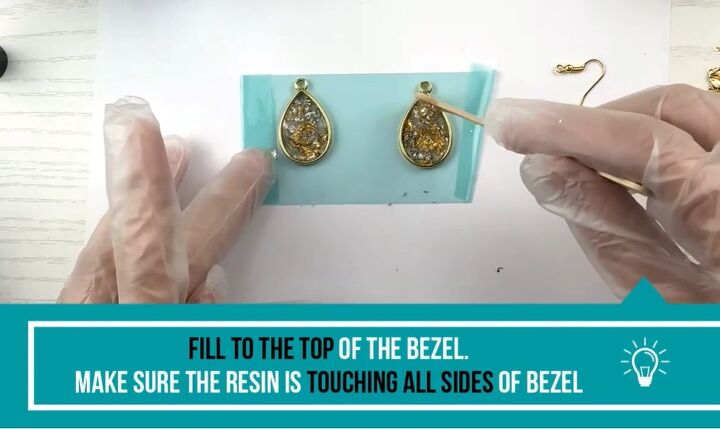
4. Pour resin into the bezels
Pour the resin and foil mix into the bezels.
Be careful not overfill it, you want to fill just to the top of the bezel.
Make sure the resin is touching all the sizes of the bezel. Take your time, and don't go fast. If there are any chunks of foil balls, make sure you break them up.
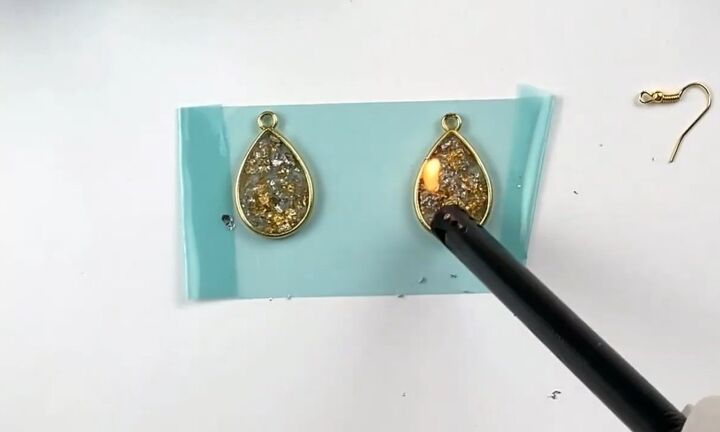
5. Add heat
If there are bubbles in the resin, I recommend putting some fire to it to get rid of the bubbles.
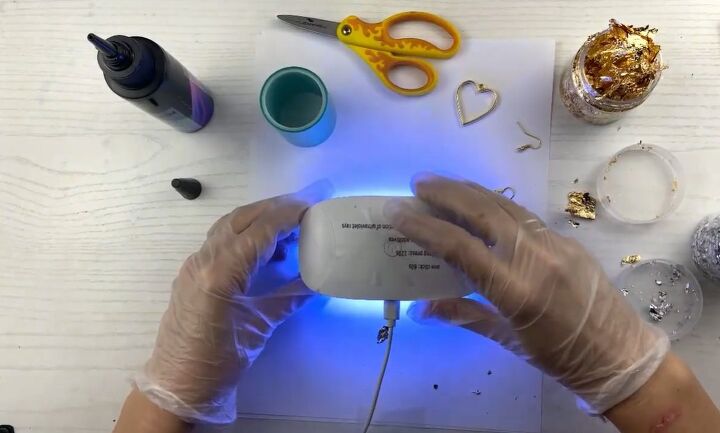
6. Place under UV light
Now we’re going to put the bezels under the UV resin light for one to two minutes and then flip them over and do the same on the other side.
You need to flip them over because the resin needs to dry on the other side.
A lot of times, if you don't flip it over after you’ve dried it on top, it'll still be sticky on the bottom when you take it away from the tape, so make sure you do the front and the back.
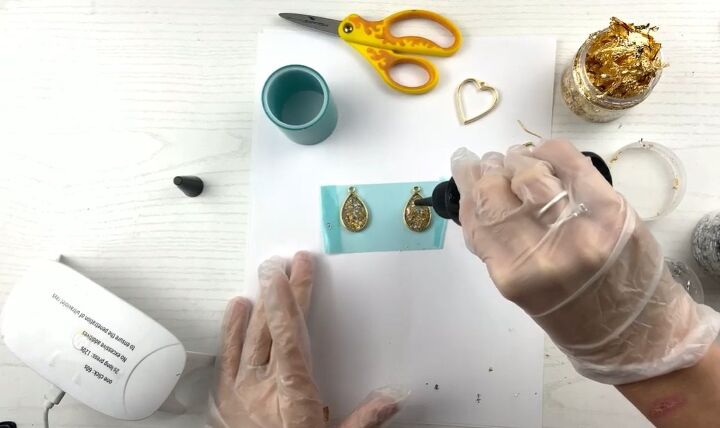
7. Dome the resin
Add a little bit more resin all the way around to create a dome effect.
Just be careful not to let it spill over. Then put it under the UV light one more time.
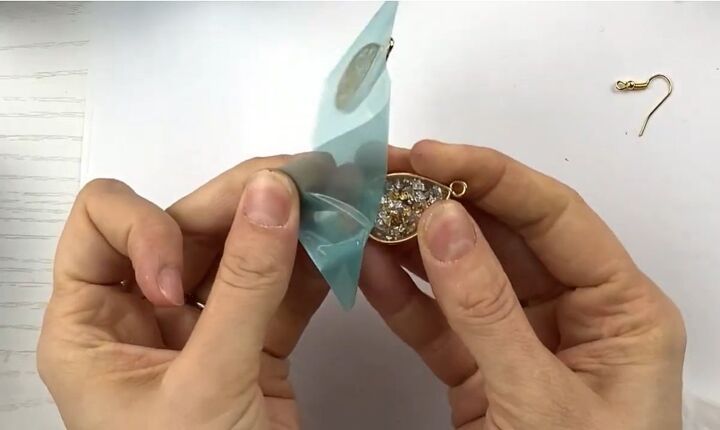
8. Remove the tape
When you take off the tape, you may have some sticky residue on the back end of the bezels.
One of the best things you can do is just rub it off with your finger, but if the stickiness still doesn’t come off, get some rubbing alcohol and rub that on.
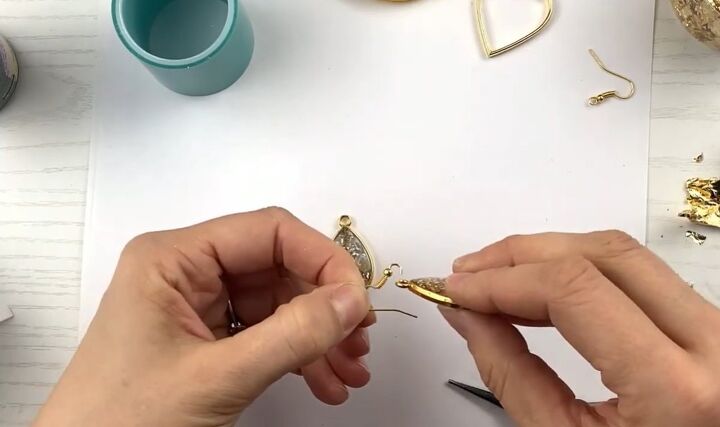
9. Add the hooks
The final steps to add on the hooks. Open the hoops up with the round nose pliers.
Position the hooks so that they’re facing towards the back of the earrings, then loop the hoops onto the bezels and then close them up.
Proceed to do the same with the other bezel.

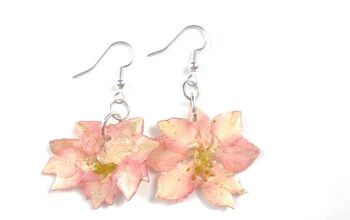
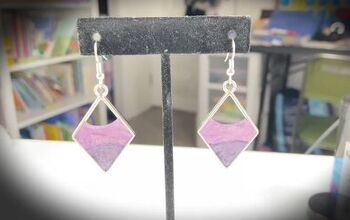
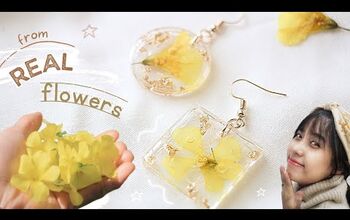
UV resin earrings
Aren’t these earrings so cute? They make me so very happy. I love the two metal colors combined in the same jewelry piece.
Everywhere I go when I wear these, people ask me where I bought them! I hope you’ll give them a try for yourself.
If you do, let me know in the comments how they turn out.
The author may collect a small share of sales from the links on this page.


Comments
Join the conversation