Learn How to Do a Super Glam Voluminous Blowout at Home

This tutorial is on my signature most requested extreme volume hair look.
I’m going to be creating a voluminous blowout and giving you all of the insider tricks on three principles of hair styling: products, tools, and techniques. Let’s go!
Tools and materials:
- Shampoo
- Conditioner
- Mousse
- Styling mist
- Blowout brush
- Hair rollers
- Diffuser
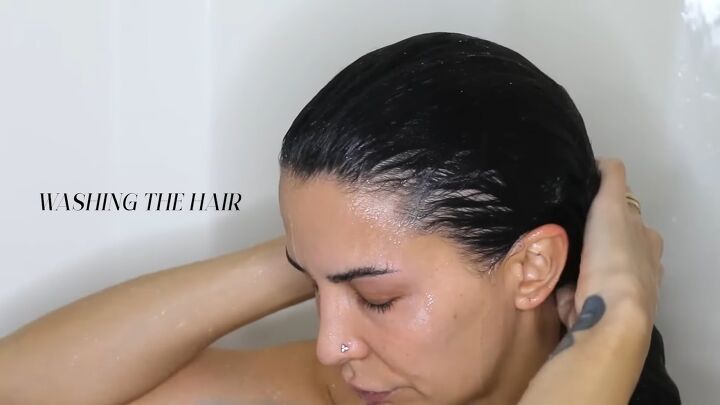
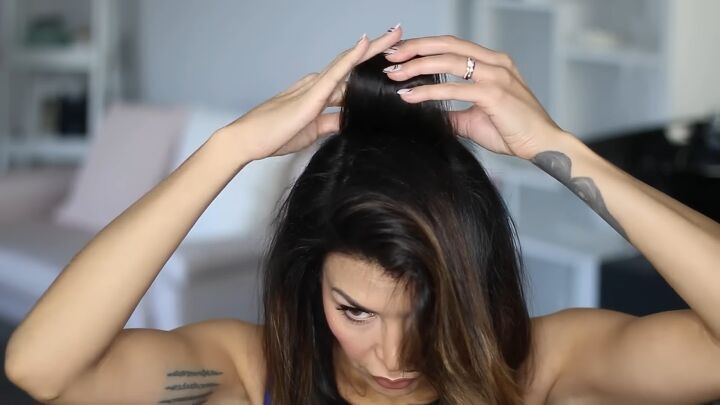
1. Washing the hair
Let’s start by talking a little about washing your hair for the result that you want.
Everything starts with your shampoo and conditioner. When you’re washing your hair, you’re going to choose a product based on two things.
The first thing is your hair’s density and thickness, and the second thing is the result you want.
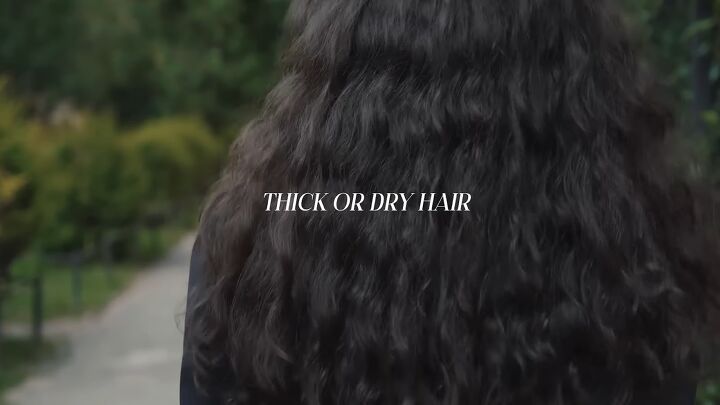
If you have thick or dry hair, you need to choose a product that will focus on increasing the moisture levels in the strands and help control frizz.
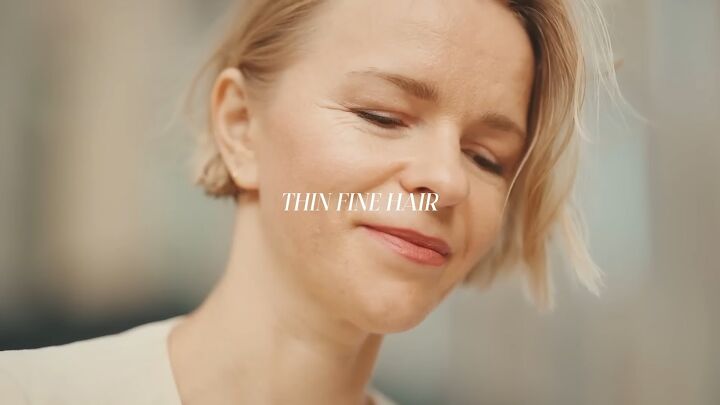
If you have thin fine hair, you likely want to choose based on increasing volume and reducing weight.
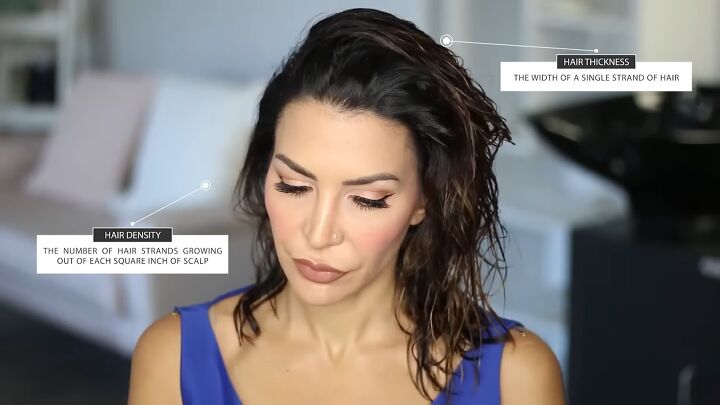
My hair’s thickness is fine, which means that the individual strands of hair are skinny, but my density is medium, which means I have an average amount of hair per square inch of the scalp.
When I use something too dense, my hair gets weighed down because the strands are so skinny, so they can’t support the weight.
Whenever I’m doing a voluminous look, I try to choose products that say things like volume, lightweight, or body on the bottle.
The exact product you choose is completely up to you, but remember that you want to balance choosing products that work with your hair density and thickness as well as the result you want to achieve.
As soon as you figure this out, you can start to cocktail the perfect combination of products that work individually for you and your hair type.
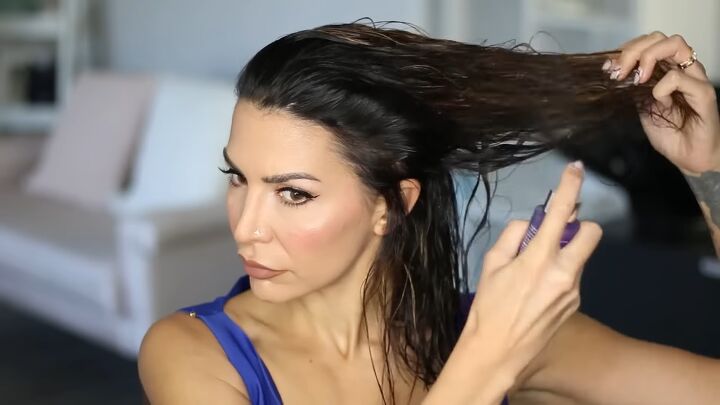
2. Apply products
After doing a really good shampoo and applying conditioner to the midshafts and ends only, I got started on prepping the hair for the blowout.
The first product I put on my hair was a lightweight styling mousse, specifically made for volume. The second product was a styling mist that makes the hair appear thicker.
Both of these help to plump the hair and hold the style throughout the day.
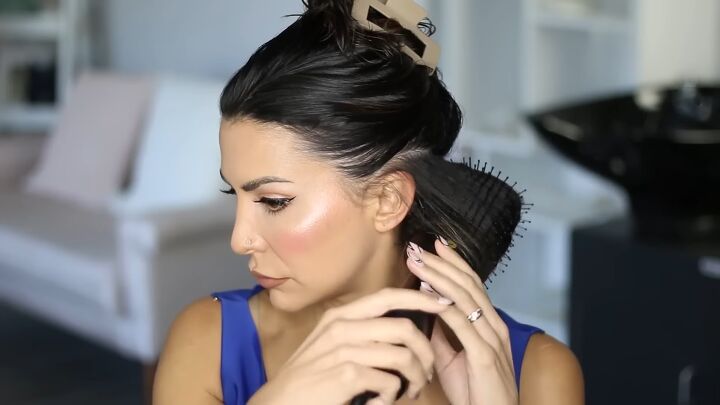
3. The blowout
Using my blowout brush, which is my favorite hot tool of all time, I work in small and controlled sections.
I make sure to dry each section 100% of the way before moving on to the next seduction.
When working through the hair, if you want more volume at the root, make sure you’re moving your brush upwards as you blow out the hair.
You need to infuse the root with volume right from the wet stage.
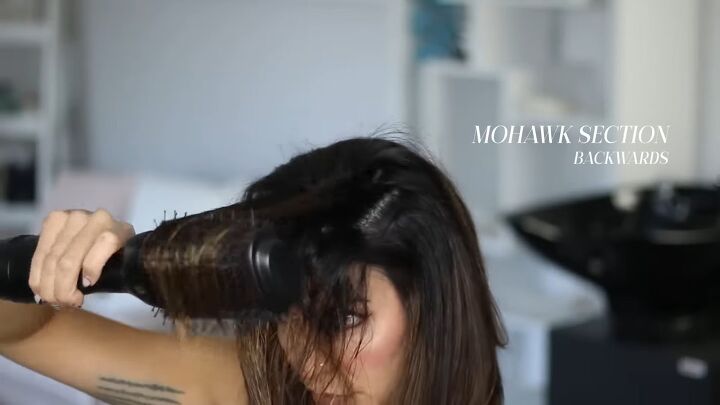
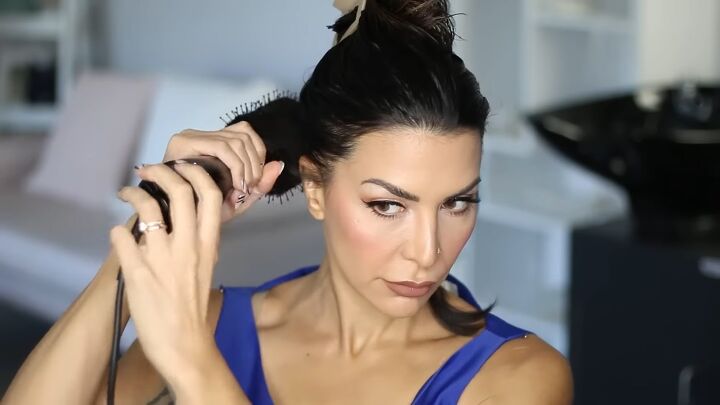
When you get to the top section of the hair, I want you to try something new for me today.
Instead of blow drying your hair with a part line in it, try blow drying the entire middle section, or what I call the Mohawk section, backward. This is going to massively increase your volume.
If you have textured hair, like me, and you need more control, work your round brush on both sides of the section.
Blow dry it forwards and backward so you get complete and total control over the smoothness of the section.
4. Putting in rollers
The mohawk section is the most important place to put Velcro rollers. If you’re in a rush, just place them in this section and you’re still going to get a great result.
The purpose of using these is to set the volume in place so that the hair stays fuller looking for a longer duration of time.
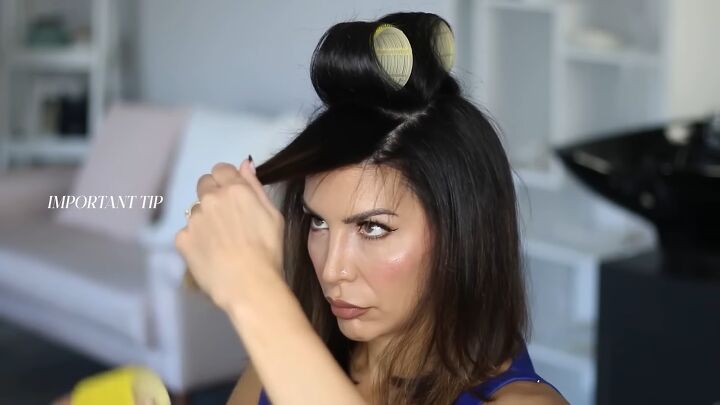
When you’re putting them in to maximize your volume, make sure to comb the hair forward instead of up from the head.
When you brush the hair forward, you’re rolling the roller down on top of its base, which will create the maximum amount of lift from a roller set.
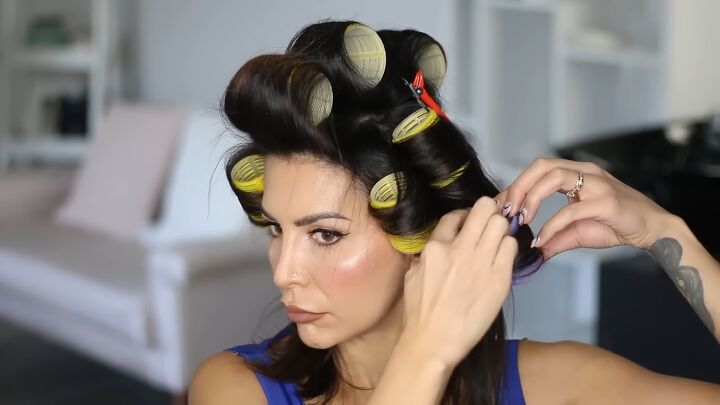
If you have a little extra time, you can also put the rollers in on the sides.
I wanted to have my face-framing layers curve inwards towards the face, so I positioned my rollers so they were moving the hair forward.
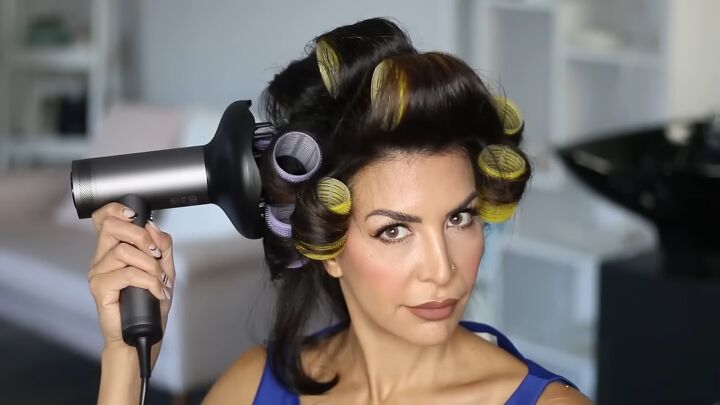
5. Heating and removing the rollers
To get the most out of your rollers, you need to heat them. Hair is malleable when it’s warm and it sets its shape when it's cool.
Use a diffuser attachment and set the temperature to high and the speed to low, and heat them.
Let them cool completely for 5 minutes and then take them out.
This is so satisfying because you get so much lift and a crazy amount of volume even on fine hair.
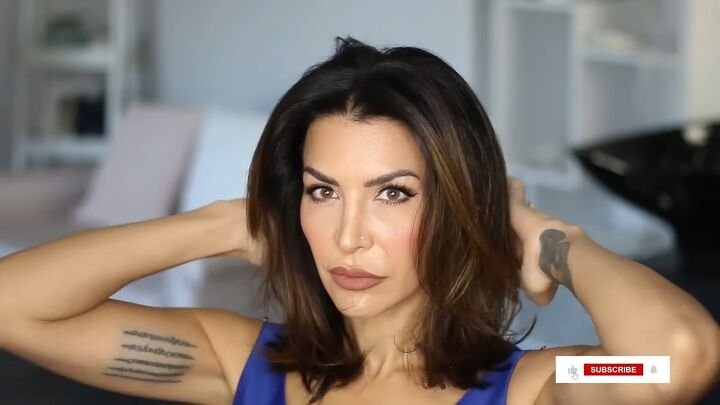
Voluminous blowout
And here is the finished look. Let me know if you like this 90s blowout hair down below!
For more hair and beauty content, check out my post on Hot Tips on How to Look Good Without Makeup.
The author may collect a small share of sales from the links on this page.


Comments
Join the conversation
I love this, I recently bought a blow drying brush and will try this technique especially since I have fine hair.
TOTALLY! I can’t wait…Thank You.