Get in the Spirit With This DIY Santa Hat

I really love wearing a Santa hat on Christmas, but it’s sometimes a little hard to find a nice one in the store. I took things into my own hands and decided to DIY and fun and festive Santa hat to rock this Christmas!
Tools and materials:
- Hat fabric
- Fur fabric
- Exacto knife
- Scissors
- Marker
- Ruler
- Pins/clips
- Needle and thread
- Sewing machine
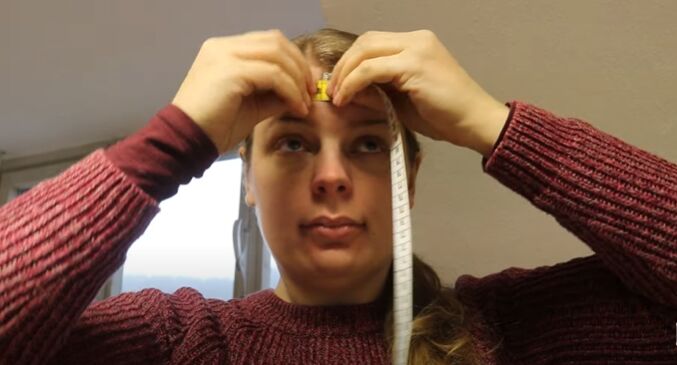
Measure your head
To start off, I measured my head so that the hat would fit perfectly. Mine came to 59cm (23 inches)
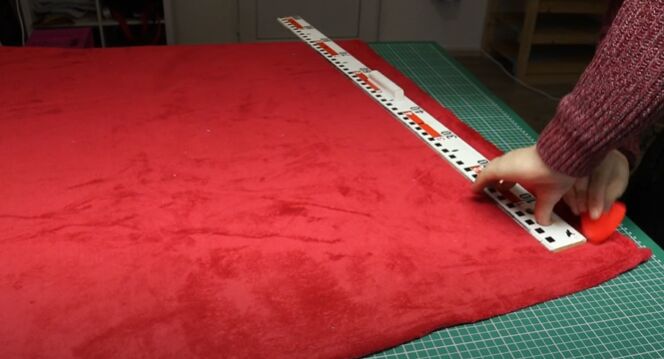
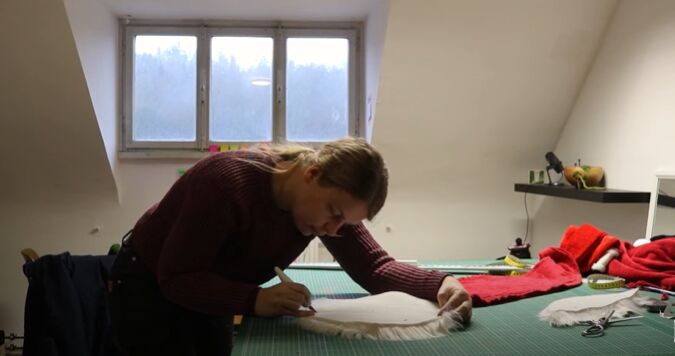
Measure the fabric
I then marked half that length on the fabric and added 1.5 cm (0.6 inches) of seam allowance to each side.
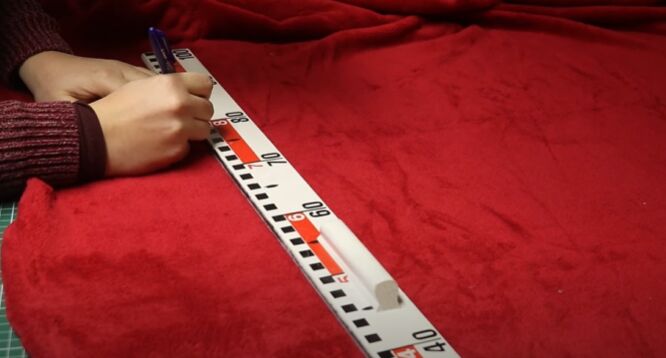
Next, I had to decide on the length of my hat. I’m a big fan of the long Scandinavian Santa hats so I made mine 80 cm (31 inches) long. I marked the length in the middle of the piece and then cut the material.
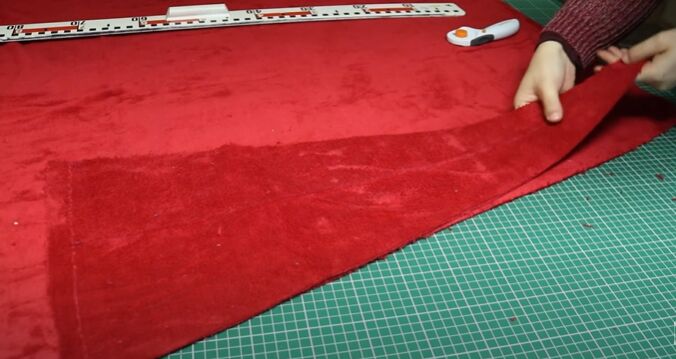
Cut the fabric
I then used the cut piece as a template to cut the other side of the hat.
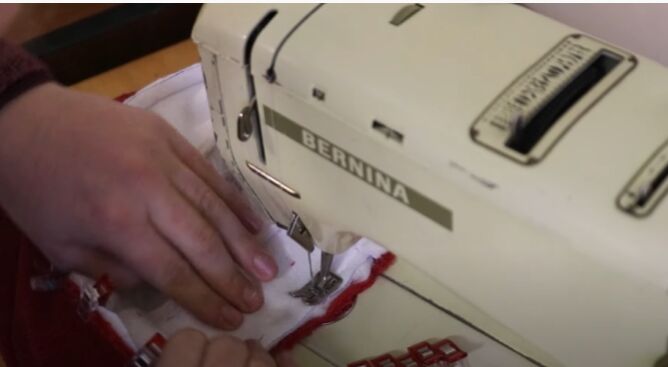
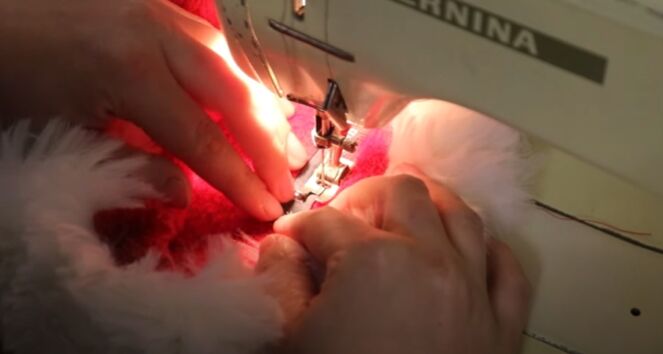
Sew the hat
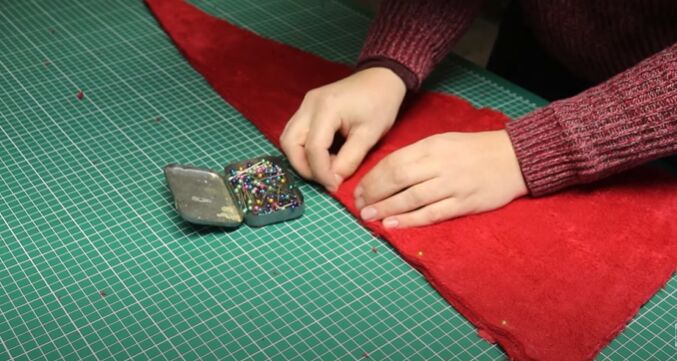
I placed the two pieces, right sides together, and pinned them together.
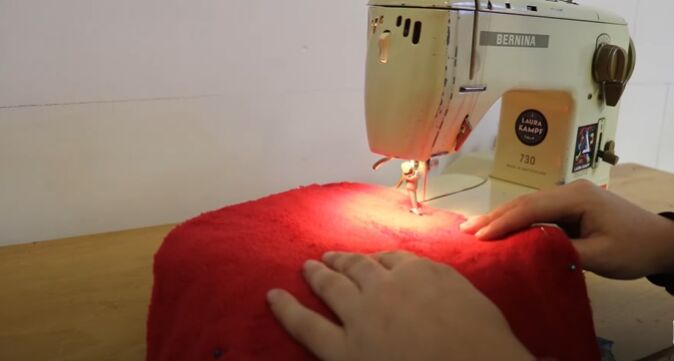
Then, I sewed a long straight stitch along each side.
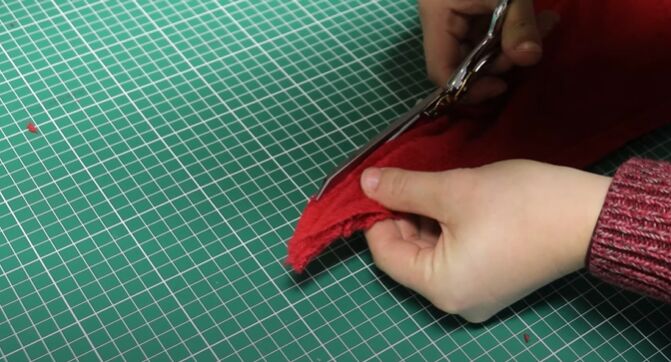
I trimmed the seam allowance around the top so that it wouldn’t get in the way when I turned it right side out.
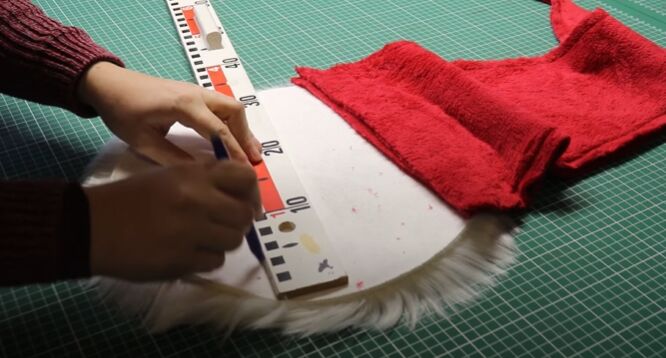
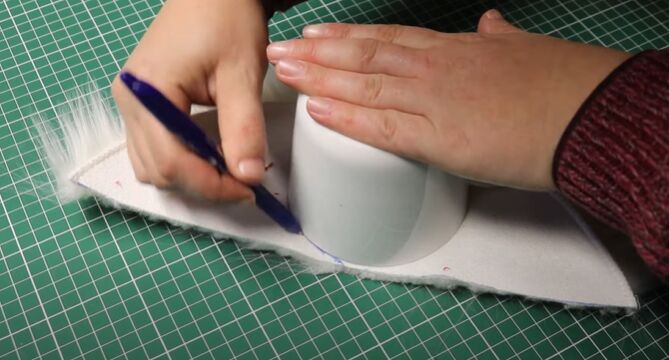
Attach a headband
Quality looking fake fur can be pretty pricey. Luckily I found this seat cushion that had enough fabric to cover the hat. I marked the width on the headband which was half my head measurement plus seam allowance. I made these fur pieces as tall as possible.
I then used an Exacto knife to cut the fur. Cutting fur with scissors is a bit risky so I decided it was better to use the Exacto knife.
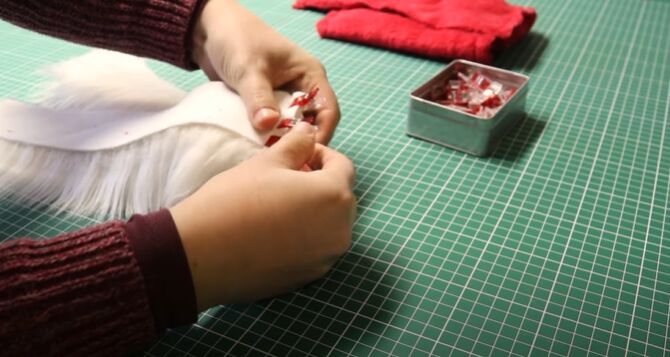
I made sure the fur was falling the same way on both pieces. I pinned the edges, right sides together, and sewed the two pieces to create a headband.
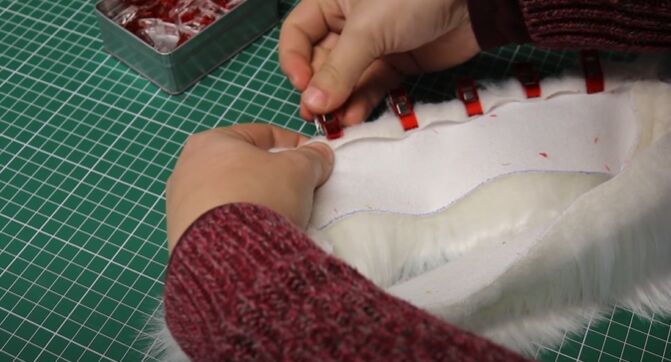
Next, I folded the edge over and held it down with clips. I moved back to my sewing machine to sew down the fold. I added a line of topstitching to keep the fur sitting nicely.
I placed the headband inside of the hat with the right side of the fur facing the wrong side of the hat.
I then sewed all the way around to attach the headband.
Add a fur pom pom
All that was missing was the little pompom. I cut a circle out of the fur using an Exacto knife.
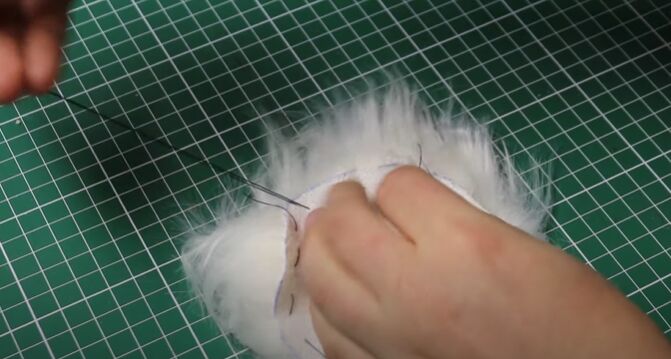
Using a needle and thread, I made rough stitches all around the circle.
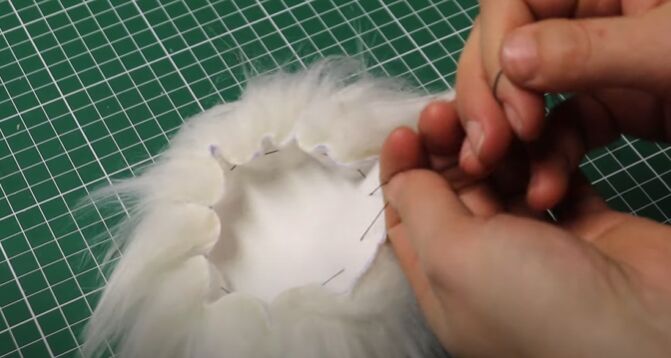
I pulled the thread tight and tied a knot creating a furball.
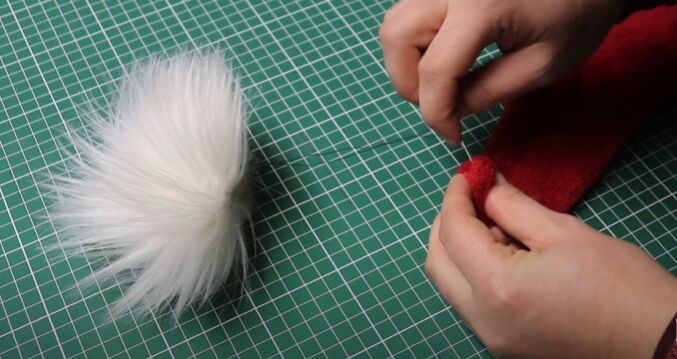
I stitched the fur ball onto the end of that hat with some basic stitches.
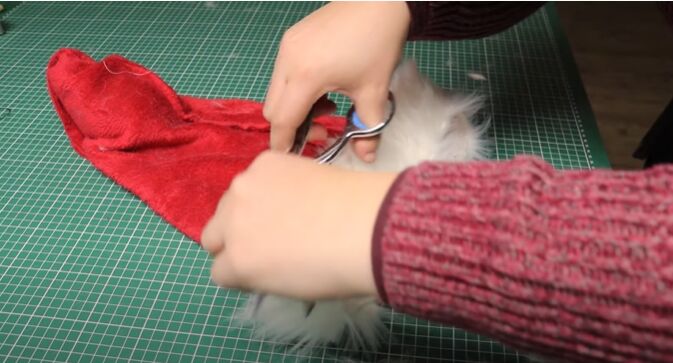
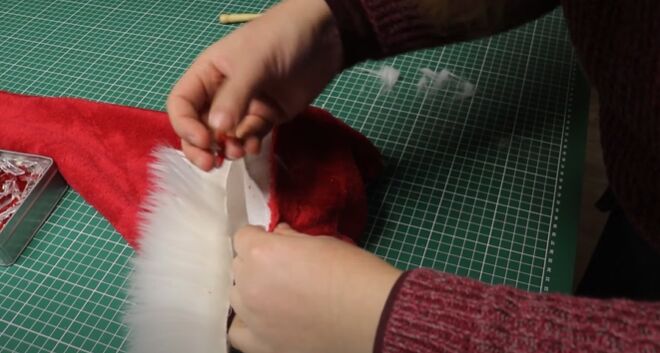
Add the finishing touches
I thought the fur was just a bit too long so I gave it a quick trim.
Lastly, I sewed on my label.

There you have it! A quick and easy Santa hat! What other DIY Christmas projects are you doing? Let me know in the comments!
The author may collect a small share of sales from the links on this page.


Comments
Join the conversation