How to Make Pretty Gold Leaf Marble Polymer Clay Earrings

Hey guys! Today, I’m going to show you how to make marble polymer clay earrings.
It’s easy enough for beginner jewelry enthusiasts to try at home. Let’s get started!
Tools and materials:
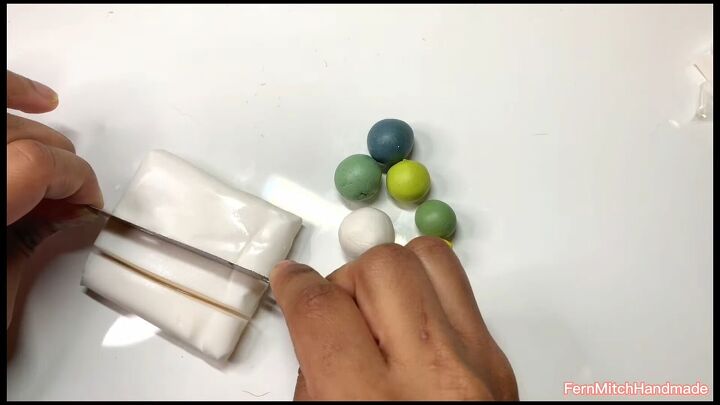
- Green, blue, yellow white and translucent polymer clay
- Pasta machine
- Tissue blade
- Circle cutters
- Gold leaf
- Liquid clay
- Small paintbrush
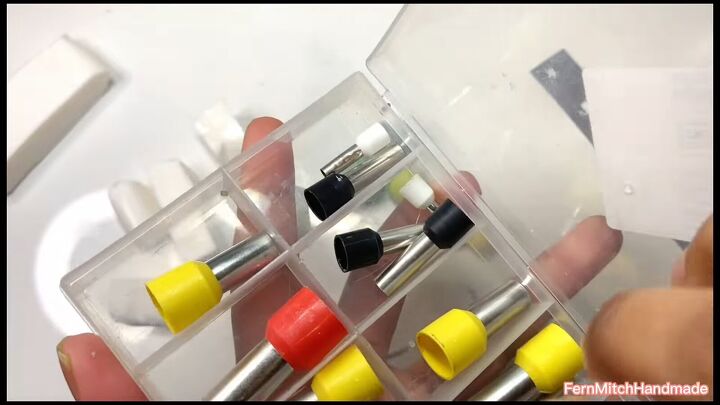
- Cube tool
- Dotting tool
- Roller
- Assorted small cutter shapes
- Sanding tool
- Resin
- Jewelry hardware
1. Prepare your polymer clay
Cut off about half of your white clay block using a tissue blade. The measurements are not exact.
Then, to keep all the clays consistent, I ran them all through the pasta machine on the medium setting.
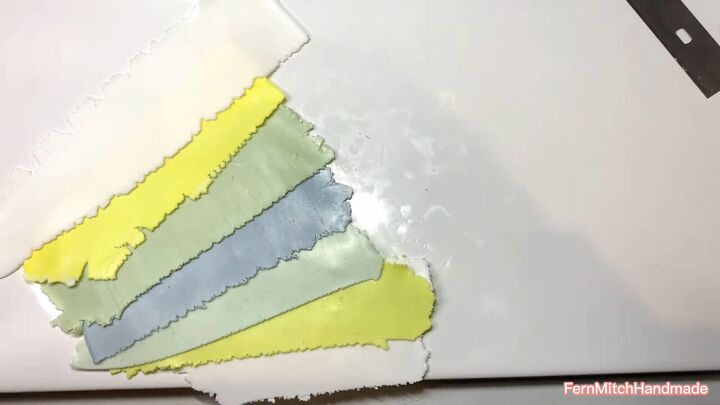
2. Blend your clays and flatten them
Use circle cutters to cut off small pieces from the colored clays and add them to the white clay, to even out the ratio.
Mush them together with your hands.
After mixing all the clay pieces, run them through the pasta machine on the medium setting. This is what I am working with:
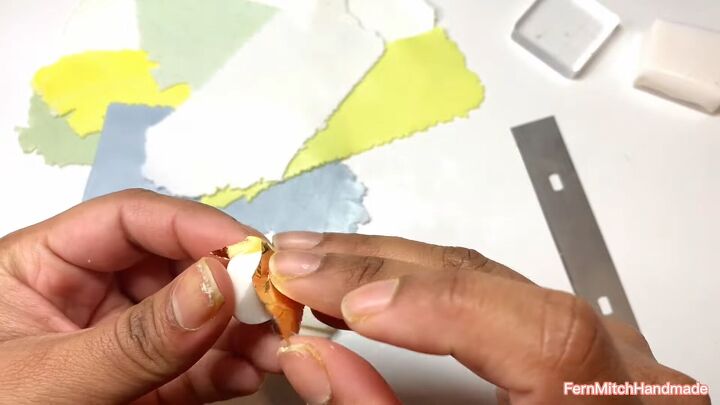
3. Prepare the translucent base clay with gold leaf
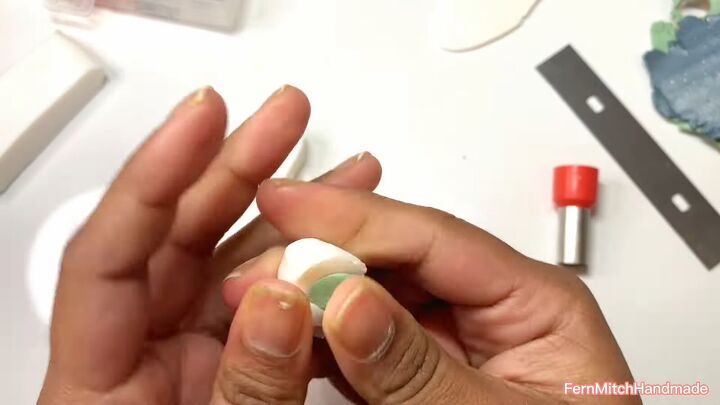
Knead a piece of translucent clay to soften it, then create a cube. This will be used in the base of these marbled polymer clay earrings.
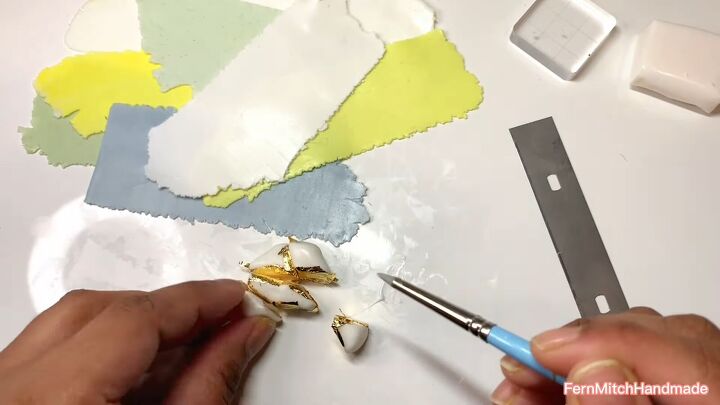
Cut the cube into a few pieces randomly, but set them back down in the cube shape since we will be piecing them back into a cube in a moment.
Then, press on some gold leaf on the cut edges of the pieces of the cube.
Next, using a small paintbrush, paint on some liquid clay on top of the gold leaf, like glue.
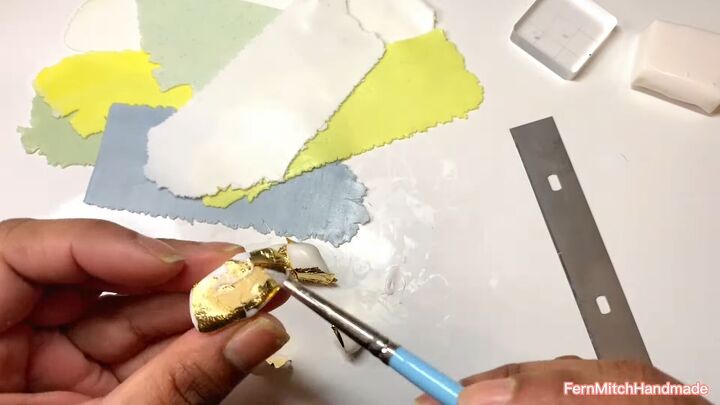
Attach your pieces, one at a time, to reform the cube.
It doesn’t need to look like a perfect cube anymore:
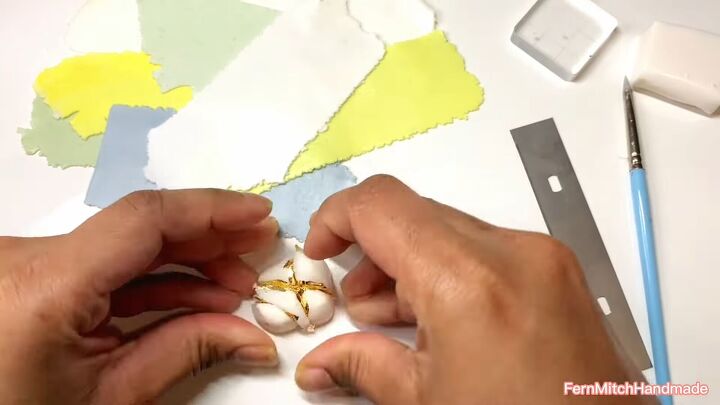
Then, press all the clay firmly to make sure the gold leaf and translucent clay are well bonded.
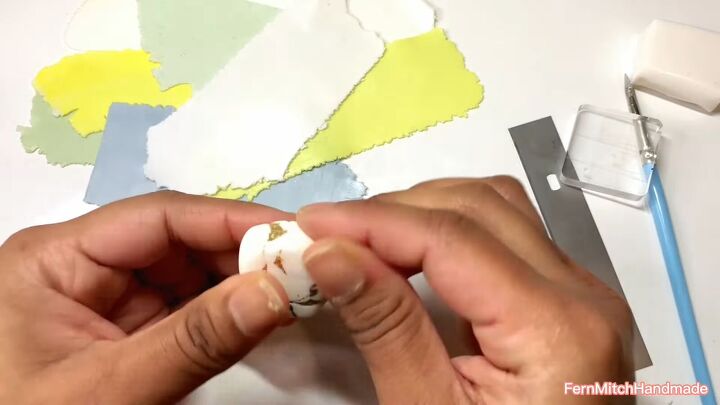
Use a cube clay tool to reshape the cube.
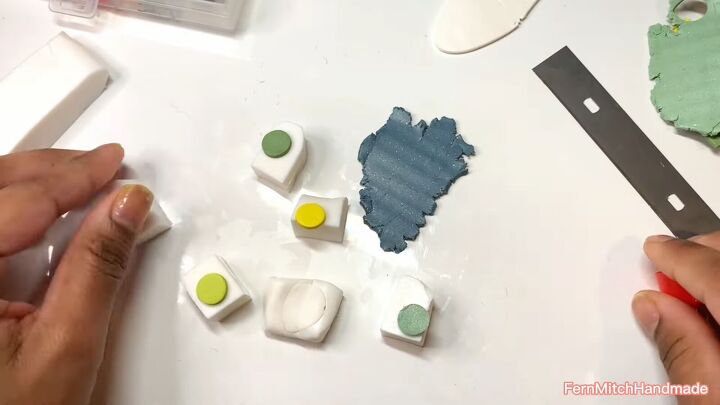
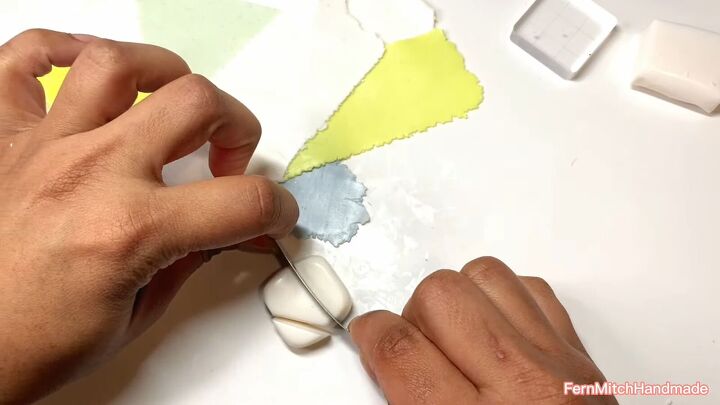
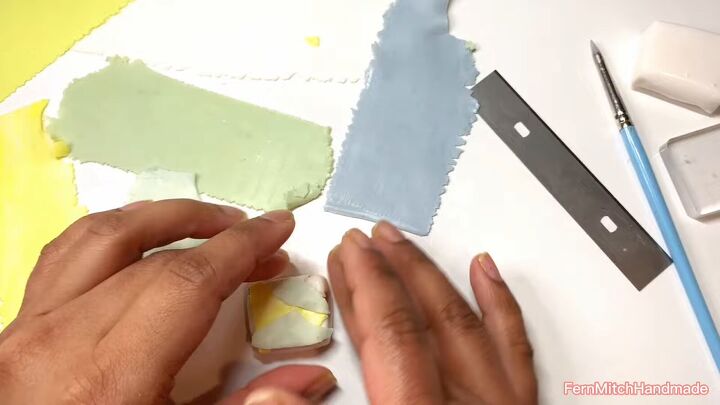
4. Add some colors, then cut
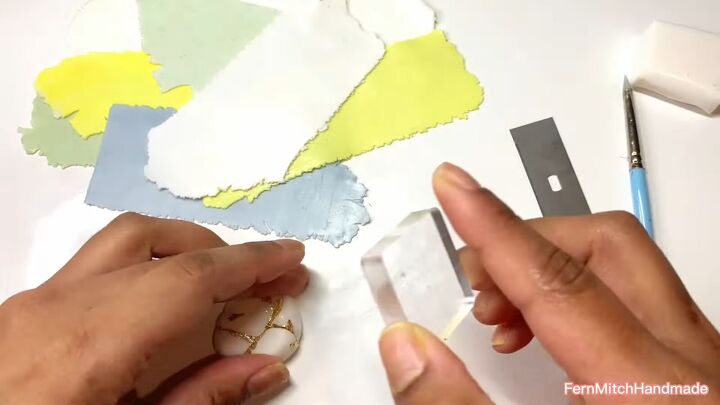
Now for the fun part! Rip off some pieces of the colored clays and start placing them on your base. I’ve started off with mint and blue.
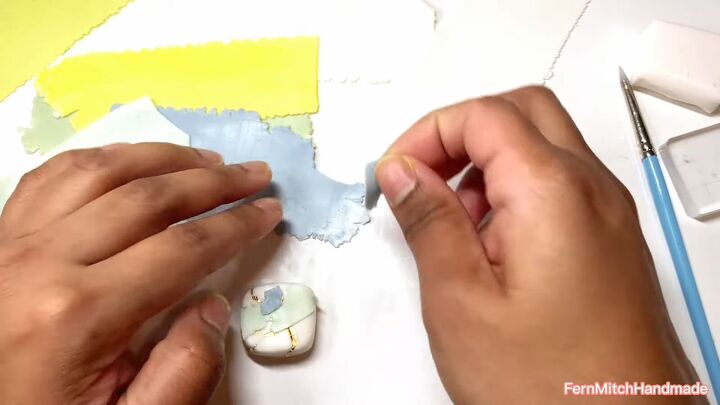
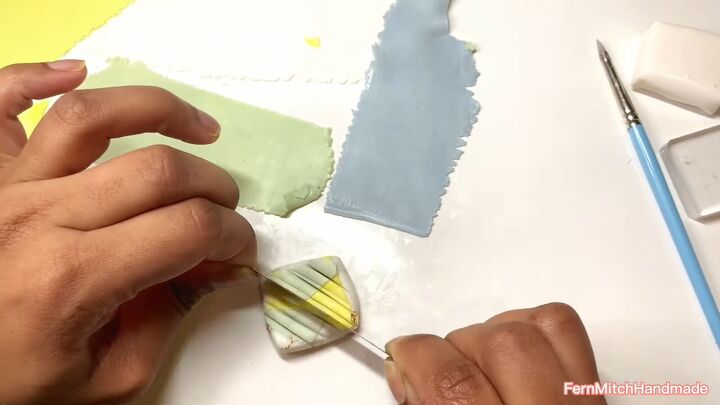
Then use your cutter to cut the cube in random diagonals without cutting through the clay all the way.
You can even use the back of the blade or a ruler for these blunt cuts.
Now reshape the cube with your hands as much as possible.
5. Add translucent pieces and slice
Next, add in a few pieces of translucent clay.
Then repeat the steps of slicing the cube again.

6. Repeat
Repeat this layering, slicing and reshaping into a cube, switching between colored pieces and translucent clay.
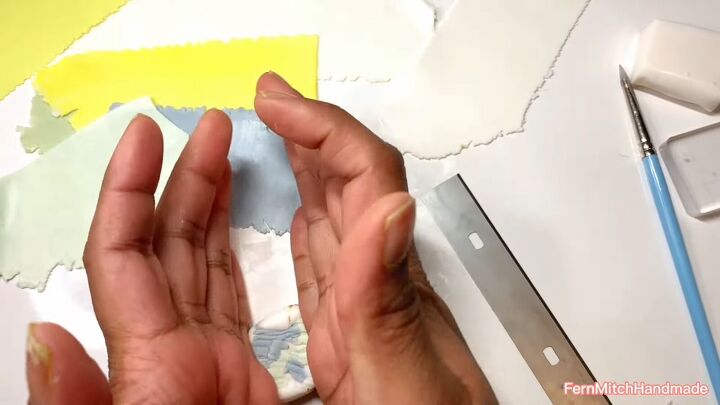
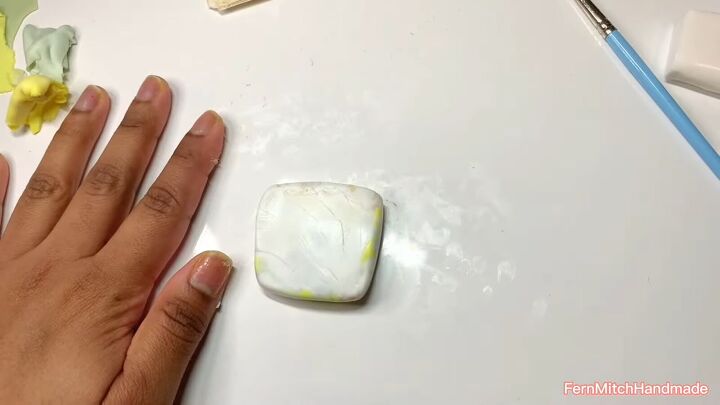
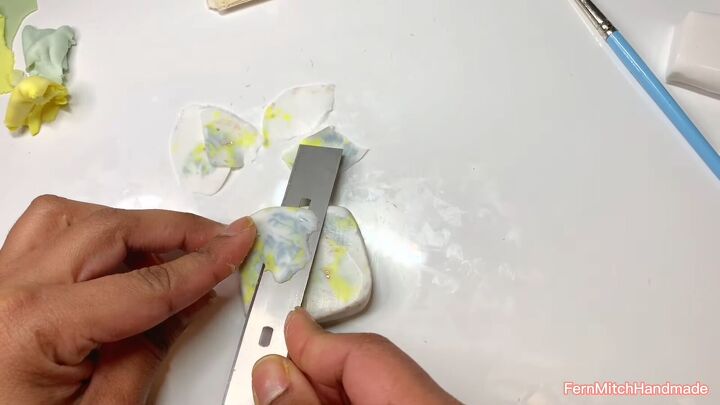
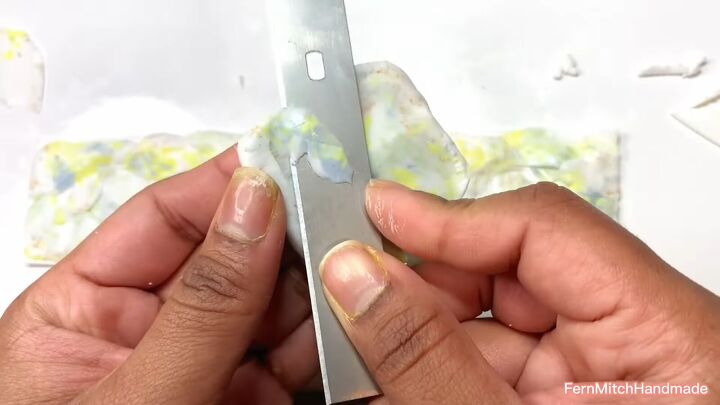
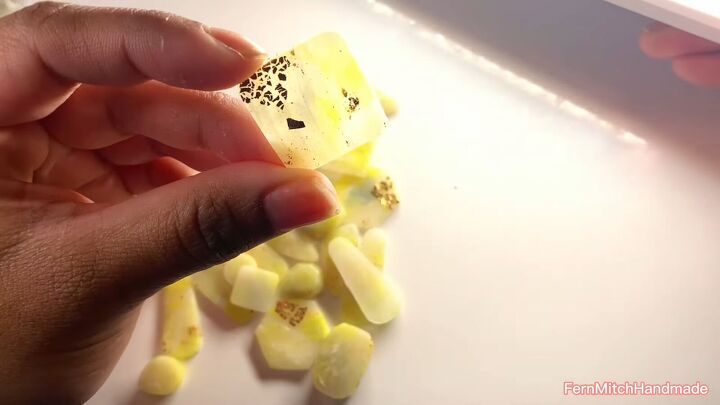
7. Shave off thin pieces of marbled clay
Once you are finished adding all the colors, shape your piece into a workable size.
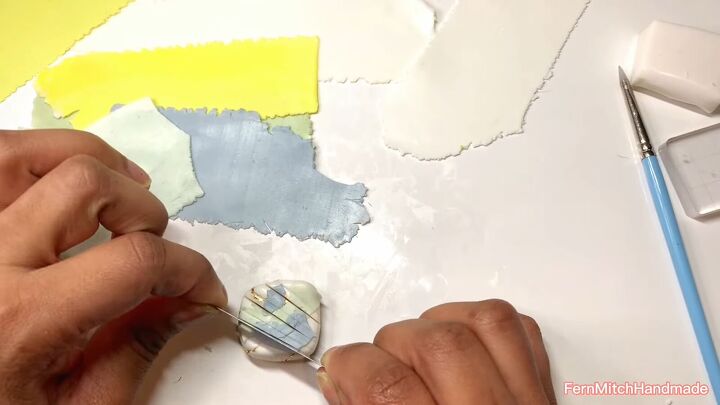
Then, using a sharp blade, begin slicing pieces from the top.
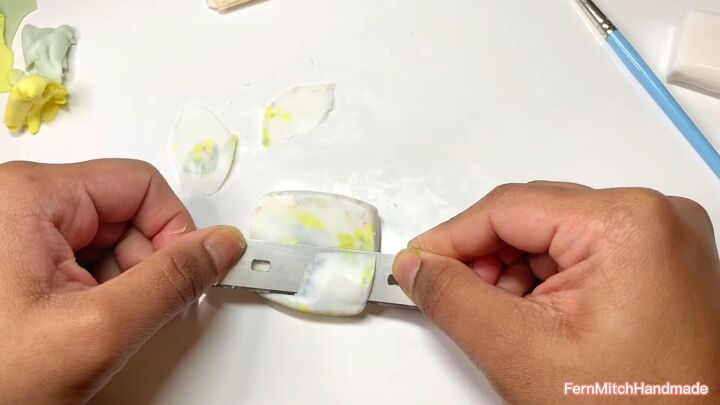
Continue to shave off pieces. No need for them to be perfectly even!
You will start to see some gold flecks and the beautiful veins of color we’ve created.
8. Make a long piece of translucent clay
Put some translucent clay through the pasta machine on the thickest setting to make a long piece.
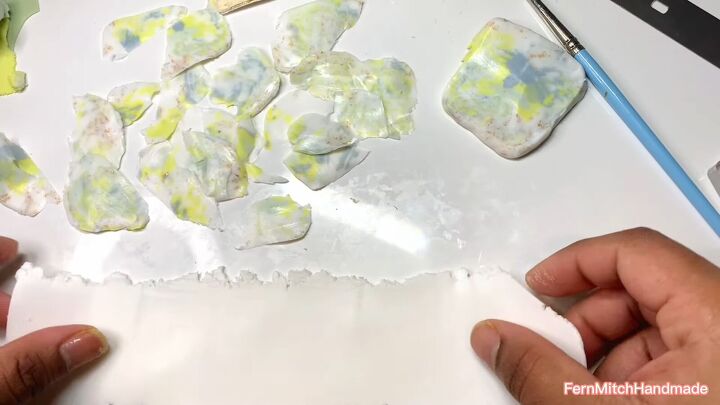
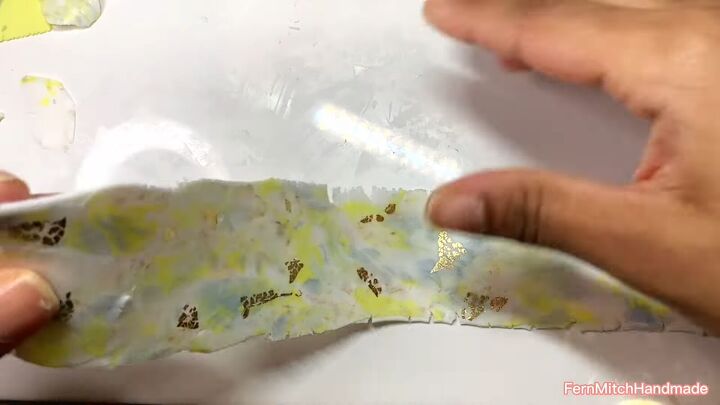
9. Cover the translucent clay with the marbled shavings
Now, start laying the pieces of shaved, marbled clay on top. It’s okay if they overlap some.

Shave off more pieces to fill in any gaps.
10. Add more gold leaf, roll and flatten
If your marble doesn’t have enough gold flecks, add more pieces to the slab. Use a dotting tool to adhere them to the surface.
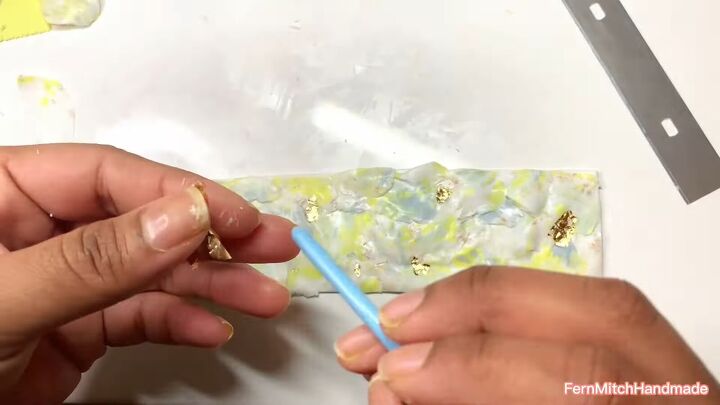
Then use a rolling pin to flatten it out.
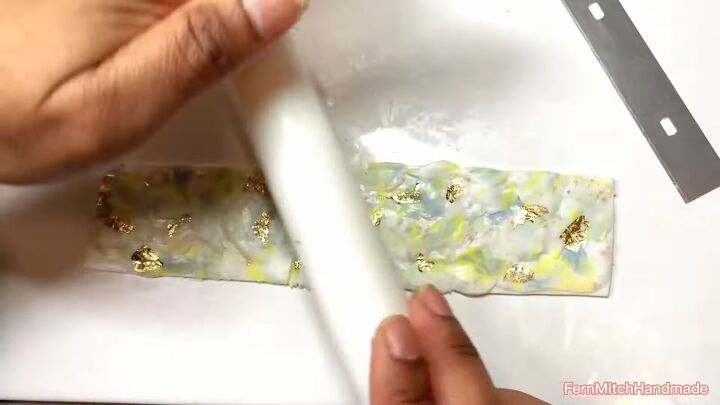
Then, run it through the pasta machine on the second thickest setting. This is the result:
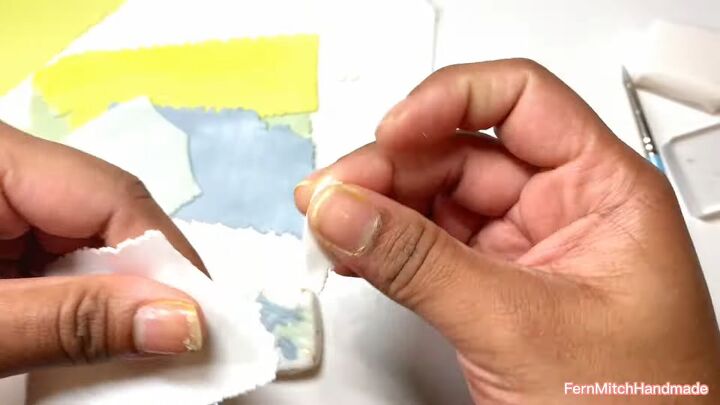
11. Cut out shapes
Cut out a bunch of shapes using various, small cookie cutters.
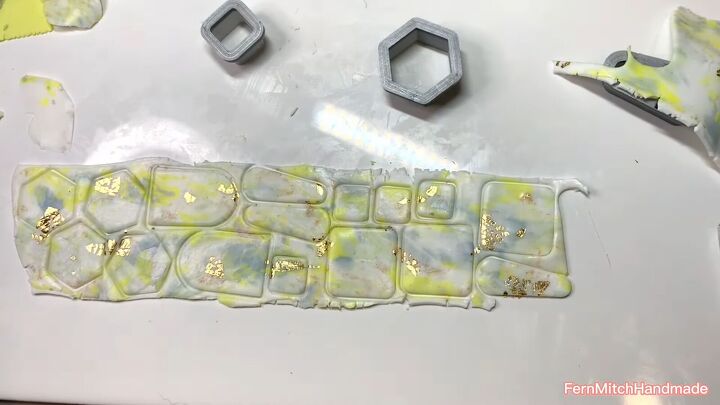
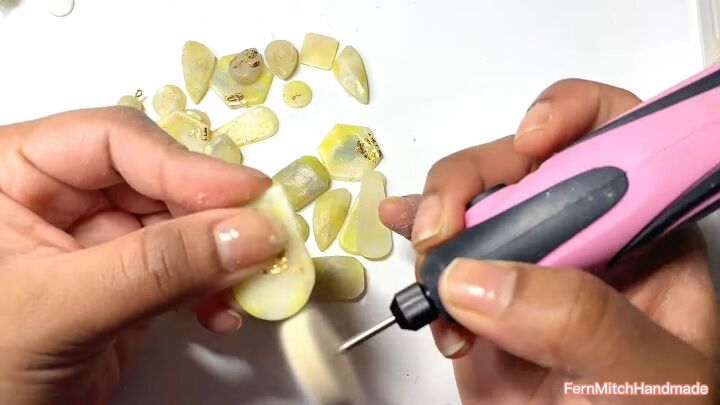
12. Cure the shapes
After removing the excess clay, cook the shapes in the oven to cure them for about an hour at 275℉.
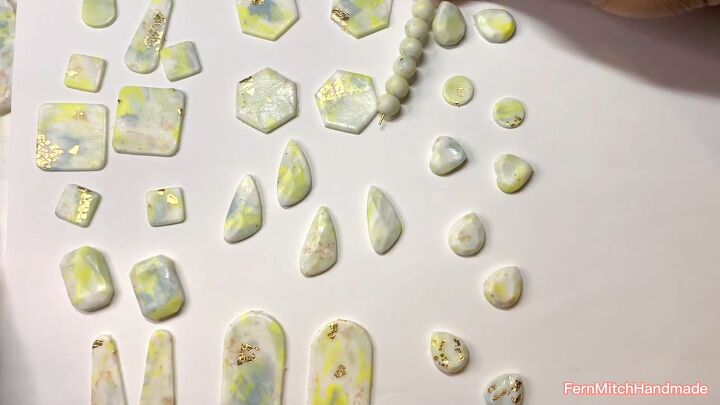
You can see how the light shines through the pieces and the gold leaf ties in nicely!
13. Finish off the pieces
To finish up, sand them and add new resin.
Then attach the earring hardware.
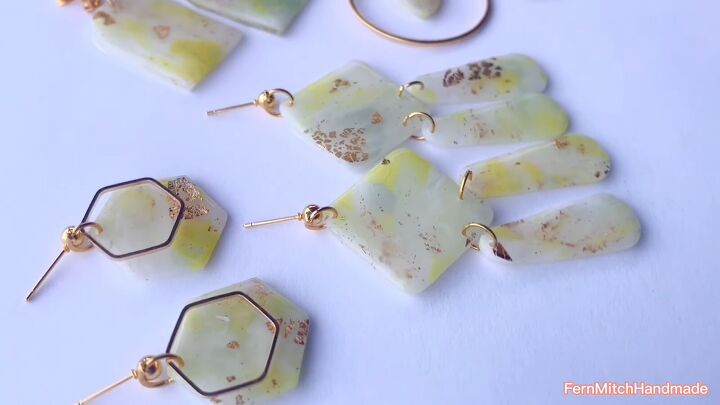
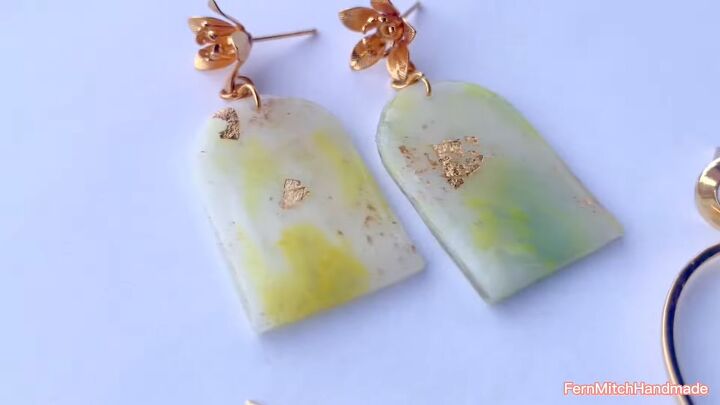
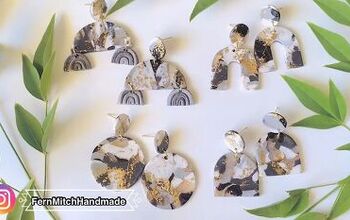
Marble polymer clay earrings
These marble polymer clay earrings are so satisfying to make and they look gorgeous. If you make your own marbled polymer clay earrings, show us your results in the comments below!
For more DIY earrings ideas, check out my post on How to DIY Retro Polymer Clay Earrings.
The author may collect a small share of sales from the links on this page.


Comments
Join the conversation