How to Sew a Cute Jersey Knit Dress With a Cut-Out at the Waist

If you’re a confident sewer and looking for your next project, I have just what you’re looking for. In this tutorial, I’m going to show you how to sew a jersey knit dress.
We’re going to start off by creating the pattern for the dress, and then we’ll move into making the dress itself. Let’s get sewing!
Tools and materials:
- T-shirt
- Measuring tape
- Pens
- Paper
- Fabric (I used cotton jersey)
- Rotary cutter
- Cutting mat
- Bias binding
- Sewing machine (with a serger)
- Safety pin
1. Take your measurements
To start, you need to take a few measurements. The first is how long you want your dress to be. Start from the neckline when measuring.
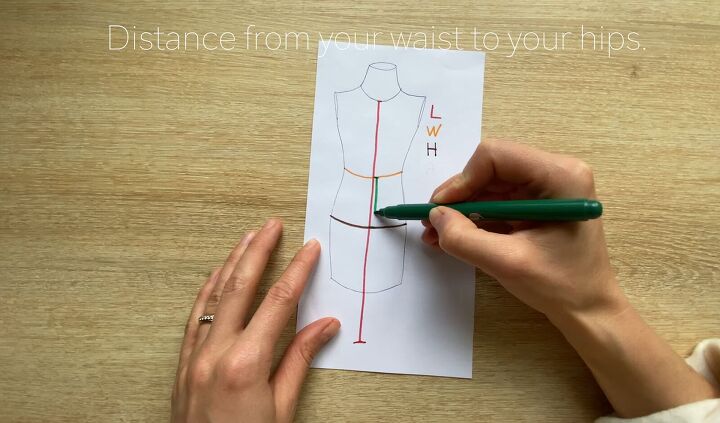
Then, measure the circumference of both your waist and hips (the widest point). Finally, measure the distance from your waist to your hips.
2. Mark and fold the t-shirt
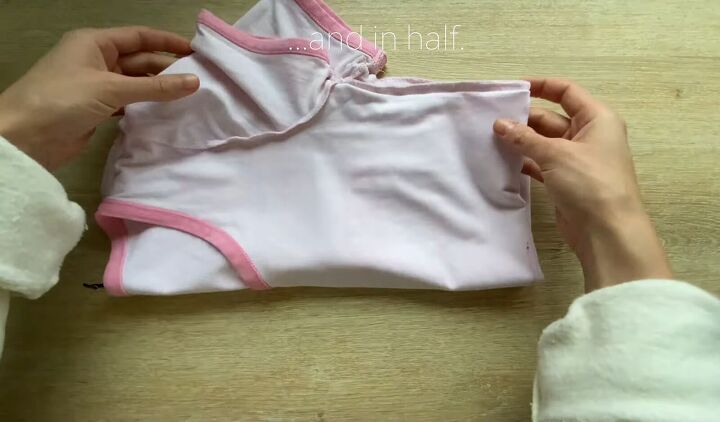
Next, you will need a t-shirt that fits you well. Try it on and mark your waist on it. Then fold it at this mark and then fold it in half again.
3. Make the pattern
Place your folded-up t-shirt on a piece of paper and trace around the bodice, excluding the sleeves.
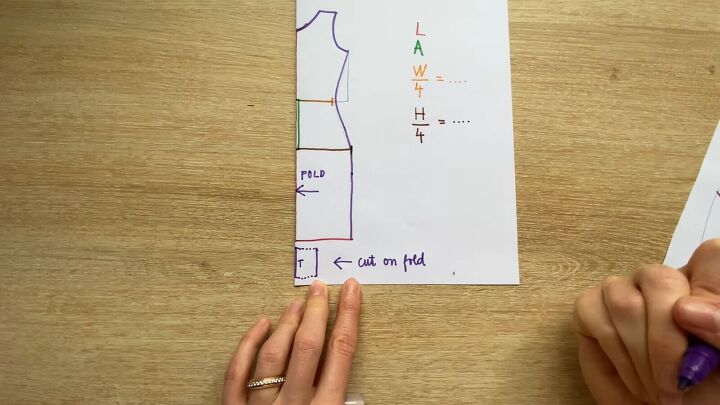
Mark the length of your dress and the distance from your waist to your hips on the same vertical line. For your waist and hips, you will need to mark only ¼ of the circumference.
Connect all the points and soften the sharp angles. Follow the same steps for the back of the dress. Don’t forget, the pattern will be cut on the fold.
For the turtleneck, you will need to measure the circumference of the neckline and multiply by 0.85. It also depends on how tall you want your turtleneck. Mark it horizontally; mine was 15cm (5.9 inches). Cut on the fold.
For the sleeves, I decided to make long sleeves by measuring the length of my arm, but you could use the t-shirt sleeves as a short-sleeve pattern or keep the dress sleeveless, if you prefer.
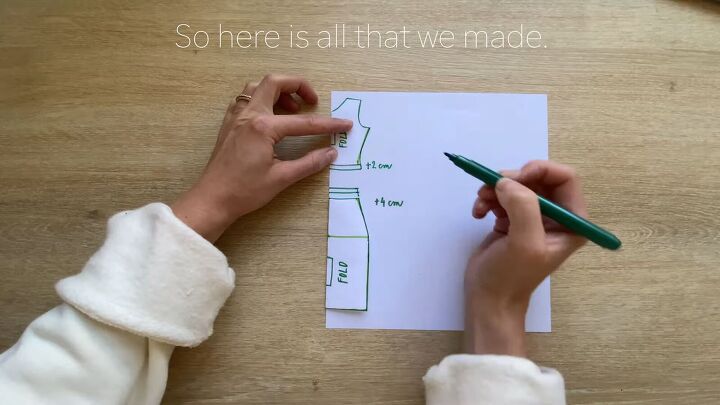
Our knit dress will have a front opening, the front pattern piece needs to be cut at the waist to create two separate pieces.
Then, seam allowance needs to be added - 4cm (1.6 inches) to the skirt piece and 2cm (0.8 inches) for the top.
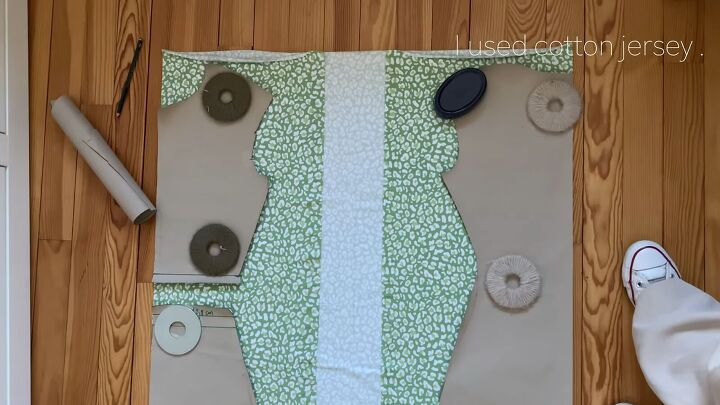
4. Cut out the pattern
Proceed to cut out your fabric to scale.
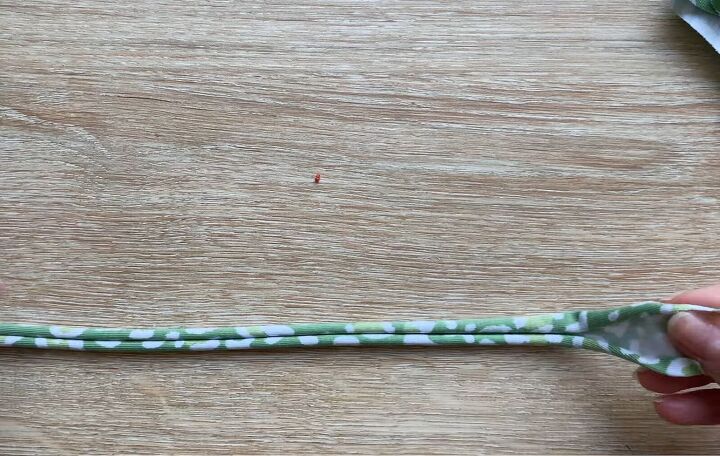
5. Create the strap
Next, cut a long piece of fabric; this will be the strap that you will insert in the top part of the dress. Pull the fabric on either end, and it will curl into the middle, as shown.
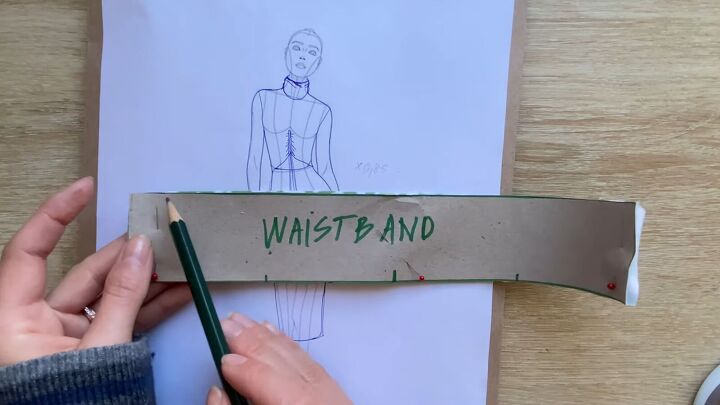
6. Make the waistband
Measure your waist and multiply it by 0.85 to get the waistband measurement. The width should be approximately 4cm (1.6 inches).
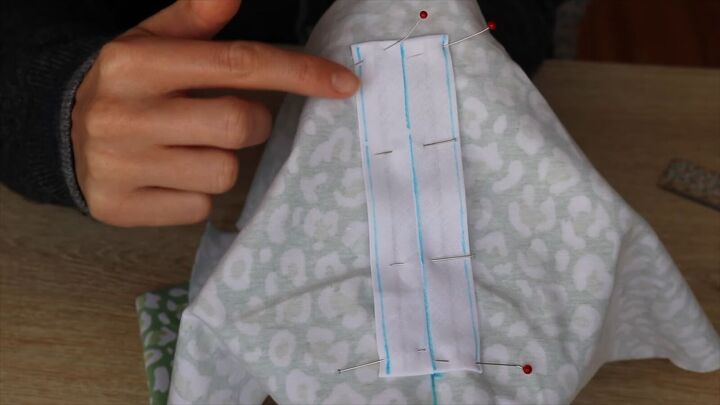
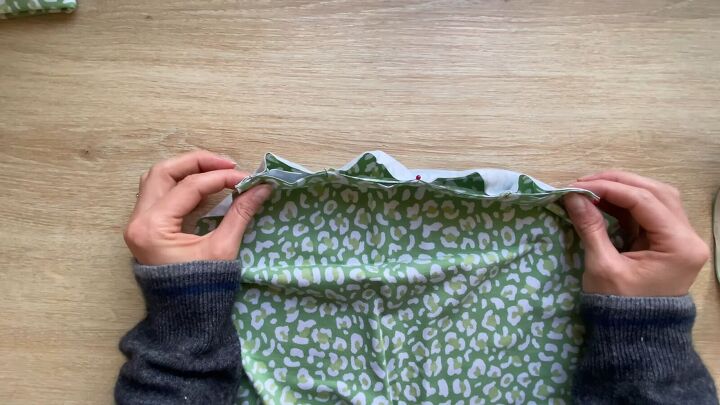
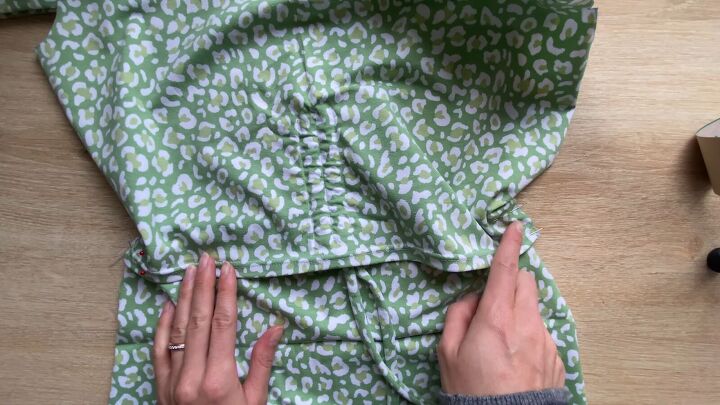
7. Sew the tunnels
Open up your front piece and place it right side down. Then, mark the middle with a vertical line, measuring 12cm (4.7 inches); this is how tall your tunnel will be.
Next, take your bias binding and fold it in by about 5mm (⅕ inch) on either side, place it on your mark, pin it into place, and sew it down with a straight stitch.
Then, sew a straight stitch down the middle line and the two outer edges (shown in blue above).

8. Add the strap through the tunnels
Next, pull the strap that you made earlier through the binding using a safety pin to help you. Once done, fold a seam allowance at the bottom of the top, pin it, and sew it down.
9. Attach the waistband to the skirt
Hem the top of the skirt. Then, take your waistband and fold it in half lengthways. Mark each quarter on the waistband and each quarter on the skirt, and pin them together according to your markings.
As you can see, the skirt is bigger than the waistband, so sew it on your serger and pull the waistband slightly until it is the same length as the skirt.
10. Sew the top to the skirt
Place your top piece on top of the skirt and overlock until you reach the notch you made. Pin the two pieces together and do a basting stitch at the sides to secure the two pieces together.
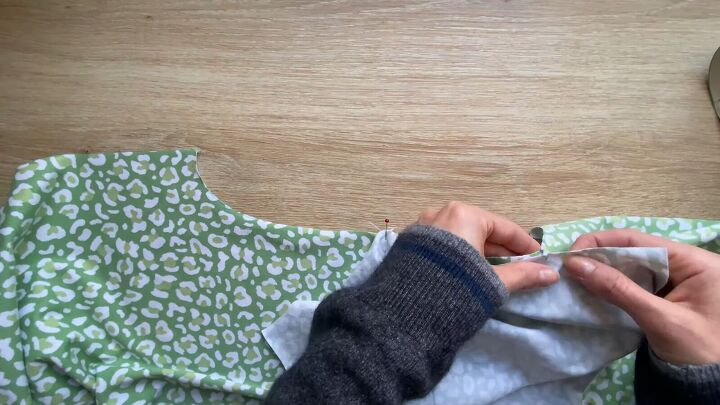
11. Sew the shoulders and sleeves
Join the front and back pieces on the shoulder seams. Pin the two sides together and then sew.
Now take your sleeve and match up the center notch with that on the shoulder. Place the sleeve on top of the dress with the right sides facing and start to pin from the center, working outwards. Proceed to sew.
12. Sew the open sides of the dress
To sew the side seams, turn the dress inside out so that the right sides are facing. Pin the side seams and sew with your overlock.
13. Attach the turtleneck
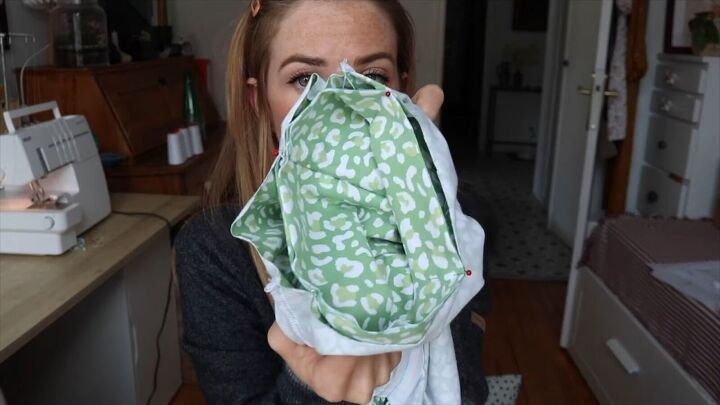
Take your turtleneck piece. Mine is quite big because I cut it on the fold, and I did this because I wanted to be able to fold it twice or three times and have a really nice thick turtleneck.
You could just make a basic neckline if you want - it’s completely up to you.
Go ahead and sew the side seam of the turtleneck with the right sides facing, and once done, turn it right side out. Then, fold it in half widthways to double it up and pin the open edges together. Mark the quarter points on the neckline.
Place the turtleneck inside the dress with the seam at the back of the dress. Pin all the points and then overlock it. As you’re sewing, be sure to pull the turtleneck so that it fits with the neckline.
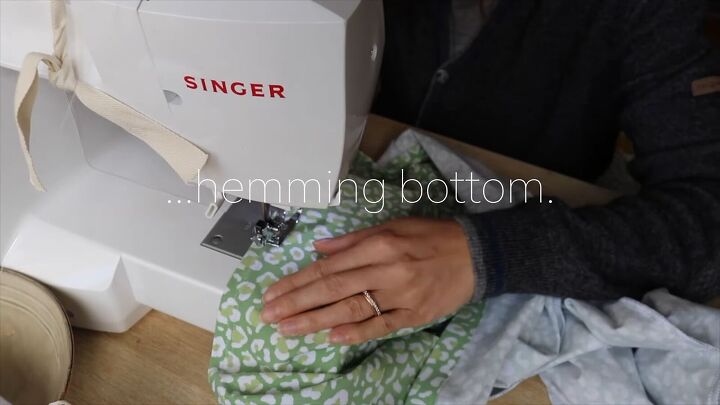
14. Hem the bottom
Finish off by hemming the bottom of the dress.

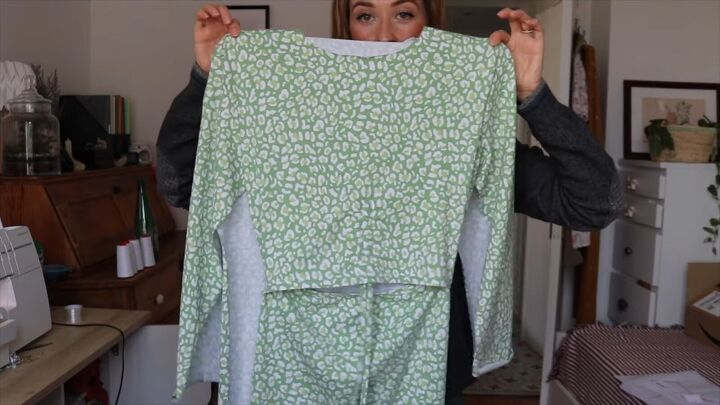
How to sew a jersey knit dress
Here we have the finished jersey-knit dress! Yes, it did take quite a while to make, but I don’t regret one minute of it - just look at how cute the dress is!
I love the tie in the middle of the dress and also the cut-out stomach area. All in all, I would give this a big 10 out of 10!

The author may collect a small share of sales from the links on this page.


Comments
Join the conversation