Quick Jumbo Braid Ponytails Tutorial

Let’s go back to basics with this tutorial, and remember the double-Dutch braids from our childhoods.
Follow along for detailed instructions to recreate the jumbo braid ponytail. I’m going to make mine fan out a bit, so there’s some puffiness, because that’s just the way I like it.
Are you ready for this trip down memory lane with me? Then let’s start!
Tools and materials:
- Comb or brush
- Hair elastics
1. Prep your hair
Always make sure your hair is clean before you start braiding. If you try braiding dirty or oily hair, they won’t fan well, because the oil will bunch them together.
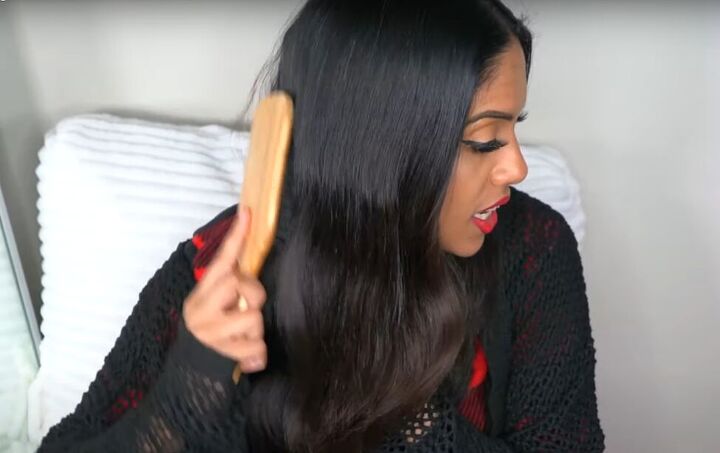
Once your hair is clean, brush or comb out all of the tangles.
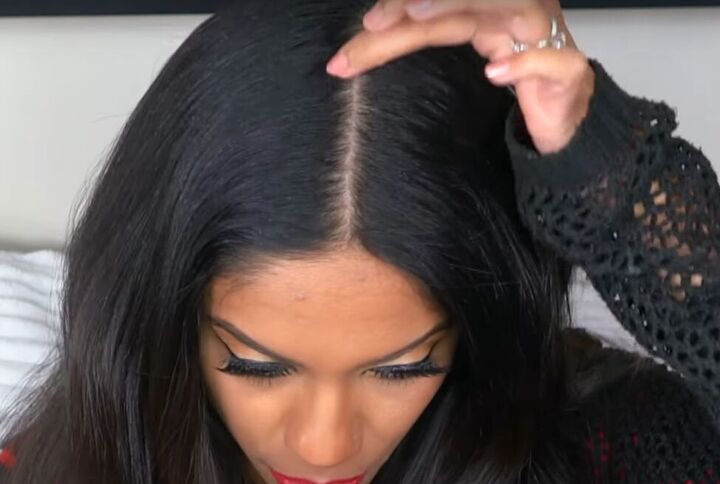
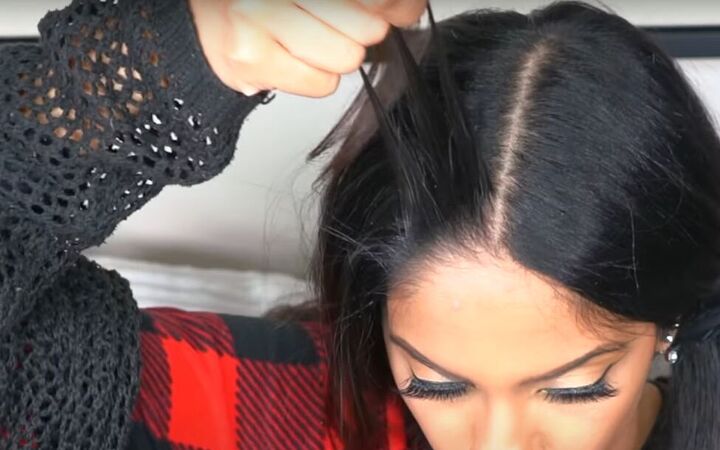
Part your hair down the middle, all the way to the back of your head.
Clip one side of your hair away, so you can concentrate on working on the other side.
2. Begin braiding
On the section you will braid first, brush your hair from front to back.
Tip: As you are following this tutorial, don’t focus on how I am holding the strands of hair. Hold your own hair however it is most comfortable for you.
Concentrate, instead, on having a really tight grip on your hair, and following the pattern.
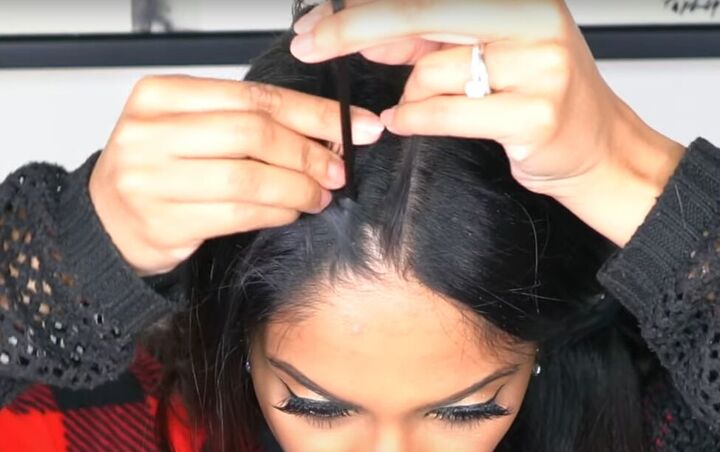
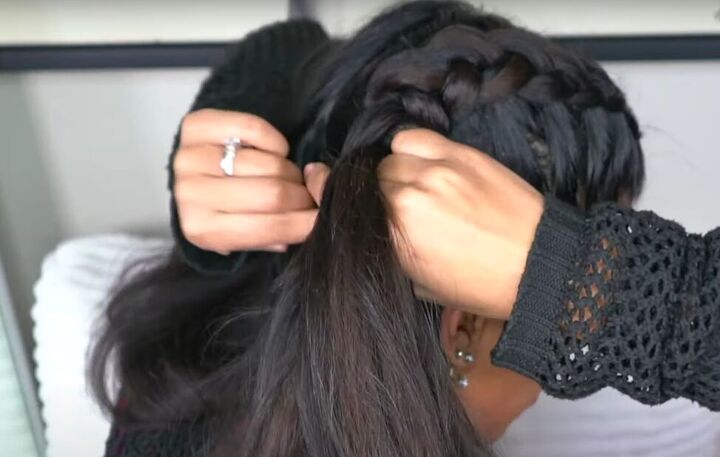
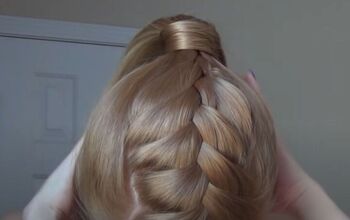
3. The basic pattern
Just keep saying this: “Right under the center, left under the center.” That’s the basic pattern to follow for the whole braid.
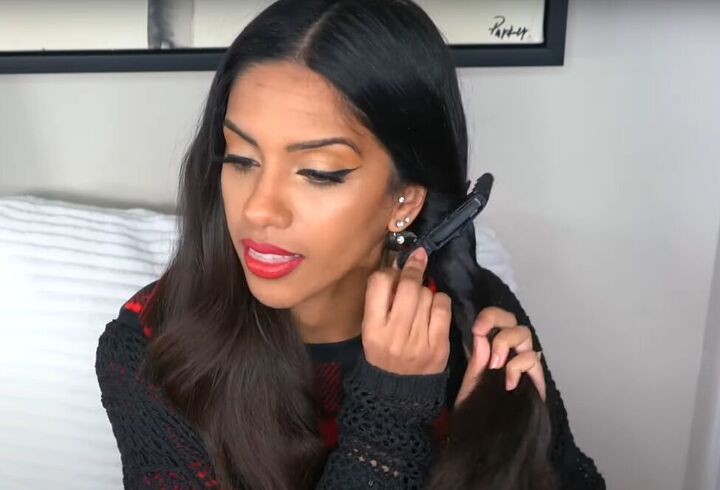
Start with a small section of hair from the front of your hairline and split it into three equal sections.
Take the section on the right and move it under the center section.
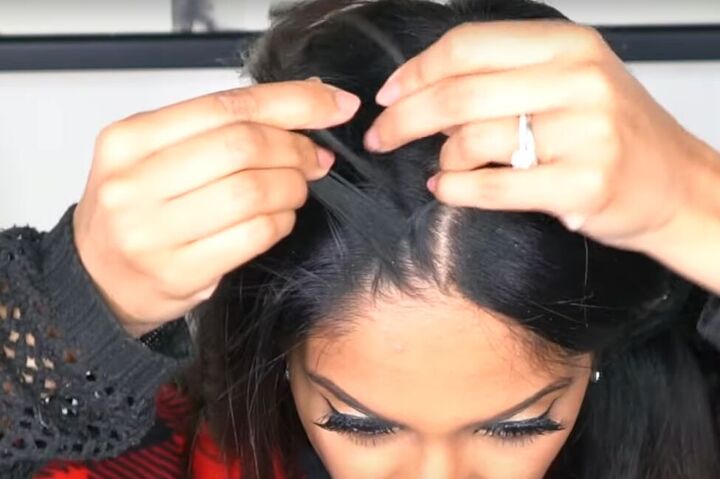
Now, bring your new left section under the new center section.
Now you are back to the right.
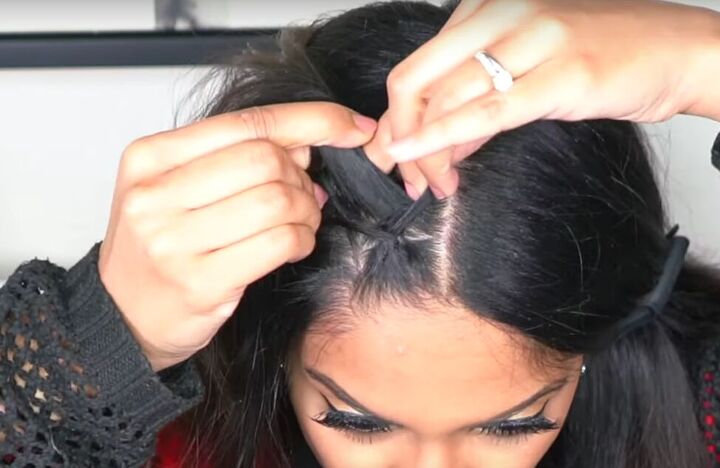
Add a new small section of hair to the right section, and move the right under the center.
Then, add a new section of hair to the left section, and move it under the center.

Continue adding sections to the right and left, continually braiding right under center, left under center.
Continue the pattern along the whole side of your head.
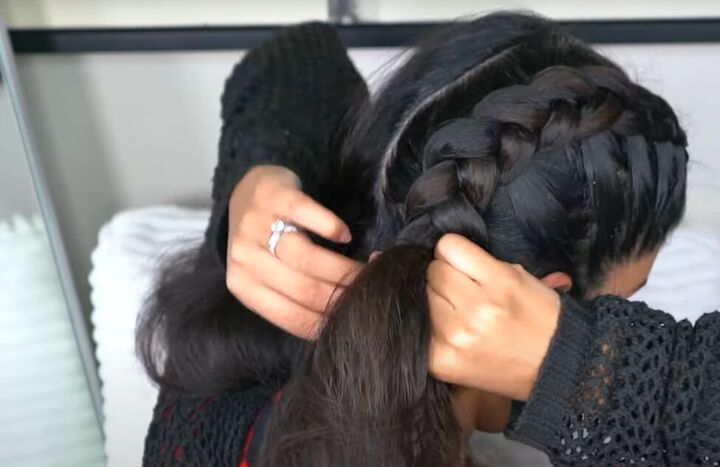
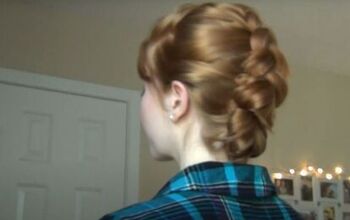
4. Braid the back of your head
Braiding the back of your head takes the most practice.
The same pattern continues, but you might want to use mirrors, so you can see what you are doing.
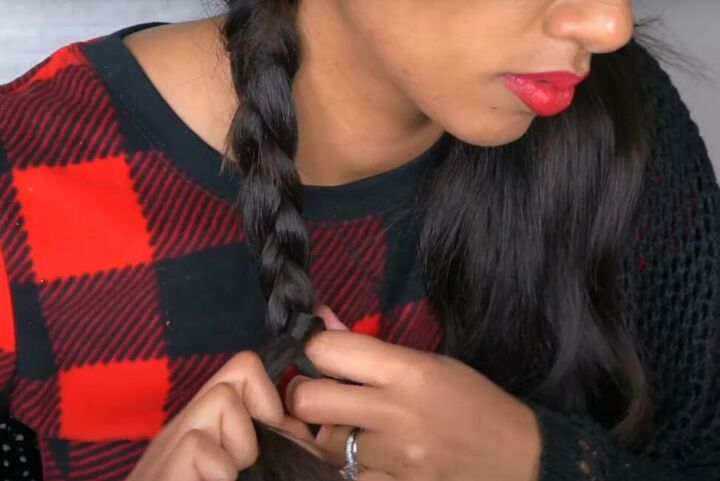
5. Finish the braid
Once you are at the hair that is below your head, bring the hair to the front and continue braiding a traditional three-strand braid.
Tie it off at the end with a hair elastic.
6. Braid the other side
Repeat steps 2-5 on the other side of your head, making sure that you are creating the second braid at the same angle as your first one.
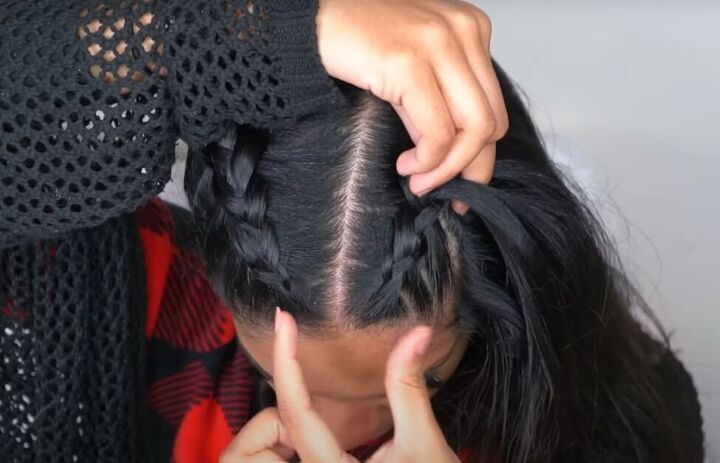
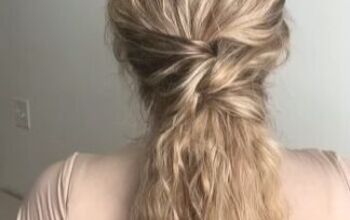
7. Fan out your braids
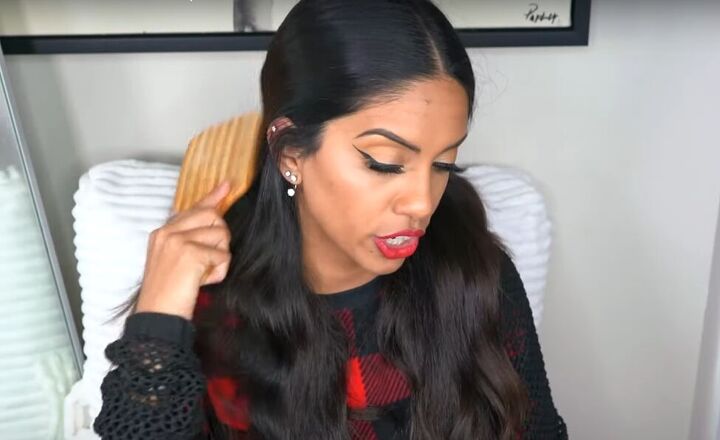
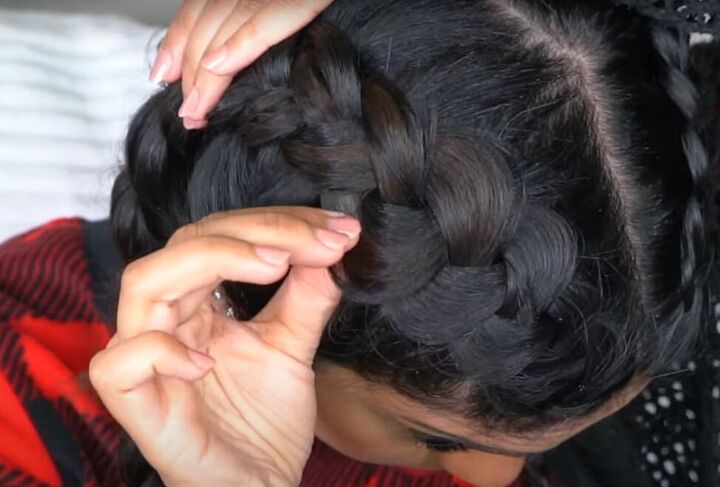
While holding your braid down flat with one hand, use your fingers on your other hand to gently pull on the braid from each side, fanning it open.
This technique is called “pancaking”, and you should always start it from the front of your hair and work down to the bottom.
You can see the difference between the side I’ve fanned and the side I haven’t. I think they look a lot cuter puffed out.
8. Add character
If you want to add a bit more character to your fanned double-Dutch braid, pull a few strands of hair out of the braid at the front of your head.
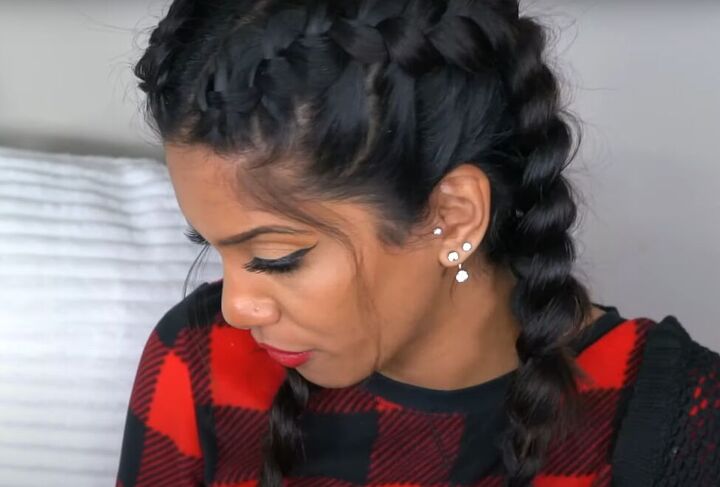
Here’s the finished look of my double-Dutch braid from the side.
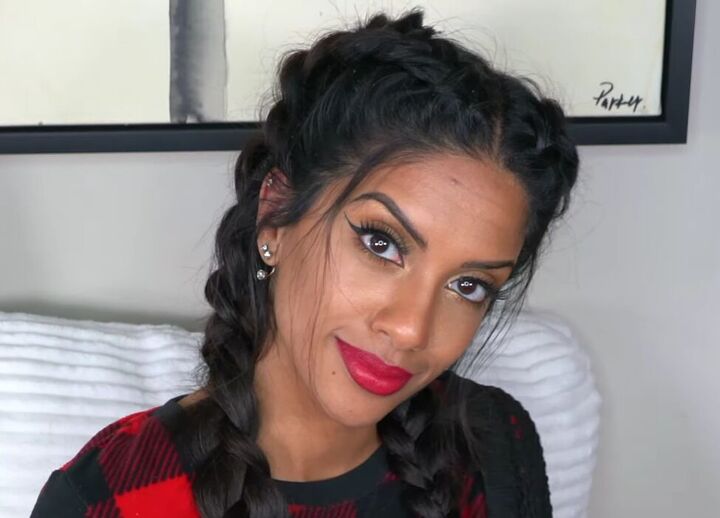
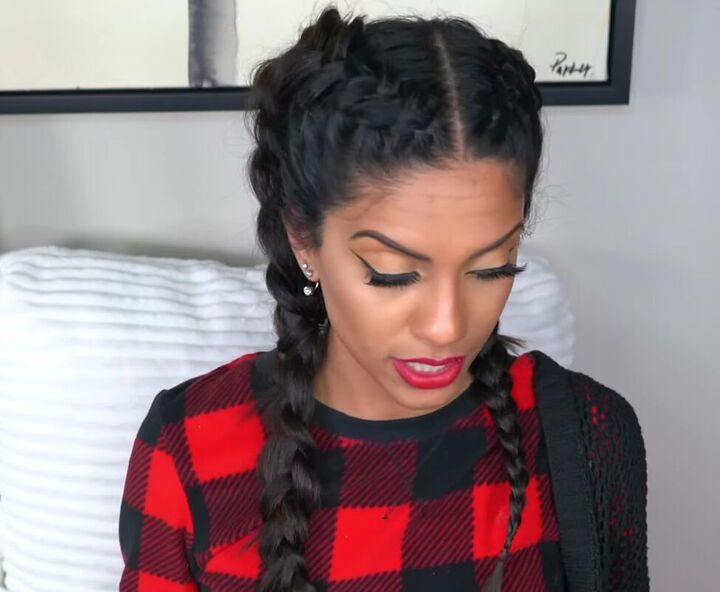
And here’s a front view.
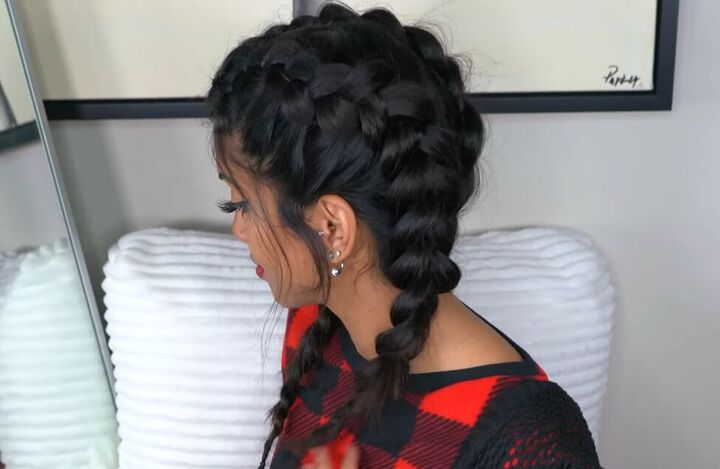
Jumbo braid ponytails
That’s it! It may take a bit of practice, but once you get it mastered, you’ll be able to keep the braids in all day, and you might even be able to sleep on it and wear your hair like this again the next day!
Let me know if you try this big jumbo braid technique and whether it worked well for you.
For more hair content, check out my Super Easy Heatless Sock Curls Tutorial.
The author may collect a small share of sales from the links on this page.


Comments
Join the conversation